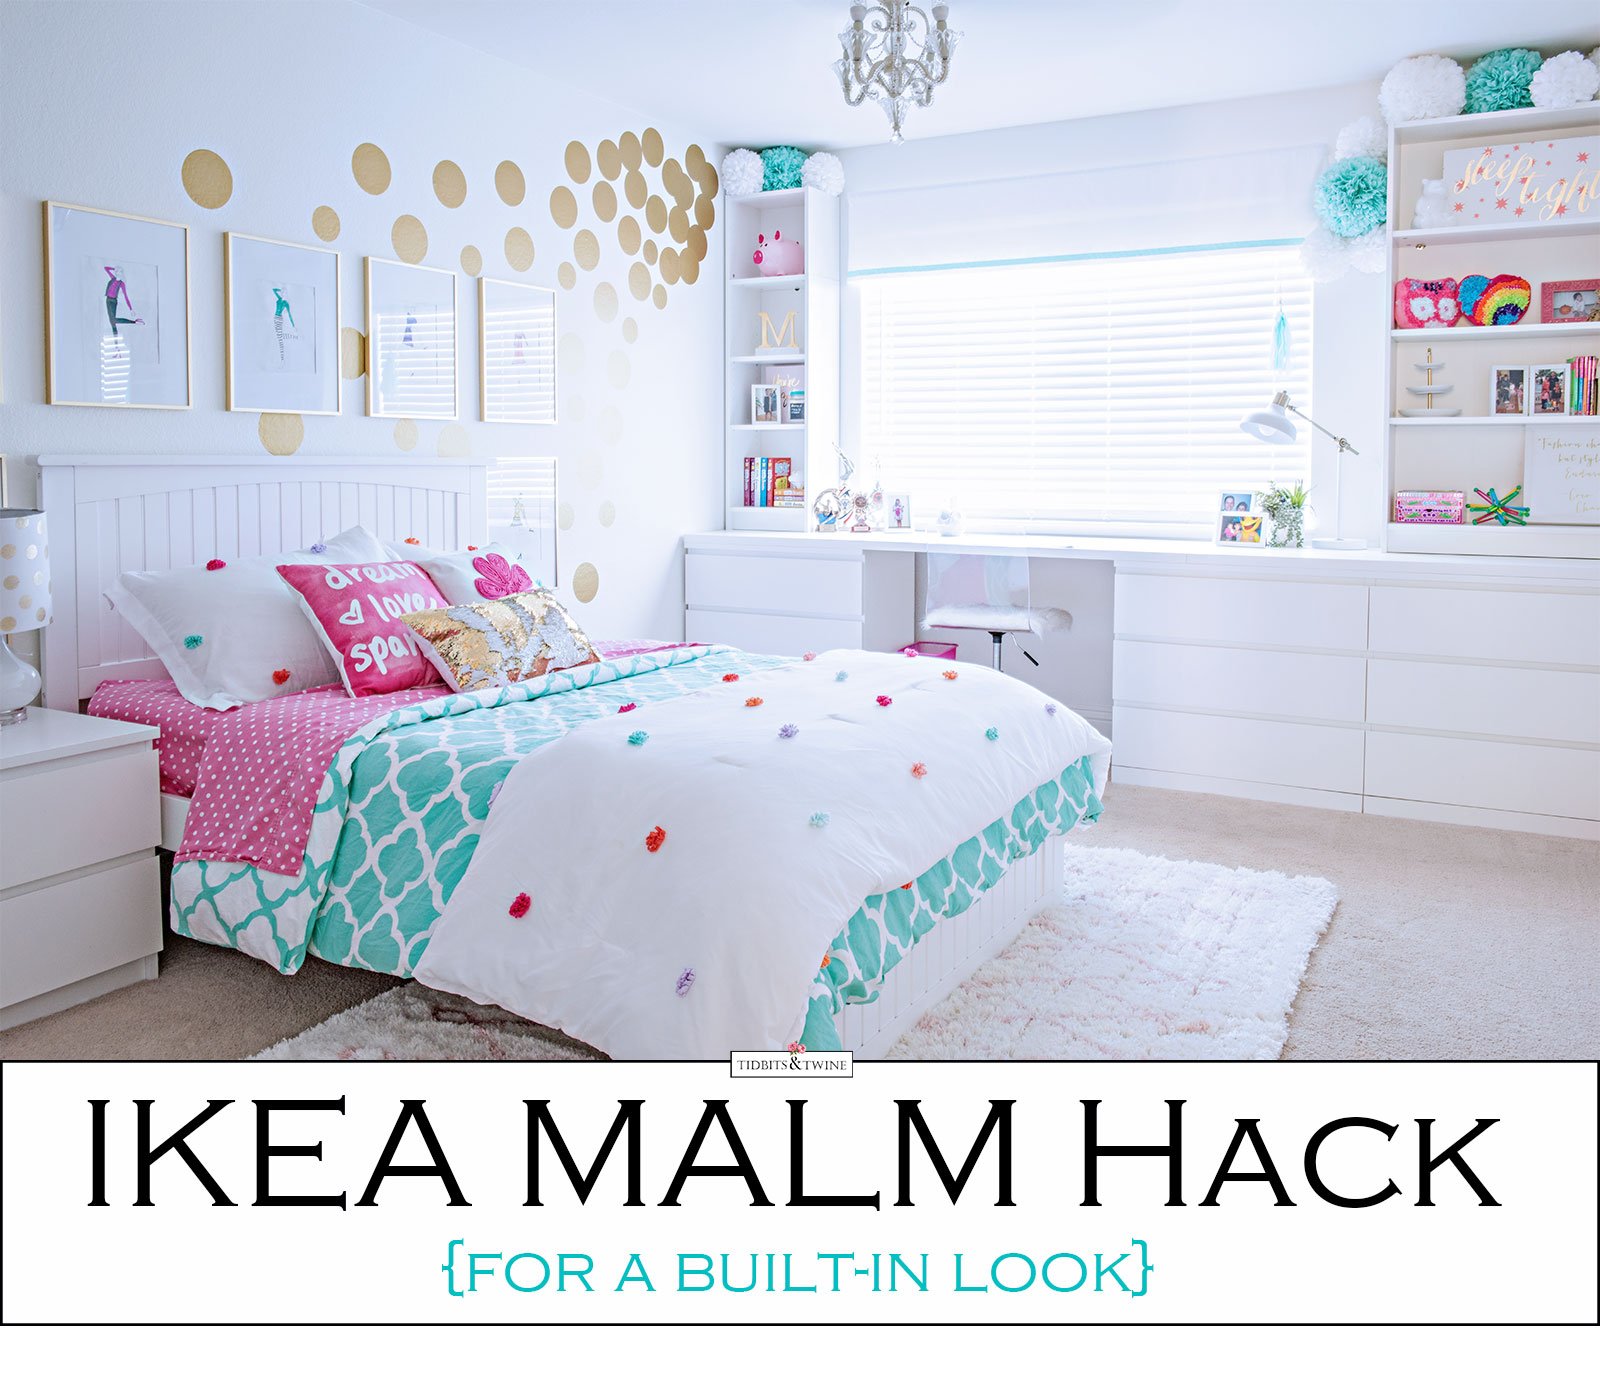
When we redesigned our daughter’s room, we wanted her furniture to have the look of a built-in so that it had a “clean” look that utilized the entire wall and maximized the space in her room. She also needed a large work surface for her design and sewing projects. Unfortunately, we aren’t handy and so making the furniture wasn’t an option and our budget really only allowed for IKEA furniture, and so it was time for a little hack.
Caveat: When I say we aren’t handy, I really and truly mean we aren’t handy, so if we can do it, you can do it! As with any project, use proper protective gear and equipment to ensure safety.
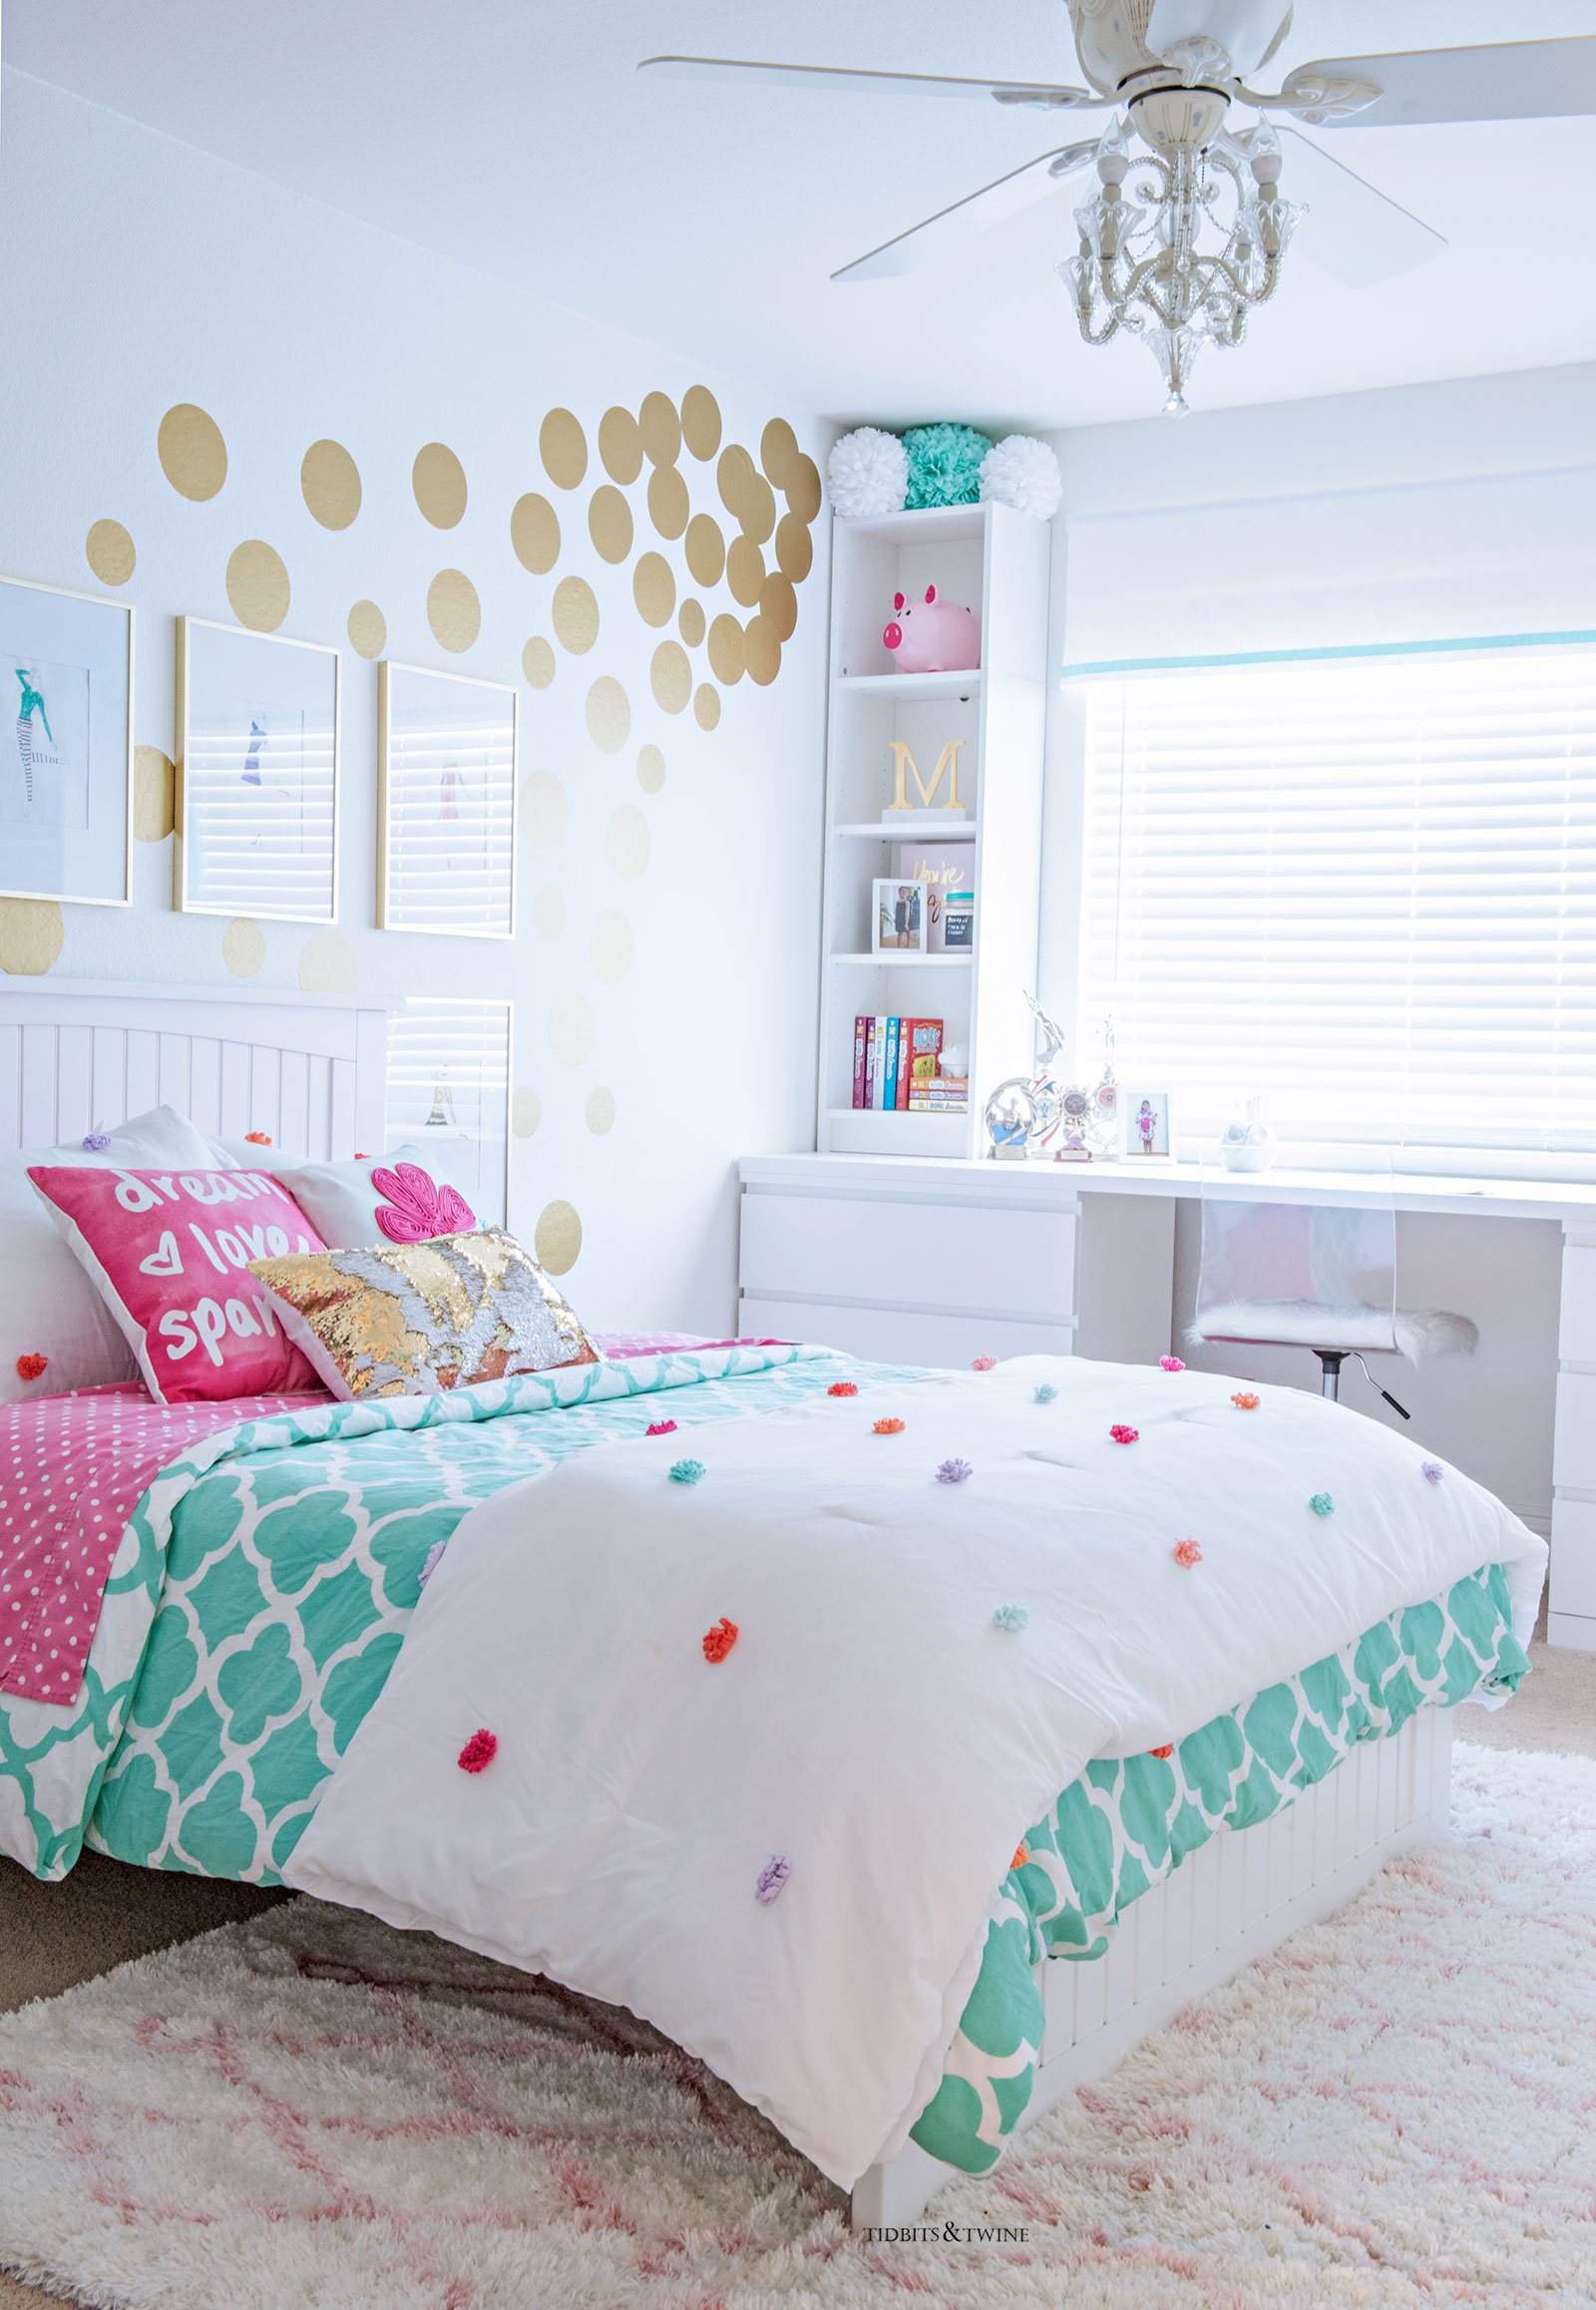
The measurements of her wall and her off-center window meant that a standard desk and dresser wouldn’t fit the space and still have a built-in look. Instead, we decided to create our own work surface using two LINNMON table tops with MALM dressers as the base.
Step 1: Creating the Framework
We started with one six-drawer MALM dresser and one three-drawer, one on each side of the wall. The MALM dresser is 19″ deep, but the LINNMON top is 23.625″, so we pulled the dressers away from the wall so that they would align with the top. As a bonus, this provided extra storage behind the dressers for her work boards and also plugs and various cords.
Step 2: Securing the Top
Once the dressers were in place and leveled, we put one 78.75″ LINNMON top on and secured with screws to the dresser from underneath. We then used a second LINNMON and cut to fit the remaining length. We took the table top to a millwork shop to have it cut. Given that it isn’t solid wood, it is critical that the saw be straight and sharp in order to not mangle the surface. Ask them to do a practice cut before making your final cut to ensure it will have a clean, finished edge.
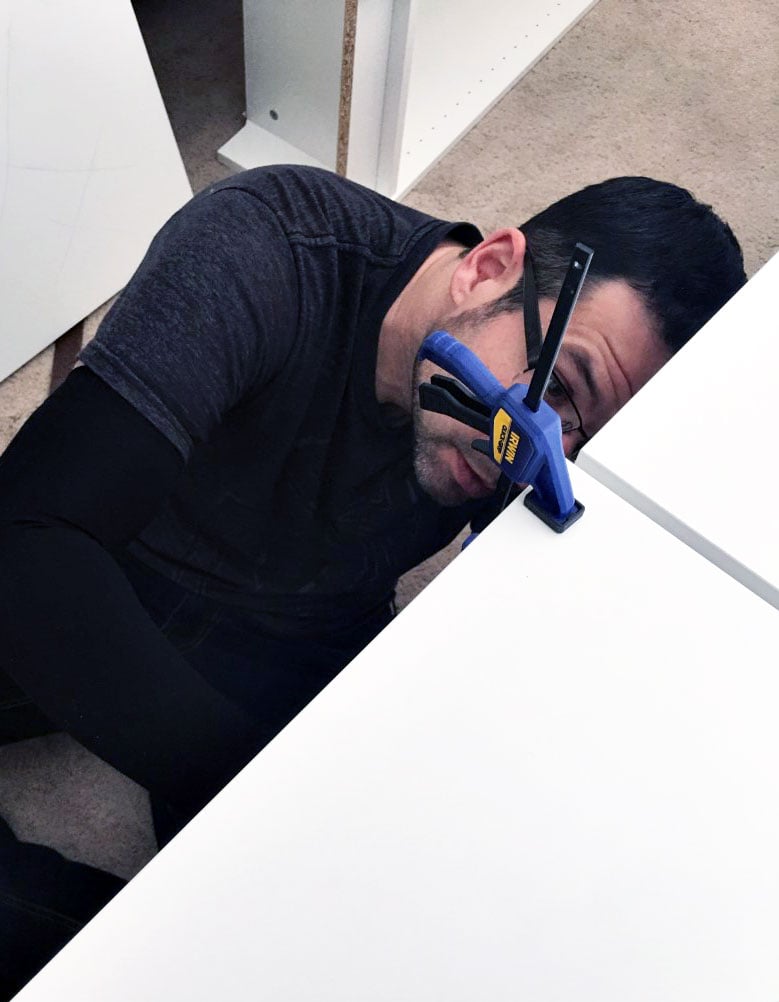
When securing the top to the dressers, keep in mind that the length of your screws needs less than the thickness of your dresser plus top so that the screw does not go through the top. Also, use several clamps to hold the top securely in place while you screw the two pieces together. {Poor hubby didn’t know I’d be sharing this pic!}
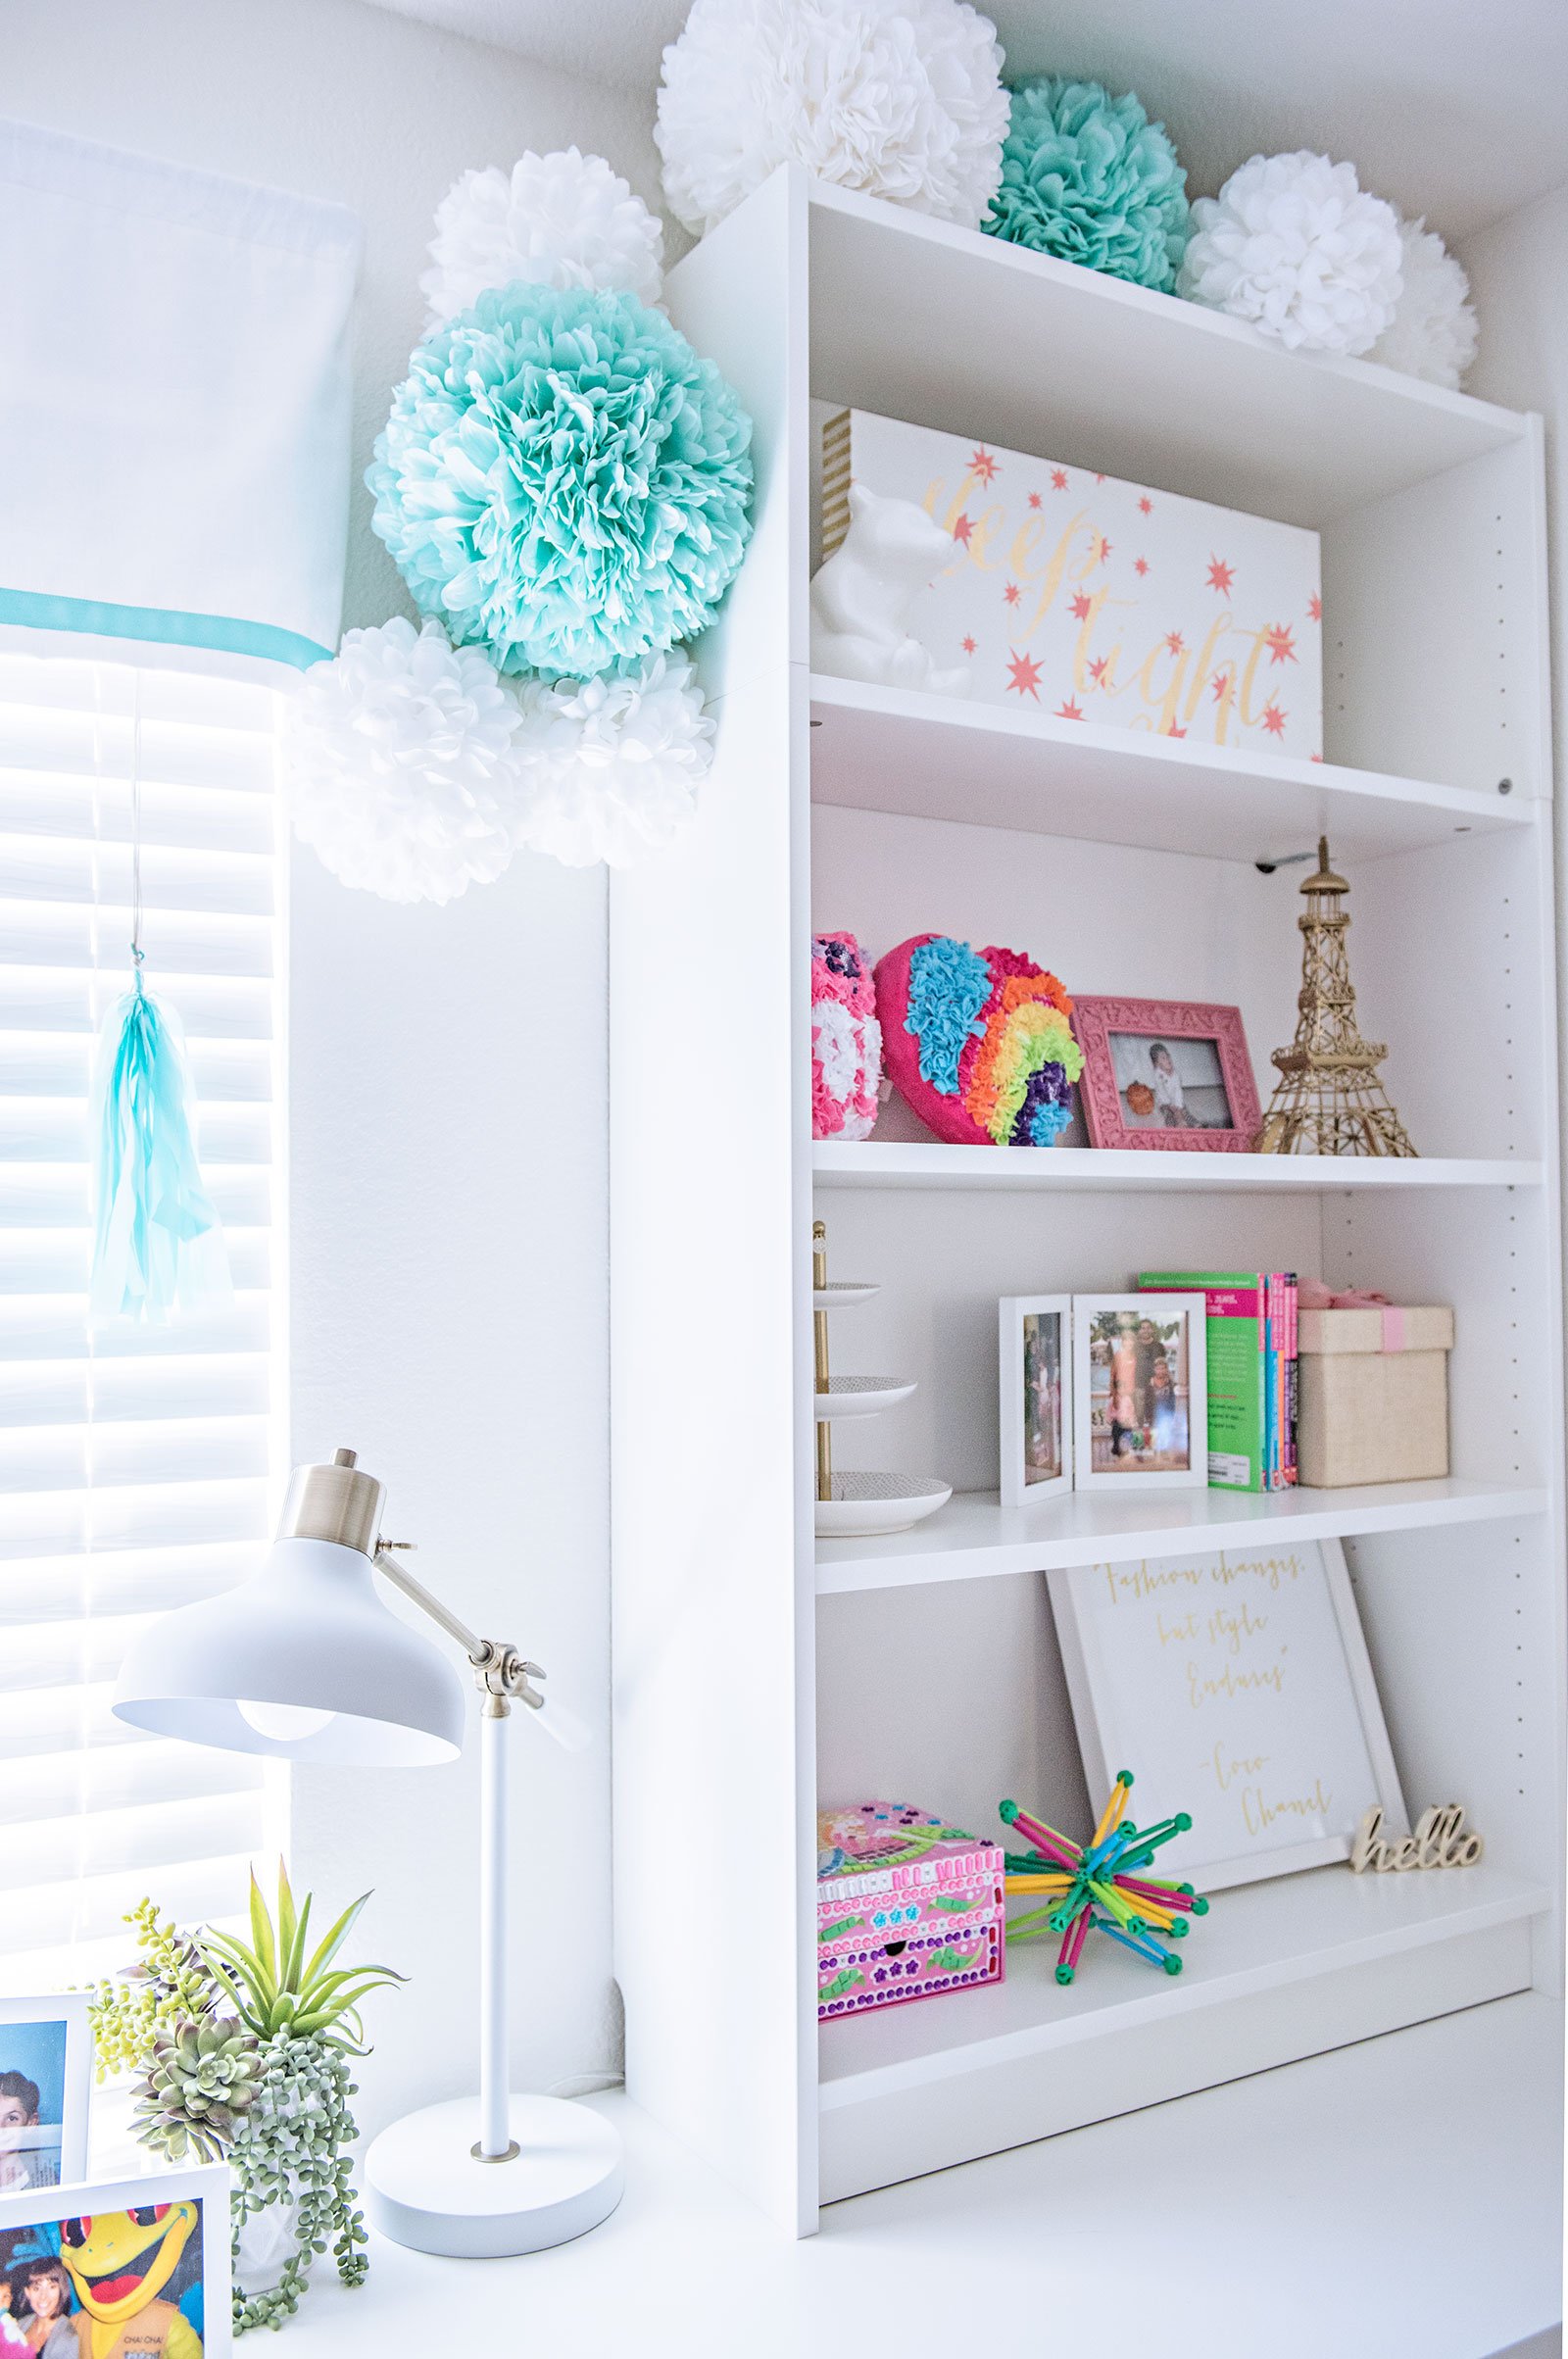
Step 3: Add Bookcases
Two BILLY bookcases anchored to the wall on top completed the look! As a bonus, the BILLY bookcases are only 11″ deep, which is plenty deep for her books and knick-knacks, but not as deep as the LINNMON table top, leaving extra surface space in front on the shelves for her projects. The BILLY bookcases also come standard with a cutout at the bottom. While this cutout is meant to fit around a baseboard when sitting on the floor, it works perfectly to feed cords through on a desktop!
The total height of her work station is 32 1/8″, which is slightly taller than a standard desk which sits between 28″ – 30″. To solve this issue and ensure she was still comfortable when working, we gave her a cute Lucite and fur adjustable chair so that she can raise herself up to the proper working height.
She now has a custom, oversized work surface plus nine drawers and bookshelves. Perfect for our budding fashion designer!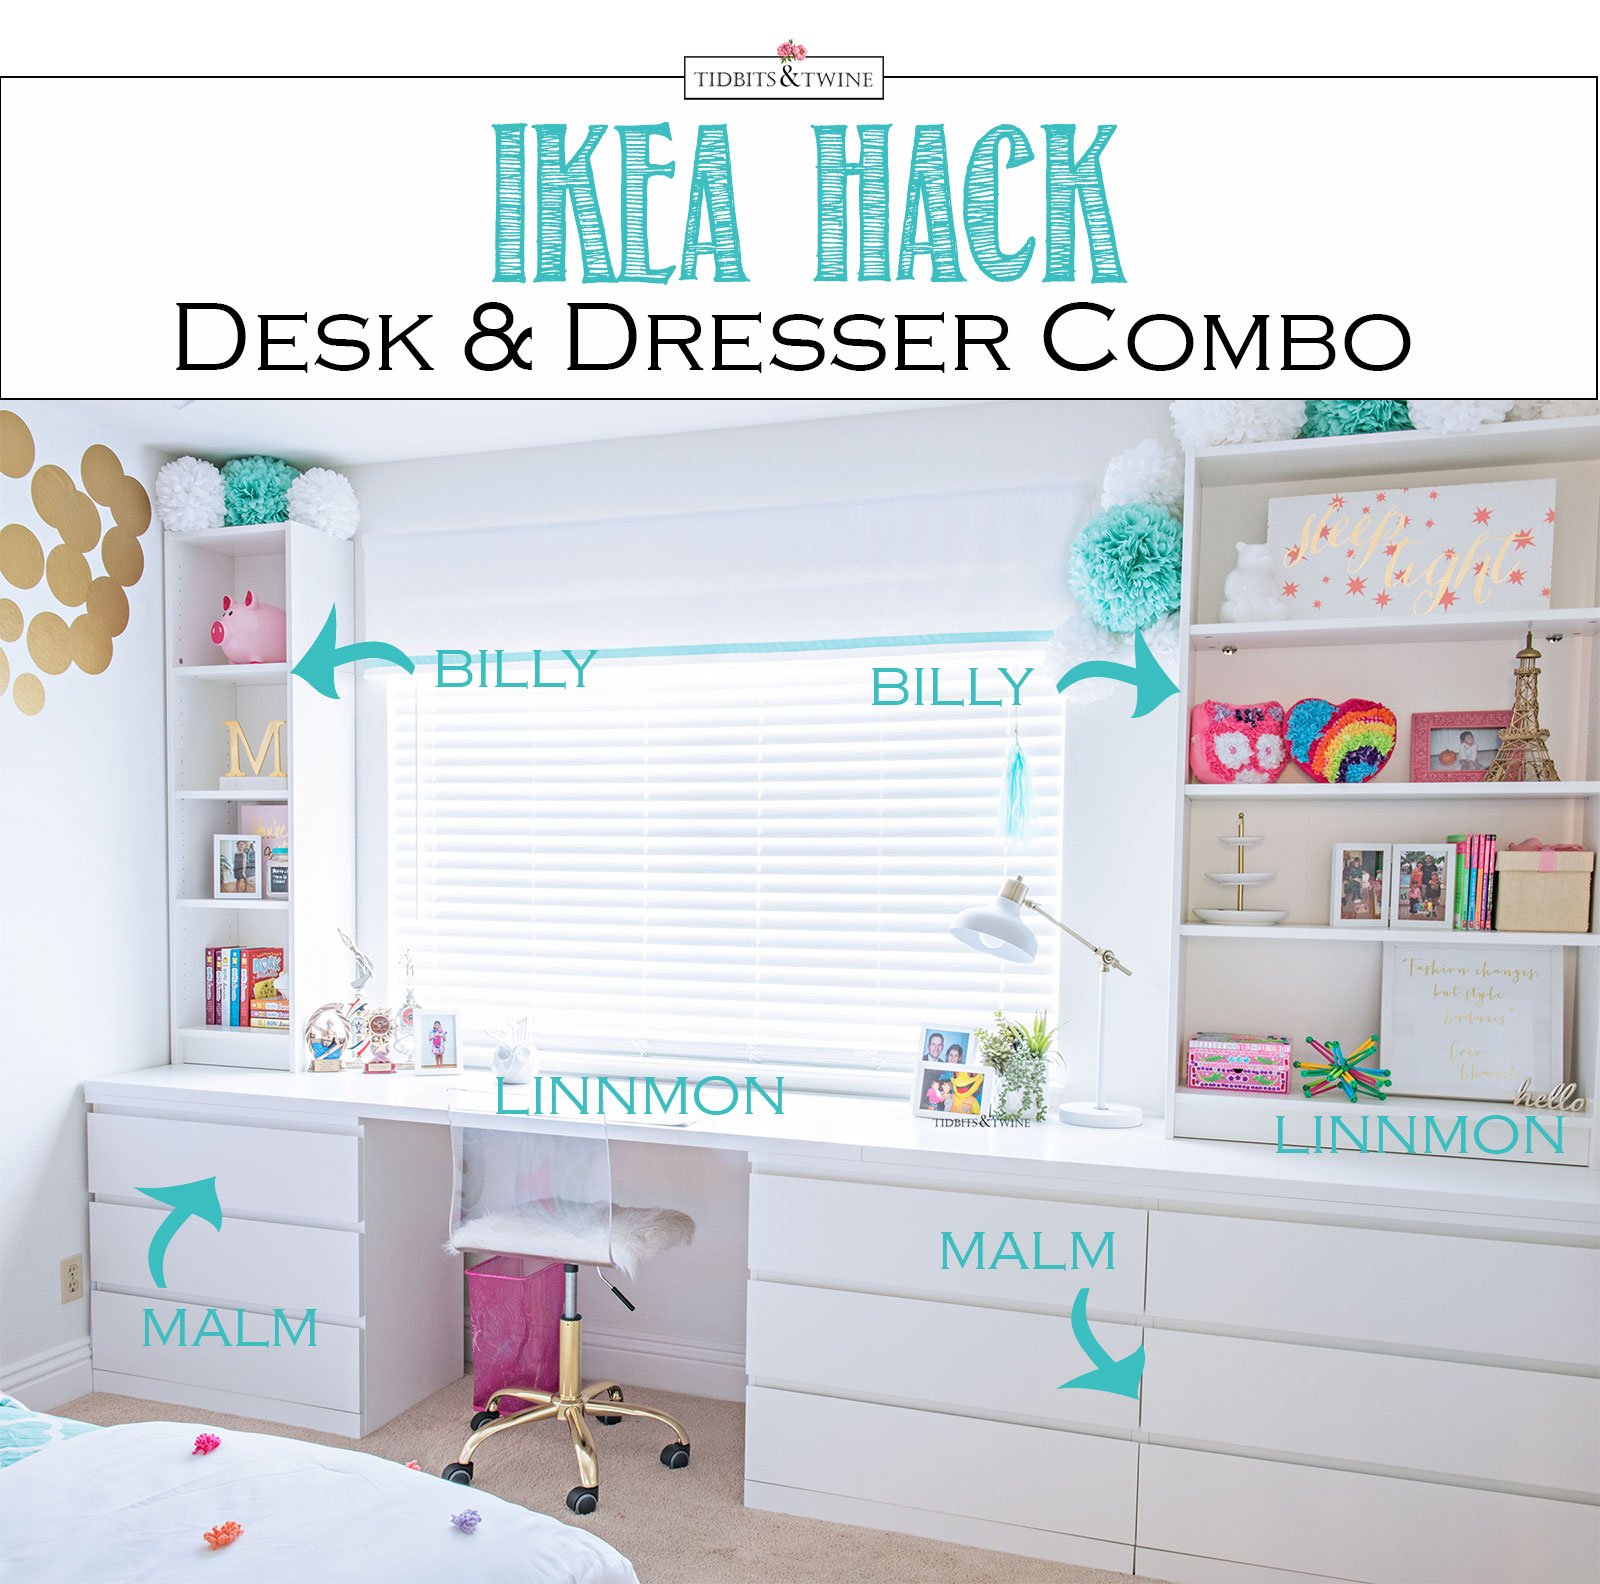
To see more about this bedroom makeover, you can click {HERE}.
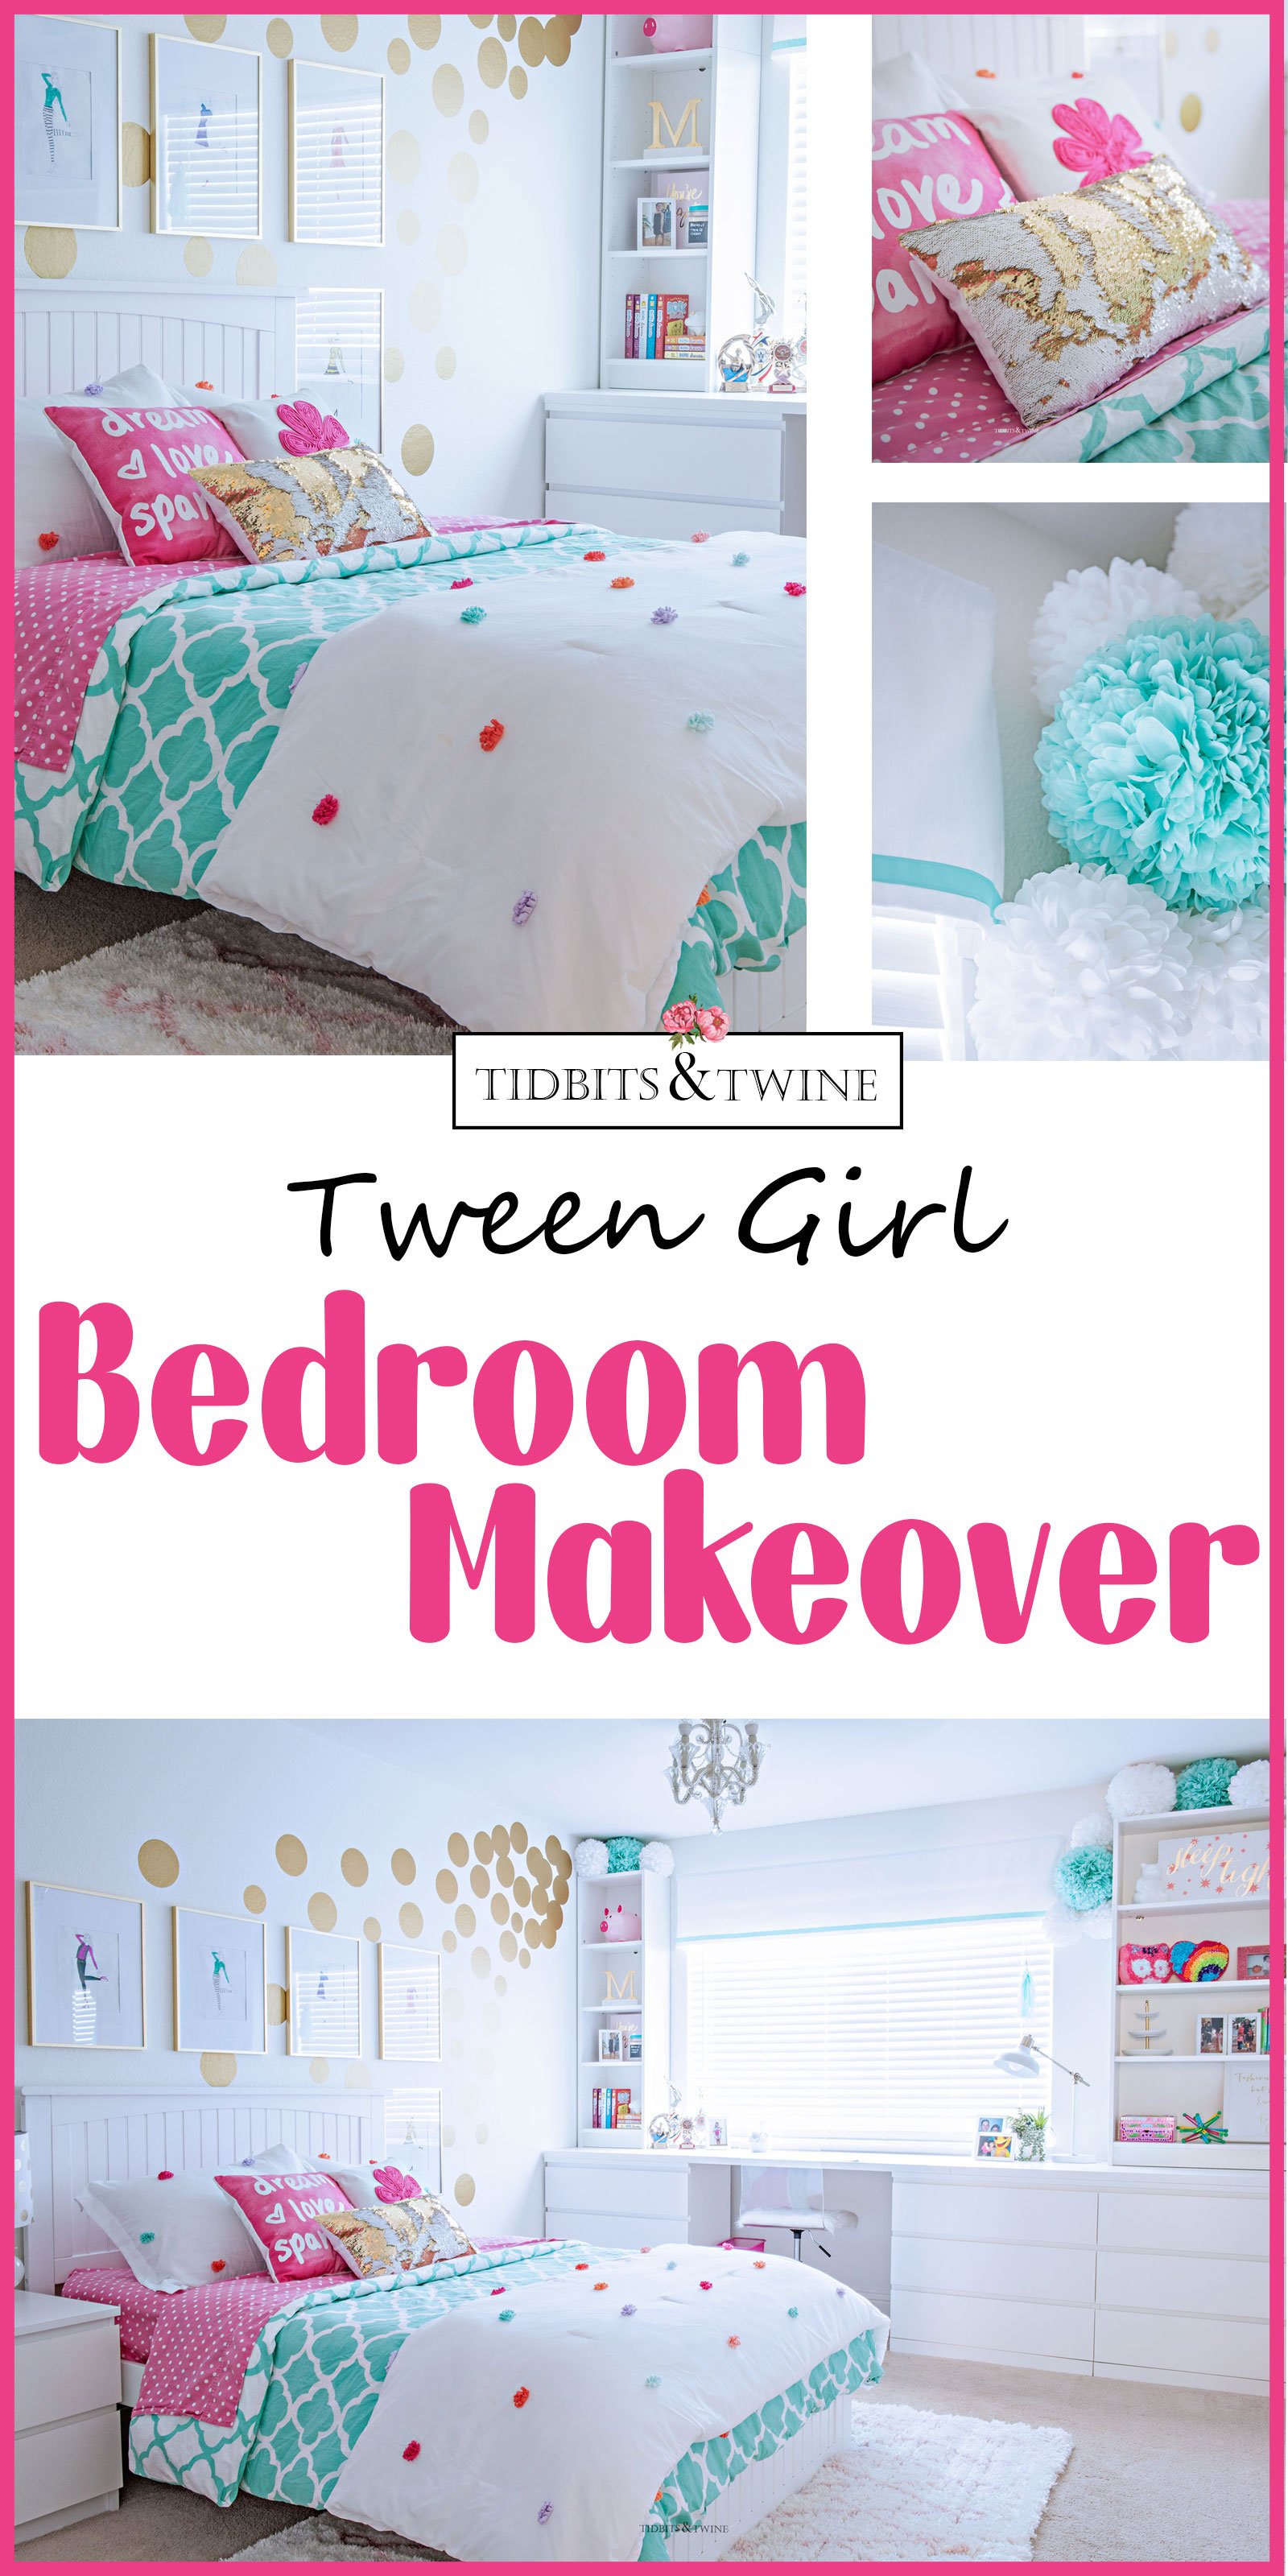
We still have on our To Do list to add trim to the vertical spaces and crown moulding to the top to really give it a custom look, but for now, this is perfect for her and she loves her turquoise and white puffs that fill the top, so she’s enjoying her new space!

Join the Community
Let’s keep in touch! Get exclusive artwork plus the latest news delivered directly to your Inbox!
This looks great! What is the size of the room?
I was to thinking to make something similar for my two little princesses but then one question came to my mind – how do you clean the window? It seems bit difficult to reach.
Hi I’m wondering what size table top you ordered for the second one. It says you got the 78 inch top. Did you order two of those or just one and one of a smaller size?
Hi!
I honestly can’t remember what size but I think it was smaller since we were trying to get it to be close enough to a perfect fit. We did end up cutting it down to the exact size we needed, though.
How did you solve the join in the worktop?
I’m wondering the same thing? How do you conceal the separation between the two table tops?
Hi! I’m so sorry for the delayed response! The seam is visible but there’s no gap so it really isn’t an issue. If you look at the last picture of her bedroom in this post, you can faintly see the line: https://www.tidbitsandtwine.com/tween-girls-bedroom-makeover-reveal/
I hope this helps!
-Kim
Can i ask where you got the lucite chair. It is adorable.
I am in love with this! Can I ask how tall the ceiling is in this bedroom? Looks like IKEA no longer carries the 4 shelf billy, only three. Also, I am curious if there was a vent in the floor at all where you put this? That is the issue we are running into.
Thanks!
Thank you, Laura! The ceiling is a standard 8ft. We are actually using a 3 shelf billing with one shelf extender on top. Here’s a link to the shelf extender: https://www.ikea.com/us/en/catalog/products/50279815/
Luckily, we weren’t dealing with any venting on that side of the room, but that does cause a bit of a problem. Good luck with your project!
:) Kim
Looks great! What are the overall dimensions of the room?
Hi really love this room. what size nails did you use to fix the table top to the drawers please? Also did you secure the Mallam to the wall? Thankyou
Wow!!! I know one little girl that is really happy
Looks good I love it.