A couple of weeks ago, I shared with you on Facebook a lamp that I had ordered from Wayfair that arrived….well….NOTHING like the lamp that was pictured when I ordered it! So many of your gave great advice as to what you’d do in my shoes and today I’m following up to let you know what I ended up doing!
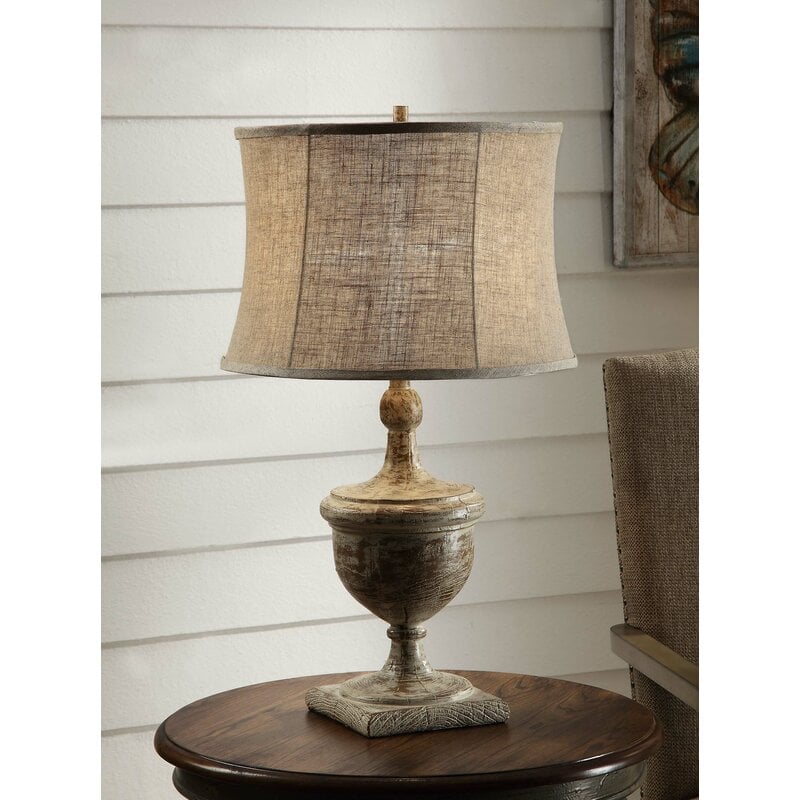
For those of you that missed it, here’s what I thought I was ordering, the Laoise Table Lamp. Pretty, right?
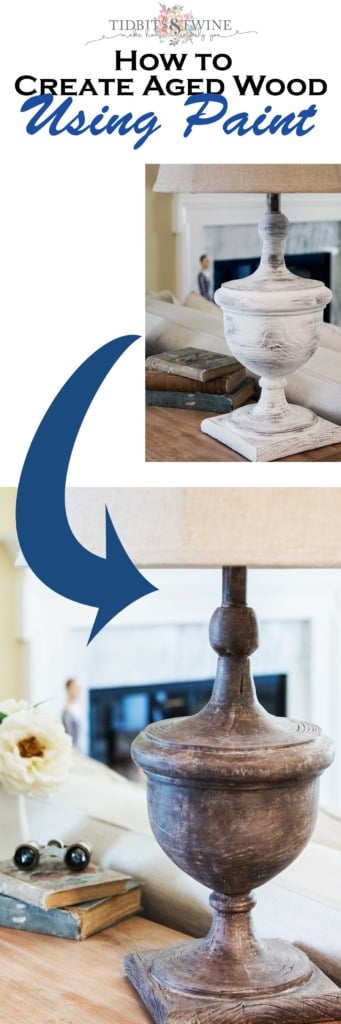
Here’s what I actually received. A solid white mess. This looks NOTHING like the picture above!
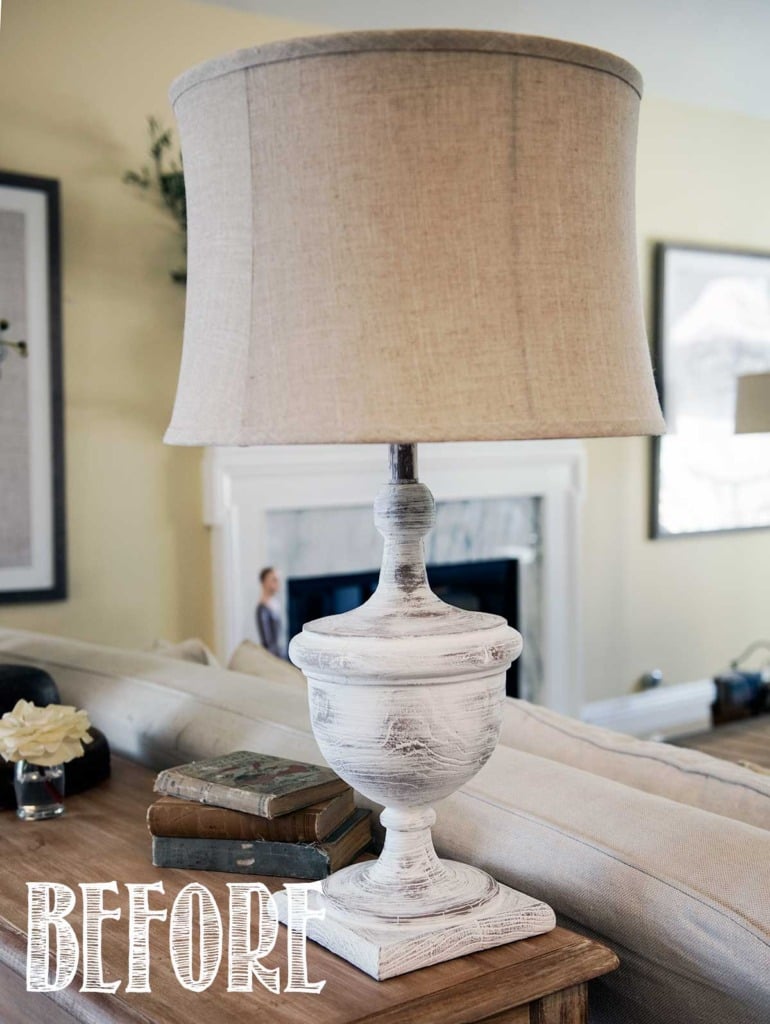
While Wayfair was quite nice about the situation and offered to pay the return shipping, I decided to keep it. Not only did I love the size and unique shape, but I love a challenge! Admittedly, for the price I paid for the lamp I shouldn’t have to do anything to it to make it look nice, but again, I love a challenge.
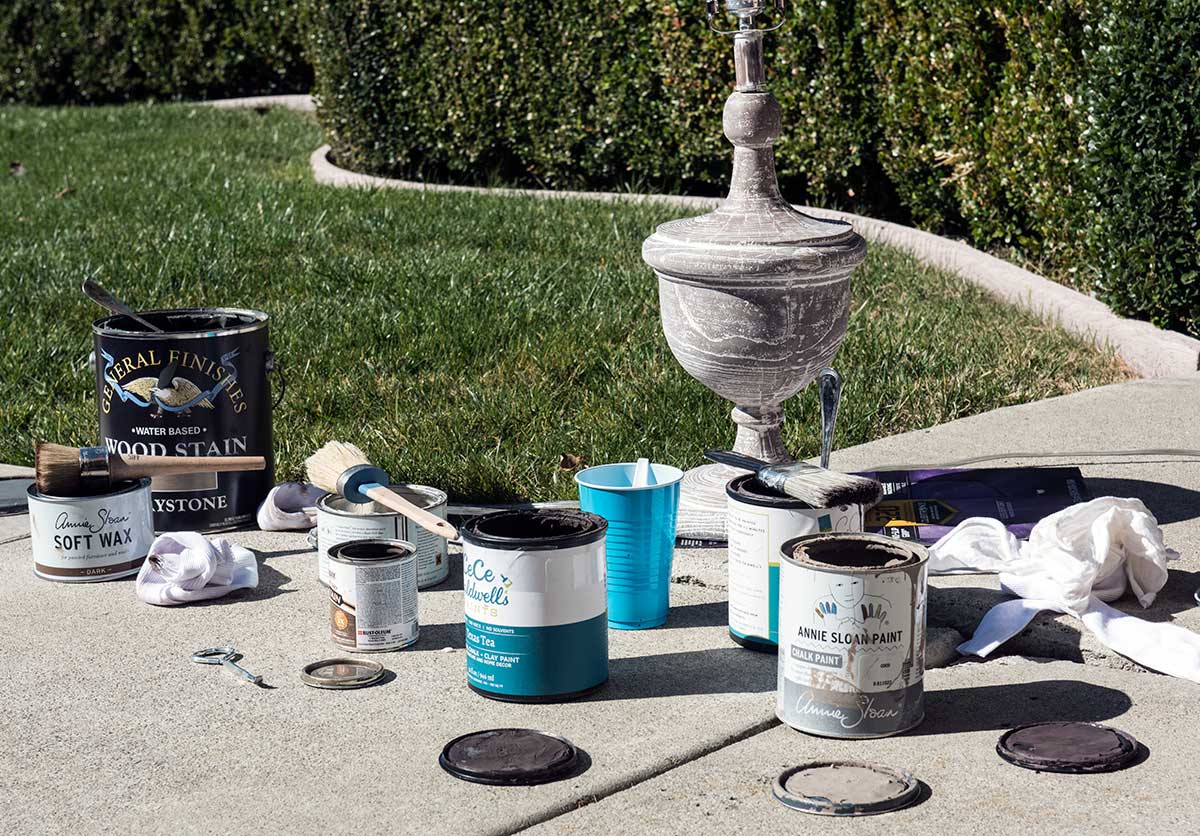
HOW TO CREATE AN AGED WOOD LOOK USING PAINT
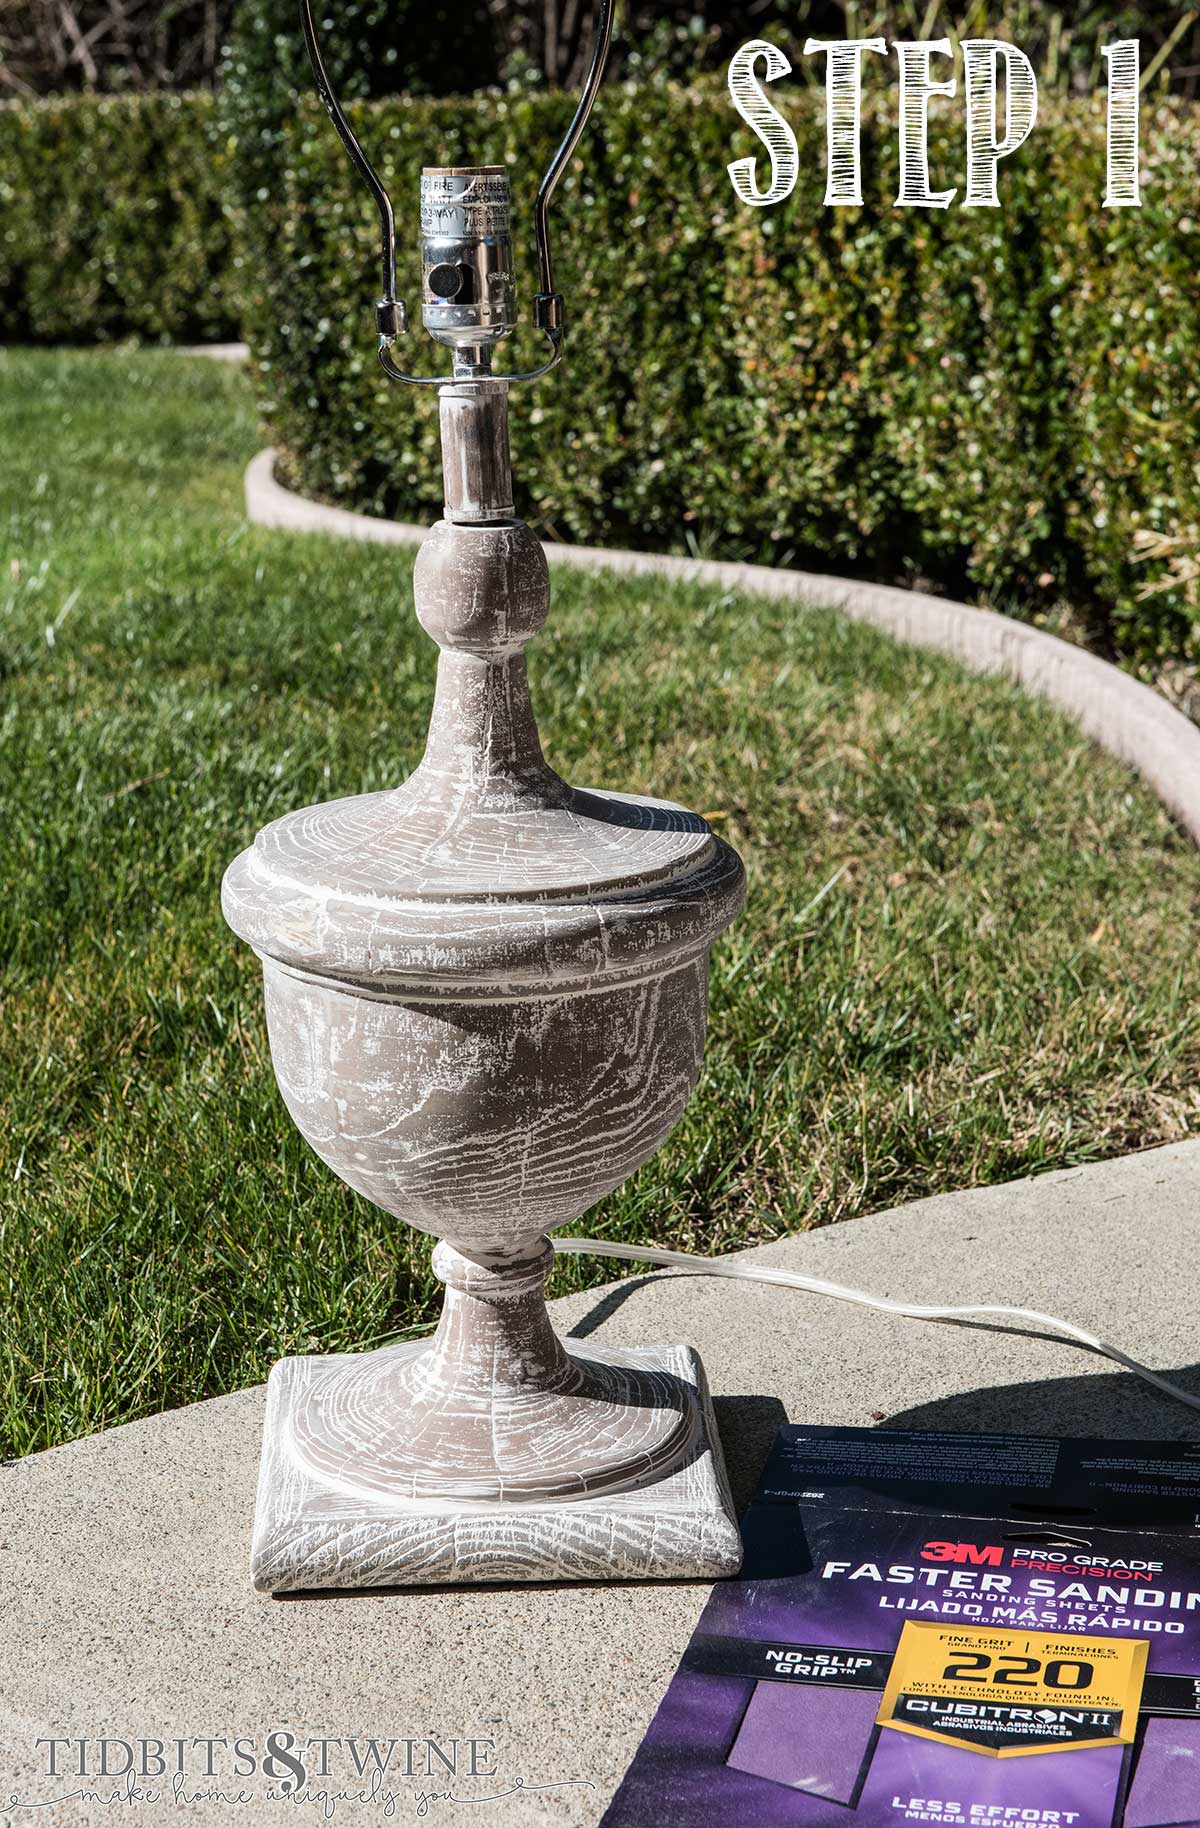
STEP 1:
- I used 220 grit sandpaper to sand off as much of the white as I could. My goal was to let the white reside in the groves, leaving the lamp looking mostly brown. Admittedly, in just a couple of spots, I rubbed too hard and took some of the brown off, too. But not to worry, it won’t show when finished.

- Note: If you’re painting raw wood, to get this look try painting the entire piece with Annie Sloan Coco. Once dry, add Annie Sloan Old White to the crevices. Those two colors should get you to the same place as shown above. Now, several of you suggested staining the lamp, but it’s made of resin and the stain didn’t penetrate. Instead I thought I’d just brush some dark wax on and call it good! Easy peasy! But the dark wax sat on top of the white and turned it sort-of a yellow color and the whole thing looked terrible. Not sure what to do next, I broke out almost everything in the cabinet to try!

- Luckily for you, I did all of the testing so that I could give you just the right combination!
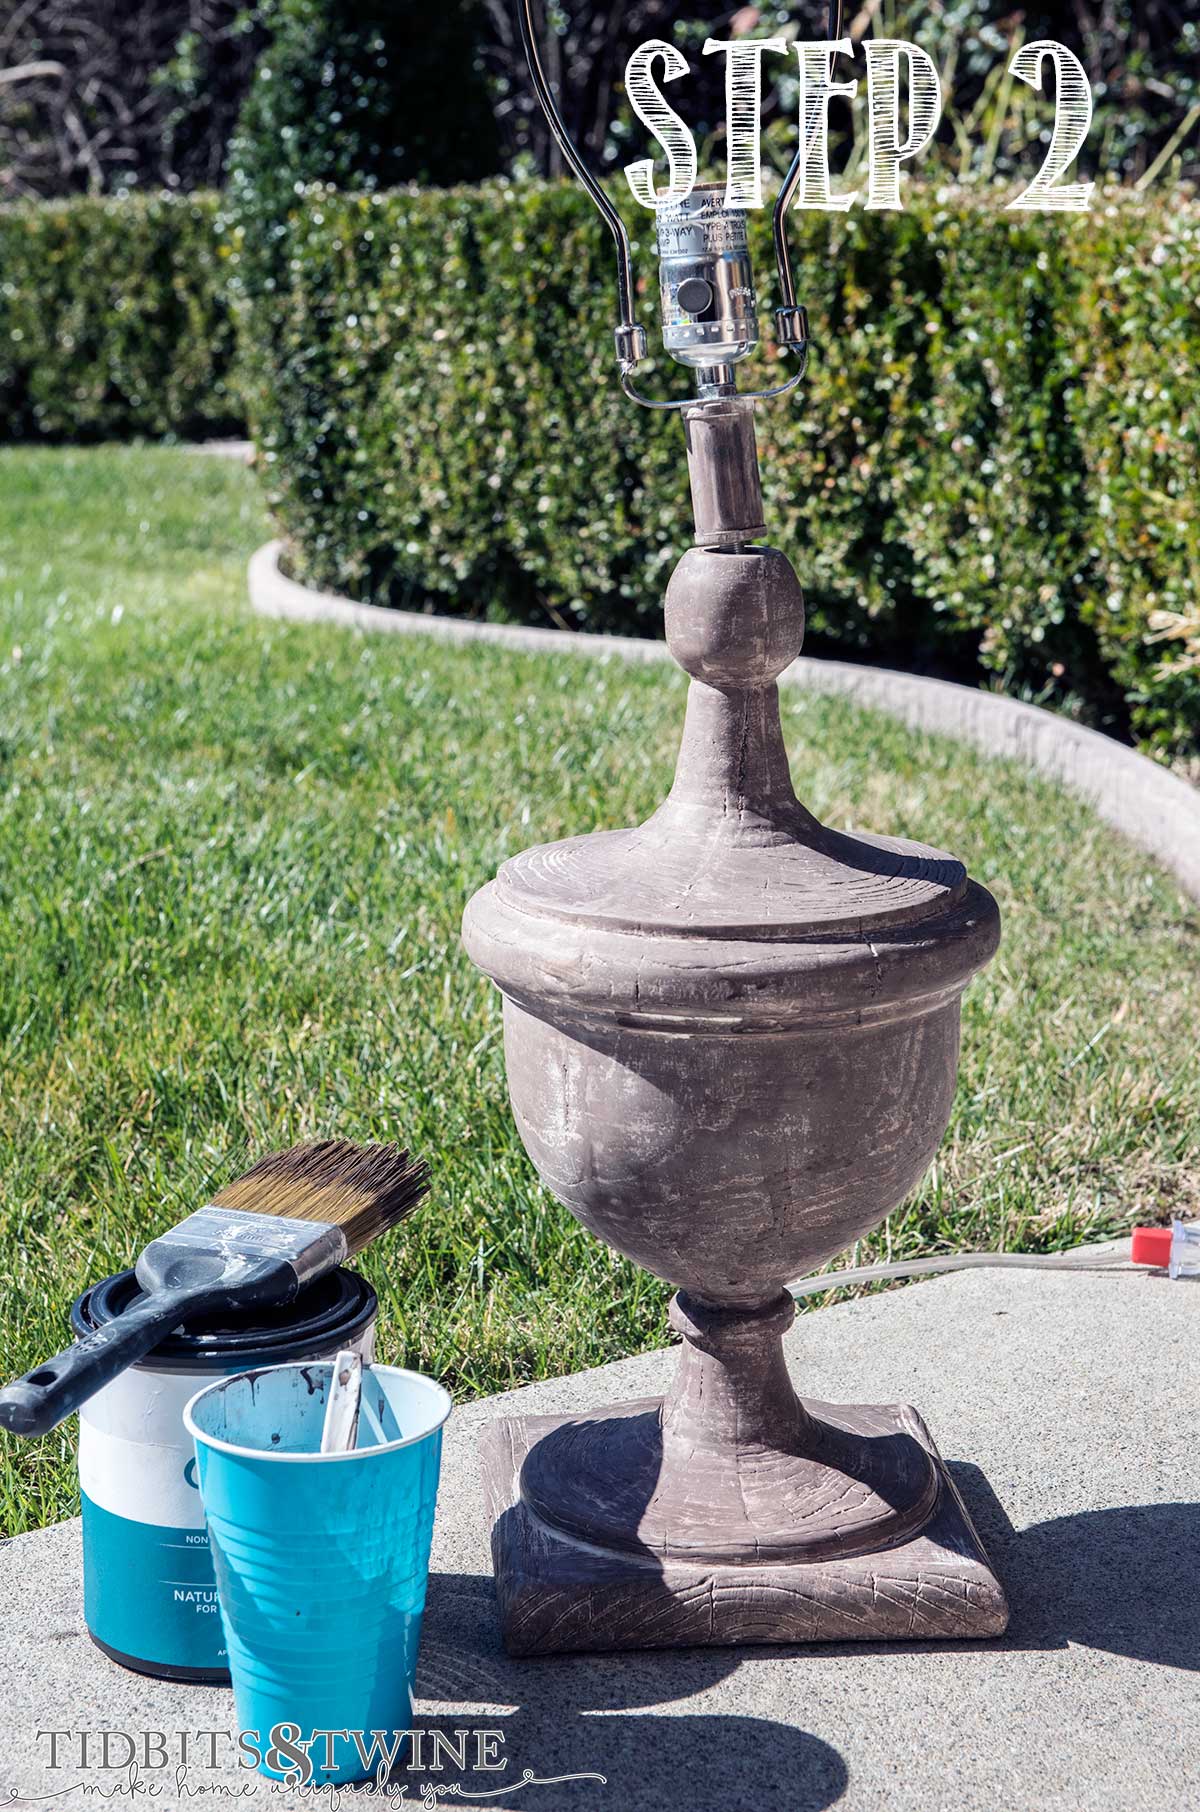
STEP 2:
- What I decided on was to paint the entire base with a VERY watered down coat of CeCe Caldwell’s Texas Tea, which is a dark brown. If you don’t have that exact color, any dark brown should work so long as it doesn’t have a red undertone.I painted a couple of coats, but in patches so that the color wasn’t consistent. You can see now that the white highlights have really been toned down now.

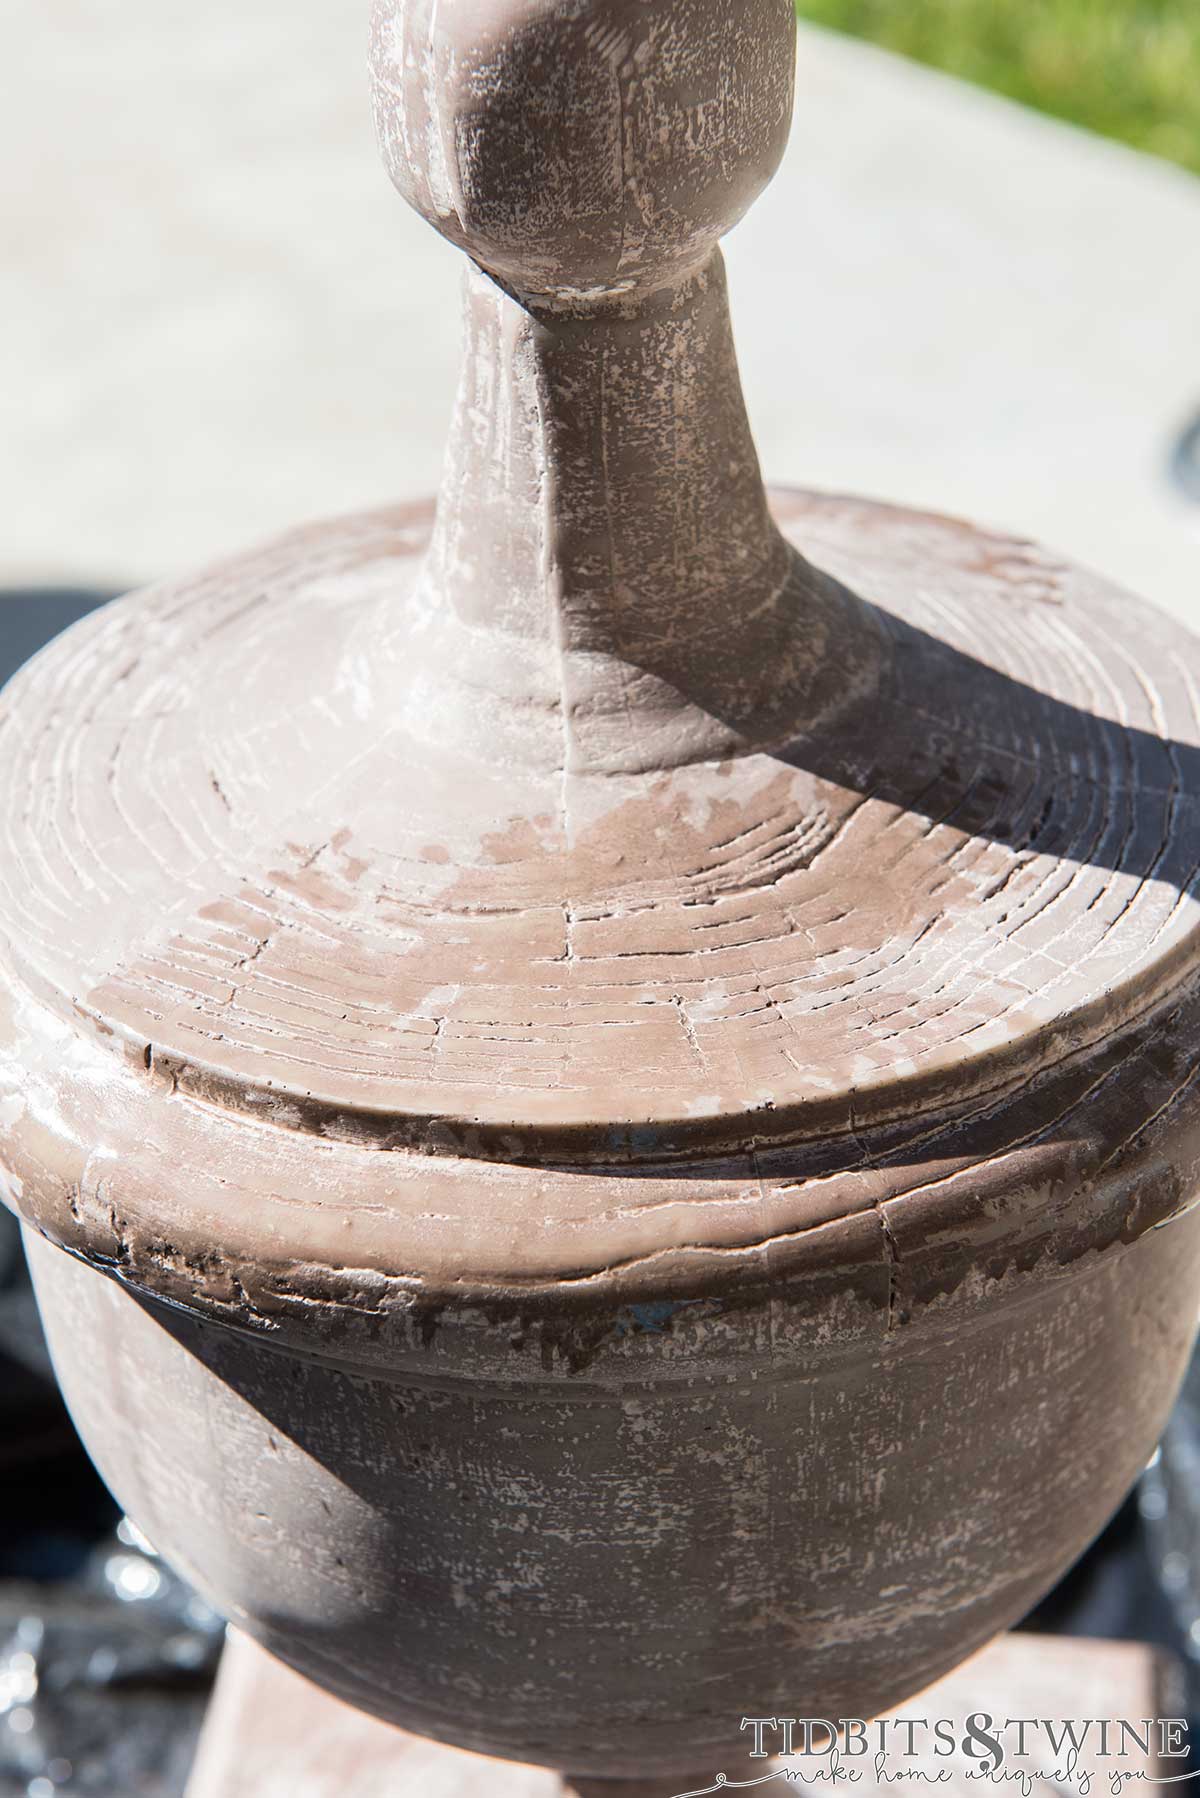
- I watered the paint down such that it went on transparent instead of opaque because I didn’t want to cover the gray and white, but rather make it a bit more brown. I also left puddles in the cracks because when wood ages, the cracks look darker, so I wanted the paint to settle in the lines.Also, note that when the paint dries, it really looks dull. In the photo below, the back is dry, the front is wet. Don’t worry that the paint looks dull because that’s how chalk paint looks before you apply wax!

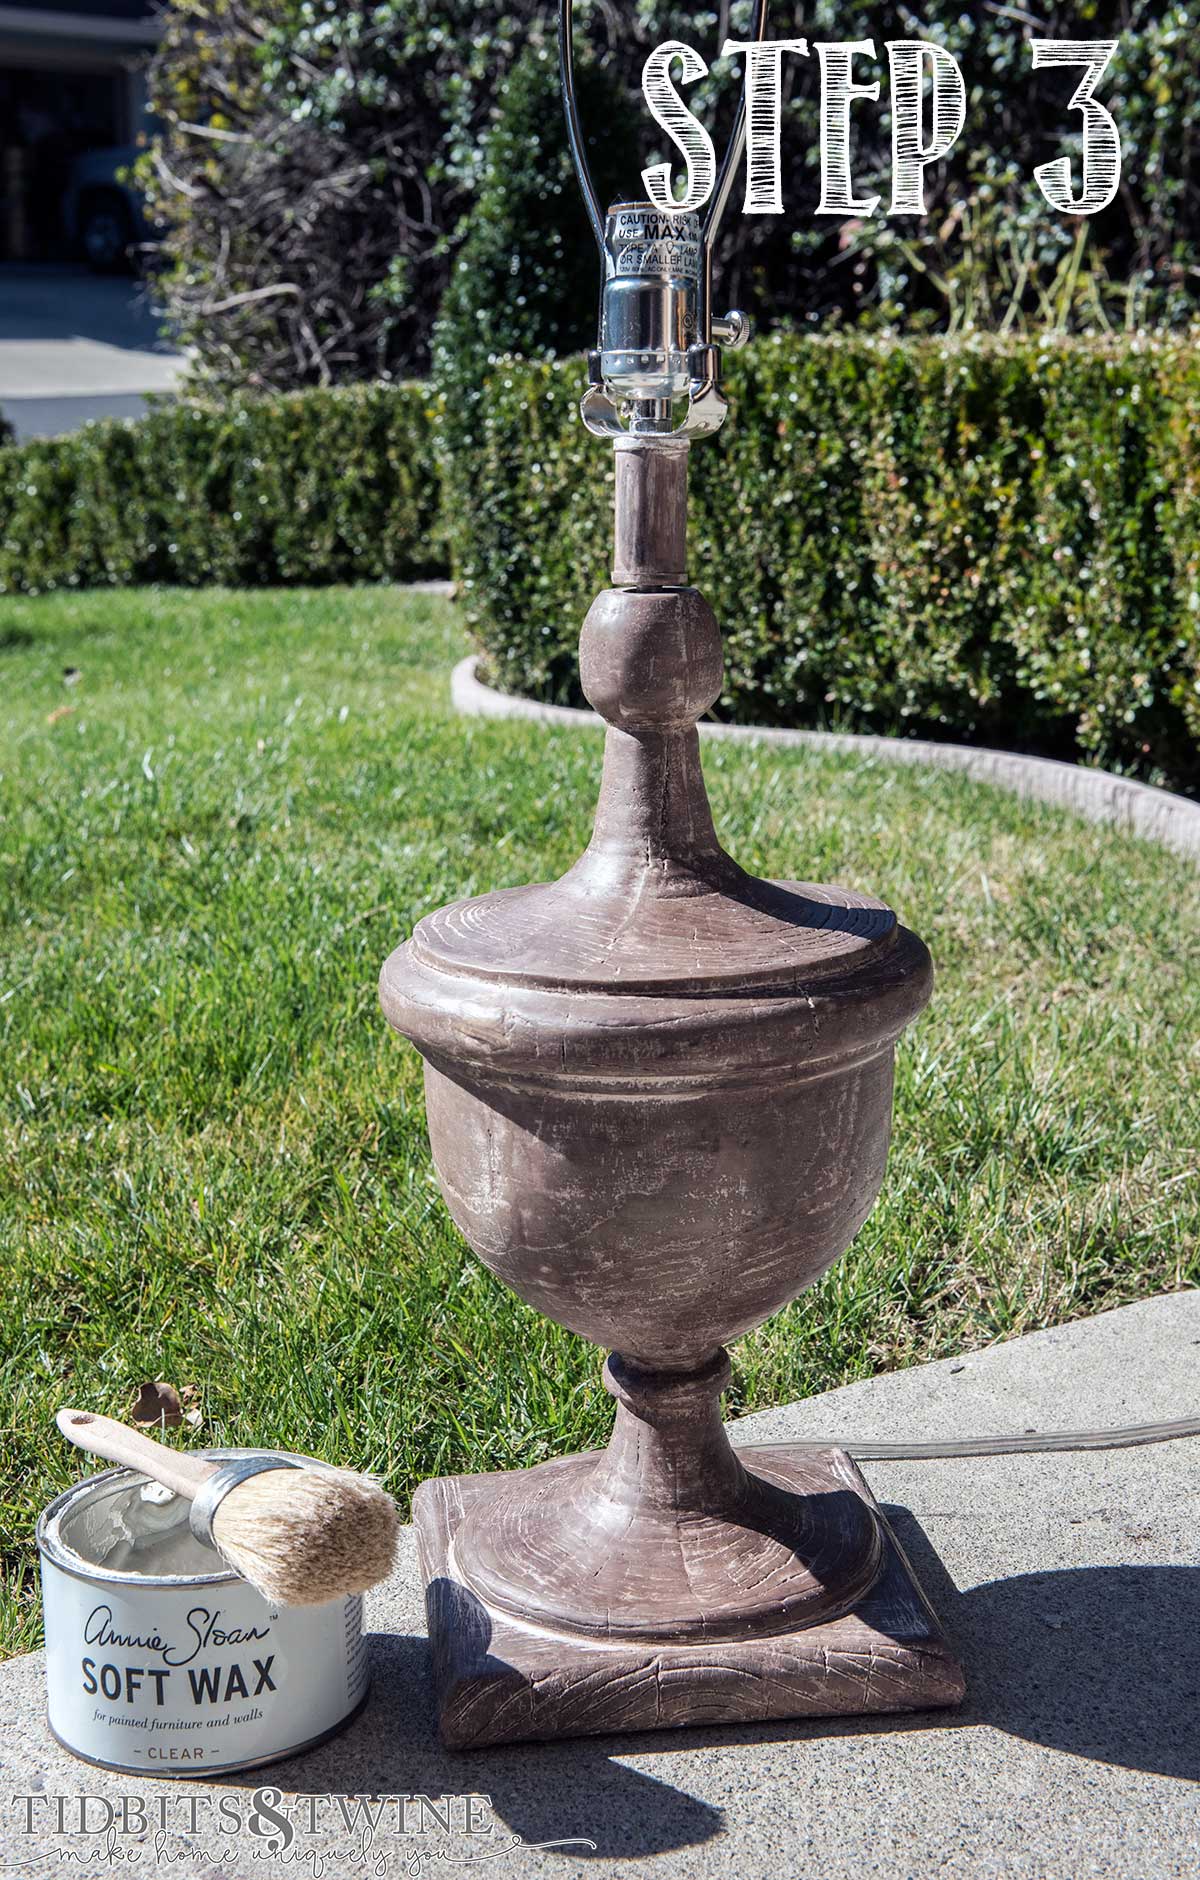
STEP 3:
- This is an easy step that just involves applying Clear Wax to the entire piece using a stiff brush. Not only does it add a bit of richness to the color, but it’s the foundation for Step 4 below. {If you want to know why I use Clear Wax before Dark Wax you can watch THIS tutorial}

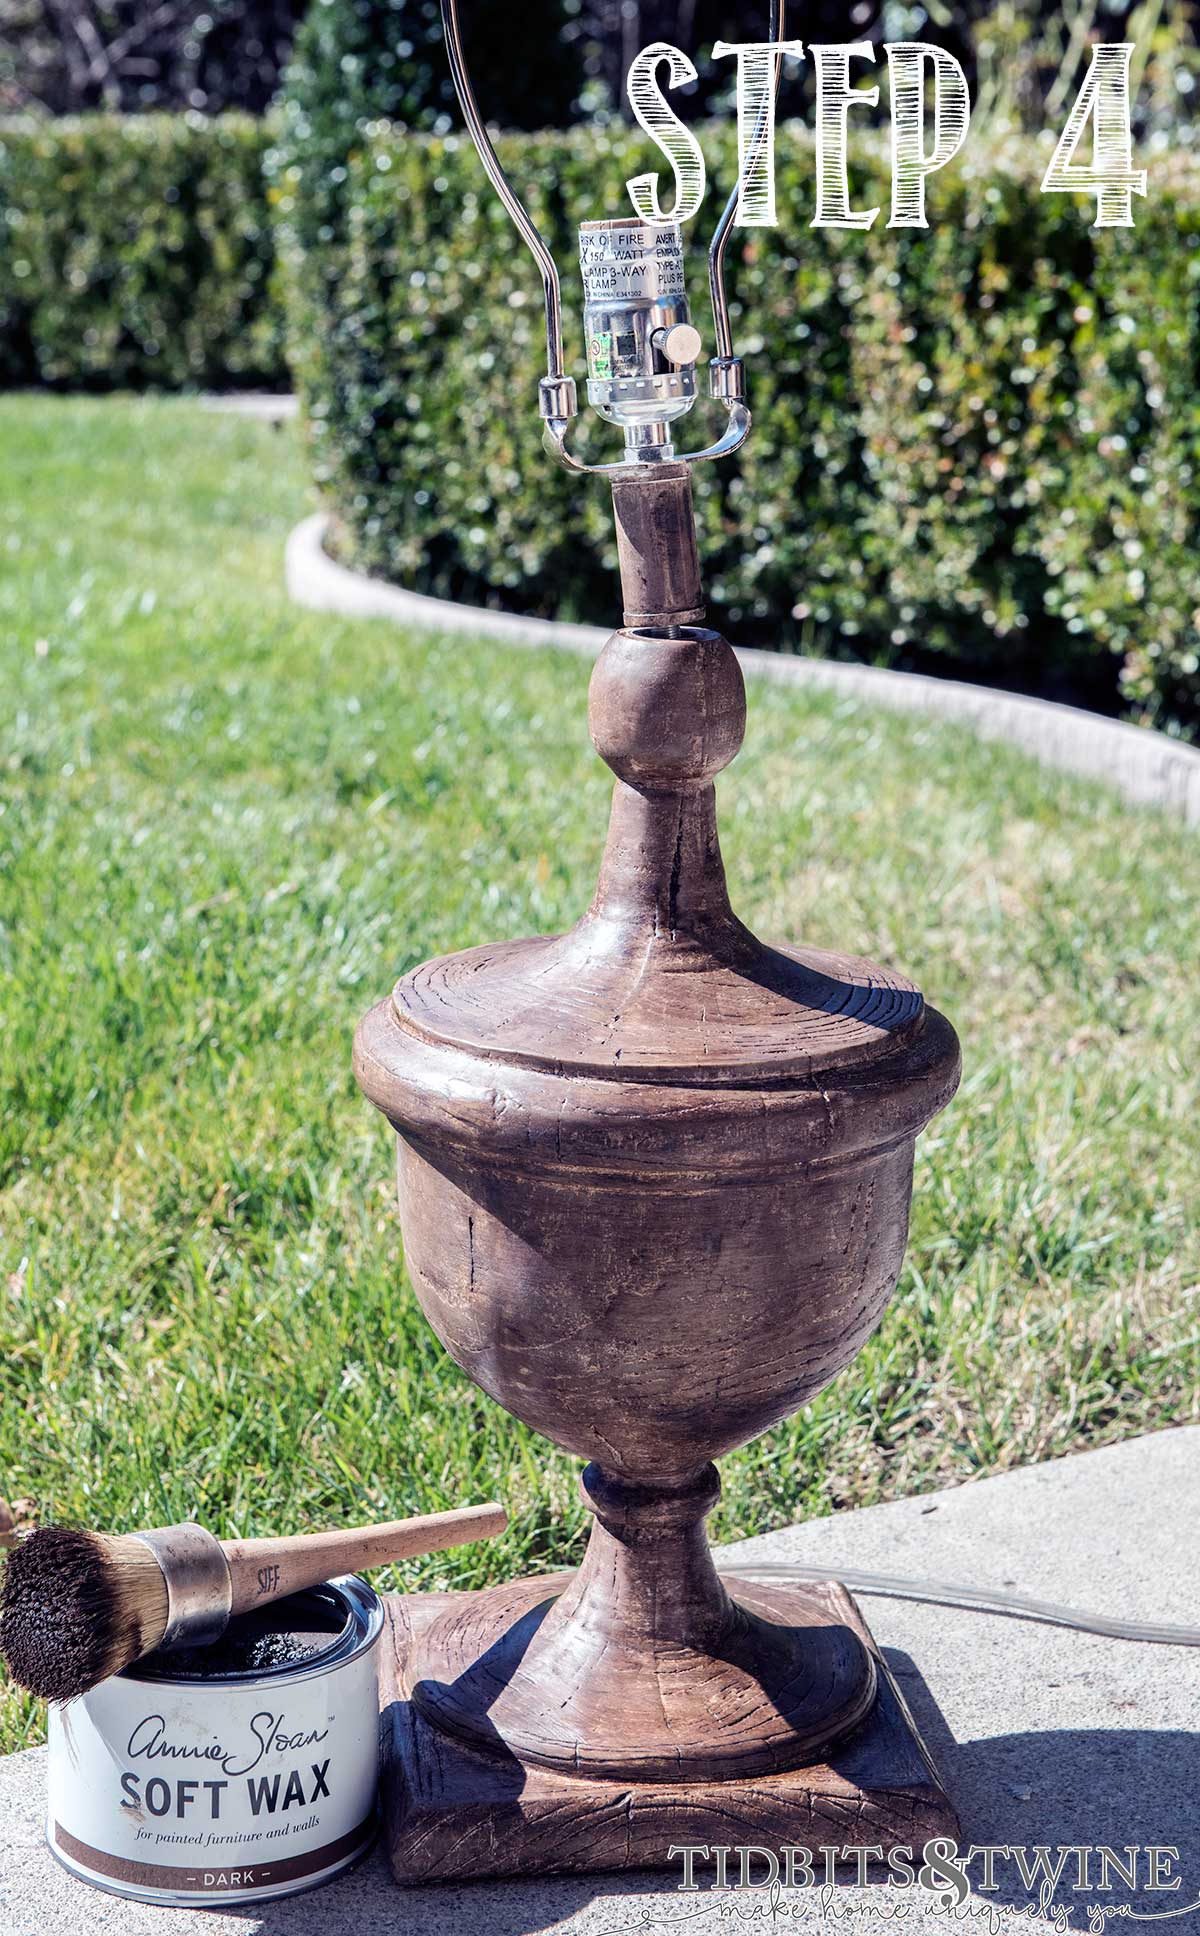
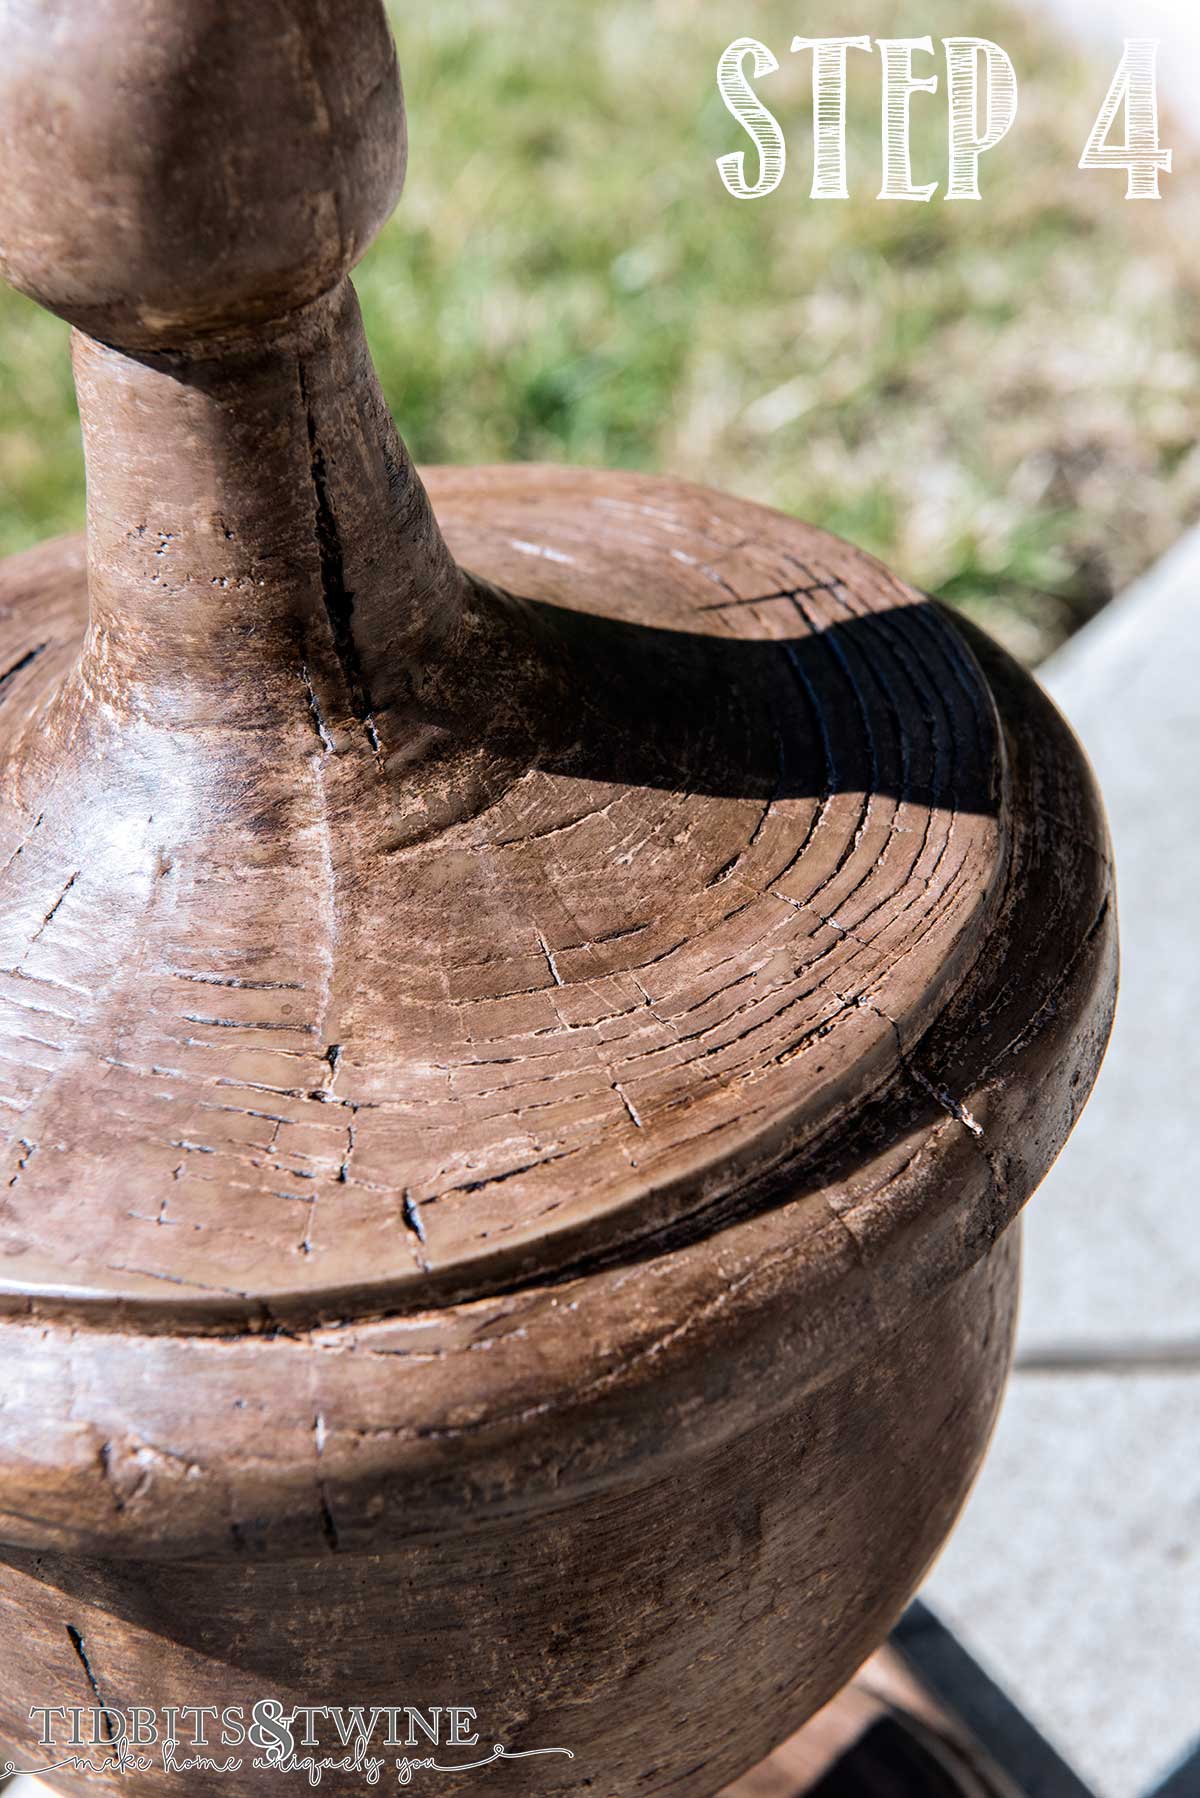
STEP 4:
- This step, use your brush to apply a thin layer of Dark Wax. A little goes a long way. You can always add more, but it’s very difficult to take it off so go slow.Work in sections by applying a thin layer, then use a clean rag to wipe excess away. Continue doing this until you achieve a look/color you want.

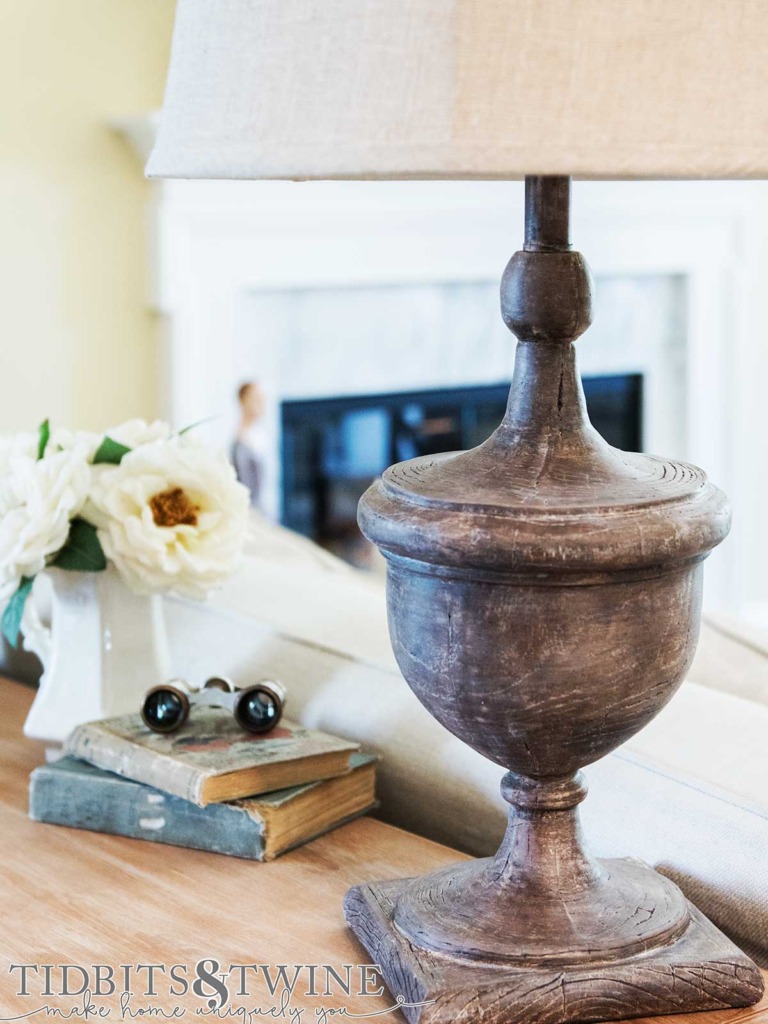
- Below, you can see that I let the dark wax settle into the crevices and also that the wax is darker in some areas than others.
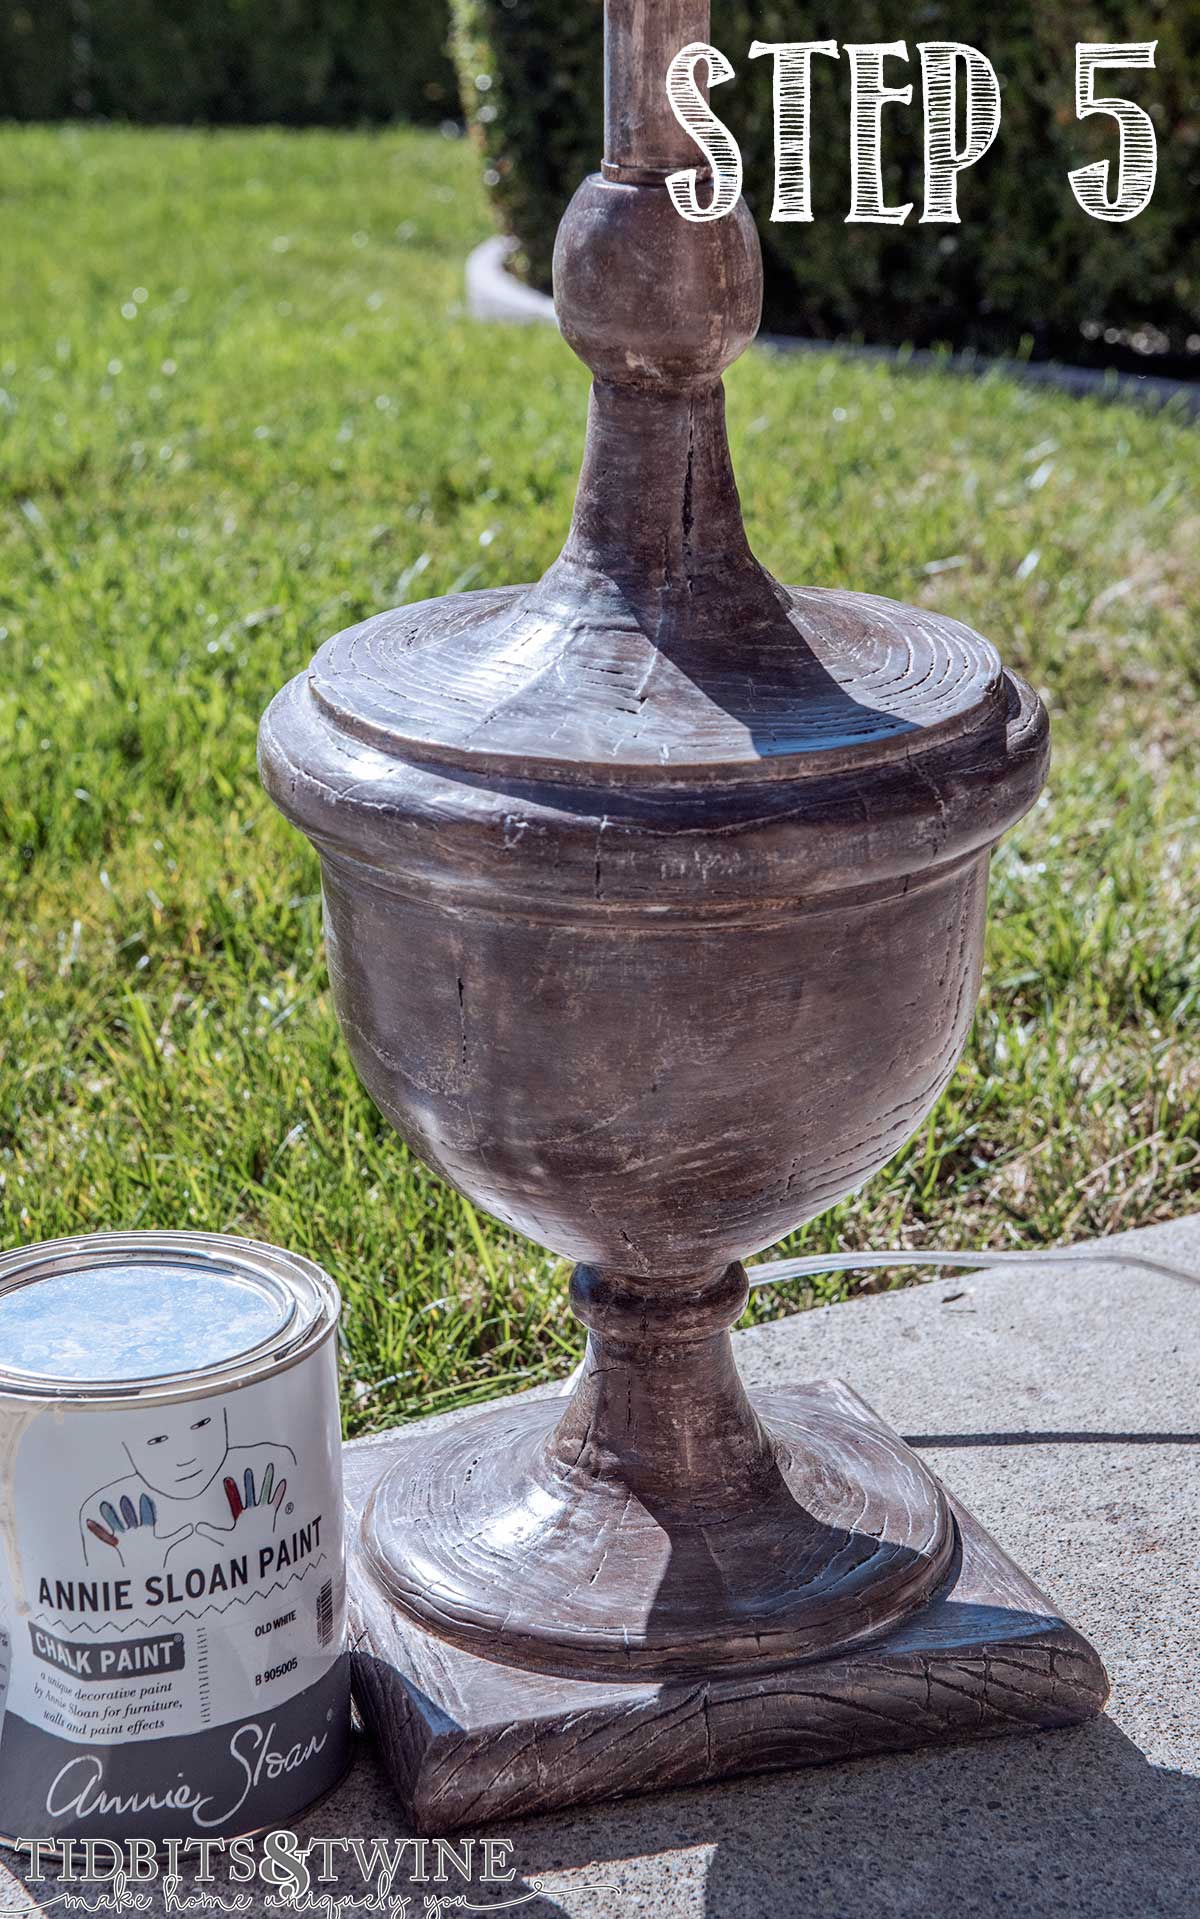
STEP 5:
- If you want a traditional look of walnut or burl wood, stop after Step 4. For me, this look was too brown and I wanted a bit more of a muted look.I used one spoonful of Annie Sloan Old White and mixed it with water until it was the consistency of water. Using a small brush, I applied a coat of white and then used a rag to wipe it off in a circular pattern. Similar to the Dark Wax, I didn’t want a consistent application, but rather a time-worn one. Don’t be surprised when the paint repels. Since you applied the wax first, the paint will not go on smoothly but that’s okay since you don’t want a smooth appearance!Keep applying the paint in small sections, wiping it away as you go until you’re satisfied with the look.

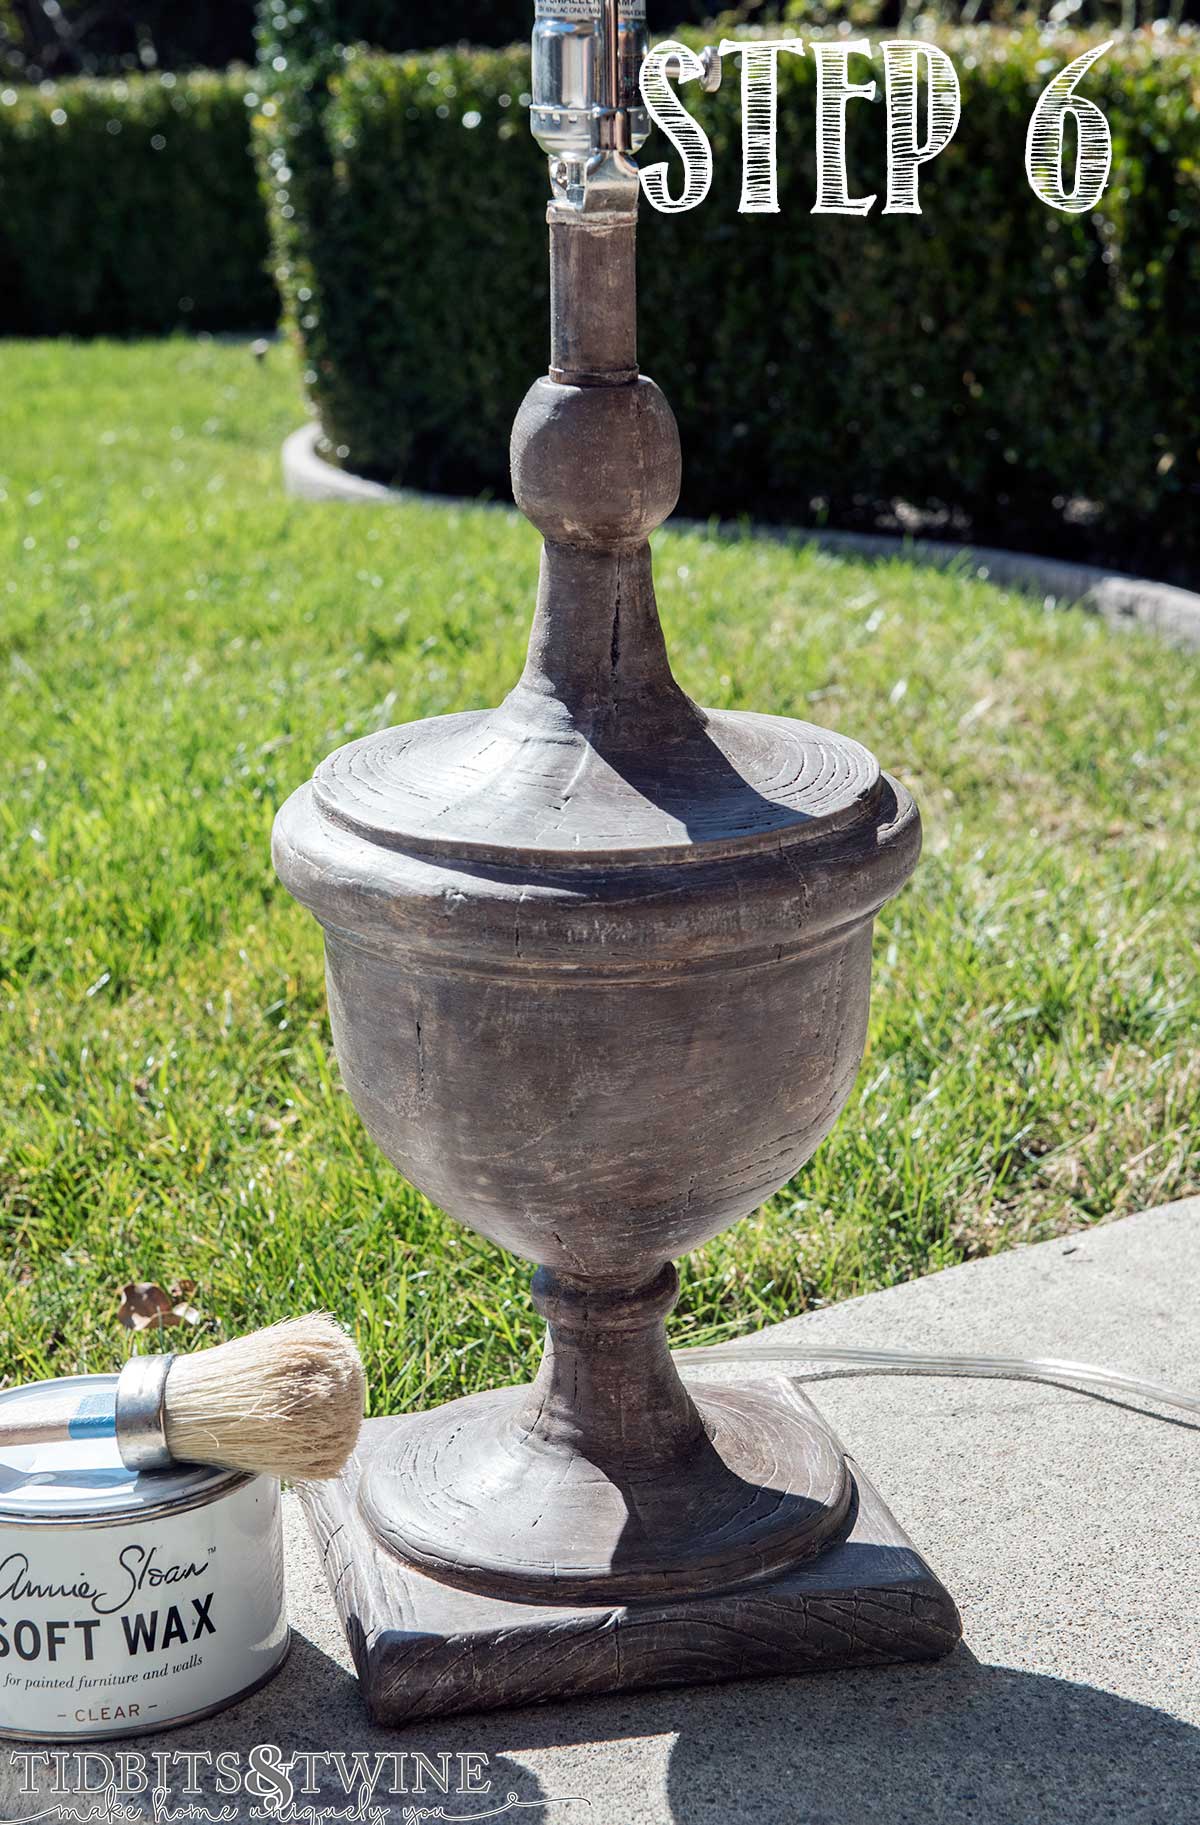
STEP 6:
- A side-effect of the wiping that you did in Step 5 is that you’re inadvertently buffing the wax to a high shine! If you like the sheen you’ve created, skip this step. For my project, I wanted a matte look and so I needed to add one more coat of Clear Wax. If you compare to the picture above, you can see that the sheen is now gone!

The lamp now looks much more like I expected and I’m so happy with how it turned out.
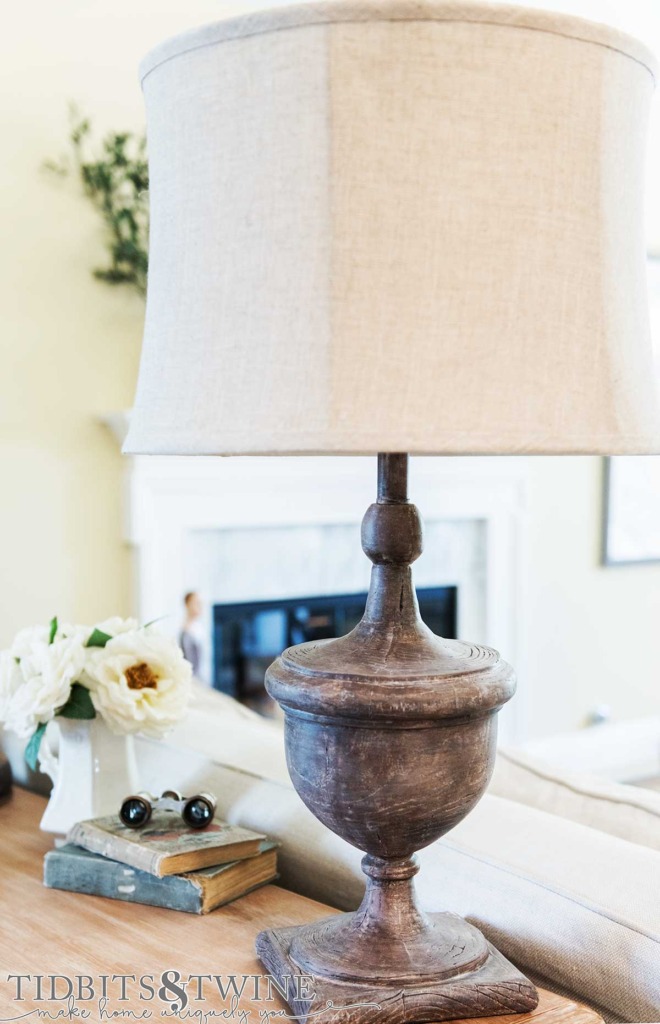
The mix of gray, brown, white and wax added a lot of depth to help replicated actual aged wood.
Now I just have to do this one more time because I need a pair of lamps! Lol!
Want to save this for later? Be sure to Pin It!

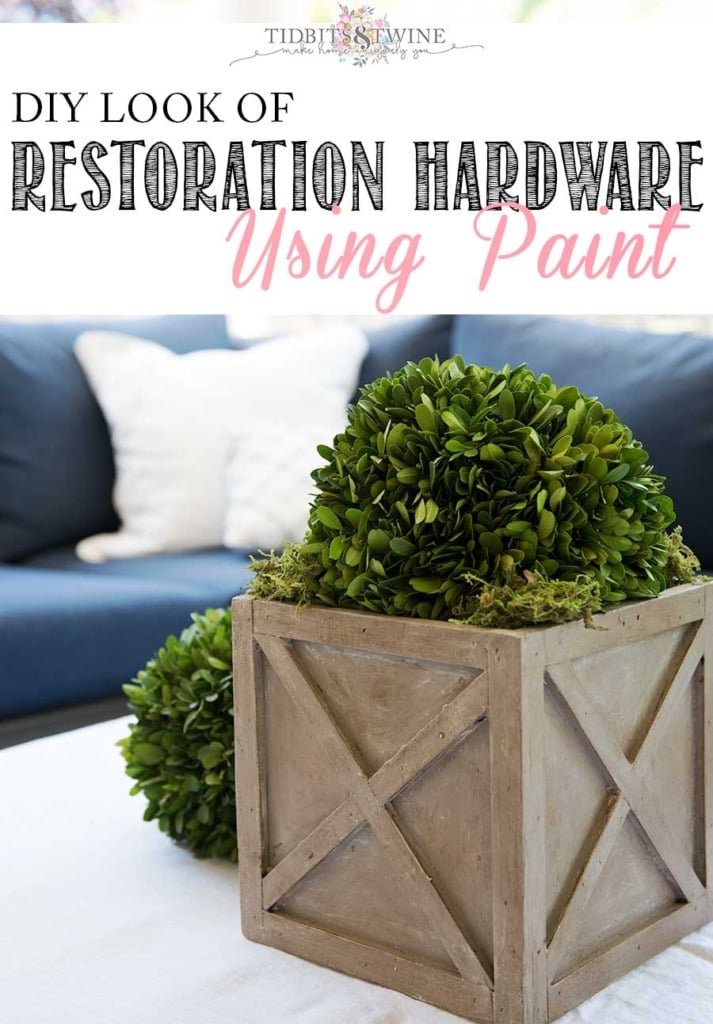
Did you enjoy this? You might also want to learn how to create a Restoration Hardware finish.
Join the Community
Let’s keep in touch! Get exclusive artwork plus the latest news delivered directly to your Inbox!
Wow! That is amazing!! Love what you did to that lamp!
Thank you, Susan!
WOW!!! I am so disappointed. I currently have this lamp in my cart with a standing lamp. I can’t believe the difference in color. I honestly can’t believe that’s even possible. Oh well back to searching for a new lamp. You did a great job with the new color.
Oh no!! I haven’t yet ordered the second one. If it arrives looking like it’s supposed to, maybe the first one I got was just a dud! I’ll let you know! :) Kim
I contacted Wayfair and they told me it’s distressed white. They claim they’re going to change it on the product description.
You did an awesome job on the lamp!!! Thank you for the detailed how-to!
Thank you so much!