I recently purchased this console table at a consignment store. You might notice that it’s already been chalk painted, but this particular blue has a bit of a green undertone and overall, the color is too bold for my home.
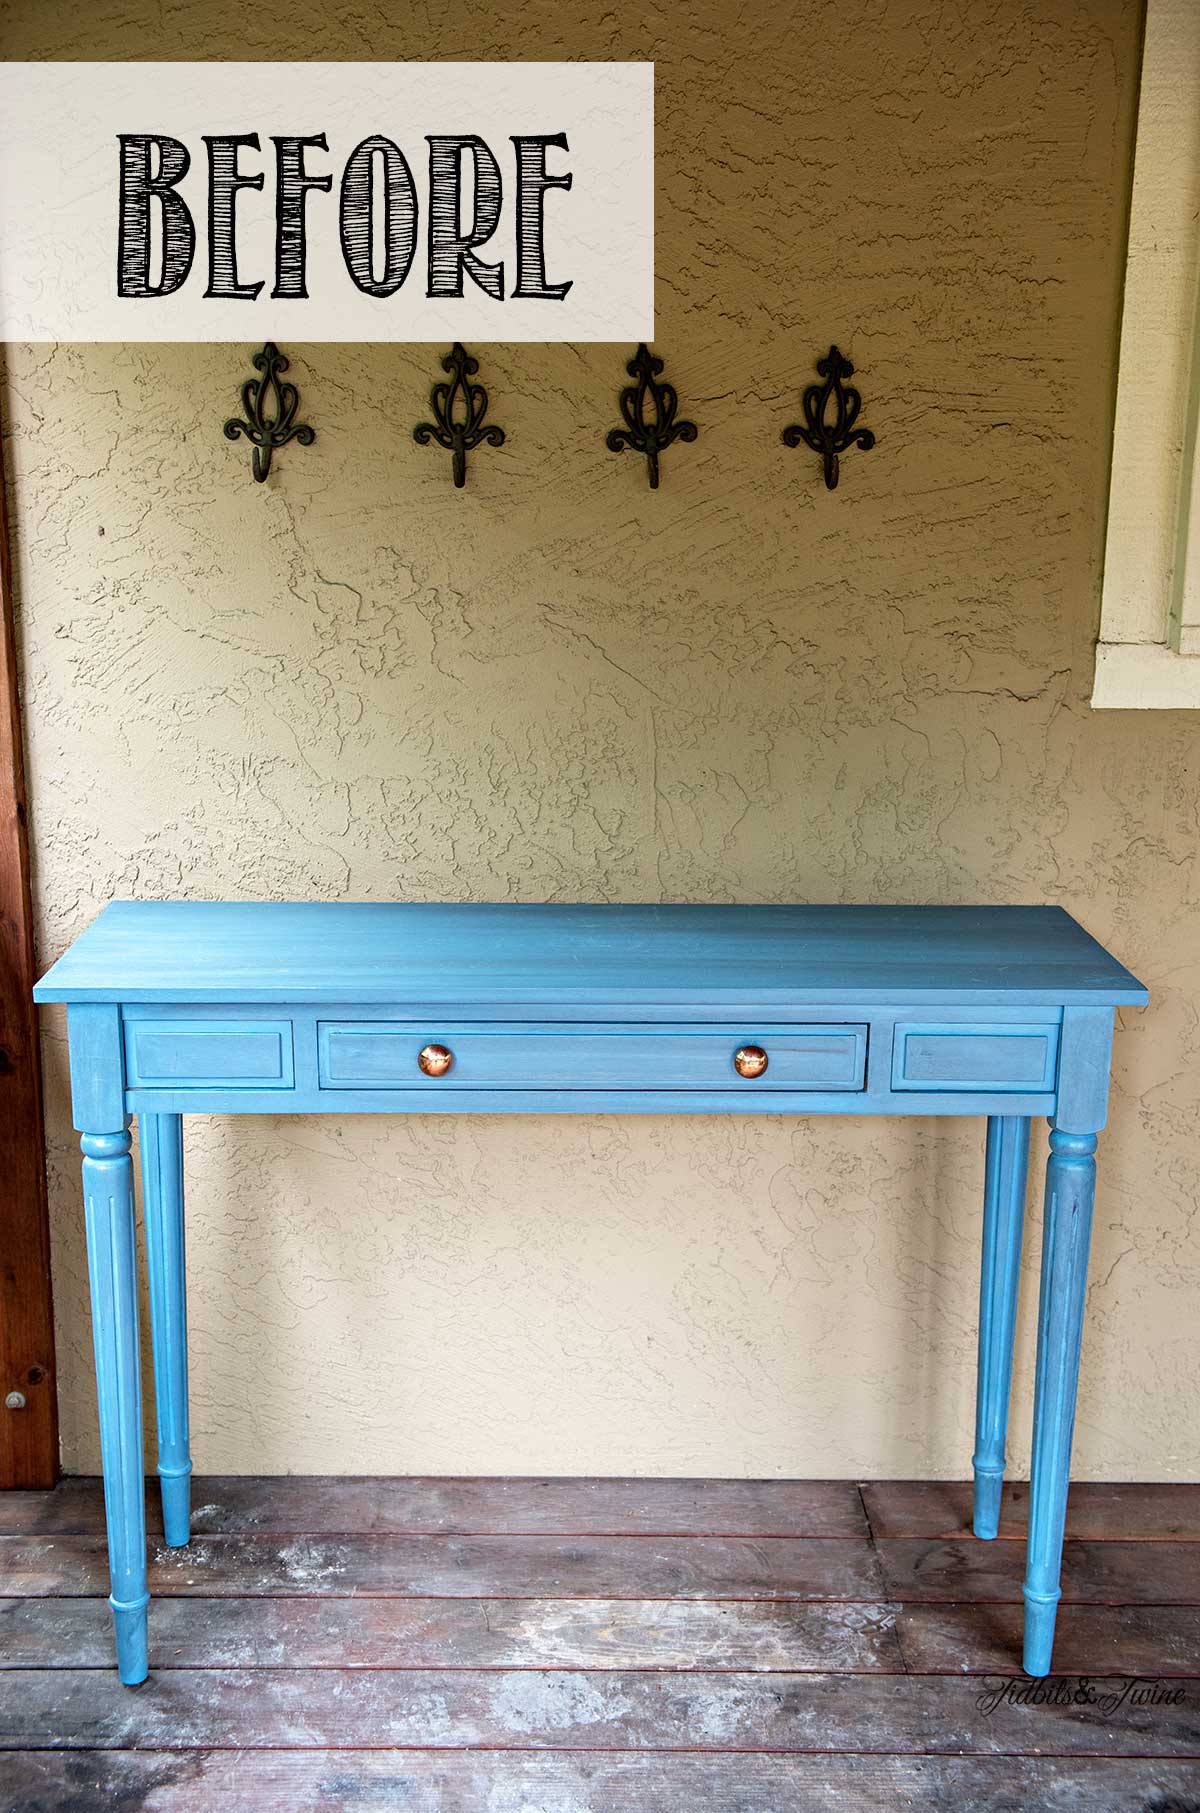
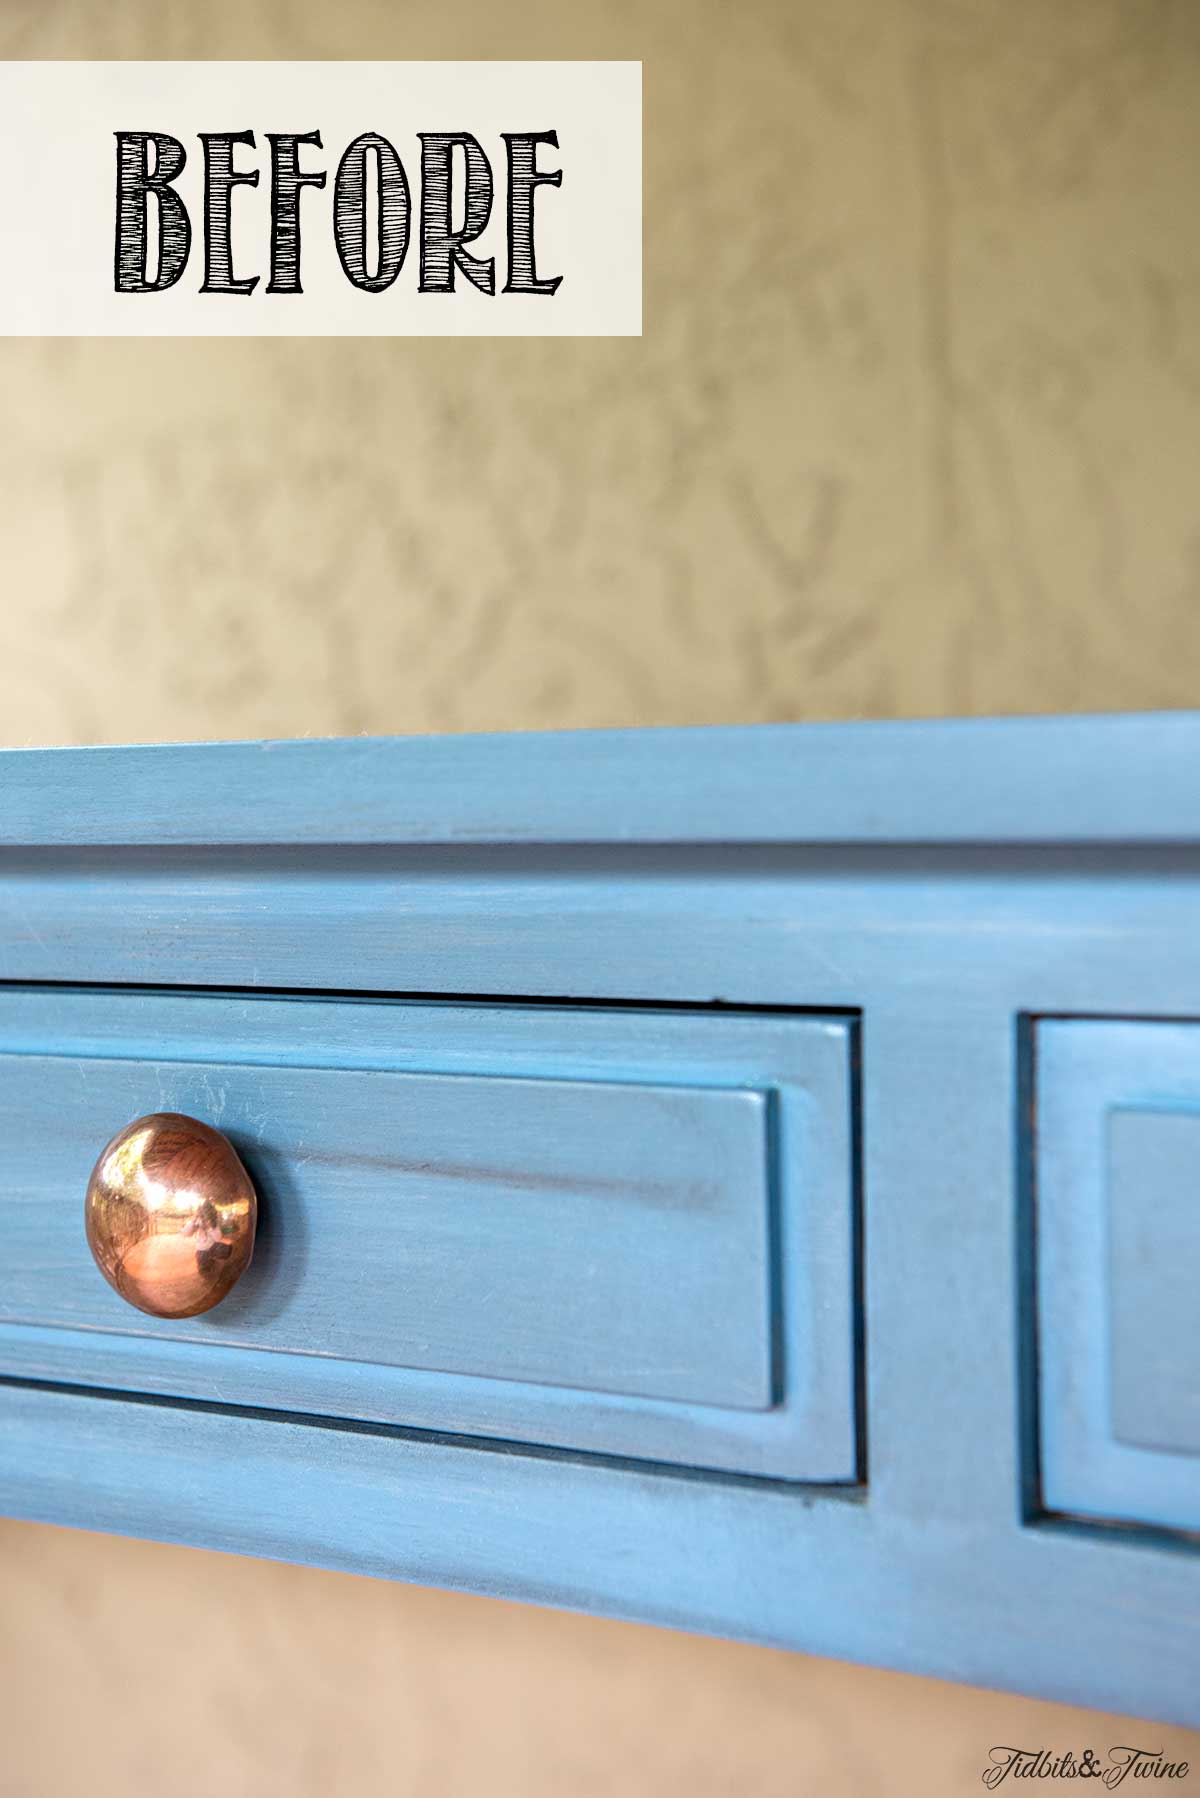
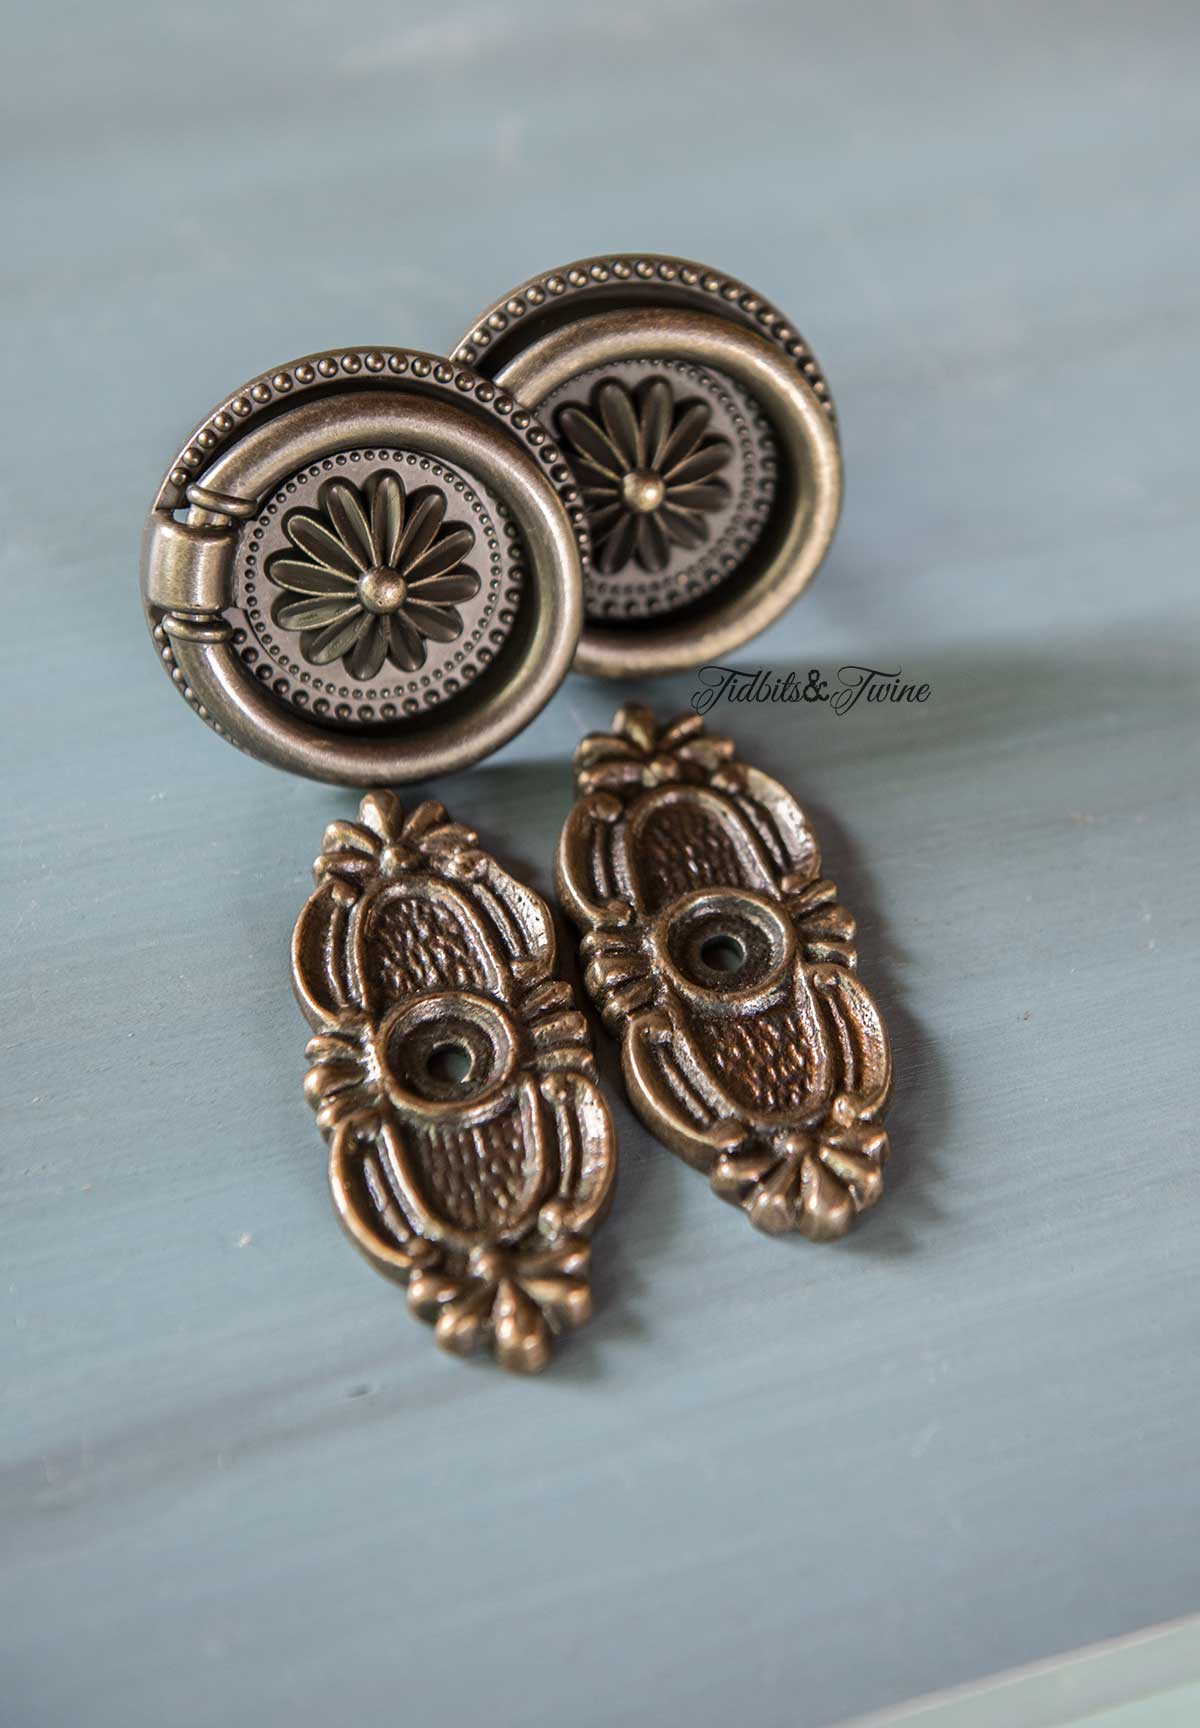
Actually, the first thing you might notice are those knobs. What?!?! I love a good juxtaposition of old and new, but this just doesn’t work for me. The color is too orange and the size is a bit big as well.
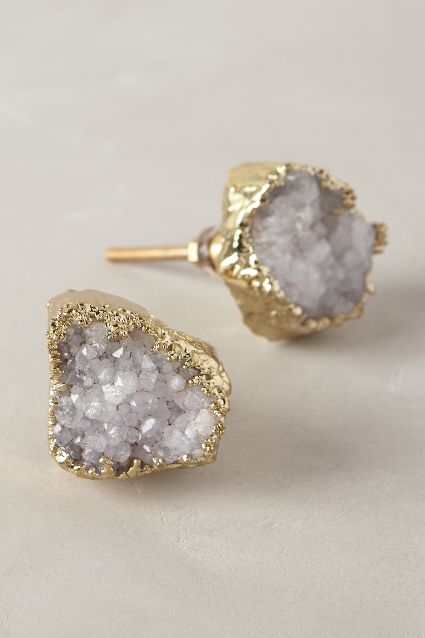
For a contemporary look, these are trendy right now and would work:
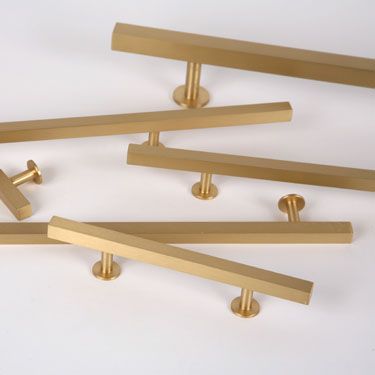
Or even these:
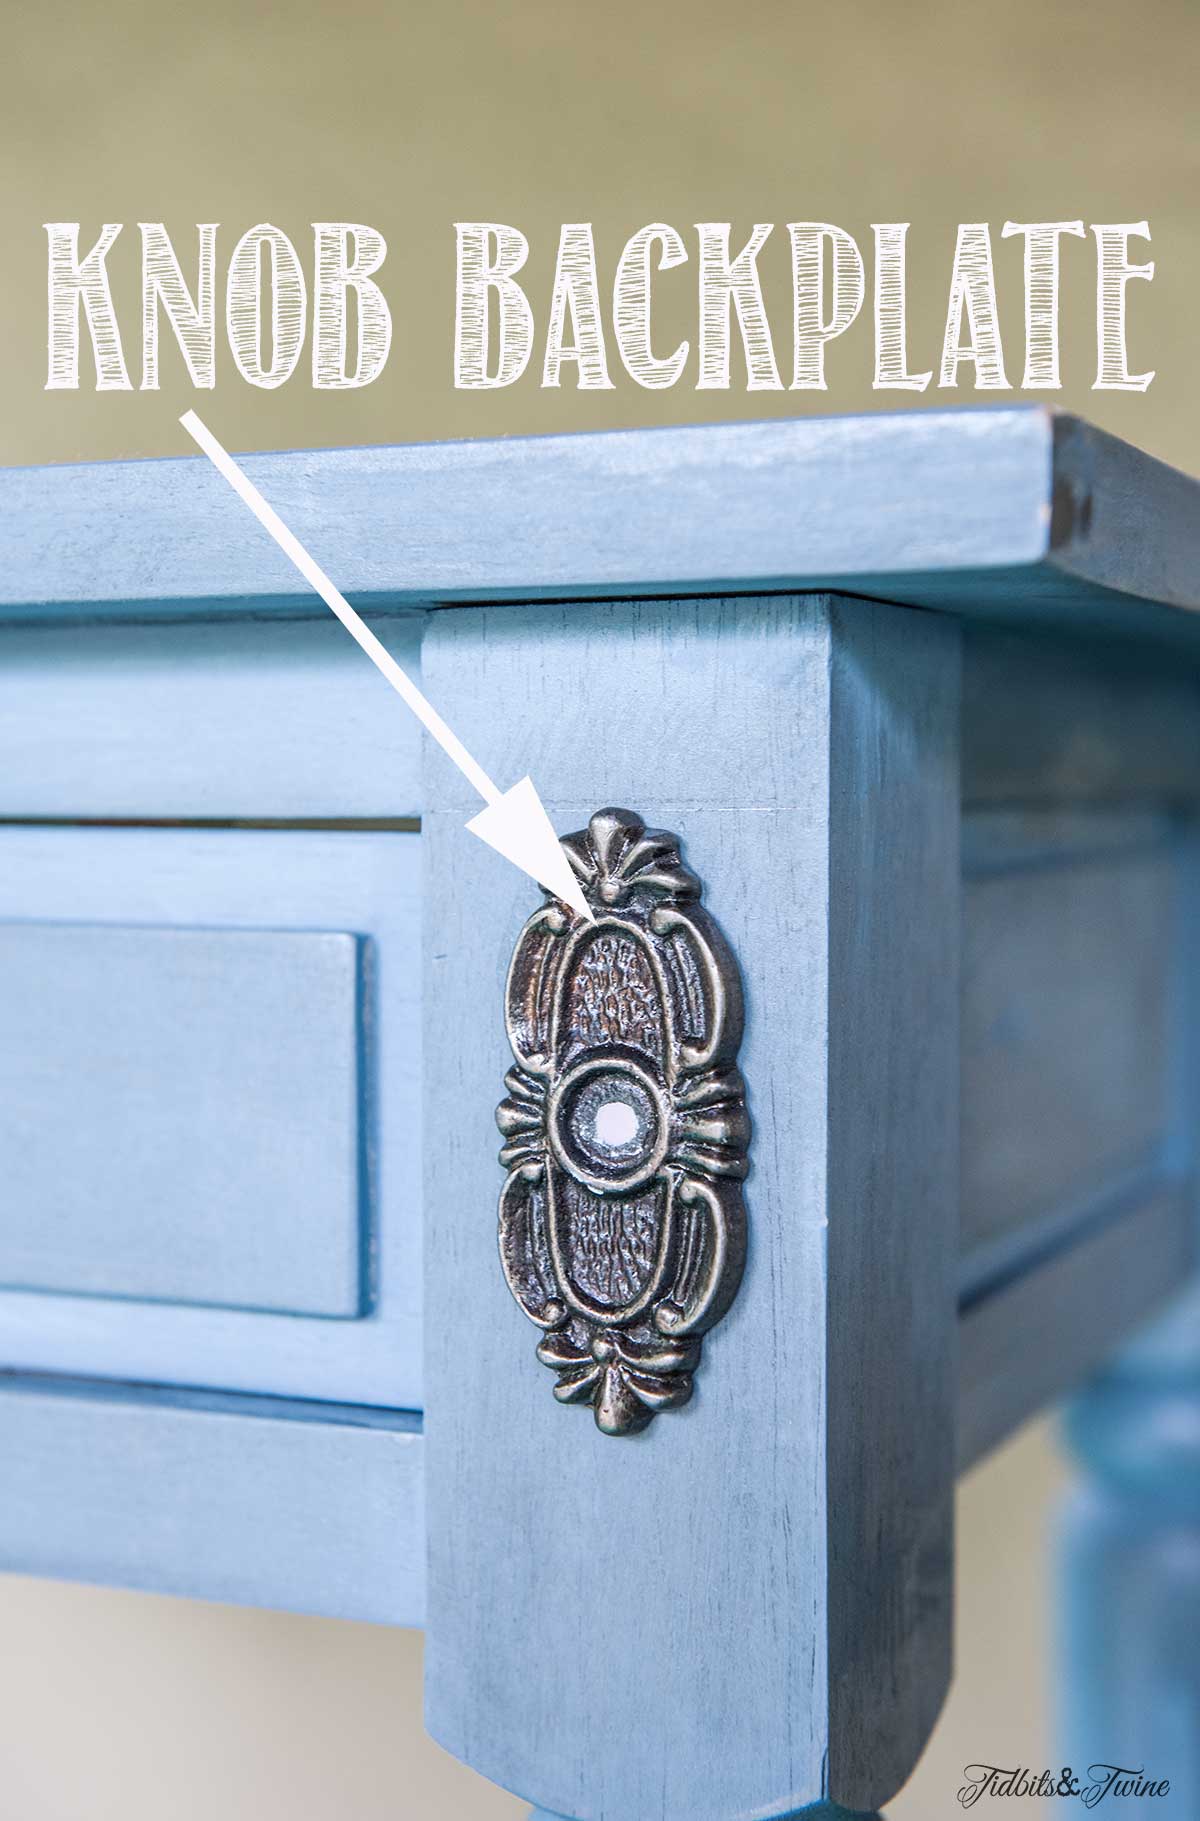
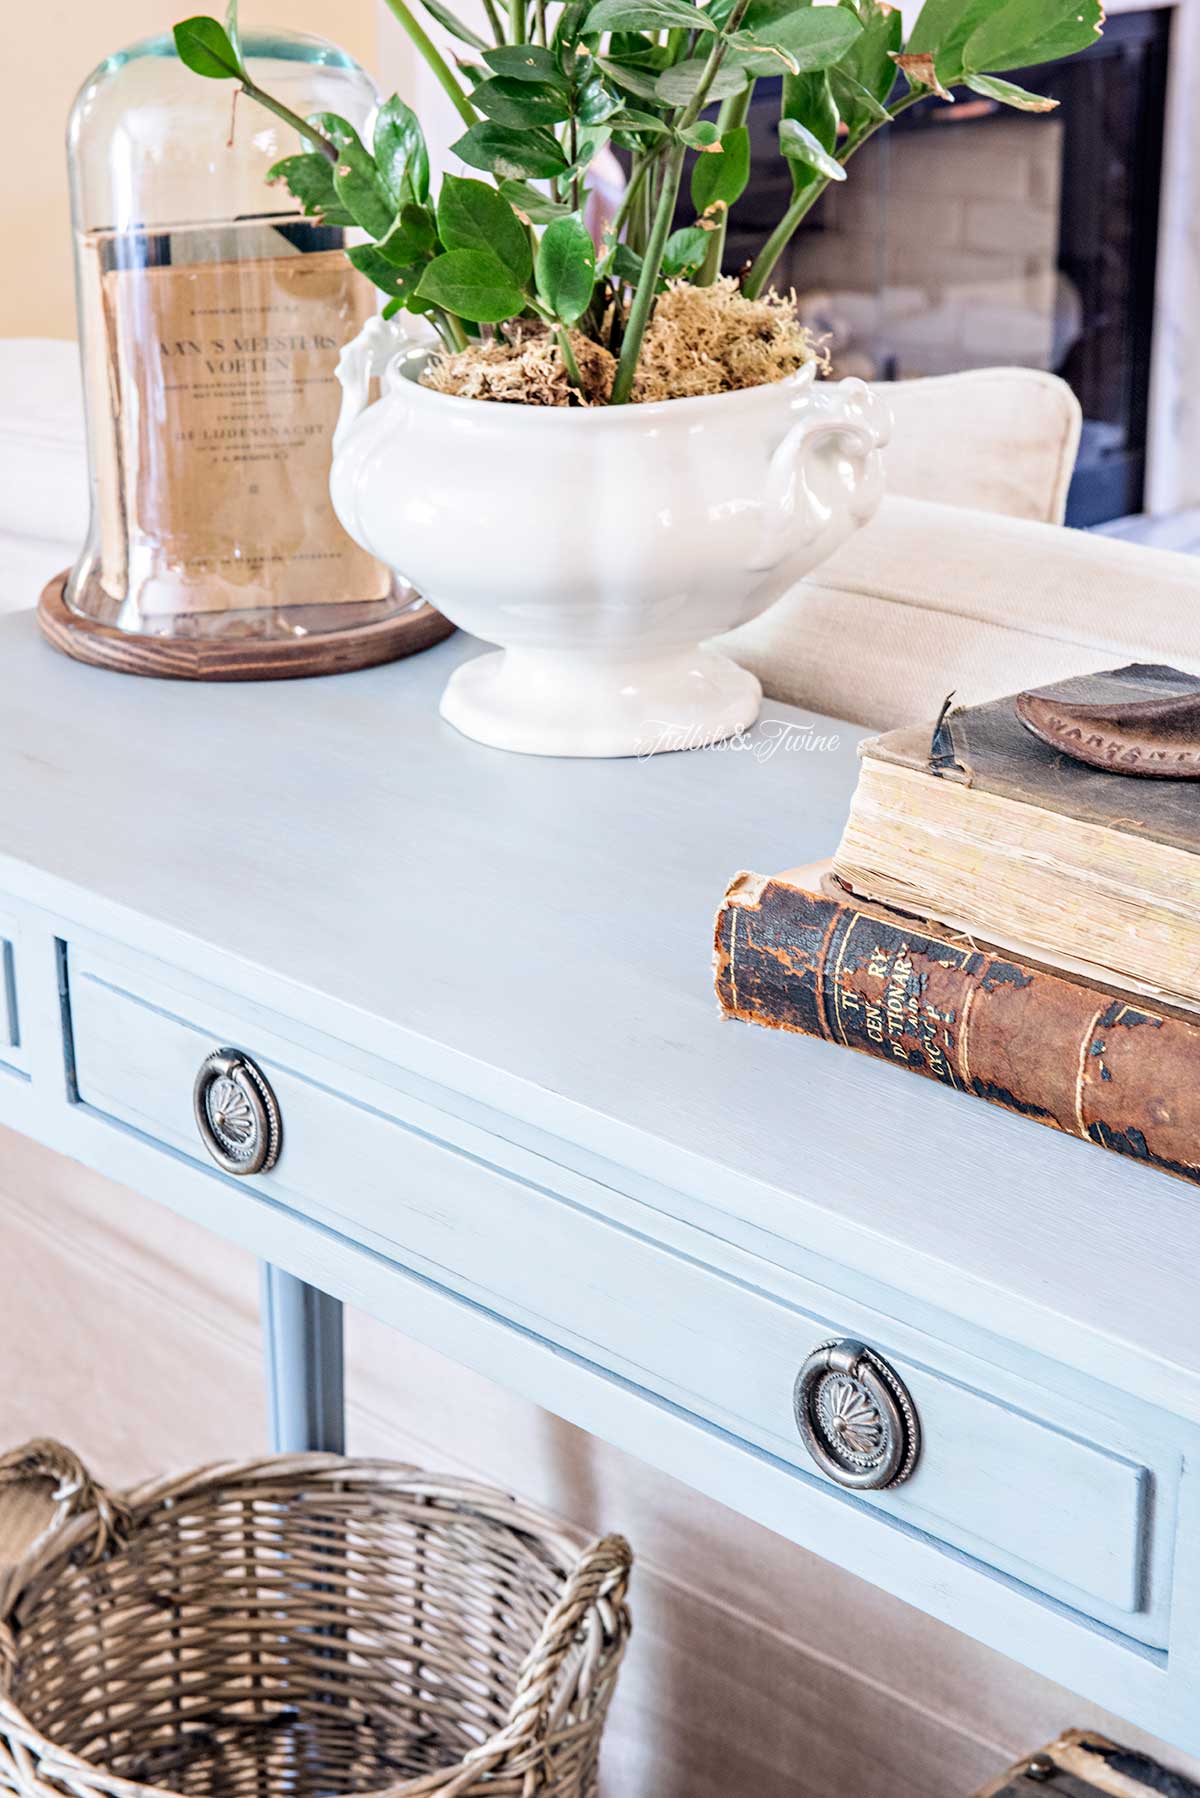
I’m not really a contemporary gal, though, so I decided to go with more traditional hardware and while I was at it, decided to add an onlay to the corners. Actually, I couldn’t find an onlay that I liked and so used knob backing plates instead. Here’s a look at the hardware I chose {before painted}.
To begin, I used Gorilla Glue to adhere the backing plates to the corners of the table, just to give the table some additional detailing. Once glued, I used paintable spackle to fill the center hole.
With that done, I painted the entire table with CeCe Caldwell’s Texas Tea, which is a dark brown. I didn’t water the paint down as much as I usually do, so I did just one, thick coat. Since the brown won’t really be very visible, I didn’t worry about making sure I covered all of the nooks and crannies.
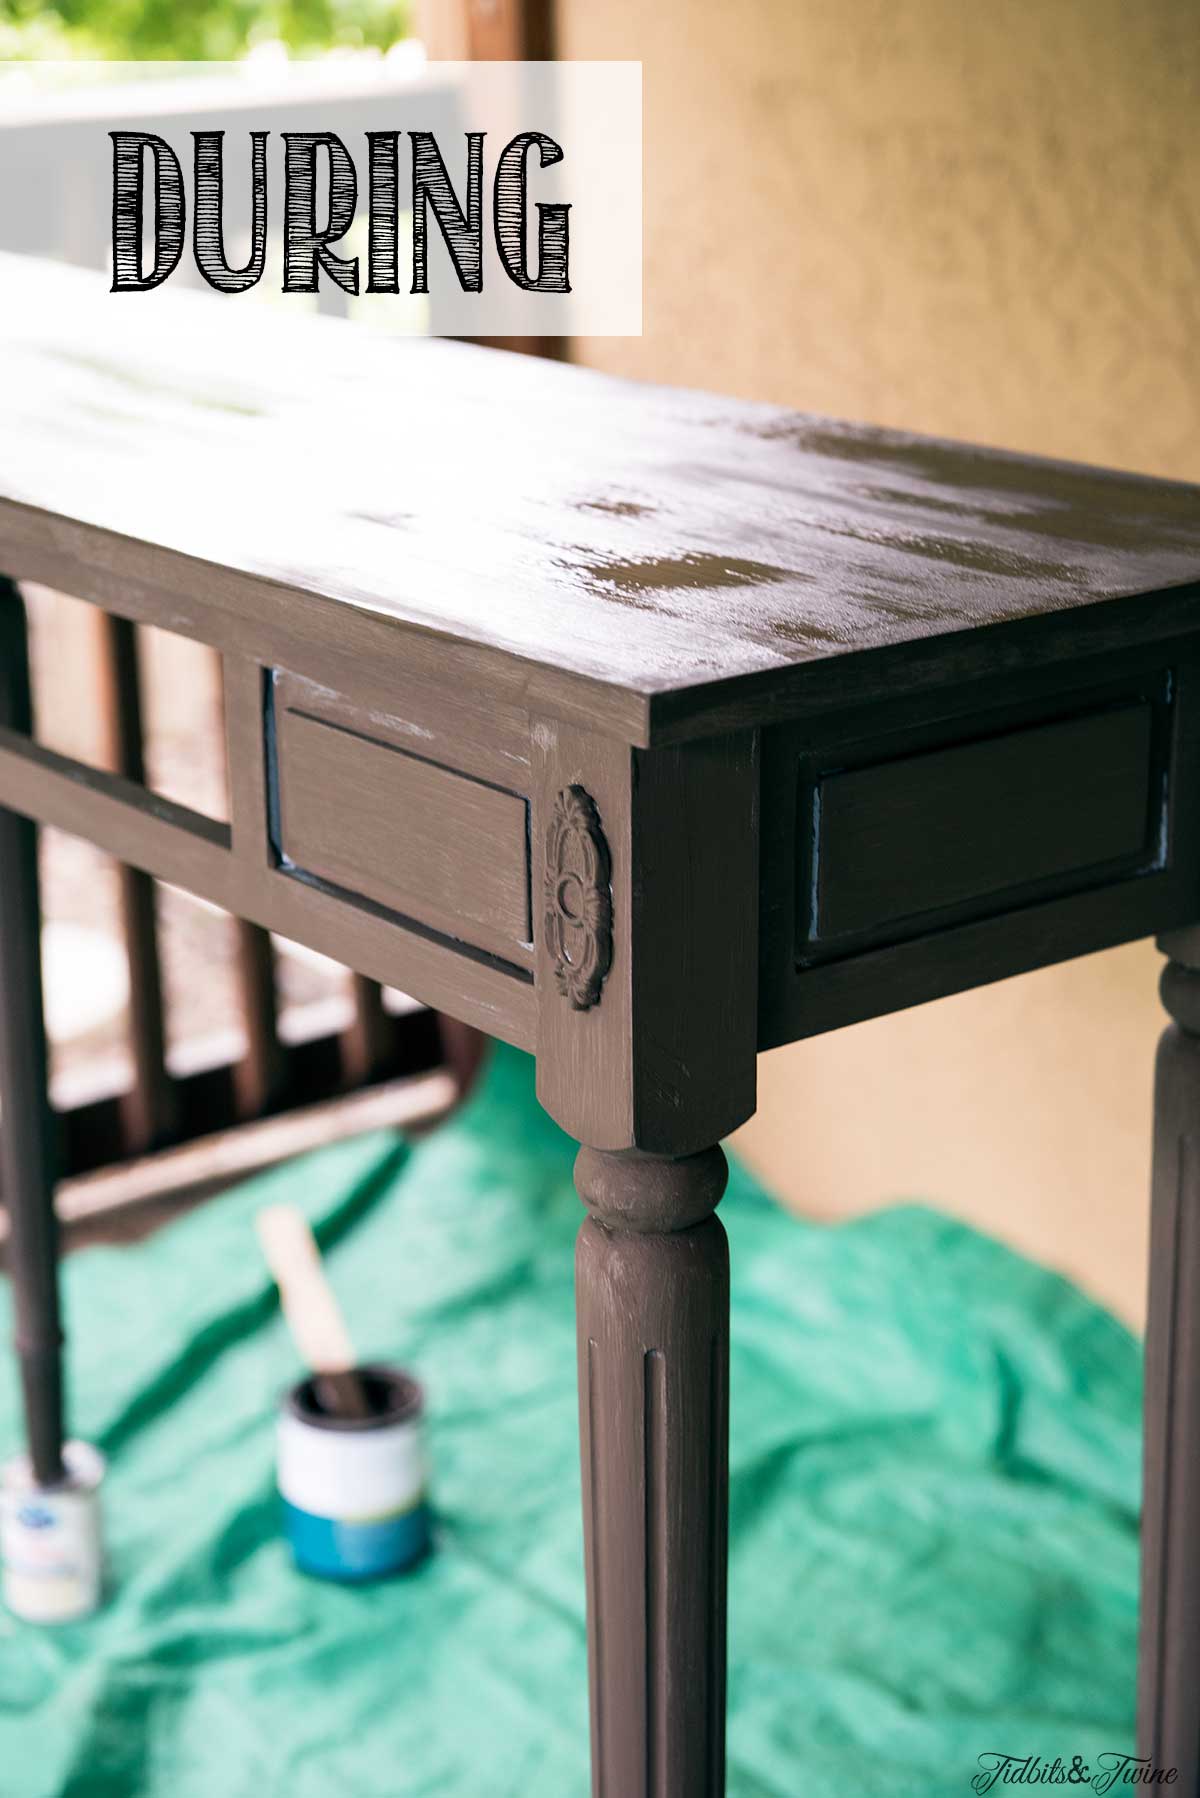
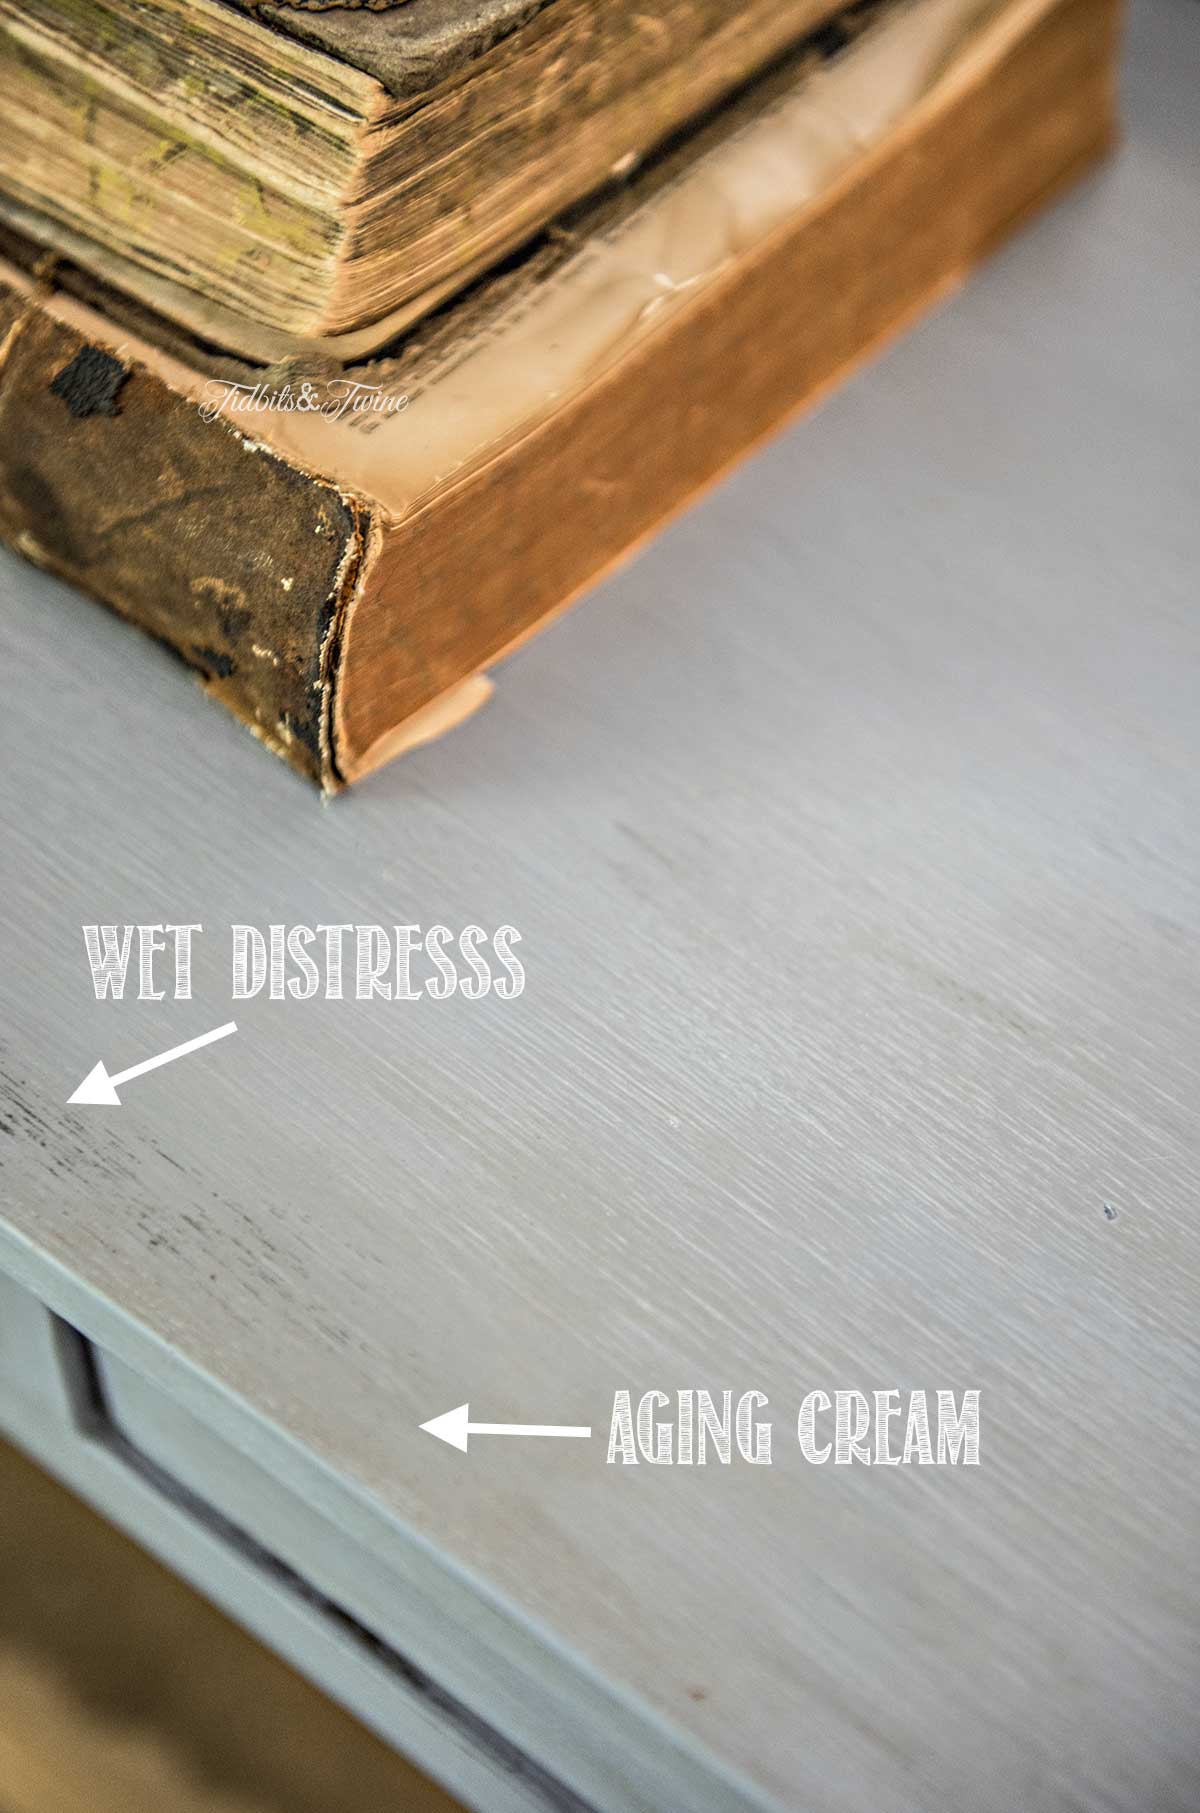
I then added two coats of Chesapeake Blue….well, mostly blue. Truth be told, I randomly added gray and Vintage White to the blue to get a more toned-down looking blue. After painting the table blue, I used a wet rag to rub some of the blue off to reveal the brown beneath. Another benefit {at least for me} of distressing using this method is that it also wears down the blue unevenly across the piece, adding subtle color changes instead of leaving it solid blue.

Once that was done, I added a layer of Aging Cream {video on that to come shortly} and here’s a look at the finished piece!
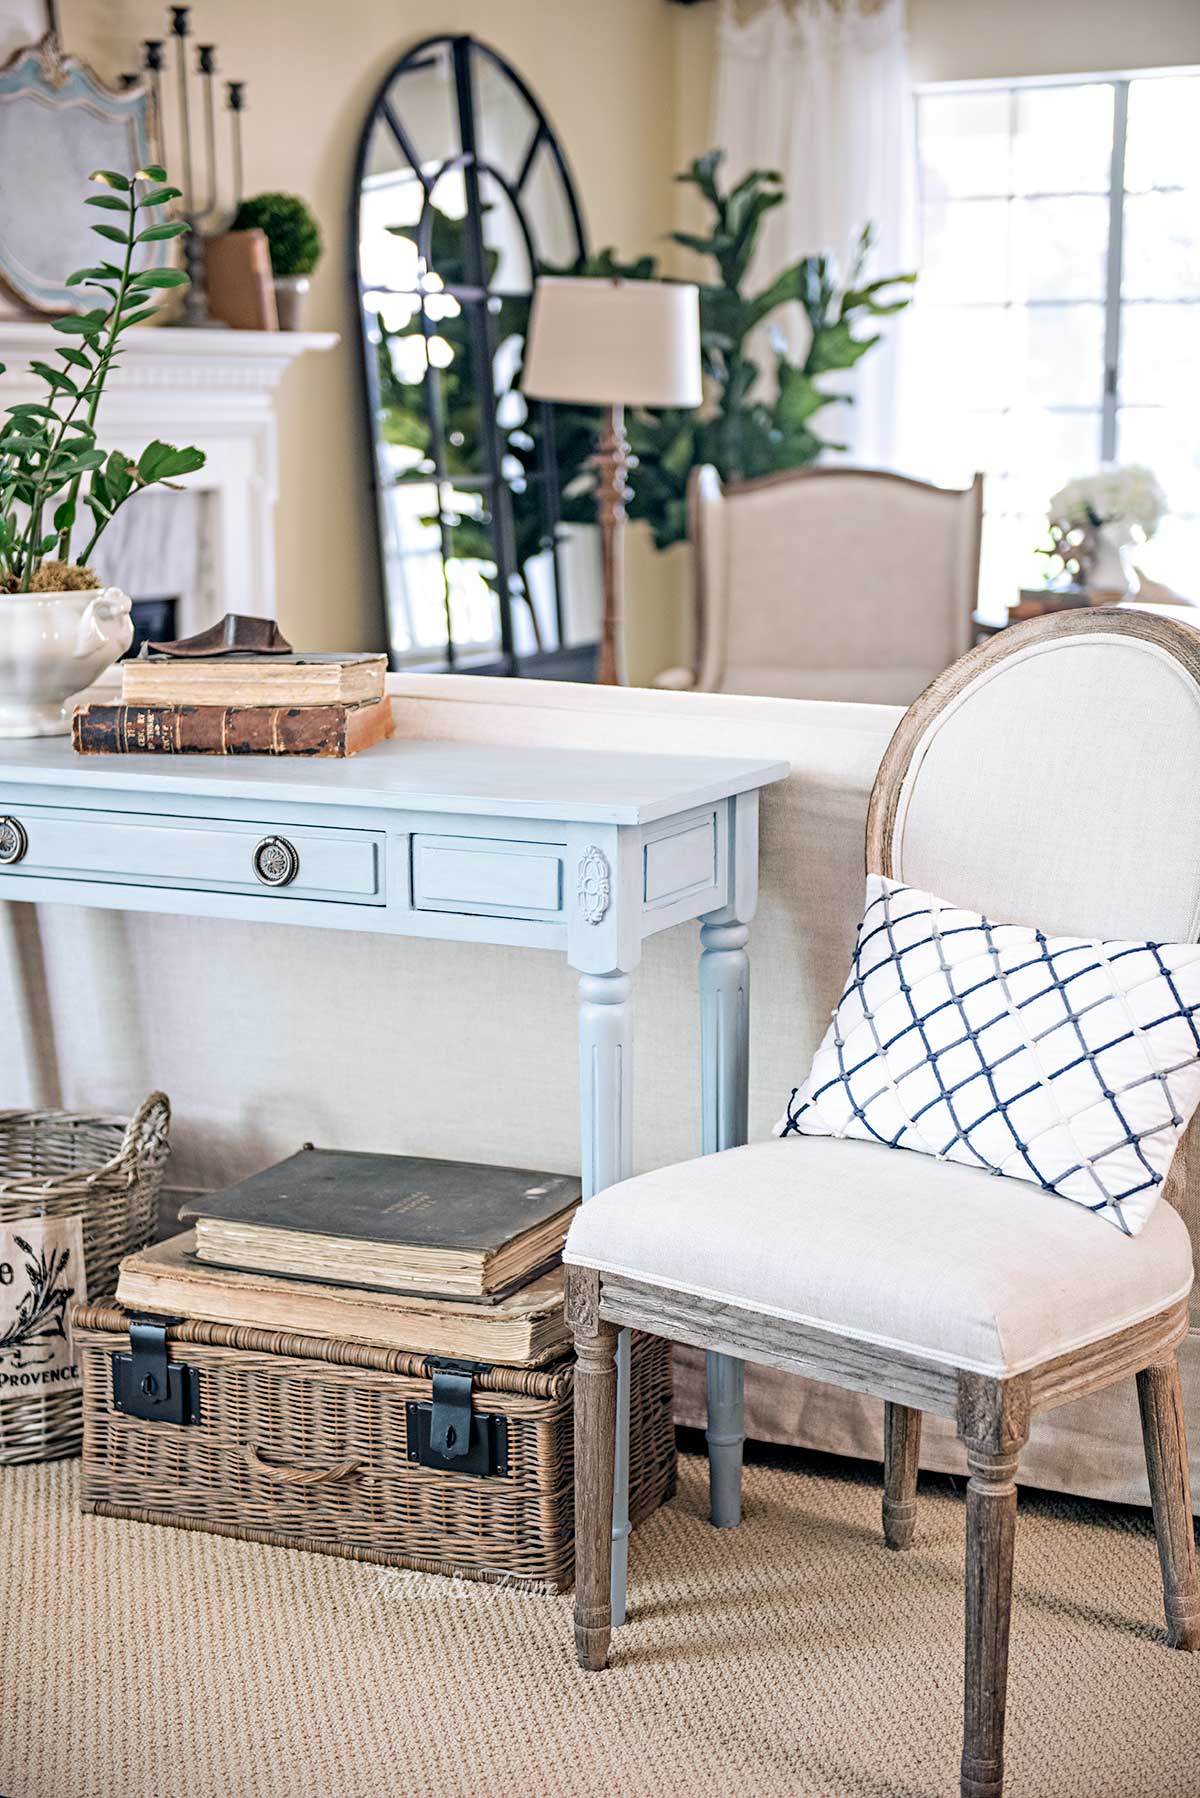
Here you can see the variation in the color, both from wet distressing the piece and adding a layer of aging cream.
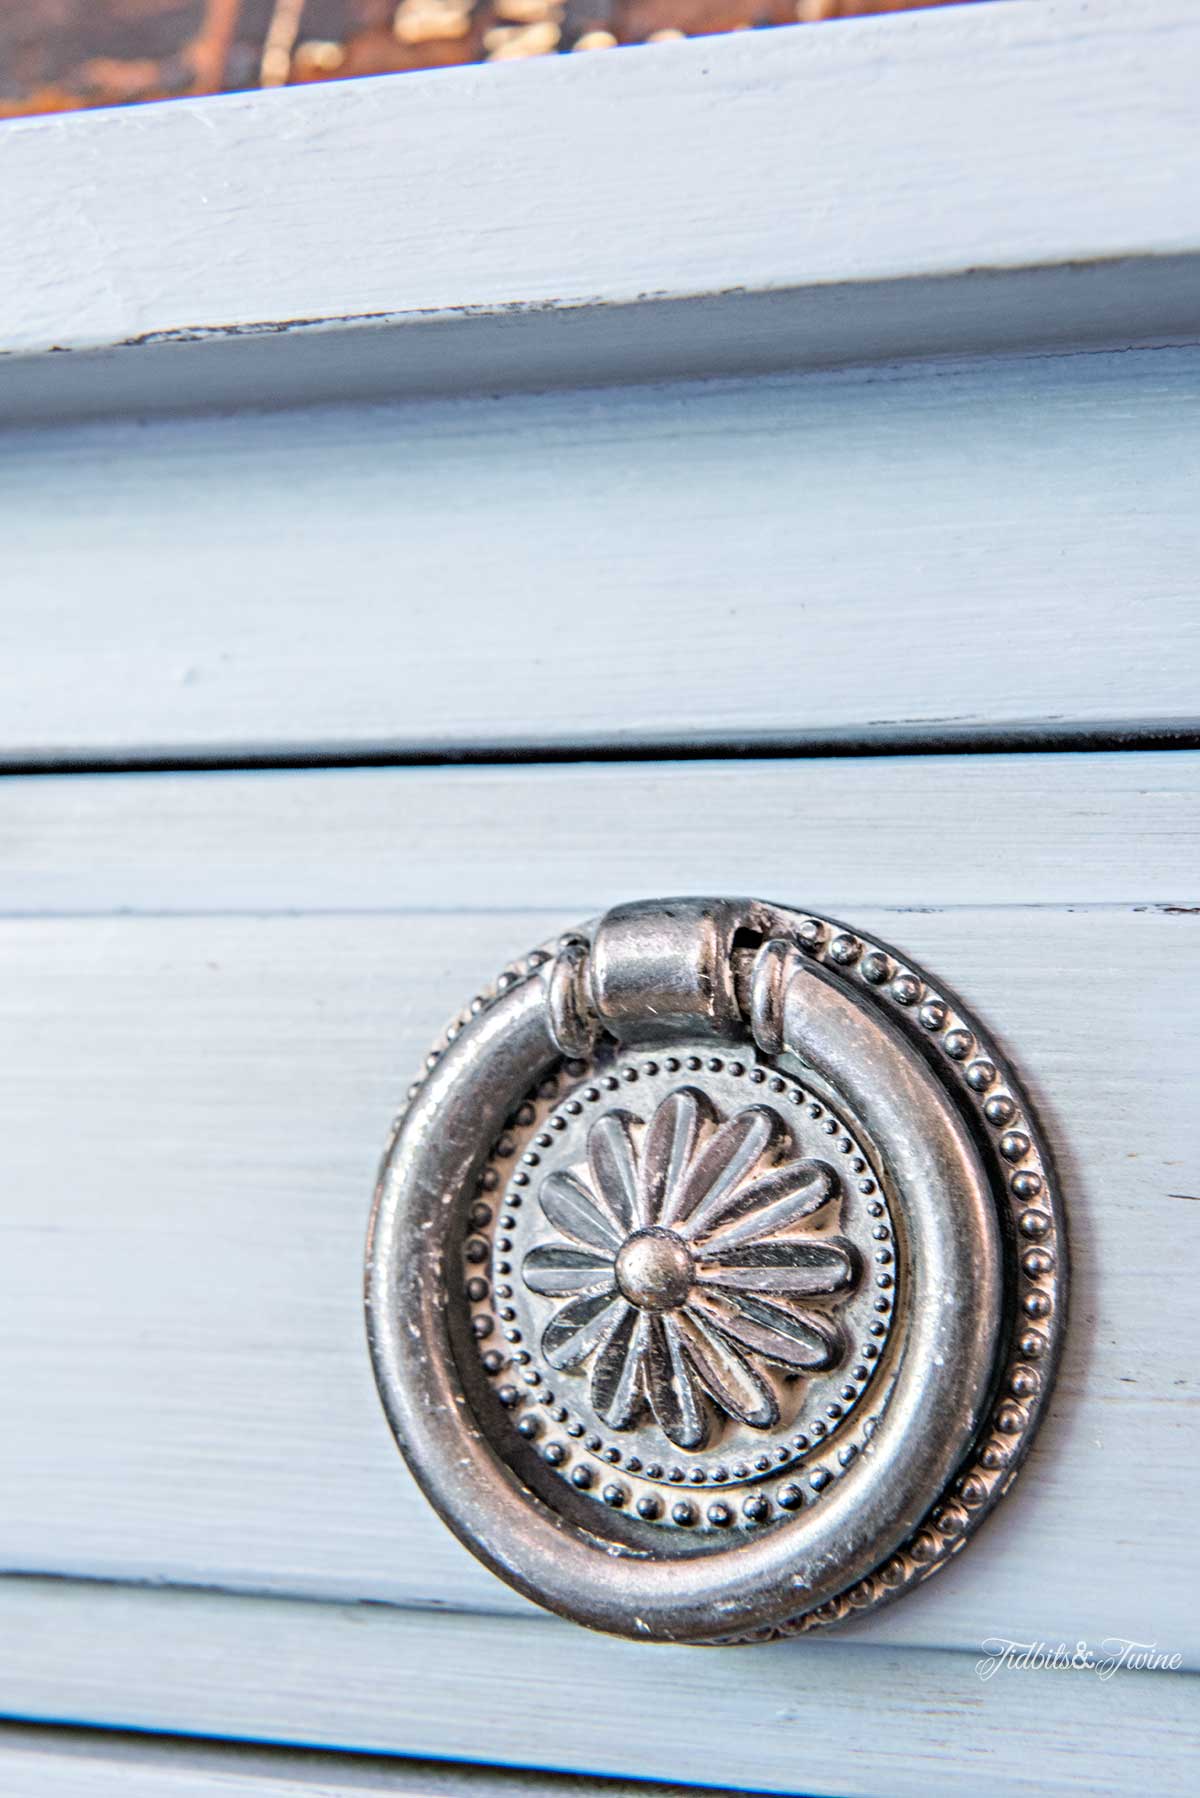
The drawer pulls that I purchased were a gun-metal gray and overall just too harsh for this piece. I tried chalk painting them and then didn’t like how they looked. I then used kitchen soap and a scrubber to take the paint off and whoops – I took the paint off but also the metal finish! The good news is that I liked how it looked, so even though it was a mistake, I left it. The paint stayed in the crevices and most of the gun-metal gray finish was rubbed off, leaving a softer color behind. :)
I originally bought this table to sit in my entryway, but now I think I’ll leave it here….at least for a while.
Coming up next is my FIRST EVER {and maybe last} video tutorial. I’m camera shy so I’m a bit nervous….

Join the Community
Let’s keep in touch! Get exclusive artwork plus the latest news delivered directly to your Inbox!
Kim,
It looks great. I’ve wanted to try chalk paint for some time. Your tutorial is nudging me in that direction. It’s looks pretty where you’ve placed it.
Karen
Beautiful end result and I love that you used backing plates to class it up a little bit.
Thank you, Patricia!
How clever to use the escutcheons for detail at the corners. Sometimes I can’t find a piece in wood – it never occurred to me to use these instead. I LOVE chalk paint. Haven’t found a single thing it won’t cover.
Gorgeous table and table-scape!
jeani
Lol! I had to Google escutcheons….I never knew they had such a fancy name! I like to think I’m pretty resourceful when it comes to DIY projects, but the truth is I’m just lazy and so instead of holding off until I can find just the right thing, I tend to use whatever I have on hand that’ll do the job. But it worked out so I figure it’s okay, right?!?! Have a great day! :) Kim
Looks fantastic and the knobs were a happy accident : ) The before had me a little worried, not your style AT ALL. Excellent job!!
Thank you so much, Robbyn! I’m pretty happy with how it turned out, but of course, I’ve rearranged my entire room to make room for the table and this one project has suddenly snowballed. That’s always the way with projects, isn’t it?! Have a great day. :) Kim