As I’m renovating my master bathroom, one of the first decisions that I had to make was my cabinets, since those take the longest amount of time. I priced out cabinetry using ready-made cabinets (such as Kraftmaid and RTA), as well as custom cabinets, so I spent a lot of time designing and making decisions. Today I’m sharing the tips I learned to help make your next cabinet project go smoother!
My Process
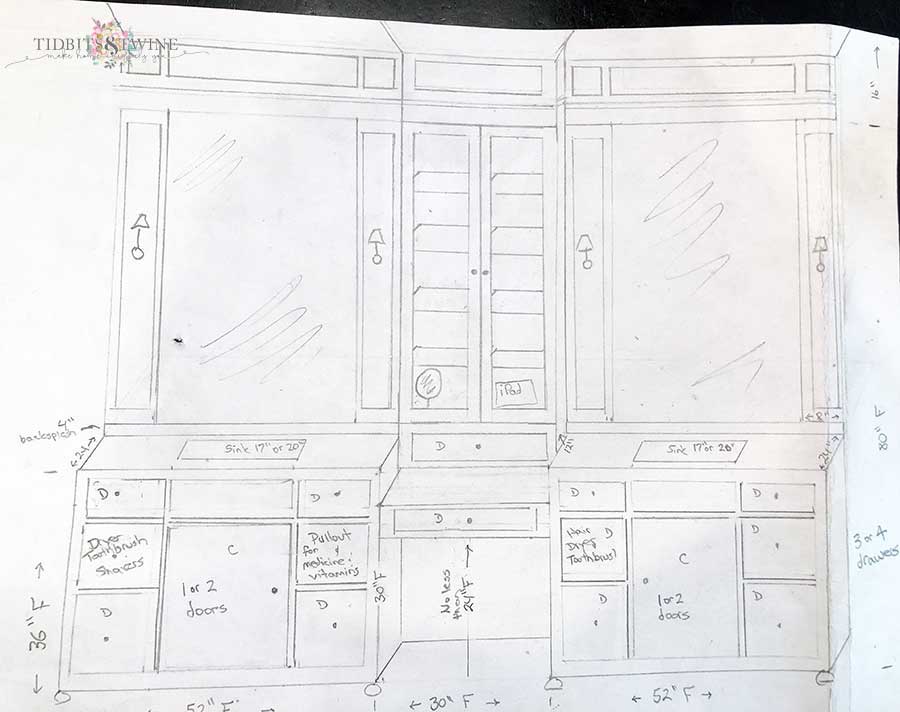
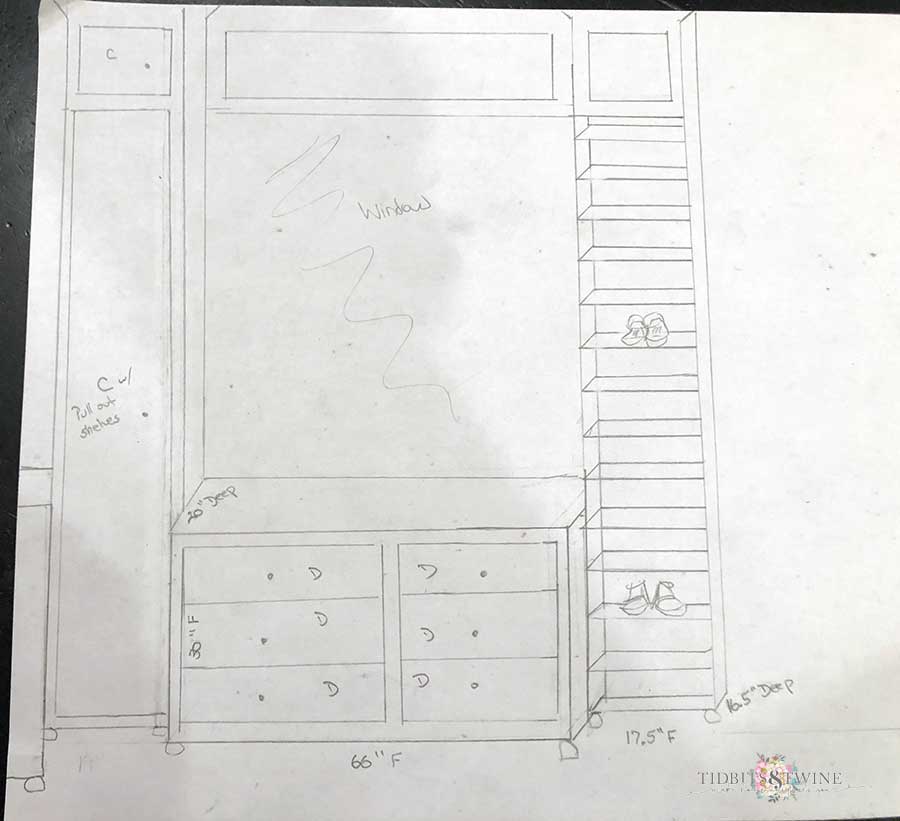
Since my bathroom is not a standard size, piecing together ready-made cabinets was just too difficult and I was having to sacrifice a lot in terms of storage and style. Instead, I’m working with a local cabinetmaker and he’s building us our cabinets using a drawing that I provided to him.
I’m not great at drawing, especially 3D drawing, but I think this came out well enough that he’ll figure something out. I drew these up on regular paper, but did try to make sure the scale was correct.
This is just a shot from my iPhone just before he took the drawings with him.
Vanity Area
Dressing Area
Entire Bathroom
Here you can see how the two areas join together to make a continuous wall of cabinetry.
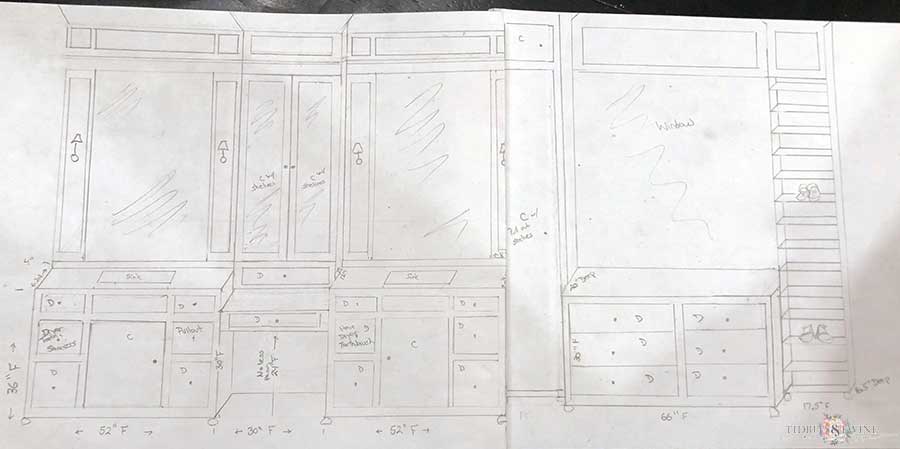
Now keep in mind, most companies use 3D rendering programs to show you what your cabinets will look like, so you won’t need to draw anything; however, my cabinetmaker is old-school so he only uses wooden templates and doesn’t do any work on the computer.
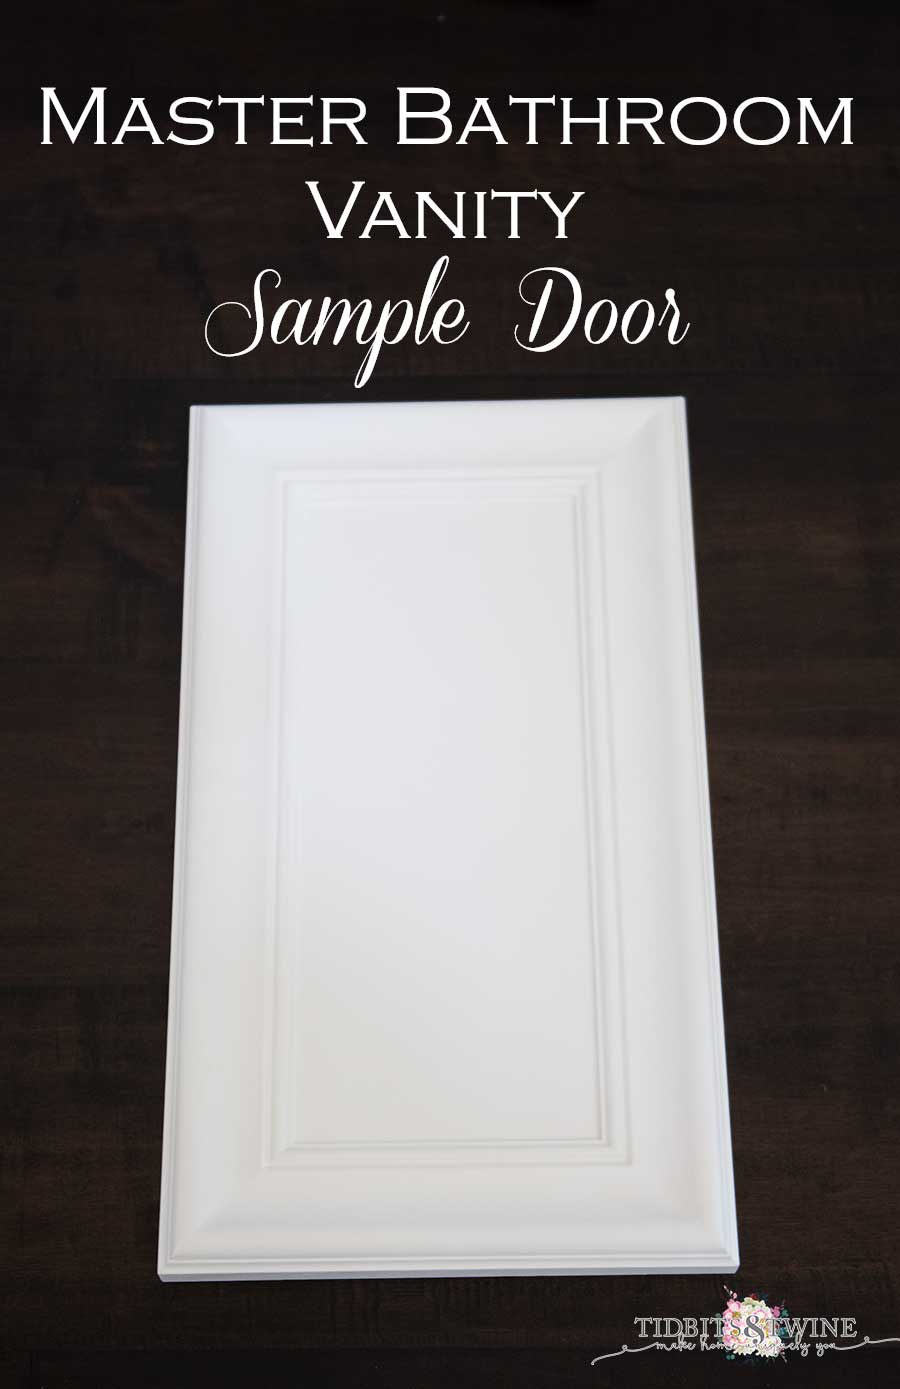
Sample Door
For the doors, he’s making them using the same trim that I picked for the wainscoting on the walls so that everything will coordinate.
Here’s a sample door he made me last week. It’s painted in Kelly Moore Swiss Coffee.
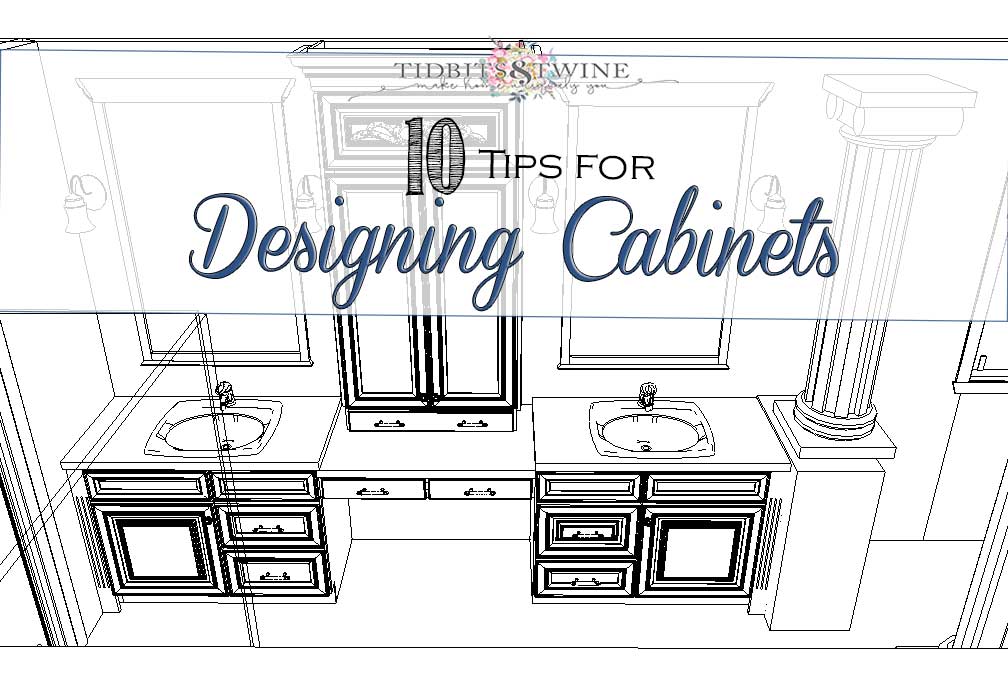
10 Tips for Designing Cabinetry
Here are some tips to help you whether you’re having custom cabinets made, or using a pre-fab cabinet company such as Kraftmaid.
1. Needs
Determine your needs before deciding on your cabinet design.
- Do you need outlets on the drawers for hair dryers, etc?
- Do you want a seated makeup area?
- How deep do you want the drawers?
- Do you want more drawers or doors?
- Do you want pullout or stationary shelves?
2. Height
Most new cabinets are designed to have a finished height of around 36″; however, if you’re tall or short, don’t hesitate to ask to have that height adjusted to better suit your needs. Keep in mind that if you go to the extreme one way or the other, it could affect your resale value.
3. Countertop
Decide on your countertop style BEFORE you design your cabinets. If you want a laminated return on your countertop (whether granite, marble, quartz, etc.), you’ll need to allow for extra space at the top before your doors and drawers start. This primarily applies to custom cabinets, as most ready-made will allow for a return as part of their standard design.
4. Feet?
Think about what you want for the bottom of the cabinet. Your options are to use a standard toekick or you can do a furniture style by adding feet or an apron. Your choice might affect your flooring (like if you have to tile underneath), so make this decision before installing your floor.
5. Wood
Decide what type of wood you want to use. The wood you use will depend on whether you’re painting or staining the cabinets (given the wood grain), as well as the durability.
6. Upgrades
You’ll have options for upgrades and if you’re on a budget, think about how important these upgrades are to you. These upgrades include soft close drawers and doors, roll out trays, crown moulding, etc.
7. Open Shelving
Open shelving or cabinets always look beautiful in pictures but in reality, can be difficult. Keep in mind that bathroom collect a lot of dust, hair spray, etc. so before deciding on open shelving, think about what you’ll be storing on the shelves and whether you’ll have to spend extra time cleaning.
8. Sink
Decide in advance what type of sink you want. If it’s a dropin or undermount sink, you won’t have storage in the top center section of your vanity. If you’re doing a vessel sink, you’ll be able to create extra storage in the vanity since you won’t need to work around the sink.
9. Wall Filler
For ready-made cabinets, you’ll likely need what’s called a Wall Filler, which is essentially a vertical strip that fills in any gap between your cabinet and the wall, since it’s not likely that you’ll get a perfect fit. Most companies give you design choices for that filler strip so that you can match them to your design style. For custom cabinets, your cabinetmaker should be more exact such that you don’t need to use any Wall Fillers.
10. Touch-Up
Always get a touch-up kit. Accidents happen, so be sure you have a touch-up kit for the finish on hand.
Having seen what the door looks like, I’m anxious to get all of the cabinets installed. Our old vanity was lacking on useful storage so I’m excited that my things will all finally have a home and be organized just the way I want them.

Join the Community
Let’s keep in touch! Get exclusive artwork plus the latest news delivered directly to your Inbox!
Its amazing thanks for sharing these tips for designing glass cabinets. All of these tips are very helpful and amazing.
I want to get some new cabinets in my kitchen and guest bathroom this winter. Thanks for explaining that you think about storage vs style. That is good for me to know because I need cabinets with a lot of storage but I want them to look nice as well.
I want to do a kitchen remodel this fall. I need more storage space for all of my pots and pans. So, I liked what you said about how it would be smart for me to consider the budget I have for the cabinets.
It sure caught my attention when you stressed the importance of the cabinet height when it comes to designing cabinetry. I have small kids and they can’t exactly reach food from the cabinets when my wife and I are out from work. It would be best if our cabinets are designed in a way that they are ergonomic for kids and for adults. That is why I am planning on hiring a cabinet remodeling contractor to redesign our kitchen. I would definitely consider the tips you mentioned about cabinetry design. Thanks!
Kim,
It’s going to be wonderful. Thanks for sharing details with us.
Karen
Thank you, Karen!!