Ribbon memo boards are a nice, decorative way to display photos, notes, lists, etc. While these boards aren’t difficult to find in stores, finding one in the color you want AND the size you need can be challenging. To get exactly what you want, why not make it?! This is an easy tutorial for a DIY ribbon memo board.
*Disclaimer: Always use tools with caution and always make sure that items are securely attached to wall to avoid injury. Post may contain affiliate links*
DIY Ribbon Memo Board
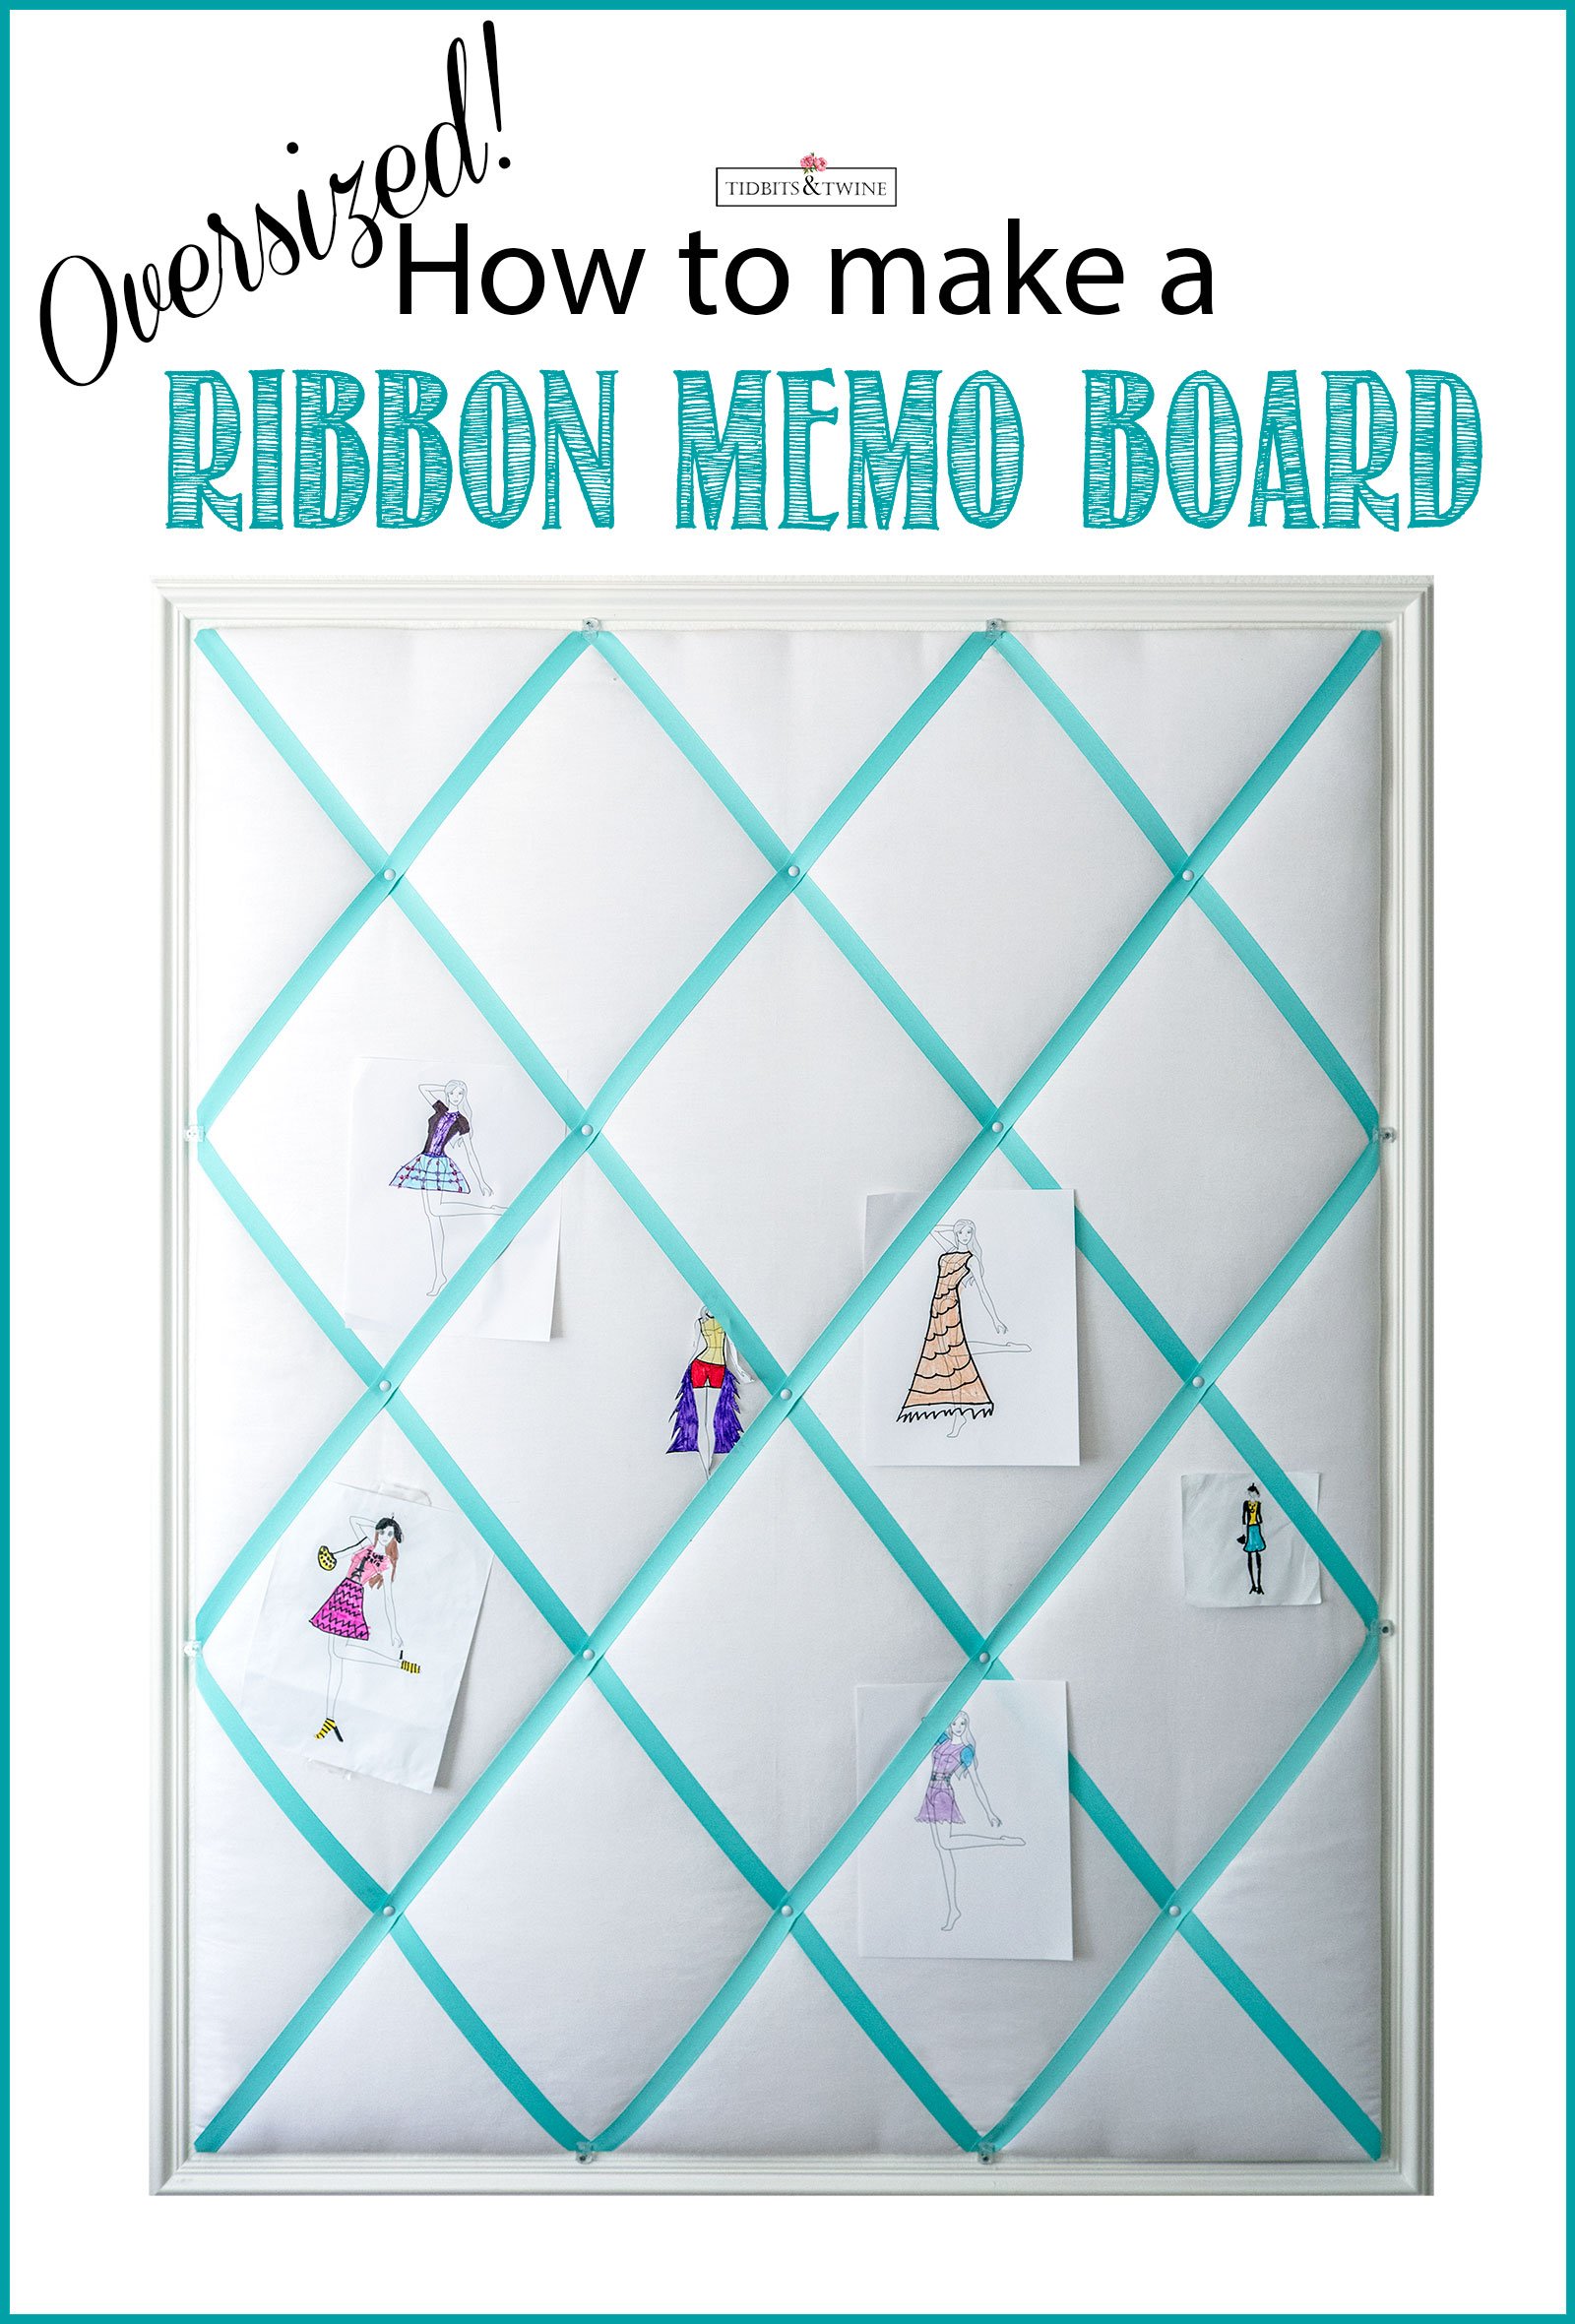
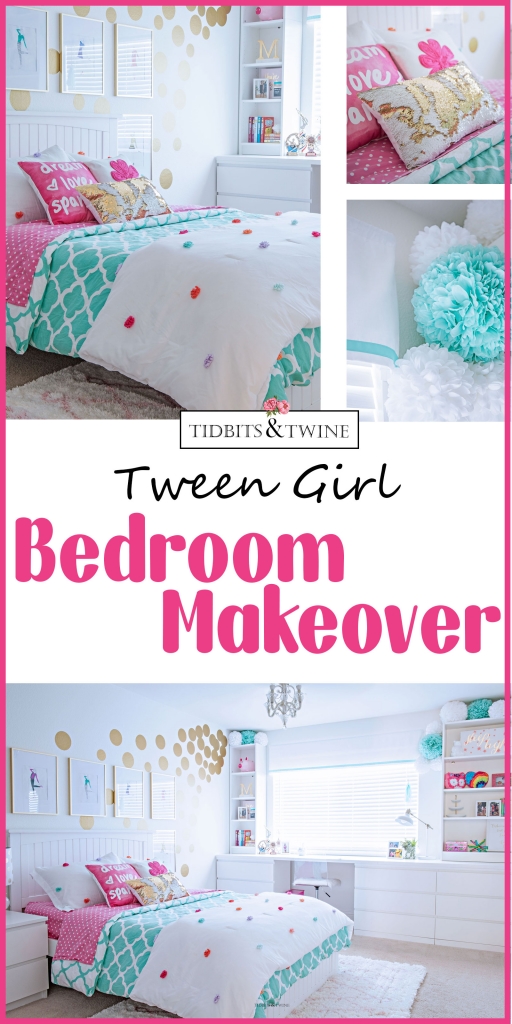
As part of my daughter’s bedroom makeover, I had an almost 4′ x 5′ area that I wanted to fill and decided that a custom, DIY ribbon memo board was the perfect display solution!
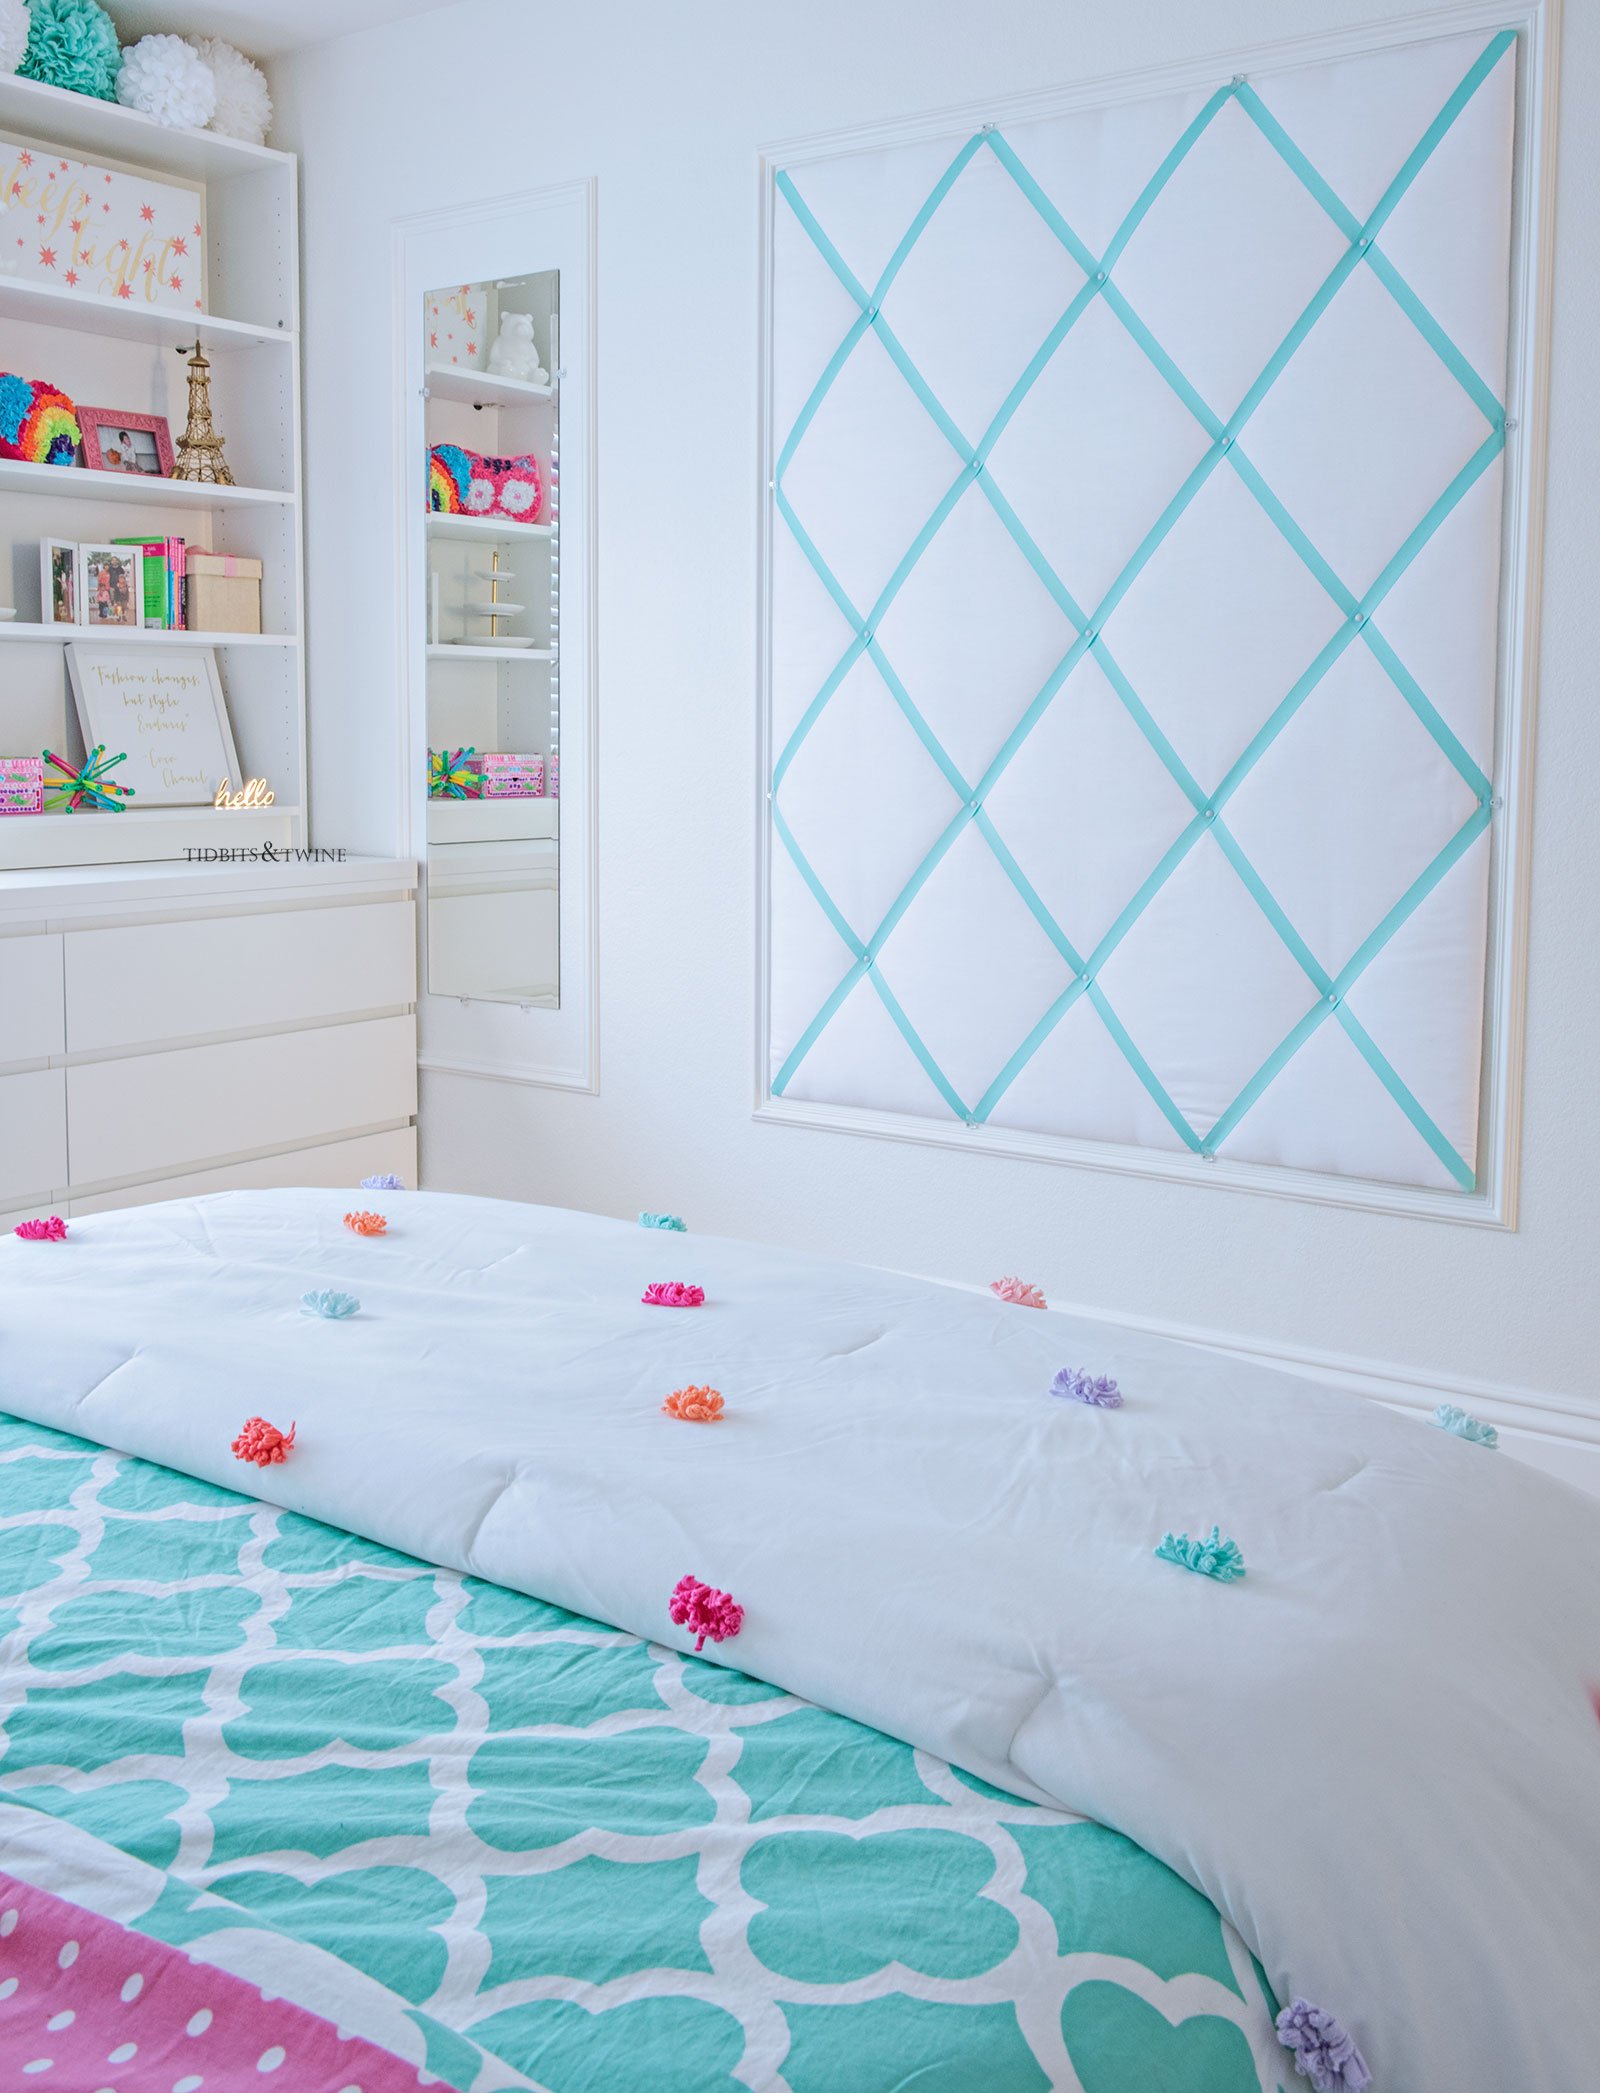
This tutorial shows how to make an oversized memo board, but the exact same steps apply no matter what size you choose.
Supplies
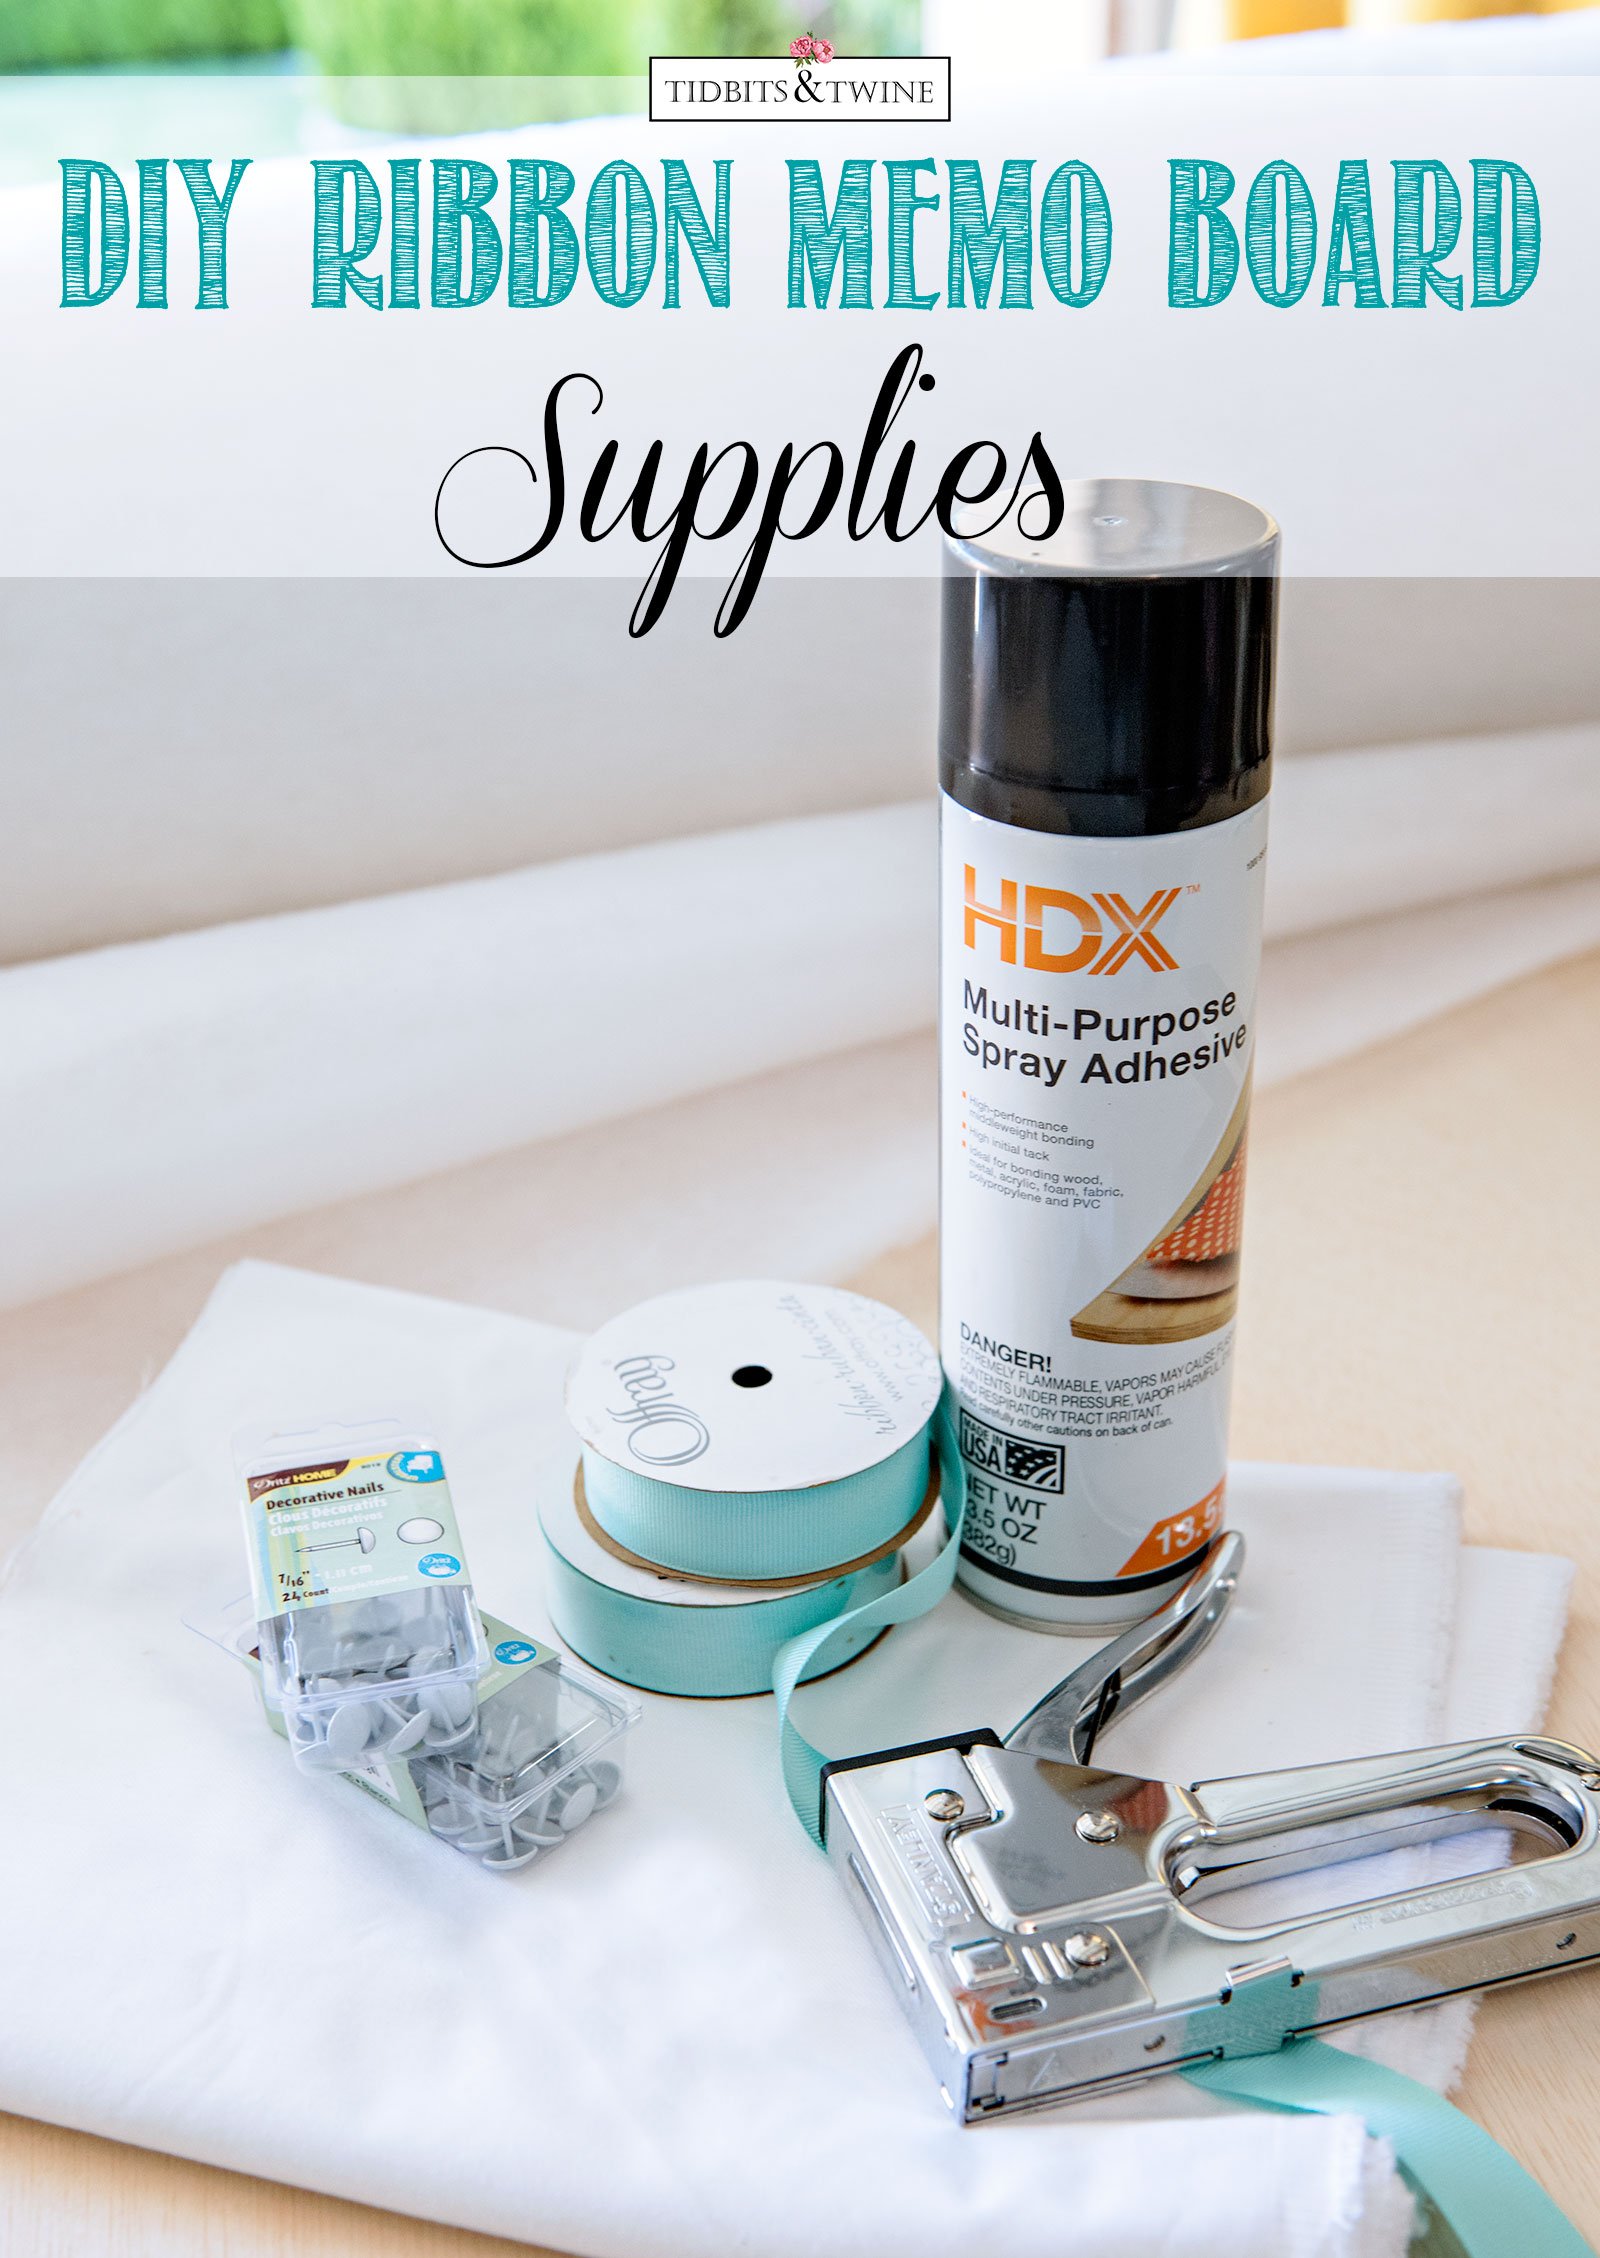
- Plywood {I had it cut to size at the store}
- Spray Adhesive
- Batting
- Fabric
- Ribbon
- Tacks {I used Decorative Nails from the upholstery section of a fabric store}
- Staple Gun
- Plastic Mirror Holder Clips
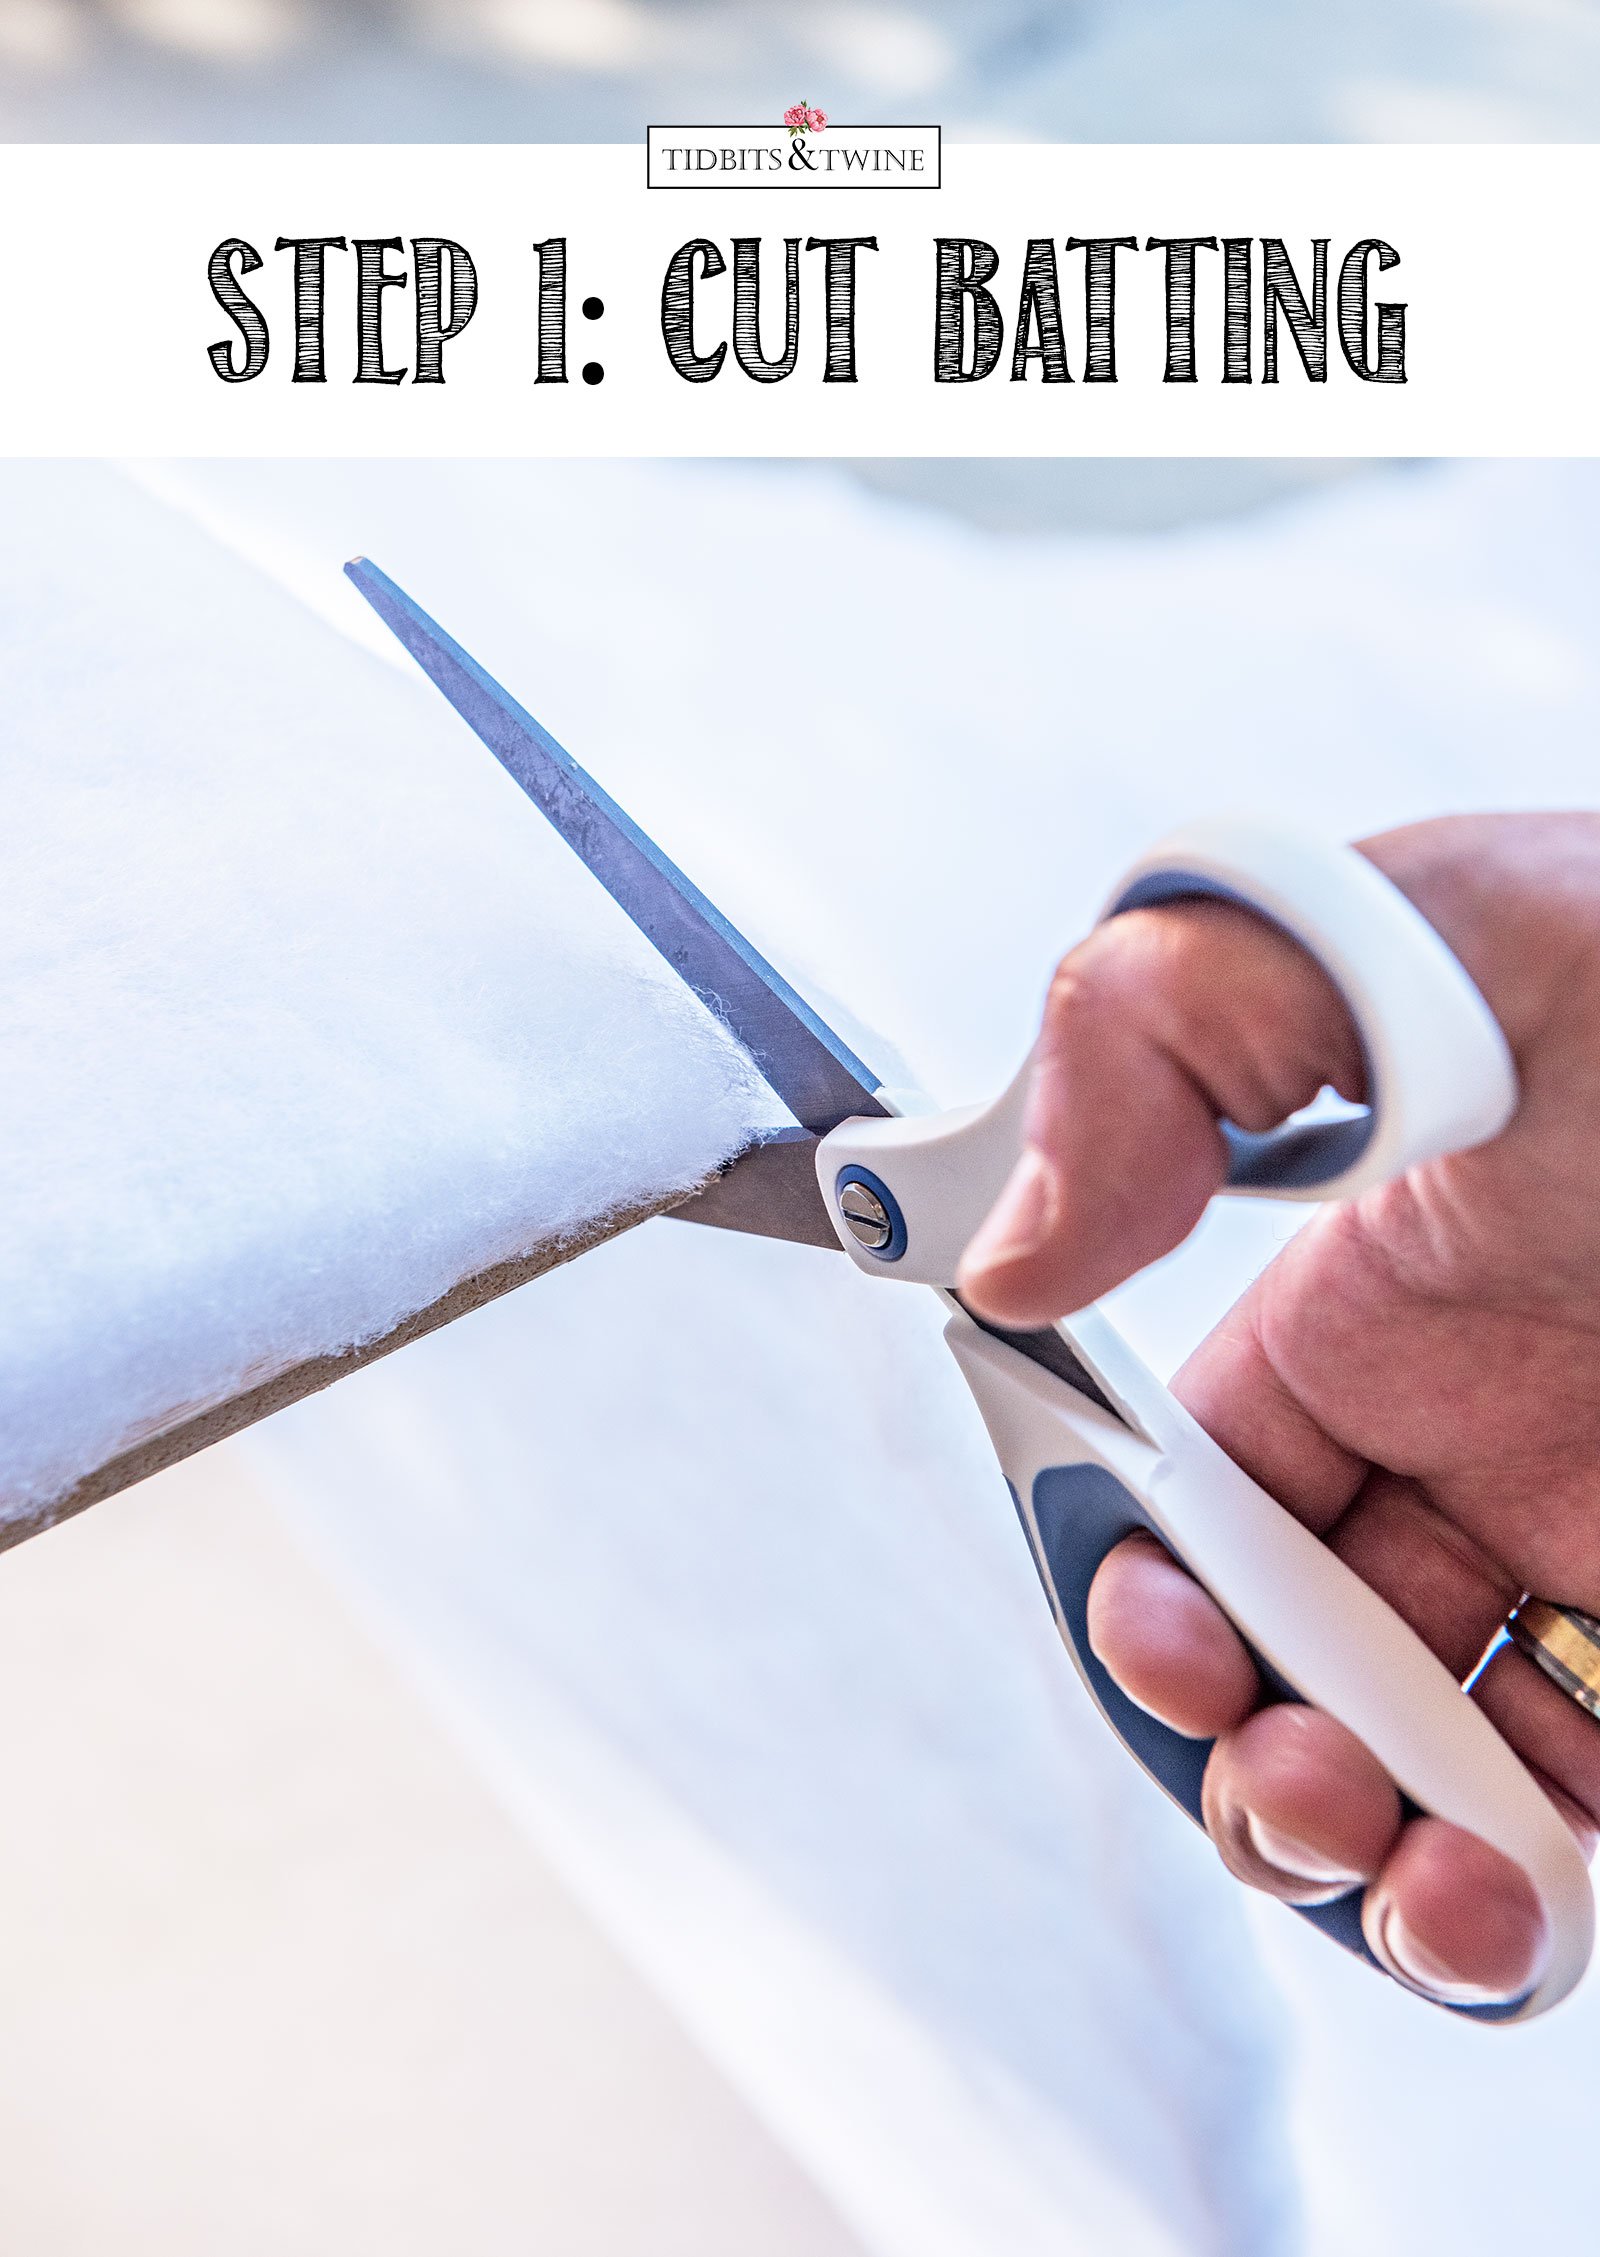
Step 1: Cut the Batting to Size
Simply lay {or unroll} the batting onto the plywood and cut to an exact fit. For me, I felt two layers of batting were necessary and so doubled it over on itself, but depending on the type of batting you use, a single layer might be enough
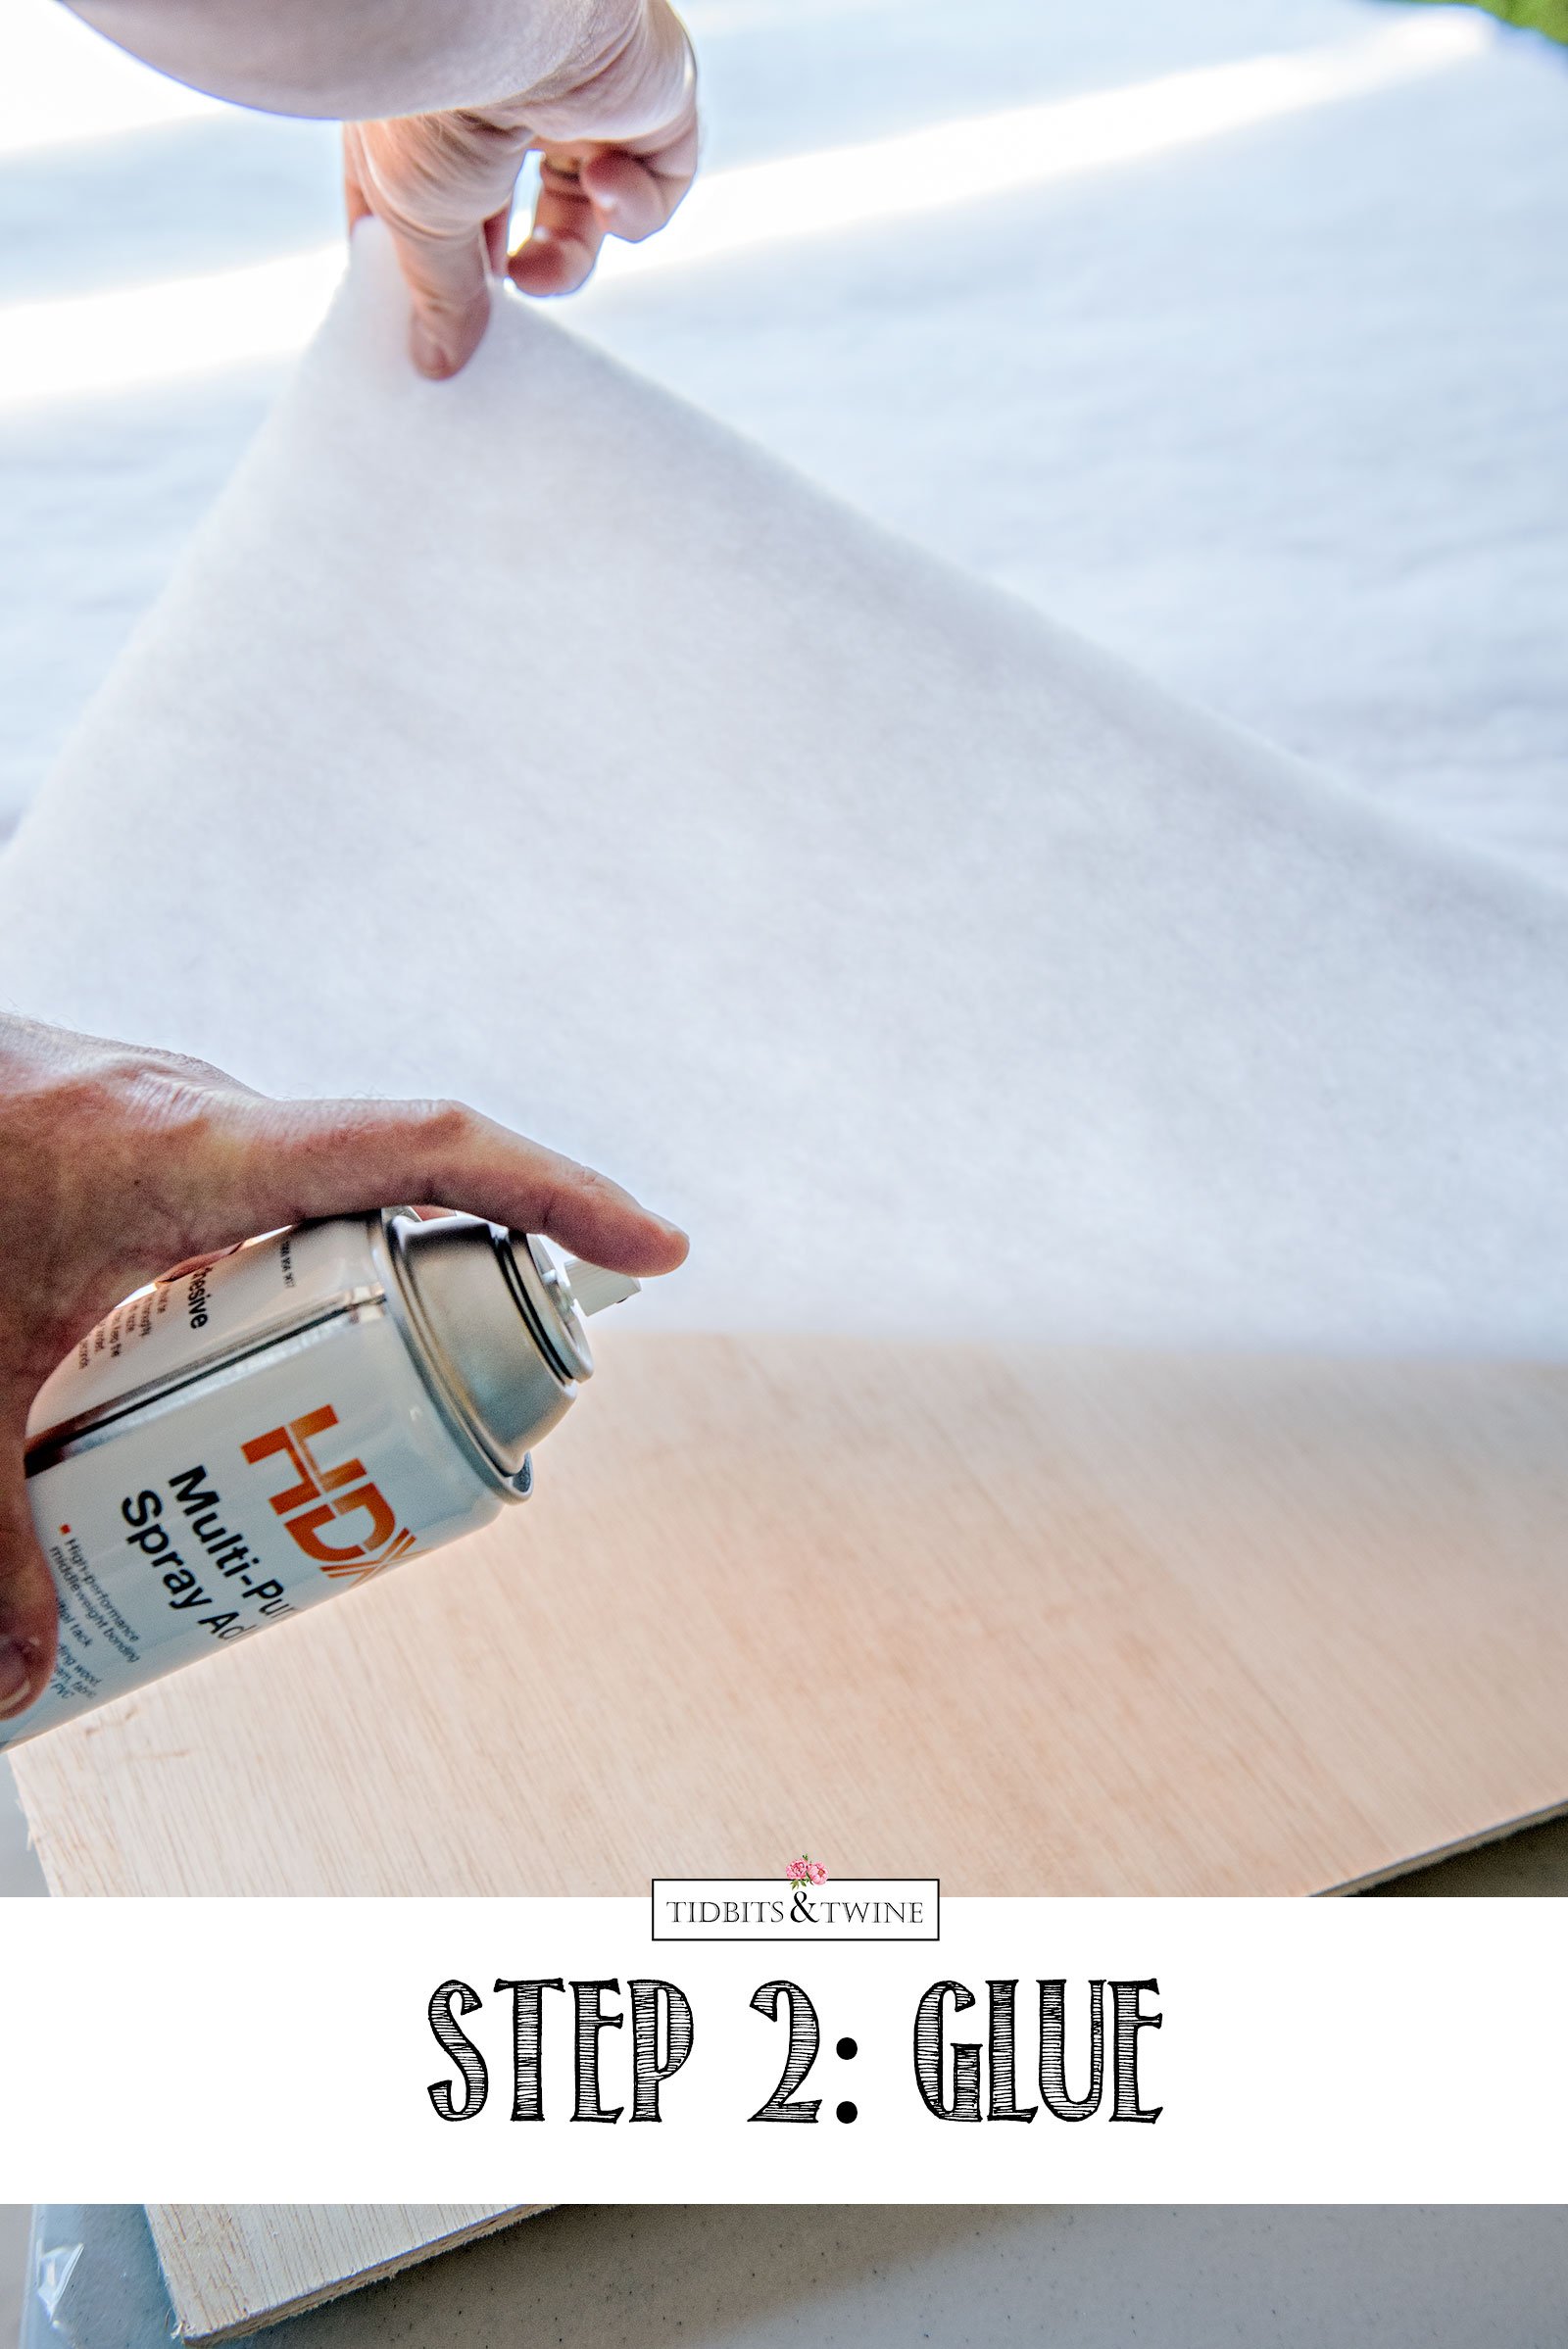
Step 2: Adhere
This step is optional, but particularly for an oversized board, lightly spraying the plywood with adhesive and securing the batting just helps to ensure that it stays in place during the next step. It also allows you to move and/or flip the board over without worrying about whether the batting has slipped, so I highly recommend this step.
Step 3: Attach Fabric
You can use any type of fabric you choose, but ideally, it should be one that isn’t too transparent so that you can’t see the batting and/or board. Also, be sure to iron BEFORE you attach!
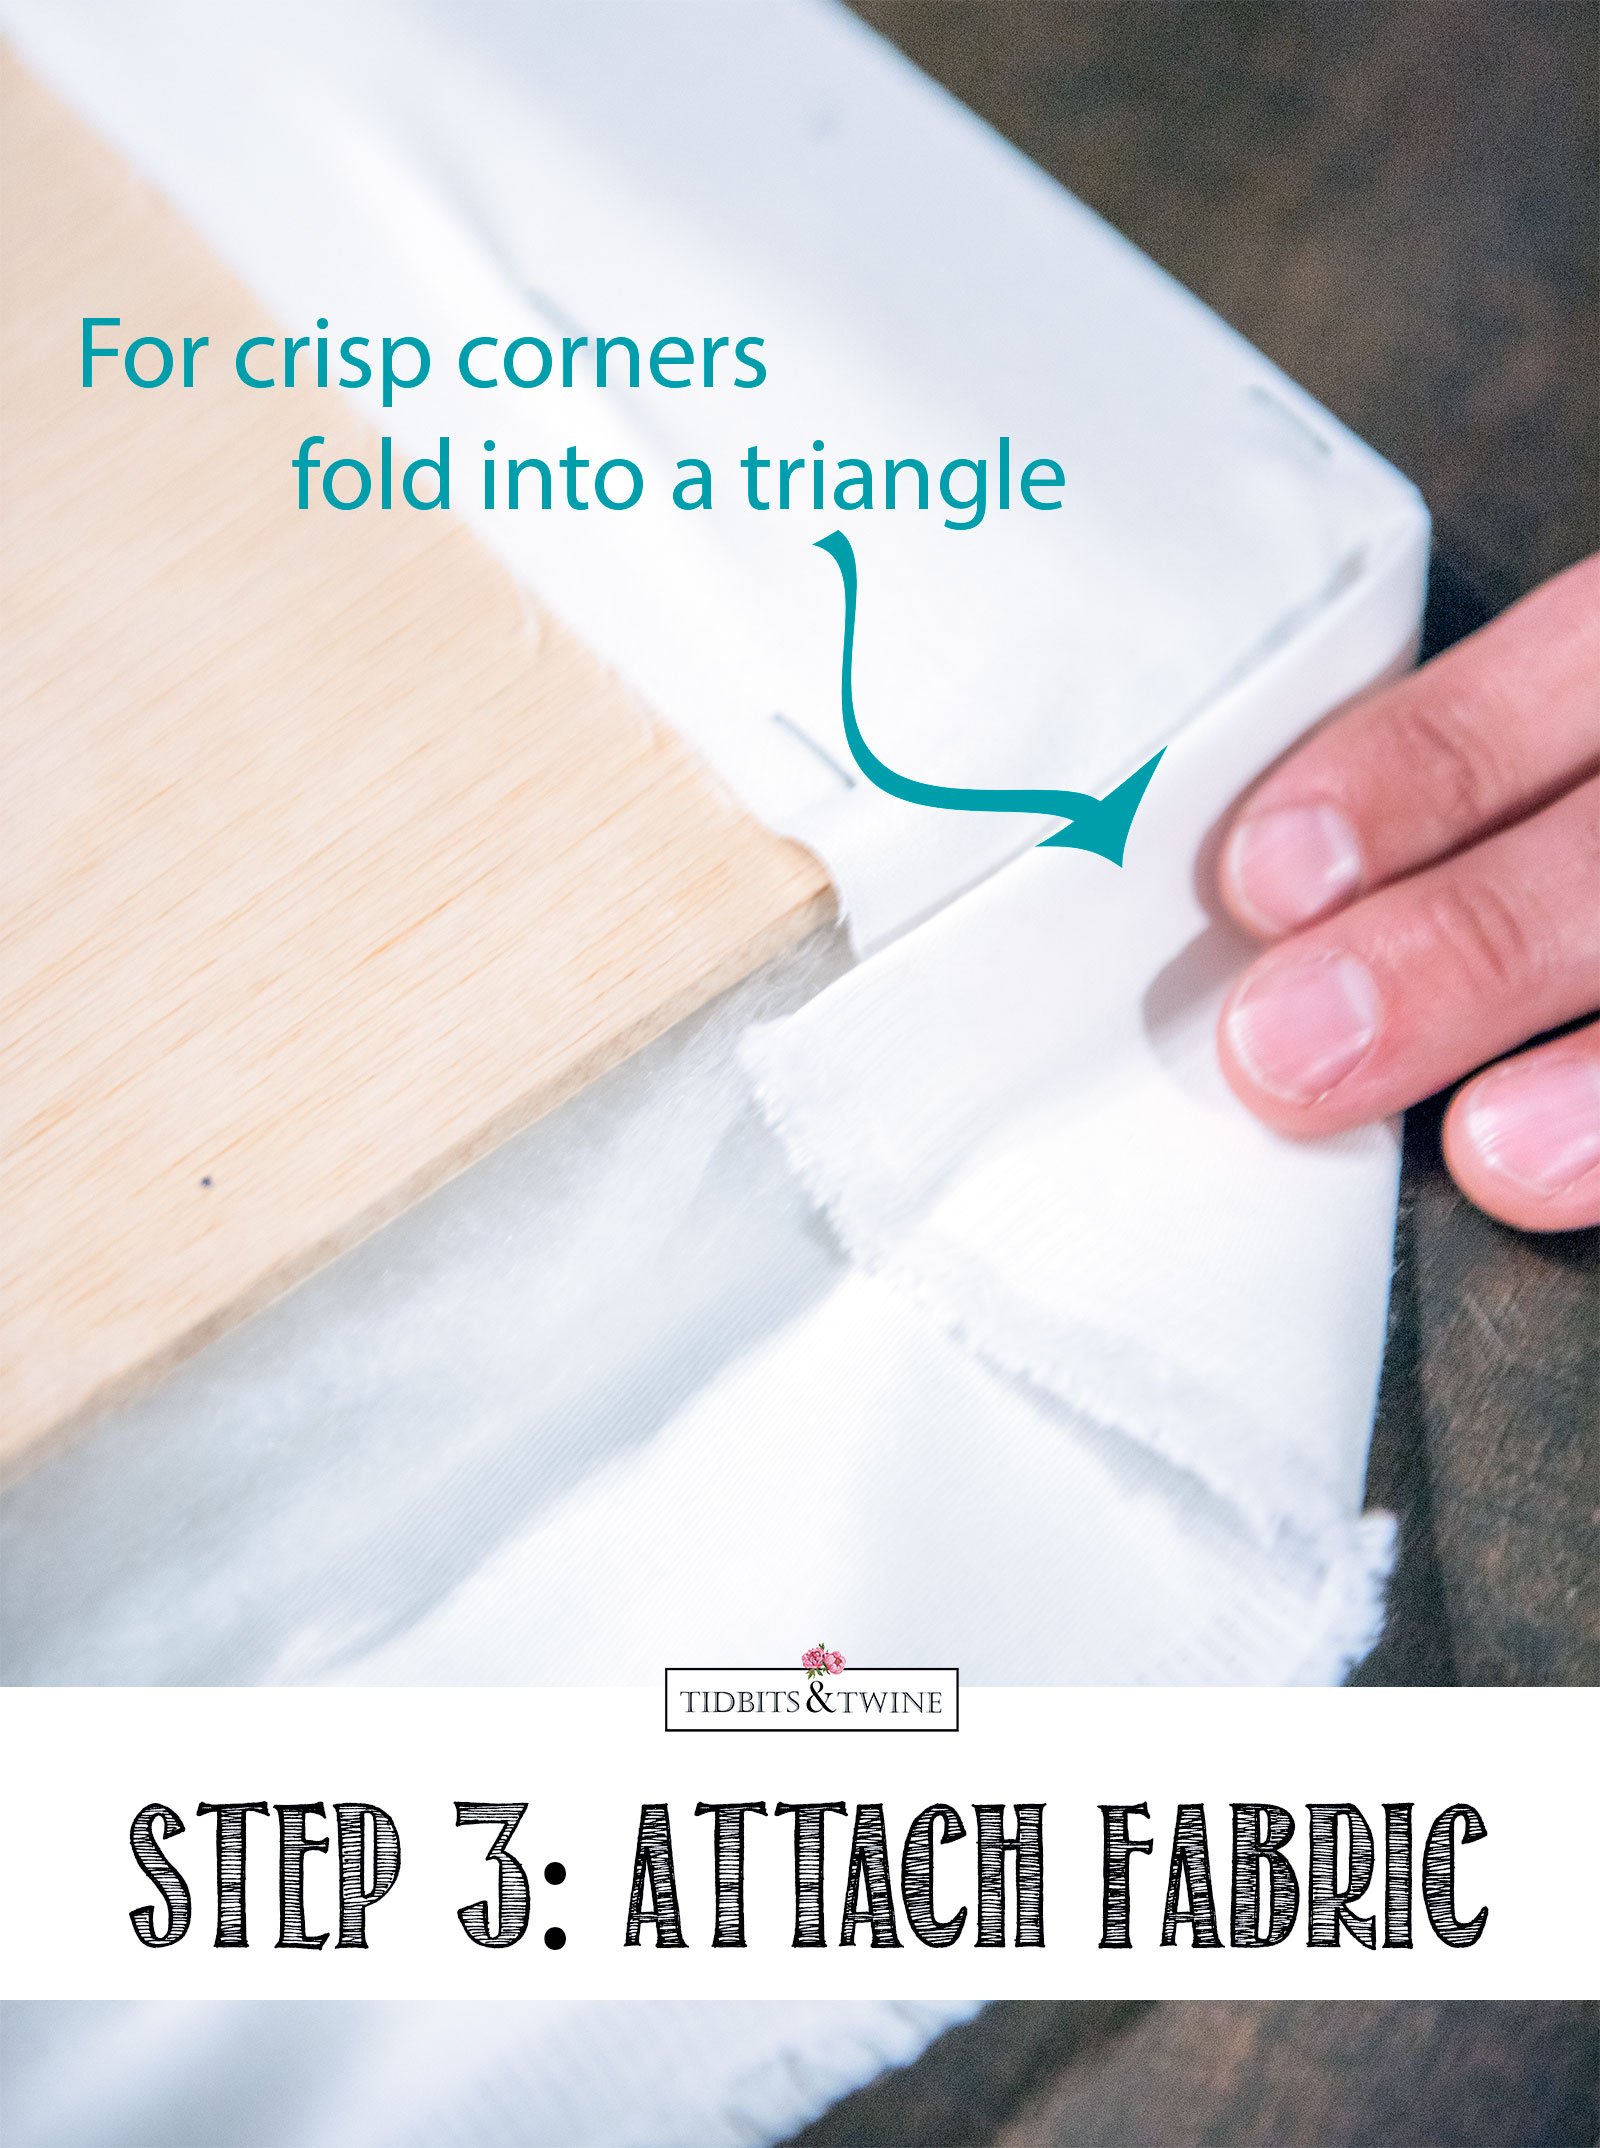
Cut your fabric about 1 1/2 “- 2” larger than the board on all sides to give you ample material to work with. Center your board and batting on the WRONG side of your fabric {if it has one} so that the right side will face out. Then, using your staple gun, start stapling on one side of the board, working from the center out toward the corners {this way you can stretch out any lumps}. Once one side is done, staple the opposite side, making sure to pull the fabric tight. Then finish the other two sides.
To get crisp corners, fold the fabric into a triangle and then fold over and staple – like wrapping a package!
Step 4: Measure
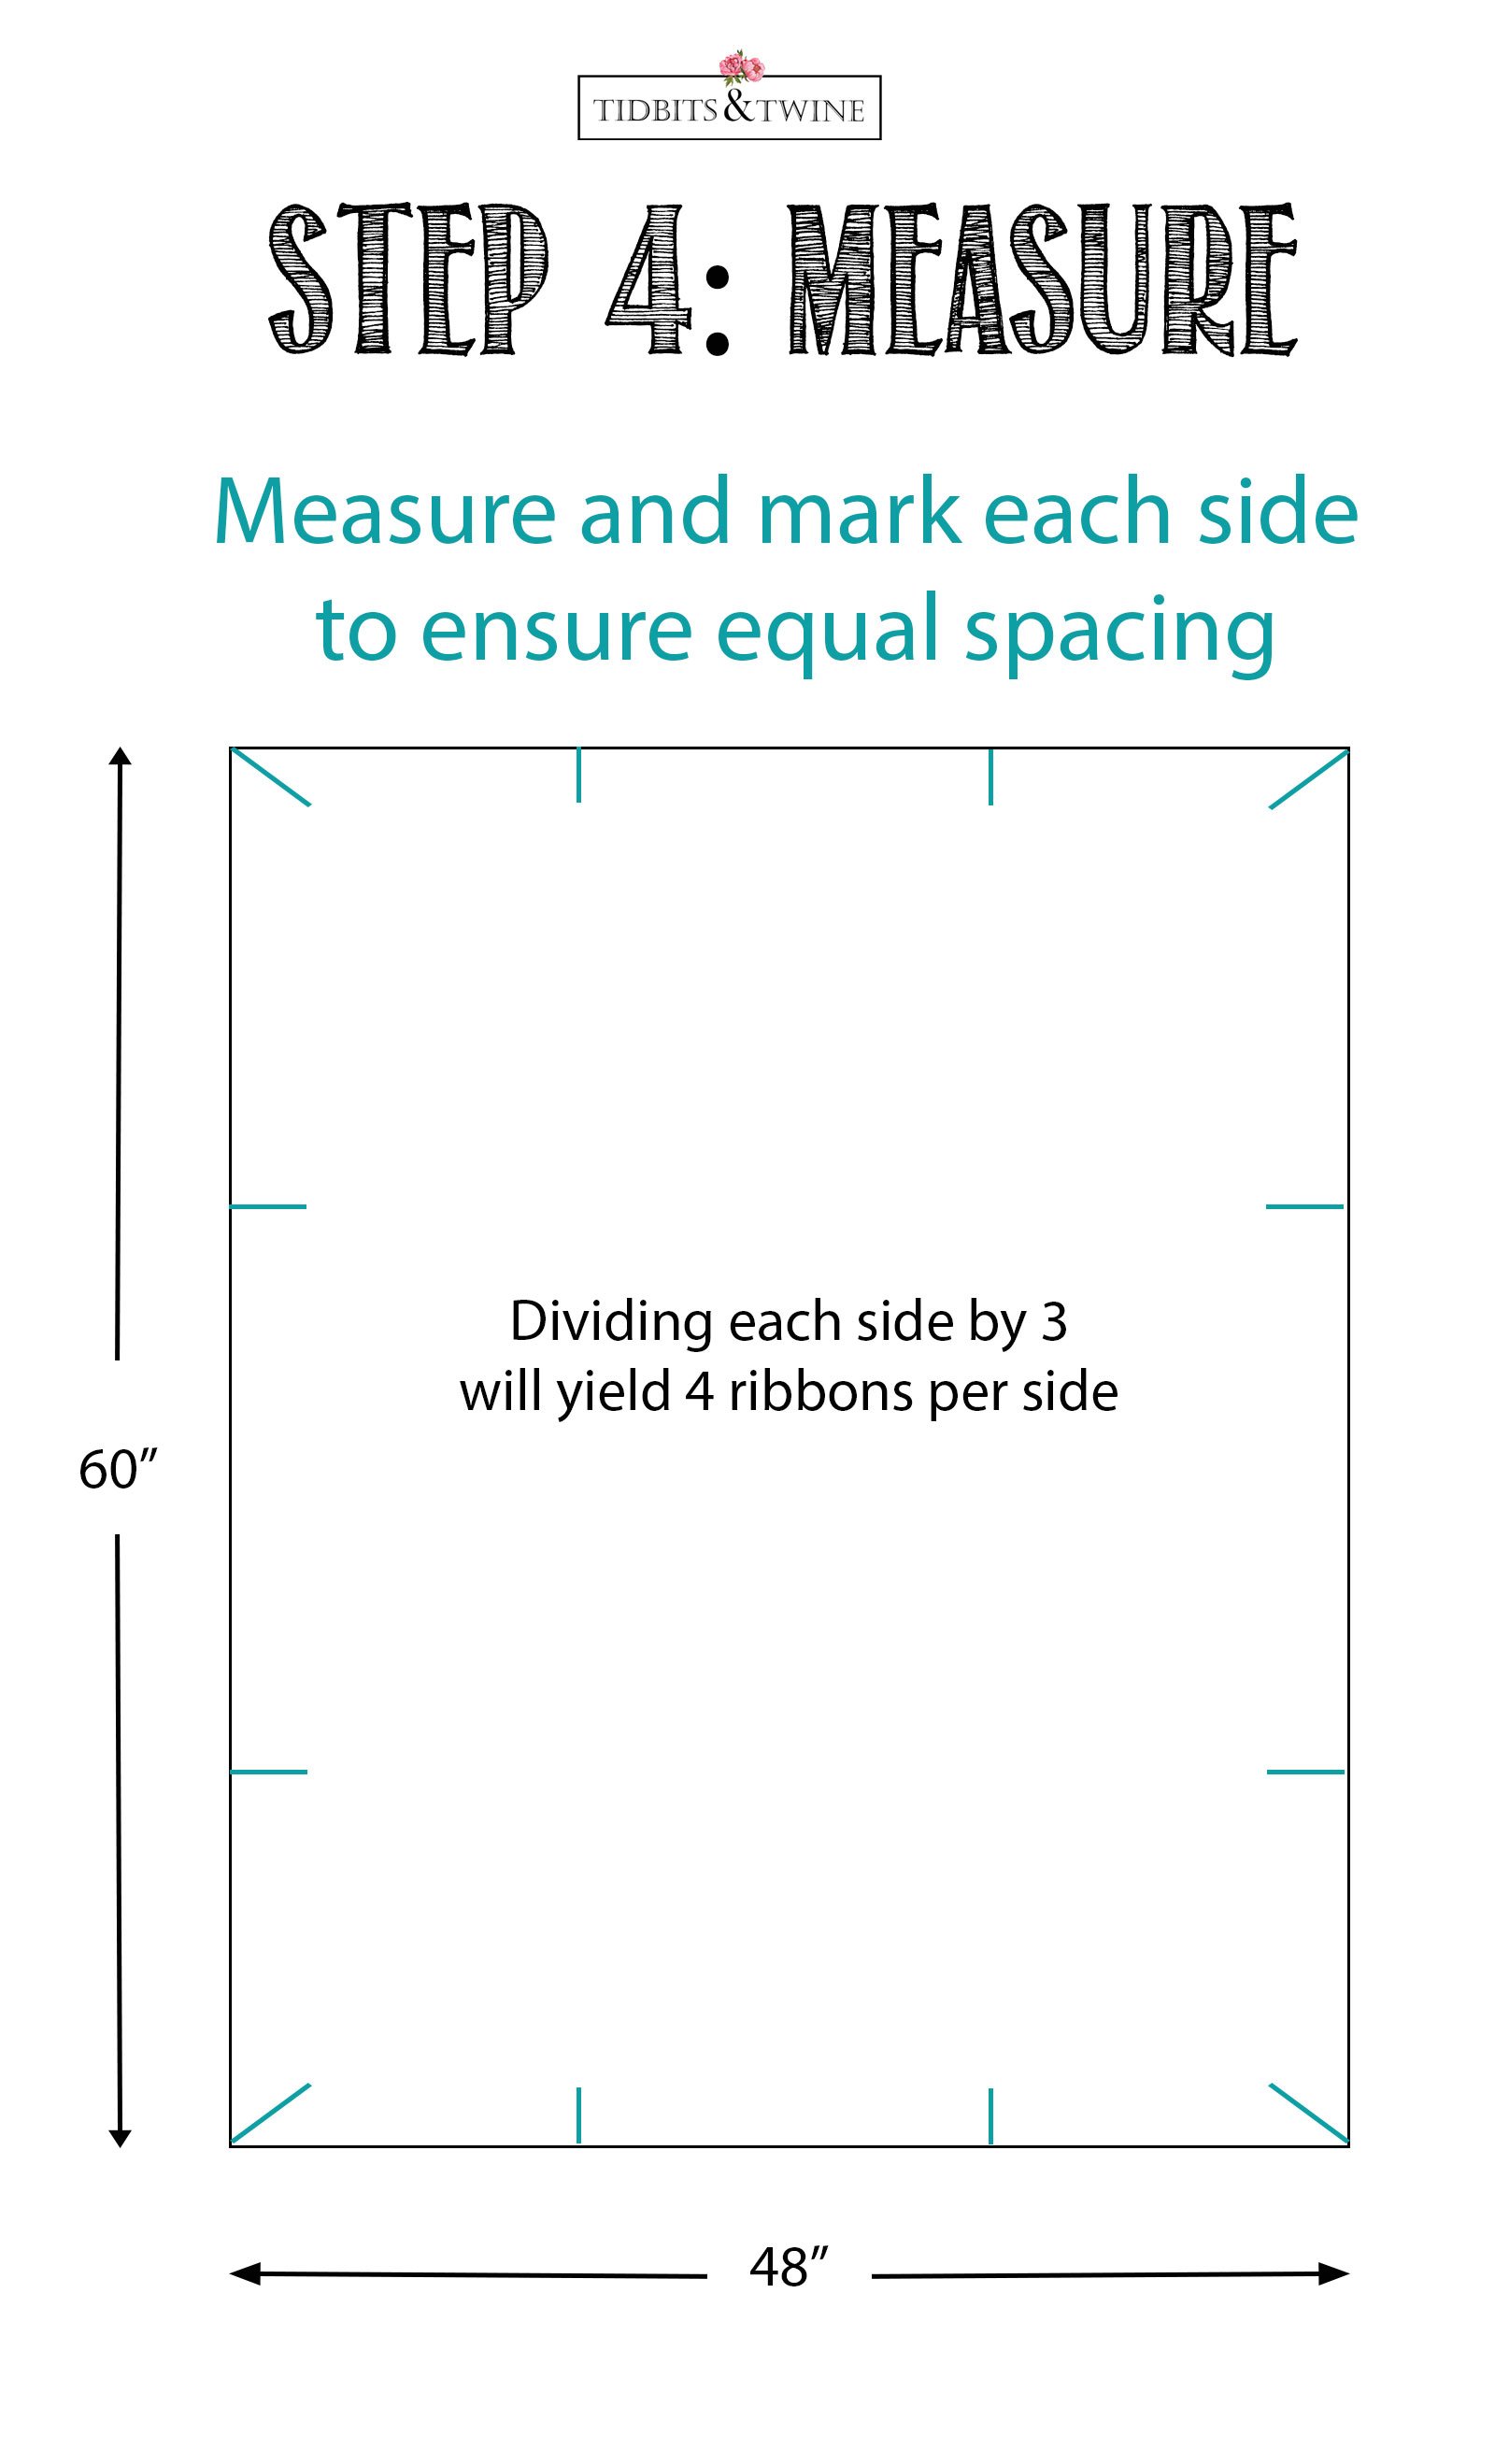
You can add as many ribbons as you like, of any thickness, so long as you determine the measurements in advance. Yes, it’s time for a little math!
First you’ll need to decide how many ribbons you want on any given side of your board. Personally, I like the look of memo boards that have ribbons crossing over the corners, so I included the corners as one of my measurements. On my board, I decided that I wanted FOUR ribbons, including the ones on the corners. To determine equal spacing, I divided the length of each side by 3 and marked the thirds lightly in pencil on the back side of the board. Remember, because we’re including the corners, dividing the length by 3 will yield 4 ribbons. Similarly, dividing by 4 will yield 5 ribbons, and so on and so forth.
Step 5: Attach Ribbons
This step is pretty straightforward, as you’ll simply be stapling the ribbons to the board. The only trick is to remember that your pencil marks from Step 4 represent the CENTER of the ribbon! This way, your ribbons will be equally spaced AND it doesn’t matter what width of ribbon you’ve chosen for your project. So when you attach the ribbon to the back of the board, make sure your pencil mark lines up with the center of your ribbon.
Step 6: Add Nails
Secure the ribbons where they overlap using decorative nails or tacks. I covered each with a cloth and then hammered them down using a rubber mallet.
Step 7: Hang
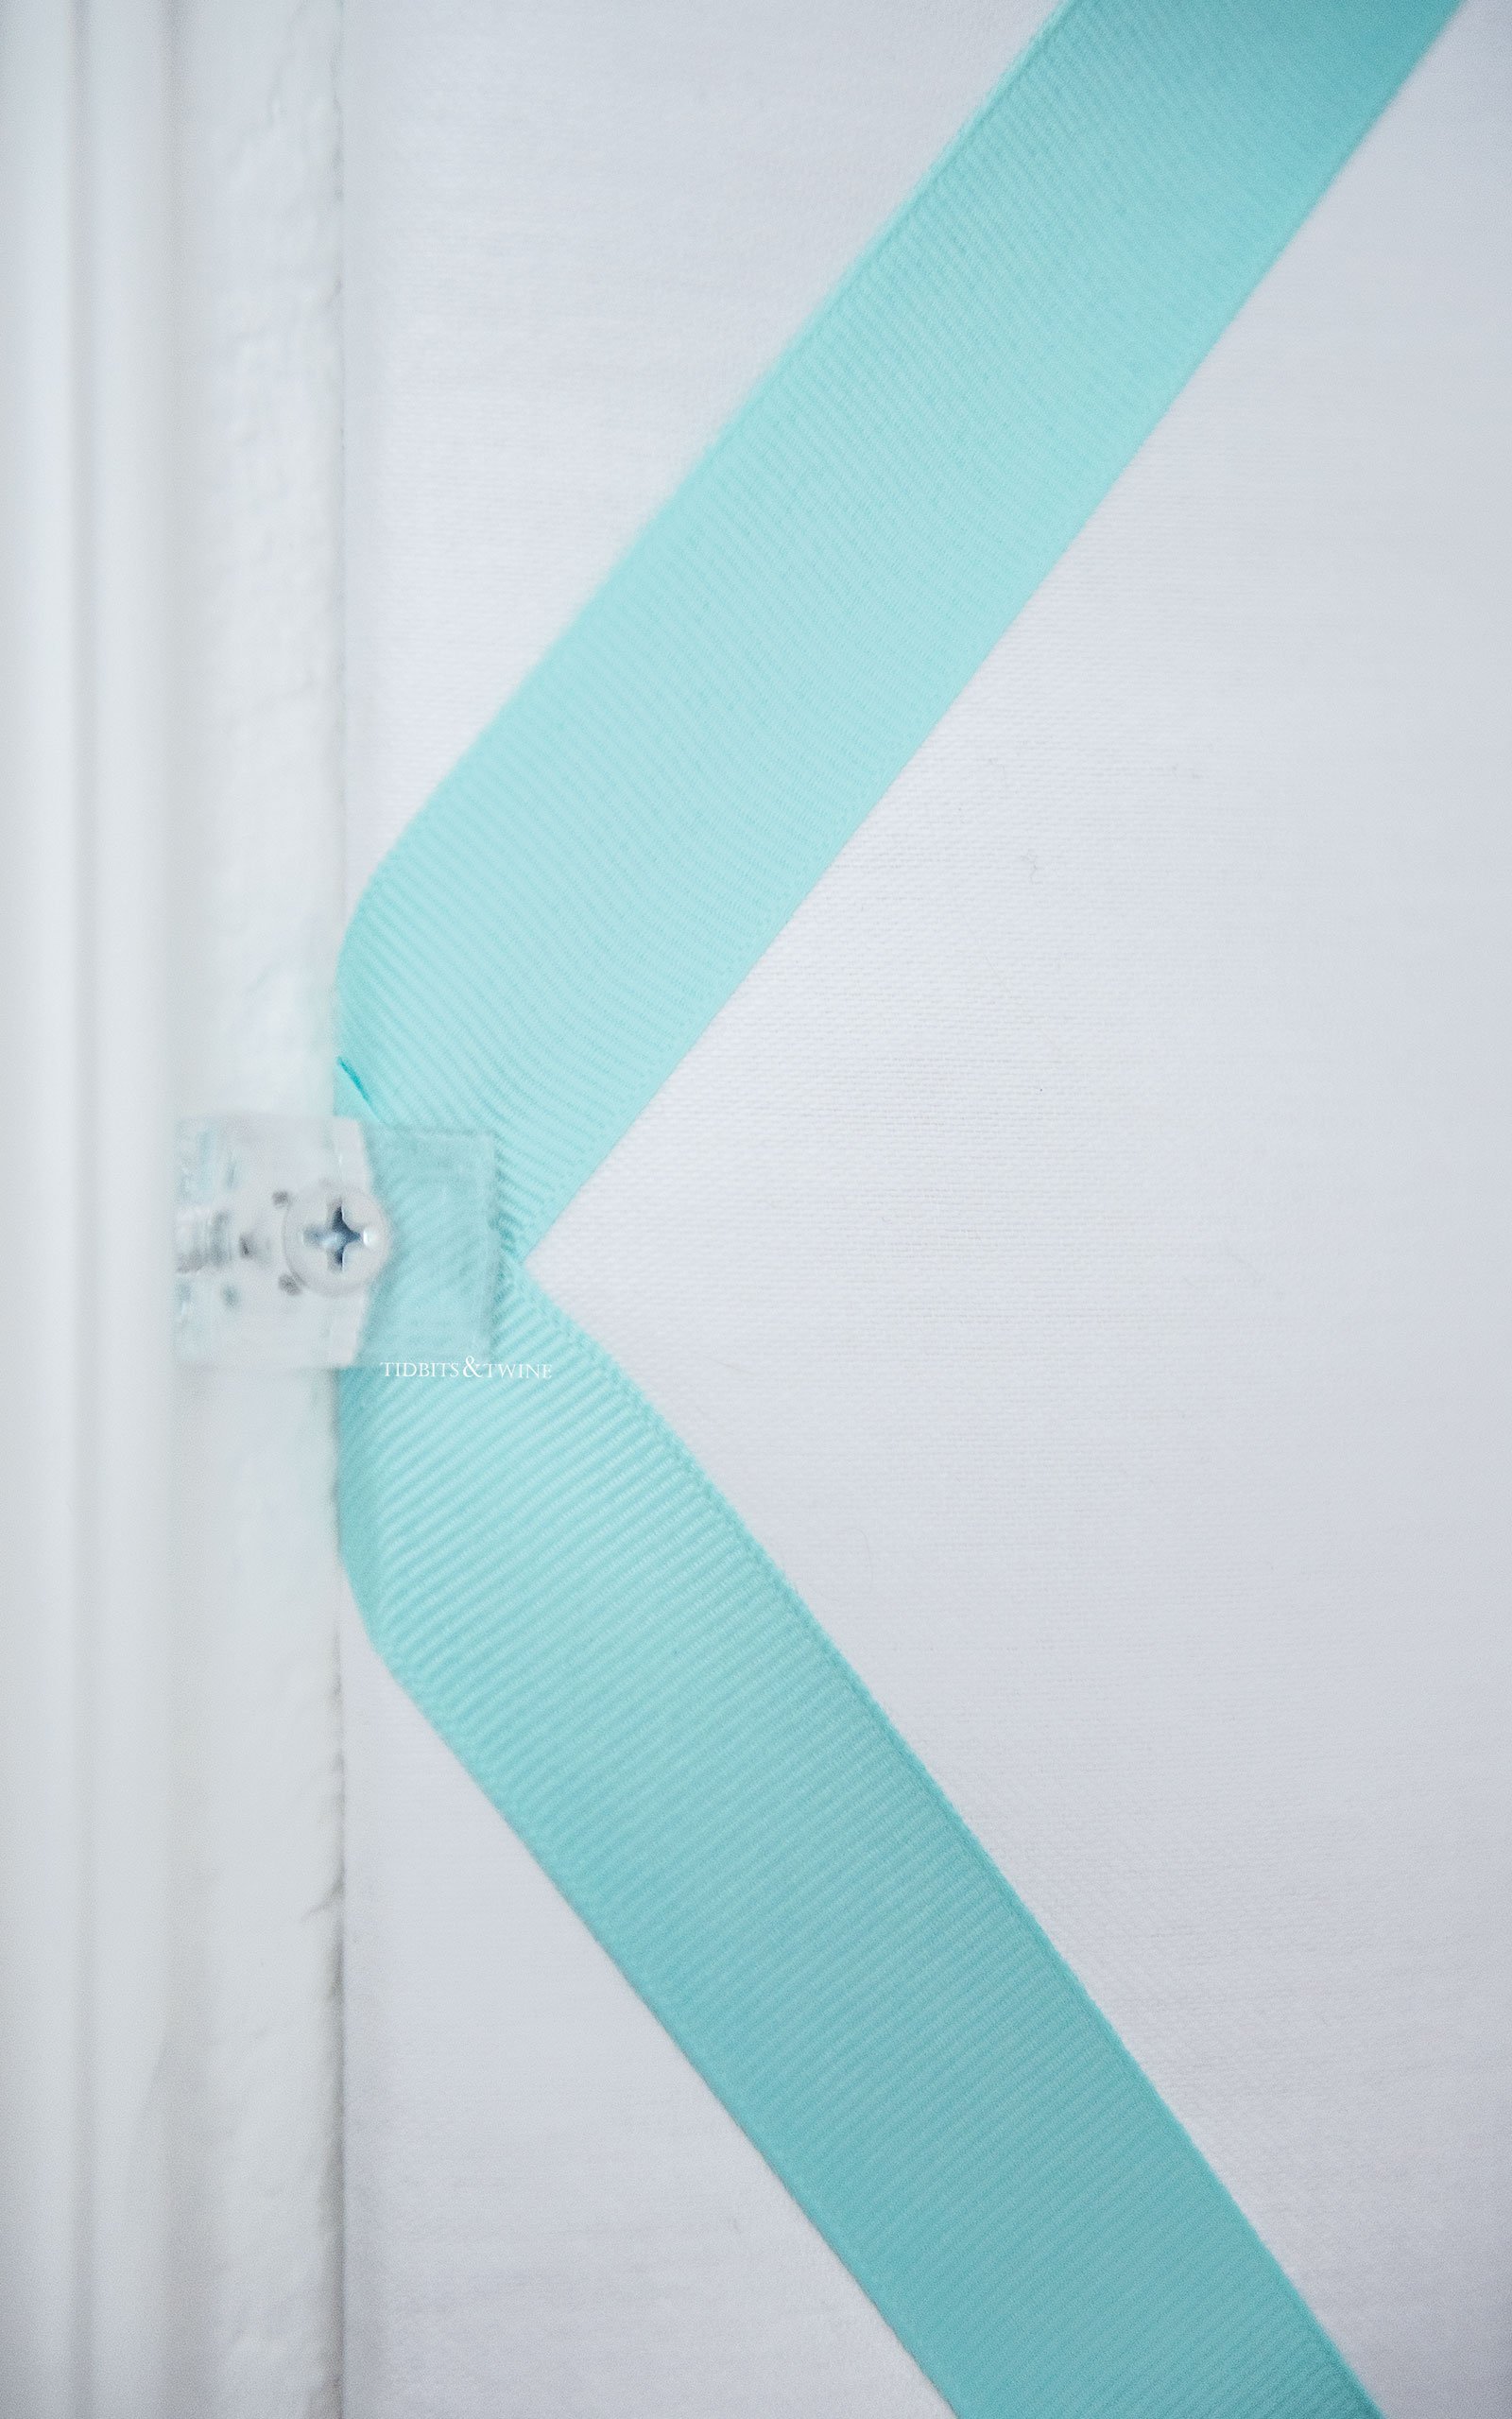
For a smaller memo board, you might be able to use Command hooks or even velcro strips. In my case, the board was heavy but thin, so standard picture frame hooks wouldn’t stay in the board and hold the weight. Instead, I used mirror clips! A benefit of mirror clips for a project this large is that by securing the edges, you can flatten the board and smooth out any warps or bends that the plywood might have.
Easy, peasey, right?! My daughter has already started displaying her fashion designs on her DIY ribbon memo board. :)
Want to save this for future? Be sure to PIN IT!

Want to see more of my daughter’s room? You might like this post:
Join the Community
Let’s keep in touch! Get exclusive artwork plus the latest news delivered directly to your Inbox!

What did you use on the front of the board to keep the criss-cross in place? Pins?
Hi! I used flat white thumb tacks to keep them in place.
Love the board! Curious how thick you made the batting for yours??
Loved this idea. I was wondering how you did the frame around it? I’m not very handy and wondering if you attached the board to the wall first, then framed it? I’m sure my tween would appreciate a professional look :). Thanks so much.
Hi Lisa! That’s a great question and something I didn’t address in the post. The frame that you’re seeing is actually part of her wall trim, so it’s not part of the memo board. I simply put the memo board inside the frame that was already trimmed out on her wall. If you wanted to frame the memo board itself, you’d have to make it first and then attach the frame, which would be cut to the dimensions of the board so that it could sit right on top. :) Kim