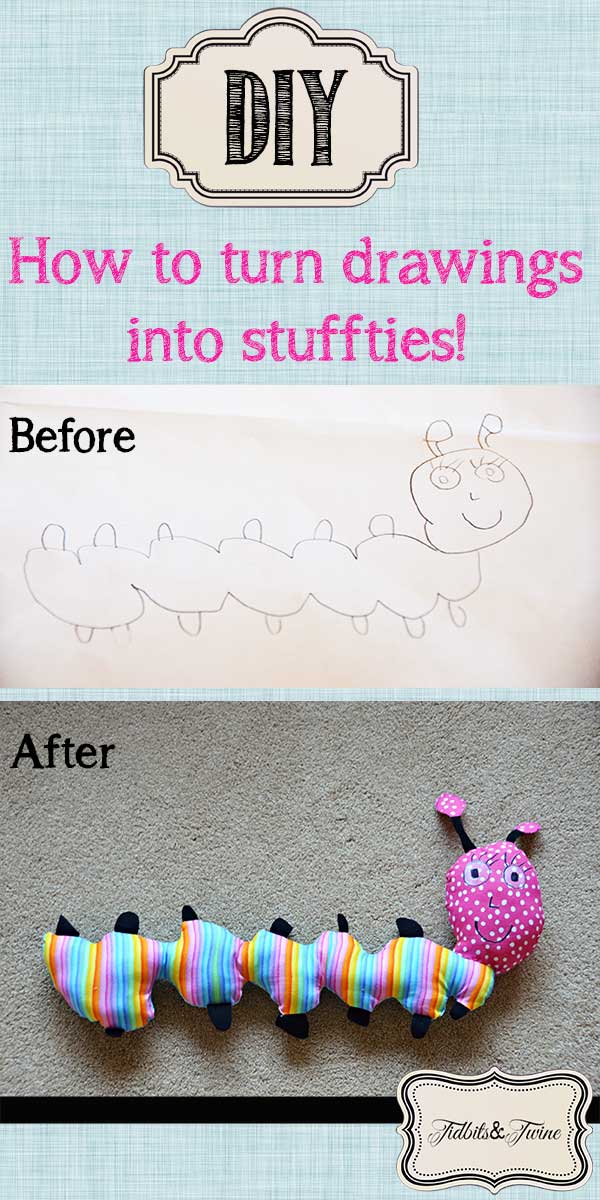
Every summer when my kids come home from staying at their grandparents’ house, they always show up with an armload of new stuffed animals {we call them stuffties}. These aren’t your average mass-produced stuffties, though, these are custom-designed and custom-made based on their artwork! My mom is the master of making stuffed animals from the kids’ drawings and while staying at their house over the long holiday weekend, my daughter asked for a new stufftie and so I thought I’d document the process so that you can make your own stuffed toys!
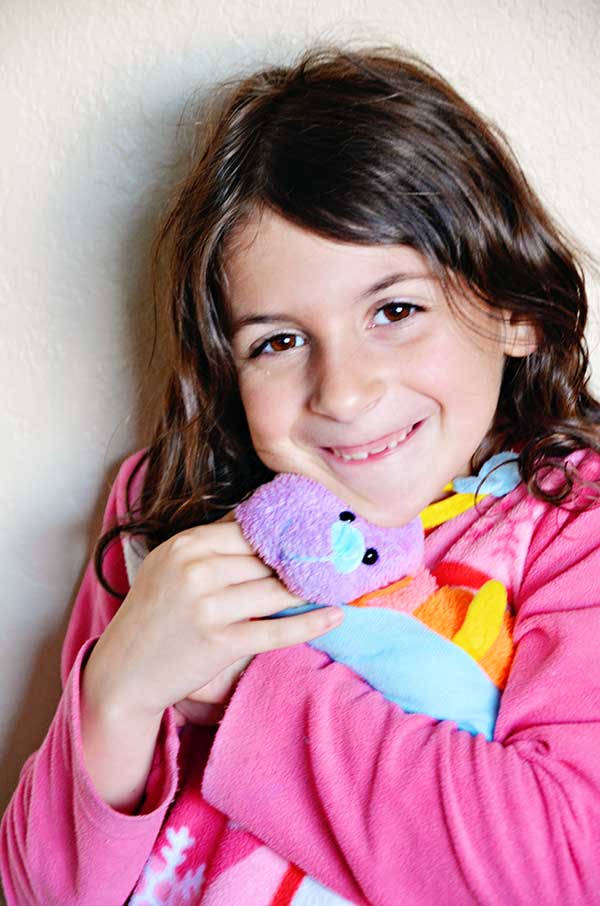
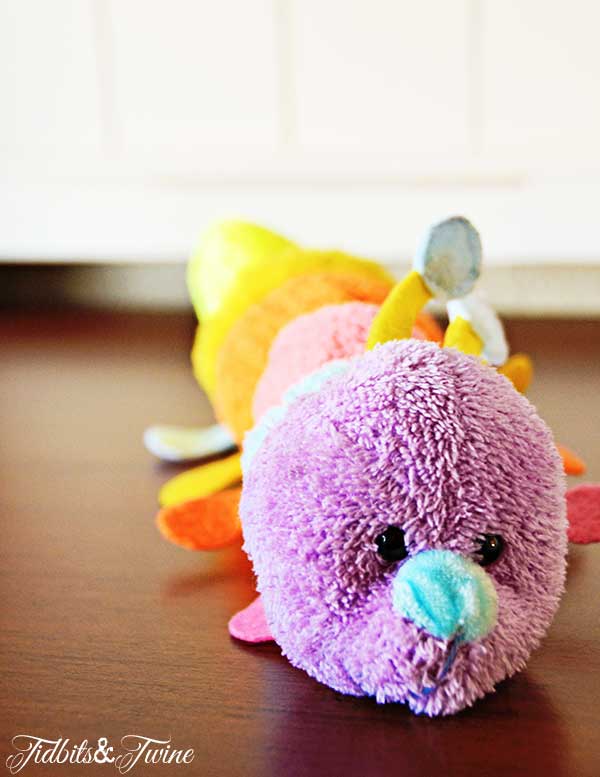
Please meet Caroline, the carnival caterpillar. According to my daughter, this well-loved stufftie was lonely and needed a friend.
Step 1: Draw
Meet Casey, Caroline’s soon-to-be new friend.
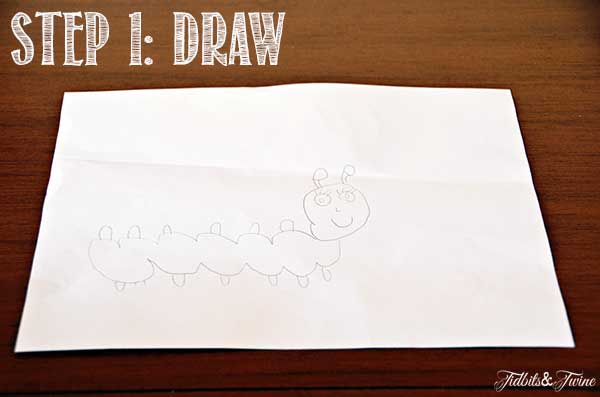
Have your child draw a picture or use an existing picture. We only have standard 8.5″x12″ paper and unsupervised, my daughter drew a small caterpillar on white paper. The drawing is great but it was too small to use as-is for a pattern because by the time we made seam allowances and stuffed it, it would have been a miniature stuffed animal. And so we moved onto Step 2.
Step 2: Enlarge
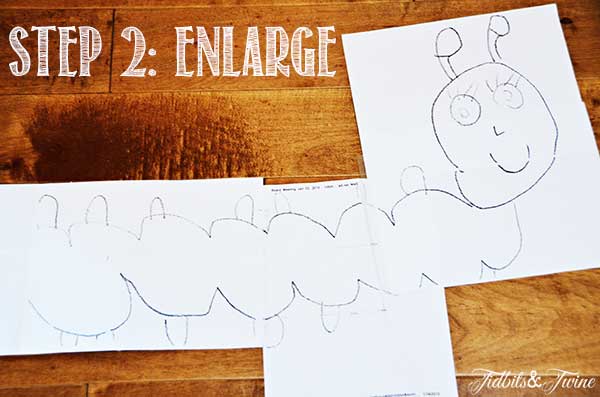
If the drawing is large to begin with, you can skip this step. If not, you’ll need to use a photocopier to enlarge the drawing. We sectioned the caterpillar into two pieces and enlarged each one separately. We enlarged my daughter’s original drawing by 200% and then enlarged the new image by 200% again to get the final size shown above. The final stuffed animal will be a two-sided caterpillar.
Step 3: Choose Your Fabric

Let the child pick the fabric so that the stuffed animal is truly a representation of their imagination. You might want to narrow their selection to only durable fabrics, though, so that the stuffed animal can have a long life. :) Also, felt or ultrasuede are good options for small pieces, such as the antenna and feet on this caterpillar.
If your child has colored the picture and wants the stuffed toy to match, you’ll need to select the fabric colors accordingly. For the caterpillar, since my daughter didn’t color it, she chose the fabrics at random. She chose rainbow stripe for one side of the body, blue polka dot for the other, and pink polka dot for the head. We’ll be using black ultrasuede for the feet and antennae.
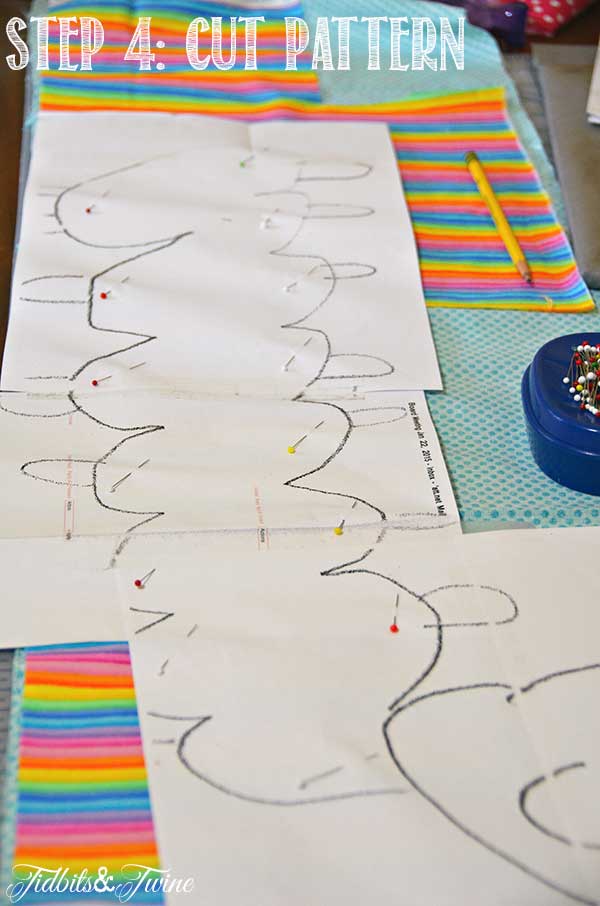
Step 4: Cut Out Pattern
Pin pattern to fabric with fabric wrong sides of the fabric together and cut carefully along the outside edge of the drawing.
Step 5: Baste Appendages
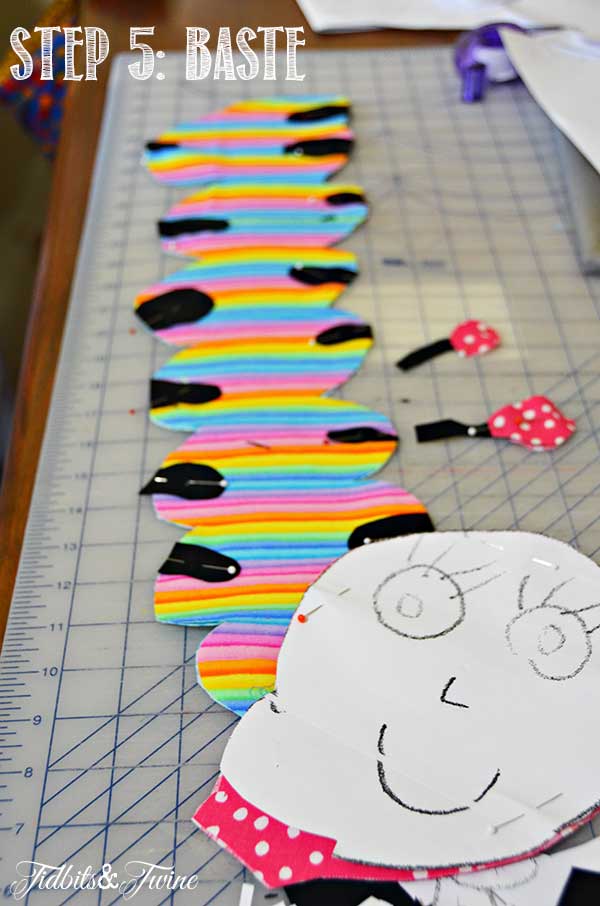
Once all of the pieces have been cut out, it’s time to attach any appendages that are separate from the main body. For example, these could be the arms or legs of a person, in the case of our caterpillar, it’s the legs and antennae. When basting them, you want to turn the appendages so that they are encased in the body.
Option A: If you are going to stuff the appendages, sew them, stuff them and then baste them to the main body.
Option B: In the case of our caterpillar, we are not stuffing the legs and so can simply baste them to the body without sewing and stuffing them first.
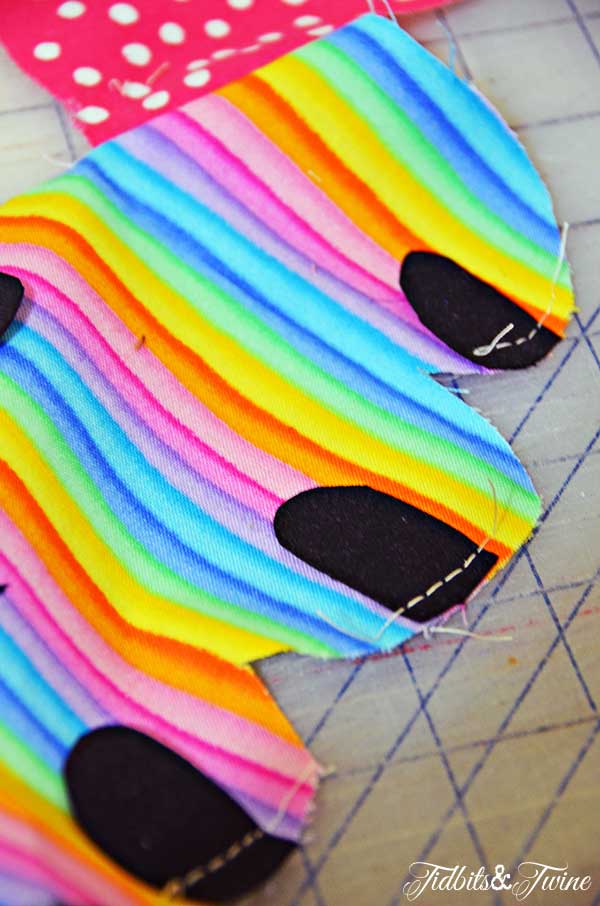
Here’s what the feet look like after they were basted into place.
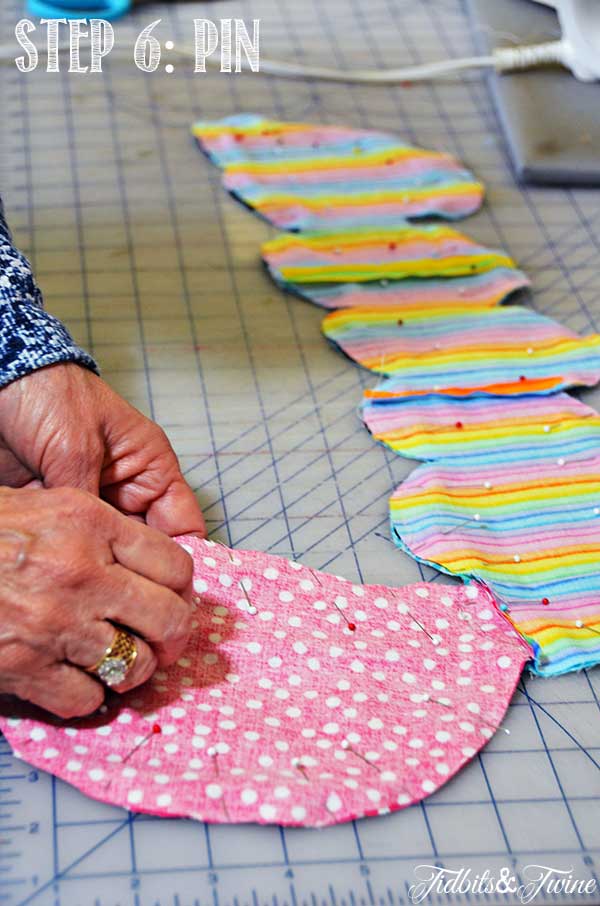
Step 6: Pin for Sewing
Once the appendages have been basted on, pin all parts together with the good sides facing in.
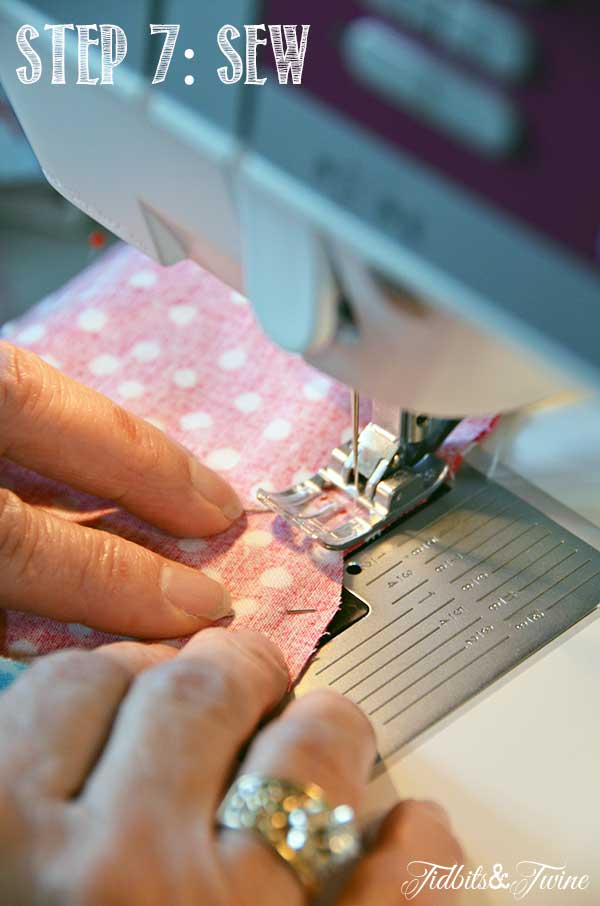
Step 7: Sew
Sew the pieces together using a 14″ seam and leave about a 3″ opening in the body for stuffing. Be sure to back stich each side of the opening so that you don’t rip the seam apart each time your hand goes in and out as you’re stuffing it.
Step 8: Clip Inner Corners
If your stuffed toy has curves, be sure to clip all of the interior corners so that they will lay properly once you turn it rightside out.

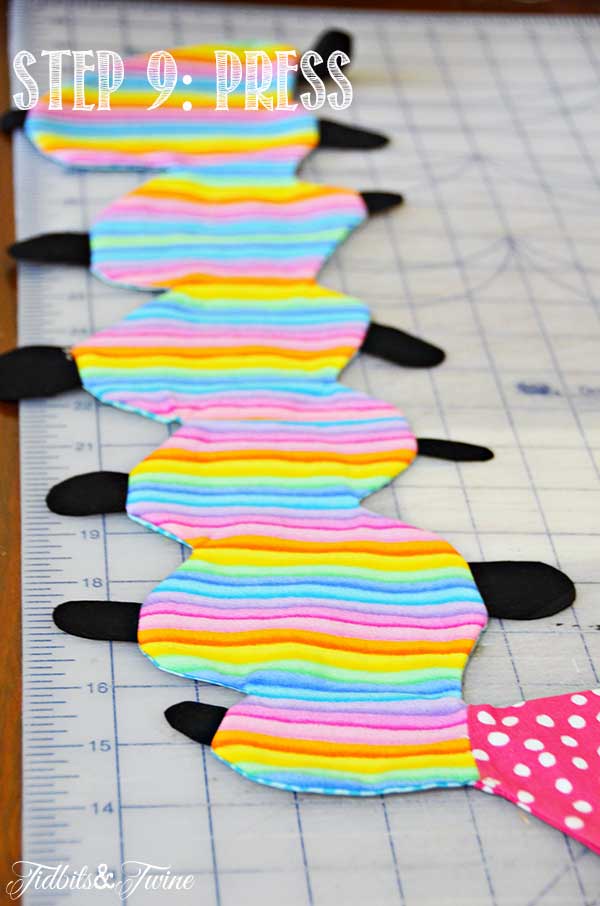
Step 9: Press Flat
Turn your creation rightside out and press it flat.
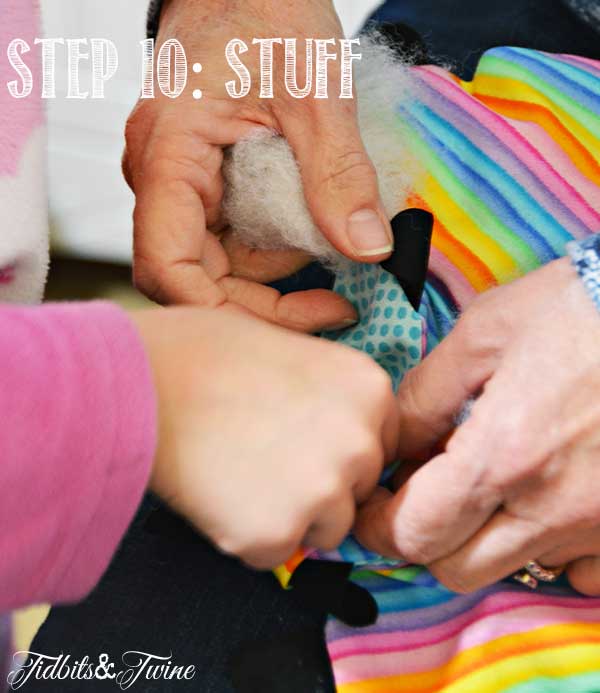
Step 10: Stuff & Close
This is usually the kids’ favorite part! Stuff your creation to the desired fullness and then sew the opening closed. We used polyester stuffing to achieve a plush toy look but you could also stuff it with polystyrene beads. Use small pieces and work from the far end back toward the opening. Use a knitting needle or pencil of you need to poke stuffing into small areas.
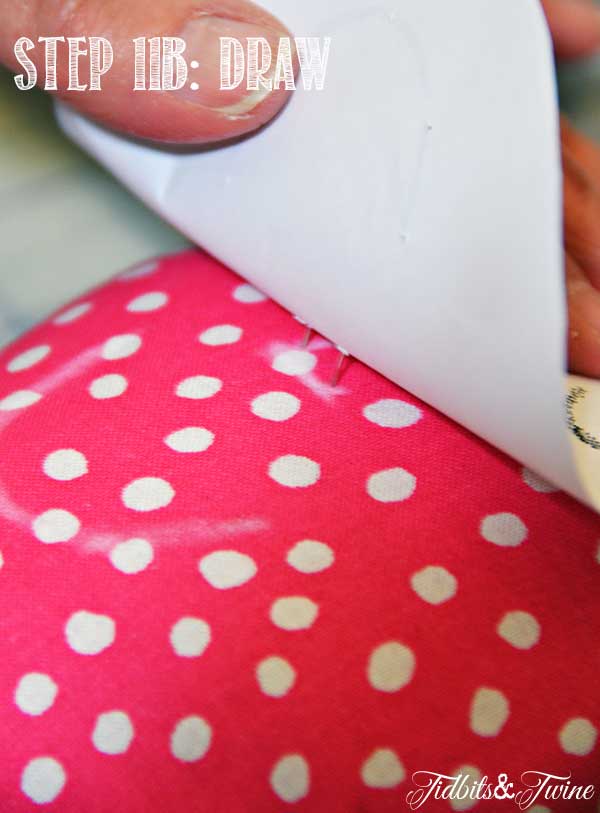
Step 11: Transfer the Face
Once stuffed, the area for the face was smaller than how it appeared in the original drawing, so in order to keep the proportions accurate, we reduced the size of the face on the photocopier so that it properly fit on the head.
Cut out the face and use straight pins to pins the lines of the drawing.
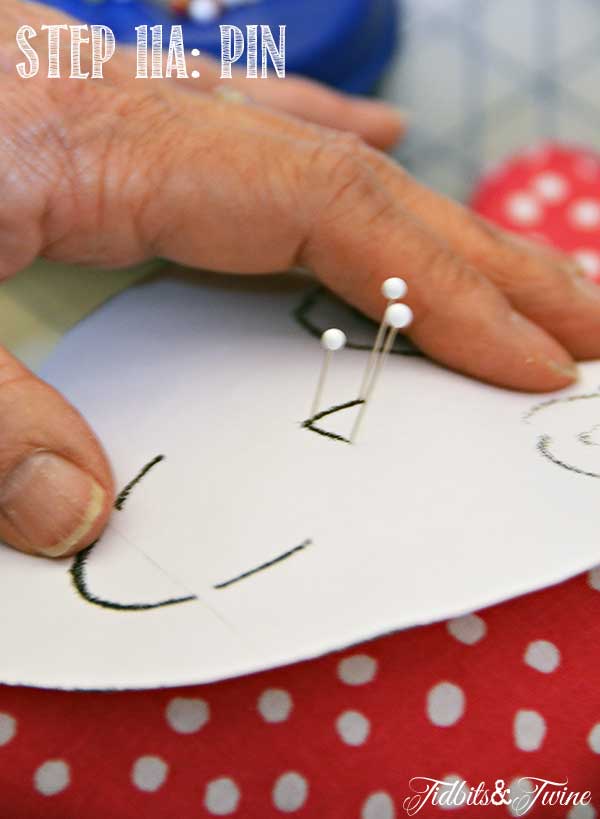
After all of the lines have been pinned, lift the paper a section at a time and using a chalk pencil, connect the dots to form the shape! Once the face is transferred, you can paint it, use pens, stitch it or fuse fabric to it.
And here’s a look at Casey! Straight out of the imagination of my 1st grader and into reality.
There’s nothing better for a kid than to snuggle up with a stufftie created by their own imagination and made with love. Thank you, Mom!!

very good idea and so cute
Adorable! Such a clever idea and a wonderful keepsake.
It’s like her special friend came to life! This is such a memory making activity!
What a sweet idea.
What a wonderful activity for your mother to do with her grandchildren and the stuffies are too cute!! Love this post!!
xo. Leslie
Segreto Finishes
Kim,
What a cute and clever idea. As a grandma this will definitely go into the file for future reference.
Thanks,
Karen