First of all, I wanted to thank everyone for their kind comments about my guest room makeover! I am always nervous when I share photos of my home because it’s….well…personal, so your kind words were extra appreciated. Second, I need to caveat this post. While it does provide step-by-step instructions for my no sew upholstery project, it’s really more about sharing a life lesson that I learned as a result. So regardless of whether you already know how to upholster or you don’t, I hope you can take something away from my experience.
“If you want something you’ve never had, then you’ve got to do something you’ve never done.”
As part of my guest room makeover, I needed to reupholster the chair that I got for free from Craigslist.
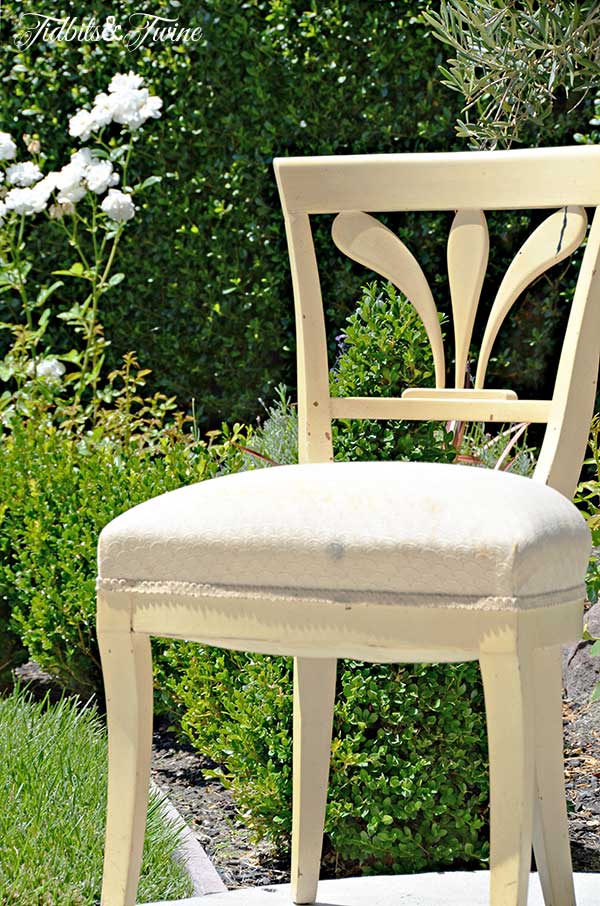
The bones of the chair were nice and the structure was solid, but the seat cover was discolored and stained.
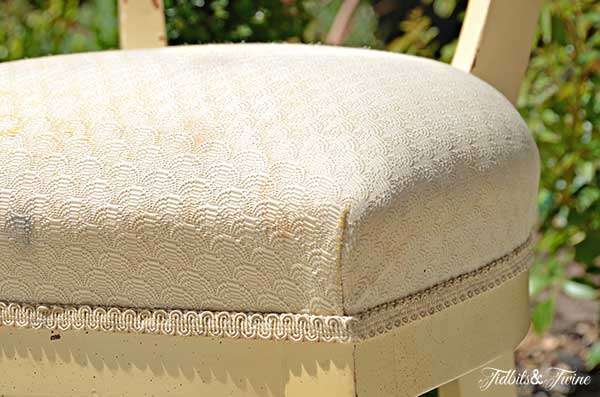
But here’s the thing: I know *nothing* about upholstering. Not only that, but I don’t know how to sew or even anything about working with fabric! I come from a long line of women who are/were wonderful seamstresses and quilters but their skill with thread and needle somehow skipped me. Nonetheless, I really wanted to try upholstering the chair myself because this is a project that has been on my bucket list for some time. {Is is weird that upholstery is on my bucket list??}
“The greatest barrier to success is the fear of failure.”
Sadly, my personality and quest for perfection often keeps me from trying new things for fear of failure. In fact, starting this blog was the first time in my life that I can remember taking a risk, putting myself out there, without any clue as to how things would turn out. So despite the fact that I might fail, I set out to see if I could do a no sew upholstery project on my chair. For those of you that know how to upholster and know how to sew, you might cringe a bit about my process. But keep this in mind: This isn’t really a post about how to upholster a chair. It’s a post about risk taking and learning to love the process, not the results.
Step 1:
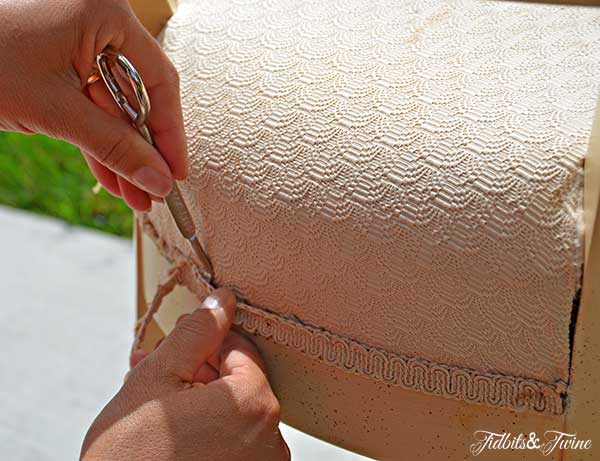
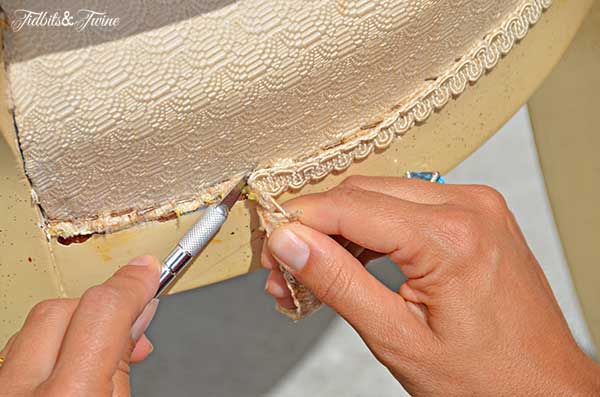
First, I simply pulled off the trim that was hot glued to the chair to cover the staples. Since I don’t own any specific upholstery tools, I used a paint can opener to pry it loose and an X-Acto knife to cut away any glue that wasn’t easily pulling off.
Step 2:
I marked with a Sharpie any areas of material that looked like they were cut a bit short so that I’d know to cut extra material in these places when using the original seat cover as a pattern.
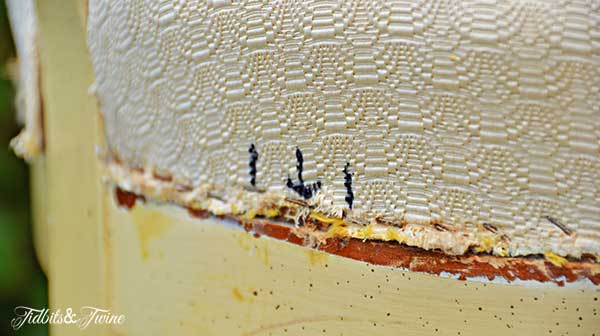
Step 3:
Next, I pried the staples free using a small flat screwdriver.
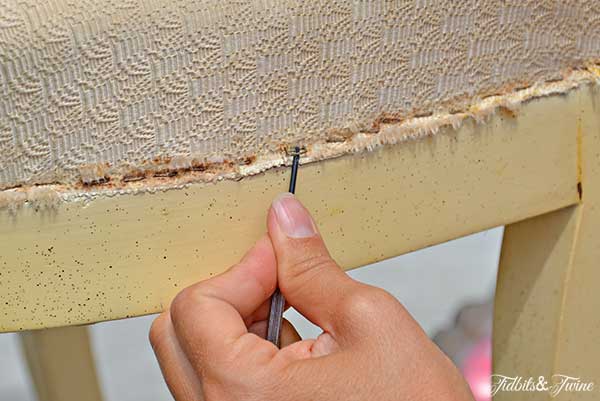
Step 4:
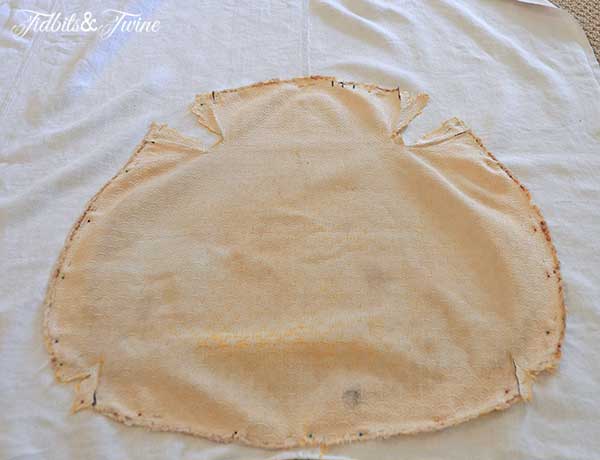
Once the cover was free from the chair, it could be used as a pattern for the new seat cover.
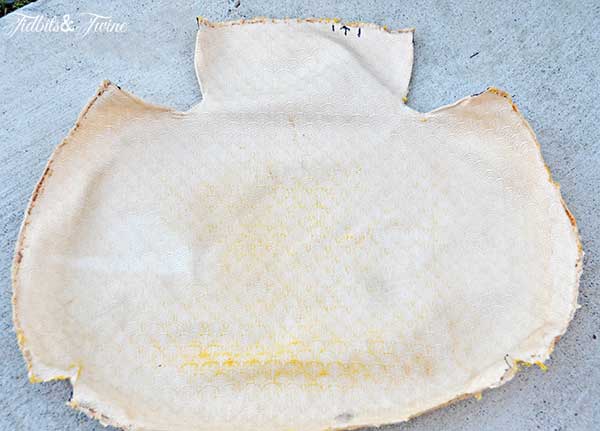
Step 5:
I had a vintage hemp linen sheet that I decided to use for this project because I liked the neutral color, the texture and the seam lines.
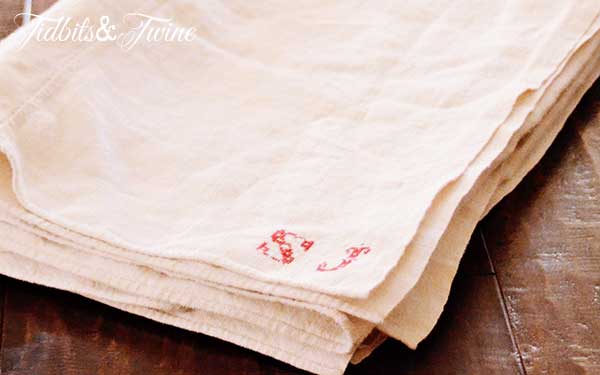
I simply laid the pattern on top of the fabric and pinned it into place. I then cut around the pattern leaving about and extra 1/2″ all the way around (in case I messed up – which I did!!)
Step 6:
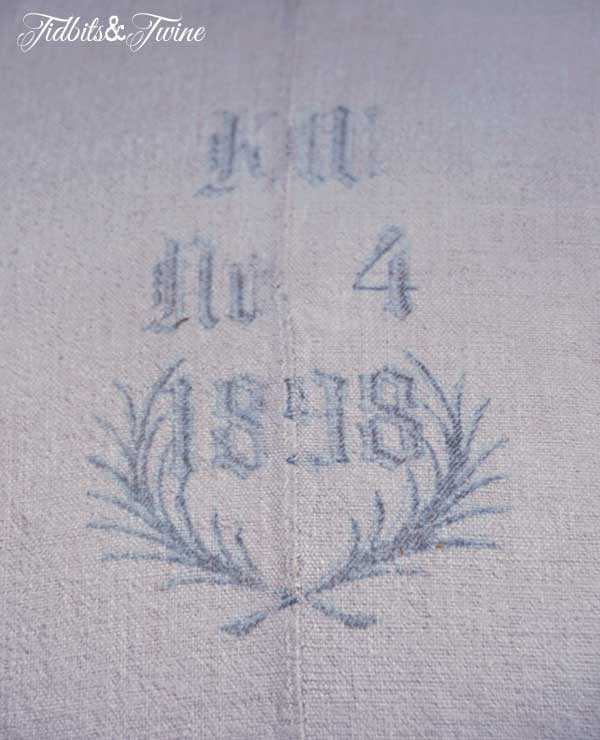
The next step was for the graphic transfer that I applied to the chair. The Graphics Fairy not only has amazing {free} images that you can use, but also a list of 12 different ways to transfer images with step- by-step instructions.
Once the new fabric was cut, I centered it on the chair and taped the top of my graphic into place.
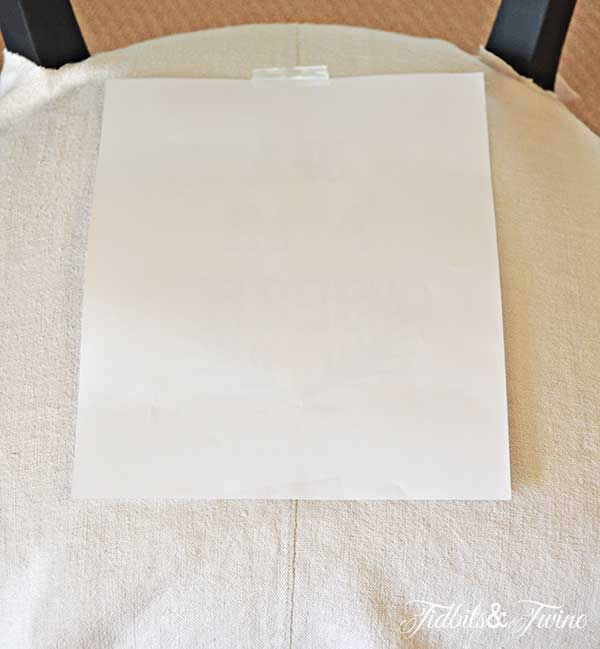
I then removed the fabric from the chair, placed it on a flat surface, and taped the bottom of the graphic to the fabric, holding it tightly in place so that I could transfer the graphic. I used the Citra Solv method because I wanted to achieve a somewhat faded and aged look. You can view complete instructions {here}.
Step 7:
This is where I made a big mistake. The fabric still smelled of Citra Solv even after I ironed it and so I decided to wash it. I wasn’t worried about the fabric shrinking since it was vintage and had previously been washed, but not knowing anything about fabric, it never occurred to me that the fabric would fray in the washer! Whoops! What a disaster.
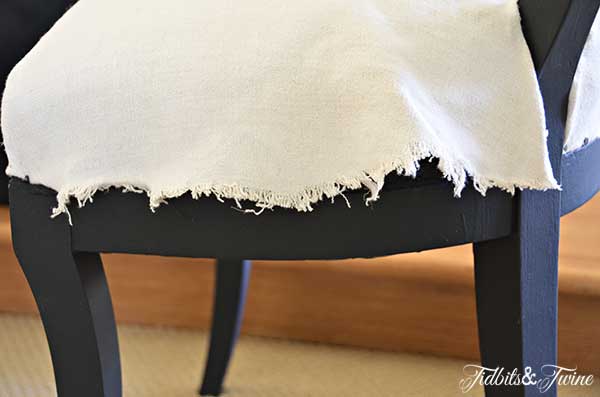
Luckily, since I had made my pattern so much larger than needed, I still had enough fabric to work with even after decided to use upholstery tacks as my finished look. And for future reference, the Citra Solv smell dissipates over time so washing the fabric after the transfer really isn’t necessary.
Step 8:
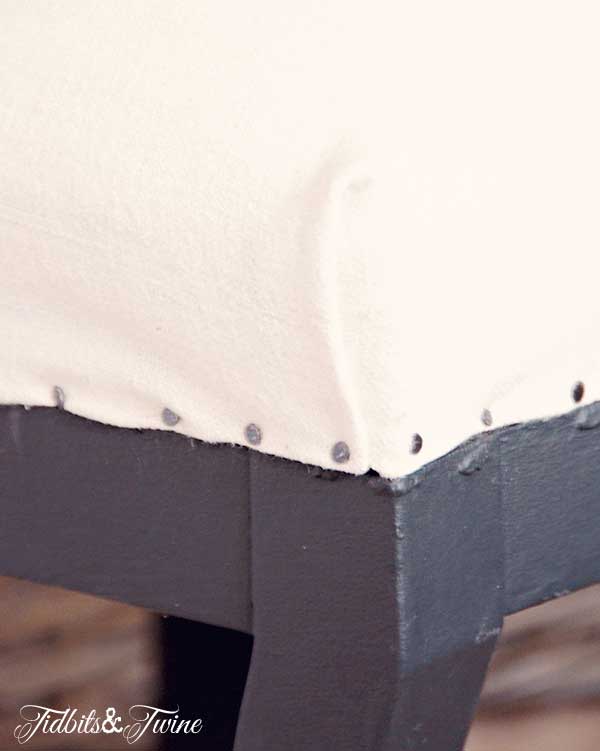
I ultimately decided that I wanted to use the upholstery tacks as my finished edge instead of covering them with trim, so I needed to fold the rough edges under to make a clean, finished look. I tried several different ways of tacking the fabric down. At first, I started in the front center and worked my way out left and right, but then I was left with too much fabric at the corners. In the end, I nailed the front center and back center to ensure that my seam and graphic would stay centered regardless of how I pulled and tucked. I then worked on the corners trying to get them tight and then worked inward. I ended up simply folding and tucking the fabric in the corners.
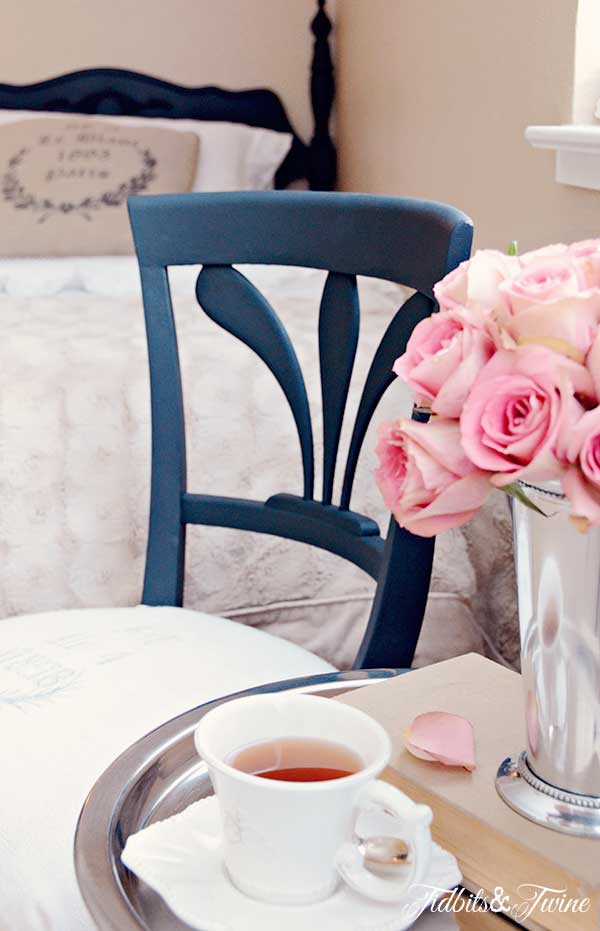
The Lesson
While I did learn a lot about the upholstering, I learned more about myself during this process. For instance, I knew I wasn’t folding the corners properly and was really struggling to get the puckers out (which I never did), but as I was working on it, my kids kept checking in on me and said things like, “Wow! Good job, Mommy!” My instinct was to reply something along the lines of, “Thanks, but I’m making a lot of mistakes” and then point out all of the flaws. But I quickly realized that this is what had stopped me from trying in the first place and wasn’t something that I wanted to pass along to my children. I want to them try new things regardless of the outcome and just enjoy the process itself. I want them to take risks. I want them to feel empowered. I want them have fun trying.
Trying new things, regardless of the outcome, is in itself successful!
So when my kids complimented my work, I replied, “Thank you! I’m doing my best!” It was that simple. And what’s more, is that the more I stopped focusing on what I was doing wrong, the more I enjoyed and appreciated what I was doing right. After all, isn’t that what we want for our children? To try their best and have fun doing it?
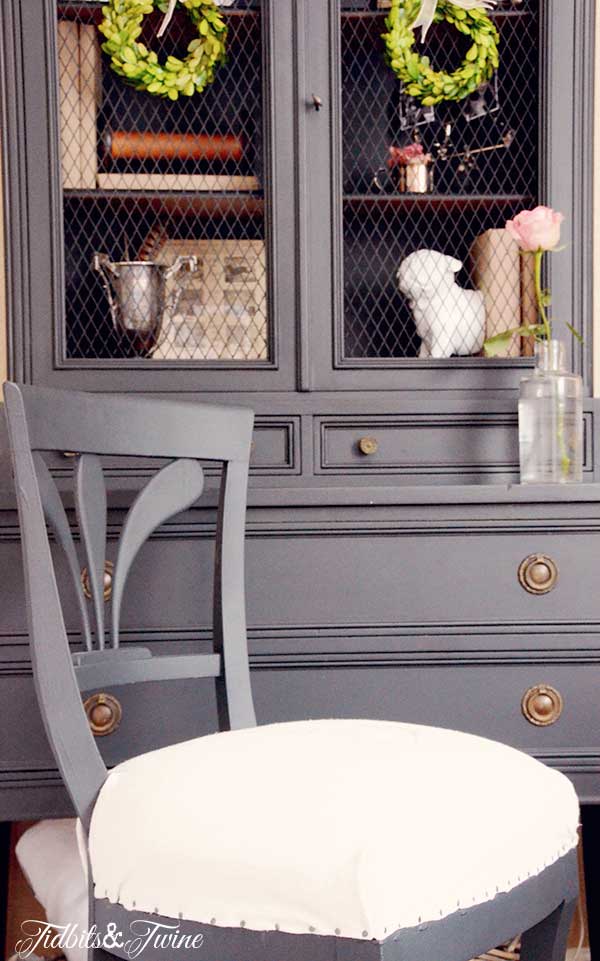
And when I nailed in the last tack, my sense of accomplishment was overwhelming. So taking a cue from my Kindergartener’s reaction when she first learned how to cross the monkey bars, I stood up and yelled “I did it! I did it! I upholstered my first chair!” My kids and husband all came in to congratulate me and I accepted their praise, not because I did a great upholstery job, but because I took a risk and challenged myself to do something that I knew wouldn’t be perfect. For me, in this moment, trying something new was my success.
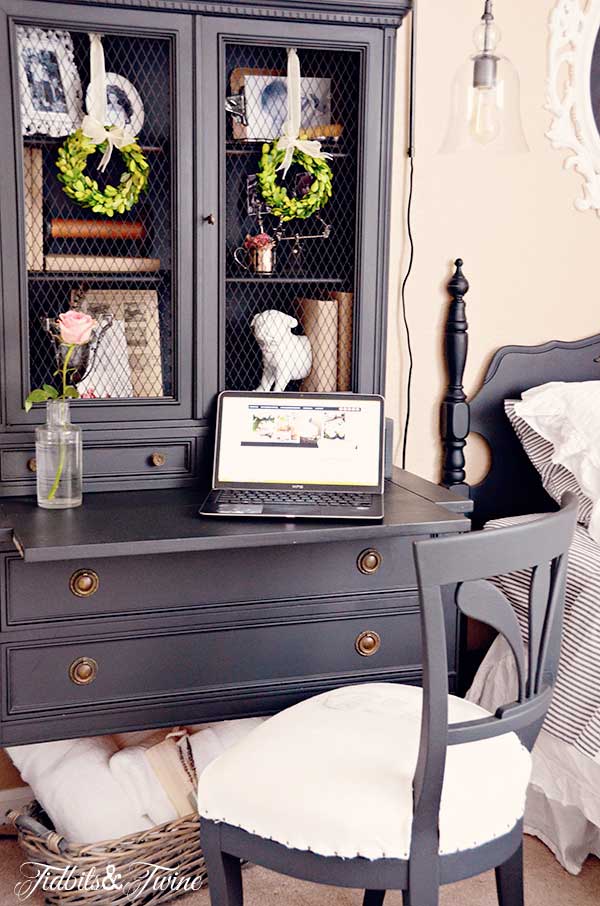
Clearly the chair isn’t perfect. But I learned a lot from the process and had fun and I’ll know better next time. So while this isn’t a great upholstery job, it’s a great life lesson.
“Each and every accomplishment starts with a decision to try.”

P.S. If you know how to “properly” fold the fabric so that it sits nicely on the chair, can you please let me know! I’m sure there will be another upholstery project in my future… :)
Would you like to receive my posts via email? Enter your email address below. You will instantly receive an email from FeedBurner and you will need to click the link to activate your subscription.
Join the Community
Let’s keep in touch! Get exclusive artwork plus the latest news delivered directly to your Inbox!

Good job! I’m also a non-sewer lol I tried reupholstering for the first time a few months ago myself. I found a decent sized step stool or foot stool at goodwill for $5. It had seen better days. Hello, 1987?
You learn as you go. The corners are challenging because you want them to look neat and seamlessly perfect. I want to find more to reupholster! Good job, love the blue/grey color.
Vicki – It sounds like you’re having fun learning, too! Goodwill is a great suggestion for finding items to test out upholstering skills…I might have to make a stop there this weekend! :)Have a wonderful day!
Well done you! OK, you don’t feel that you made a perfect job of it, but if the kids and your husband think it’s OK, that’s good enough, and as you said you overcame your fears of trying something new, which is wonderful. As a bit of a perfectionist myself, I used to worry myself silly about any little thing that had gone wrong on a job, but after you’ve finished and walked away for a while you usually don’t really notice it, and most people who don’t know it’s there, won’t notice it at all.
Judi in the UK
Thank you, Judi!!! :)
It looks great! Love the fabric!!
Thank you, Martina!