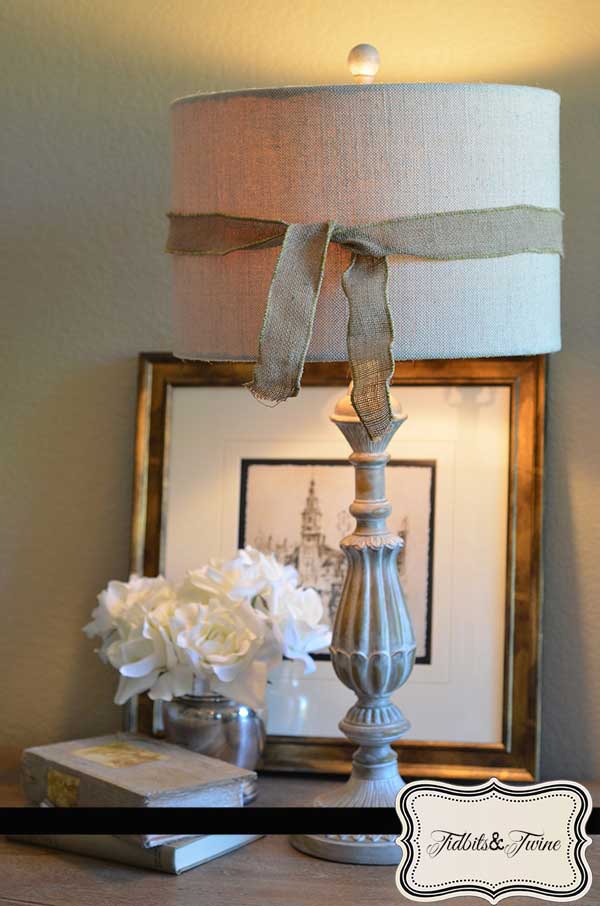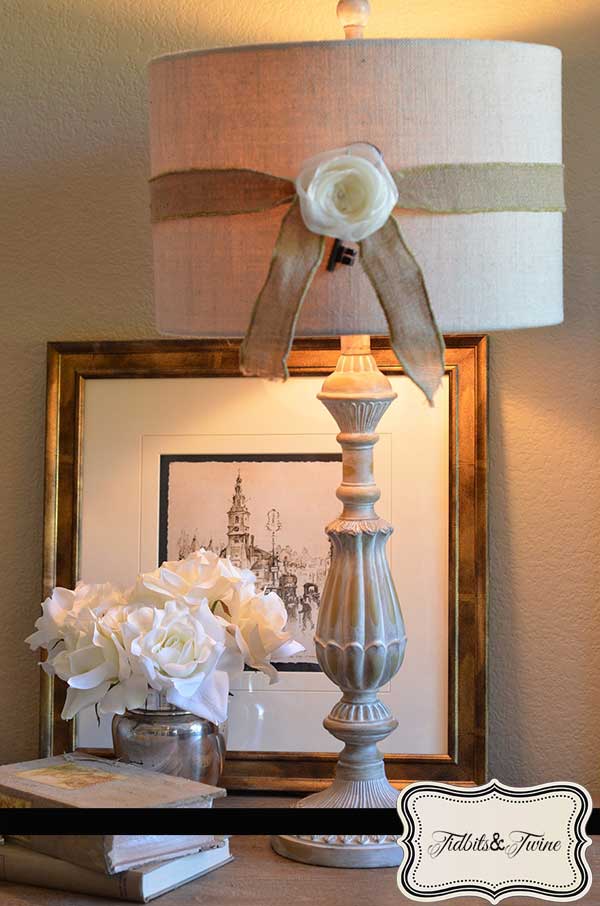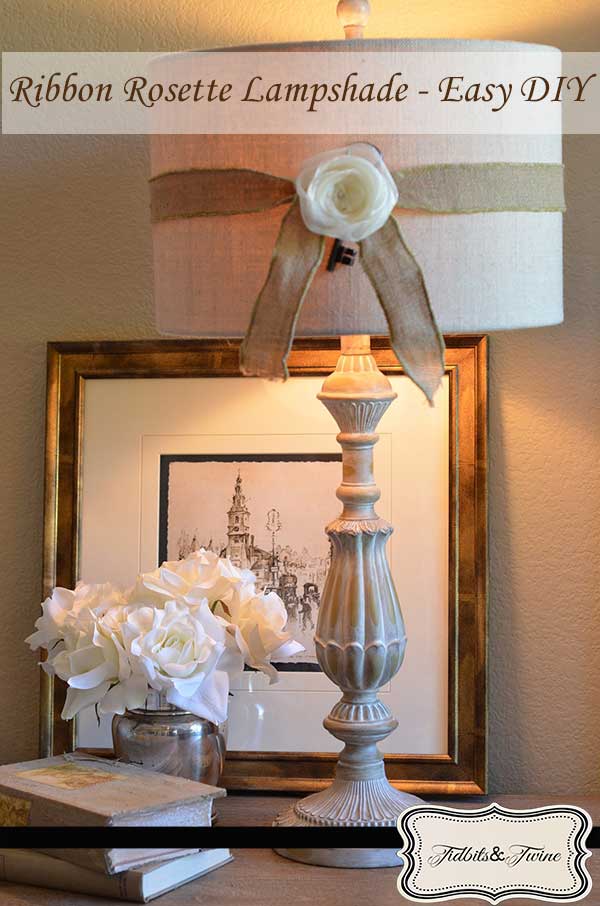
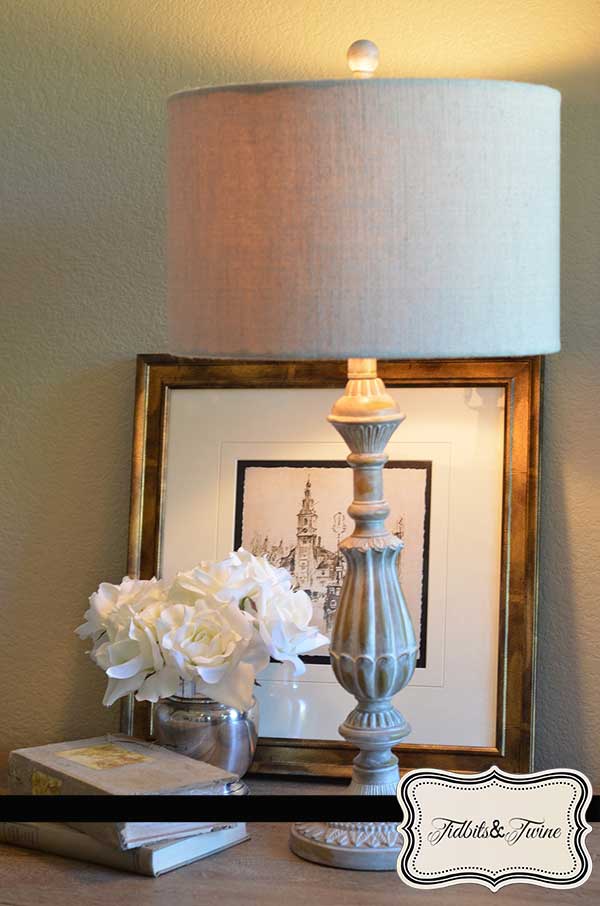
 We are in the process of remodeling our master bedroom and I had been looking for new bedside lamps for some time when I came across this one at Marshalls. The size was right, the price was right (only $30) and I loved the linen lamp shade but overall, it seemed a little….well….blah. The neutral color works well with our room but I felt like it needed a little warmth and a bit more elegance on the shade, so I decided to add a ribbon rosette.
Supplies:
- 1 1/2″ Wired burlap ribbon (length depends on the diameter of your lampshade)
- 1 1/2″ nylon ribbon (length depends on your desired diameter of your rosette. I used about 67″ to create a 3 1/2″ diameter rosette)
- Skeleton key (any small metal object could work. The jewelry making supply section at the craft sore is a great place to look for objects like this)
- Scissors
- Straight Pins
- 1 self-adhesive pearl
Step 1
First, I started by knotting a length of 1 1/2″ wired burlap ribbon around the shade to add some warmth to the lighter-colored shade and to help color balance the base and the top. I chose wired ribbon because it’s a bit easier to hold in place when tied around the shade.
Step 2
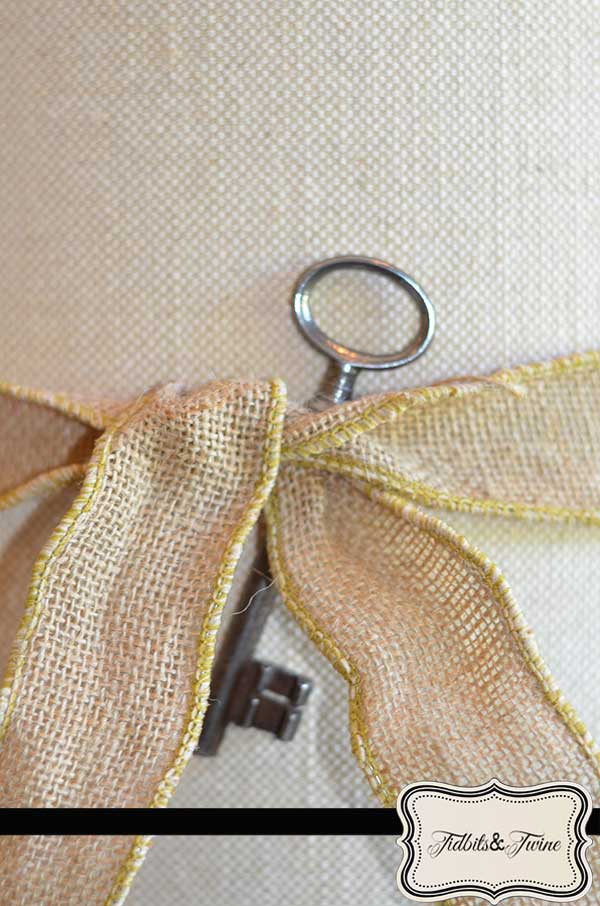
Next, I tucked a skeleton key behind the knot. Now I probably would have done this no matter what because I like to add dimension and to include “hidden” objects in things, but in this case, the inclusion of the key has a practical purpose. This key locks our nightstands and my kids are fascinated by it and are constantly walking off with it. Now, it is safely tucked away in my lampshade so I always know where to find it! The jewelry making section of the craft store is a great place to look if you don’t have a skeleton key but want to add a small, metal object.
Step 3
Lastly, I created a rosette using a 67″ length of 1 1/2″ sheer nylon ribbon in off-white. Here are the steps to create the rosette:
How to Make a Ribbon Rosette
1. Tie a loose knot in the end of the ribbon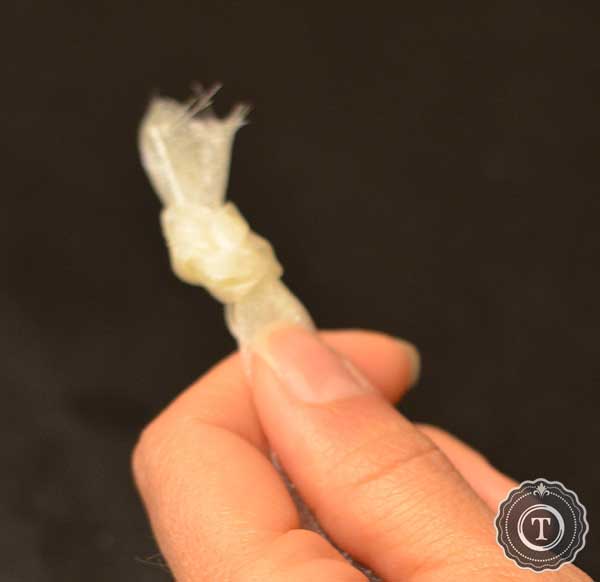
2. Tuck the end of the ribbon down into the knot so that it is hidden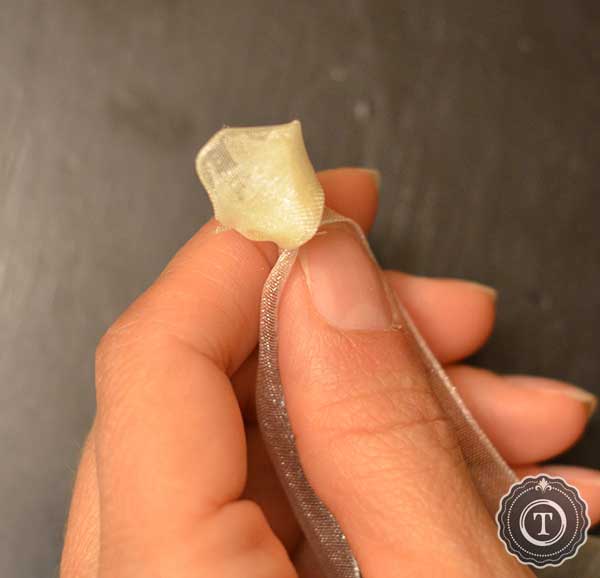
3. Wrap the long end of the ribbon up and over the knot to conceal it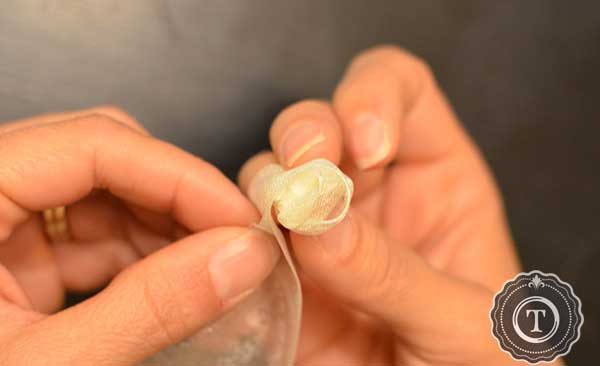
4. Start turning the ribbon around the knot, slightly twisting it as you go along. Make sure to only turn in one direction to build up “petals”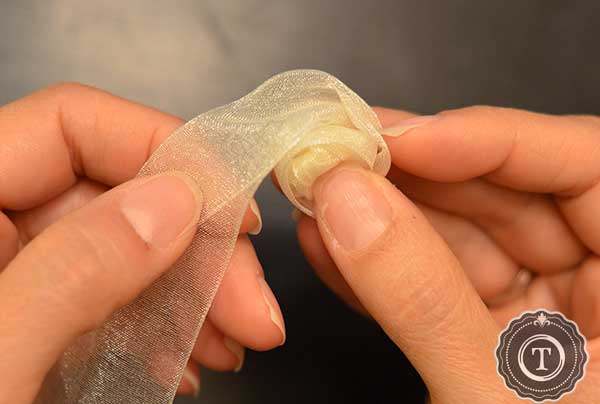
5. Twist the ribbon as you turn it to add dimension. I chose to twist in an uneven manner so that my rosette would look more natural.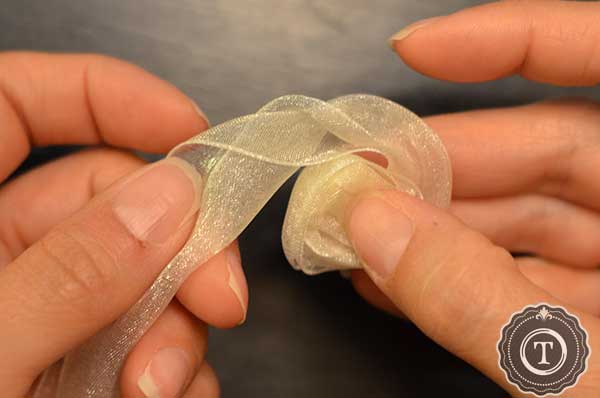
6. To create an open, airy rosette like I used, wrap the ribbon loosely. It can be touch to hold it together so you’ll need to use your thumb to hold the center and your fingers to hold the back. (Please excuse my broken thumbnail! I did that last weekend playing with the kids. Ouch!)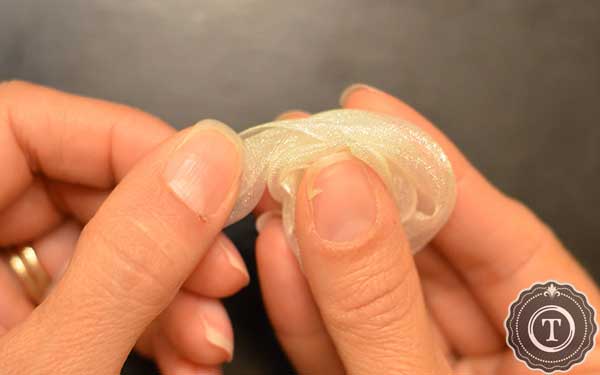
7. As you build up more layers, you’ll want to secure it as you move along to make it easier on yourself. I didn’t want my rosettes to be permanent (because I might use the ribbon for something else later on) and so used straight pins to secure the petals to the knot as I went along. The nice thing about using pins is that you can shape easily shape your flower when done to get just the look you want, but for a more lasting hold, you could use a hot glue gun..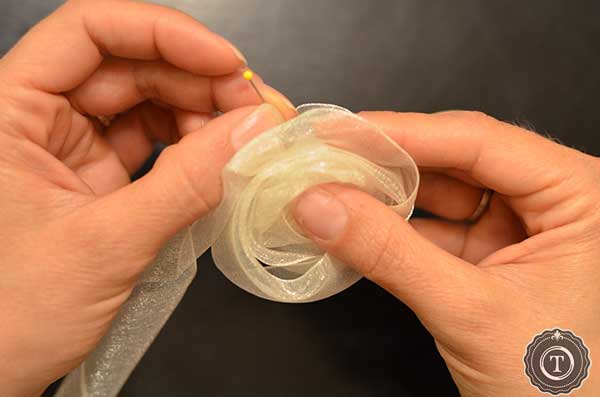
8. Keep turning and twisting the ribbon around until you reach your desired diameter. I like to make the last couple of turns very loose so that the outer edges of the rosette are uneven.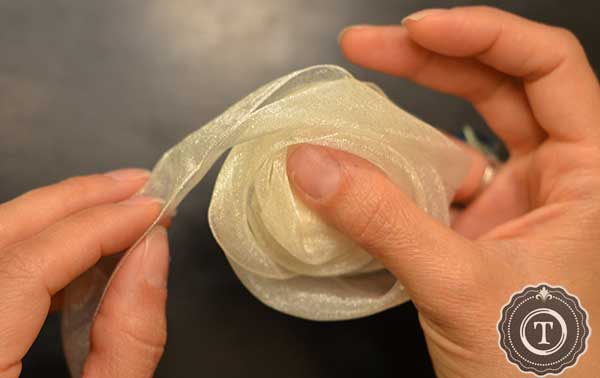
9. When finished, secure the end (with either a straight pin or hot glue) and add a self-stick pearl to the center to give it a finished look.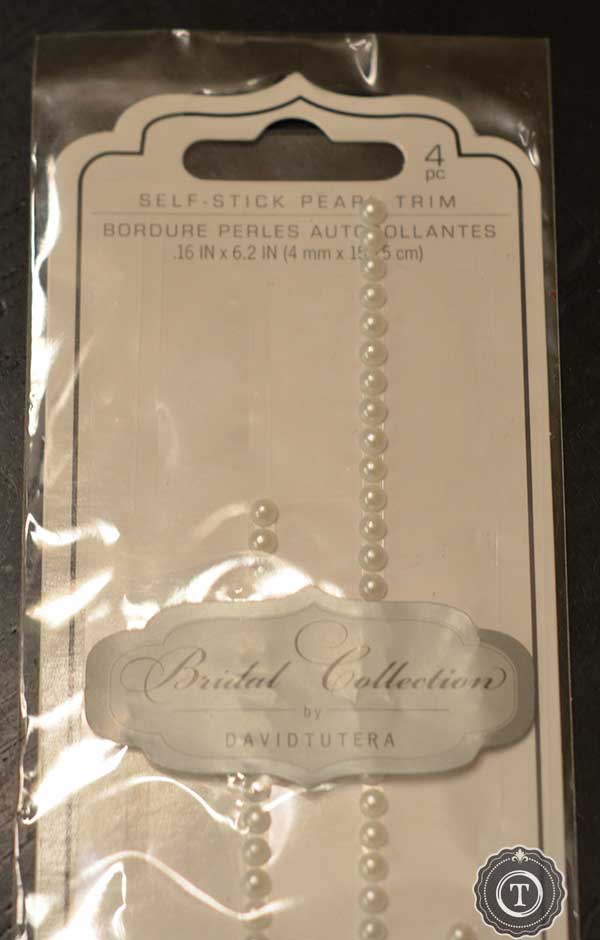
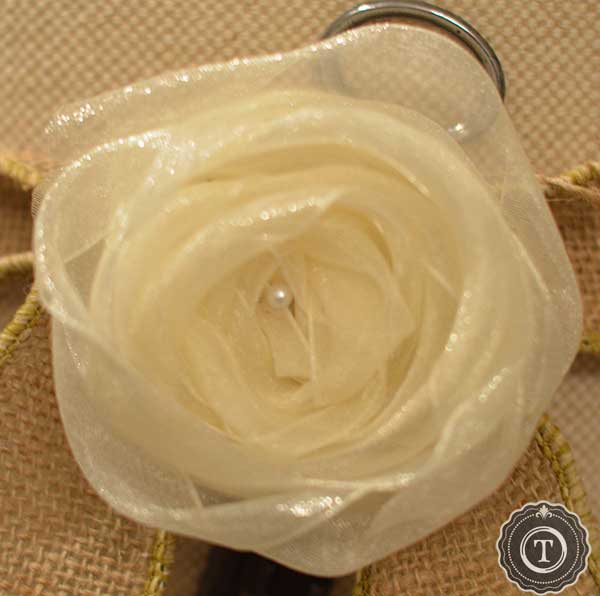
The ribbon I chose has a bit of shimmer to it, which contrasts with the harsh texture of the burlap and gives me look I was hoping for. In this case, I used a straight pin to secure the rosette to the burlap but hot glue would be a better choice if you wanted a sturdier hold.
I’m really happy with how it turned out and feel that the lamp is now a better fit with the overall feel of our room!

Linked On:

Join the Community
Let’s keep in touch! Get exclusive artwork plus the latest news delivered directly to your Inbox!

