We have a large chandelier in our dining room that I love, but decided that it wasn’t exactly my style. Since I still like the chandelier and it works just fine, I didn’t want the expense of buying and installing something new, especially when a small project was all that was needed! Here’s everything you need to know to create a DIY crystal chandelier.
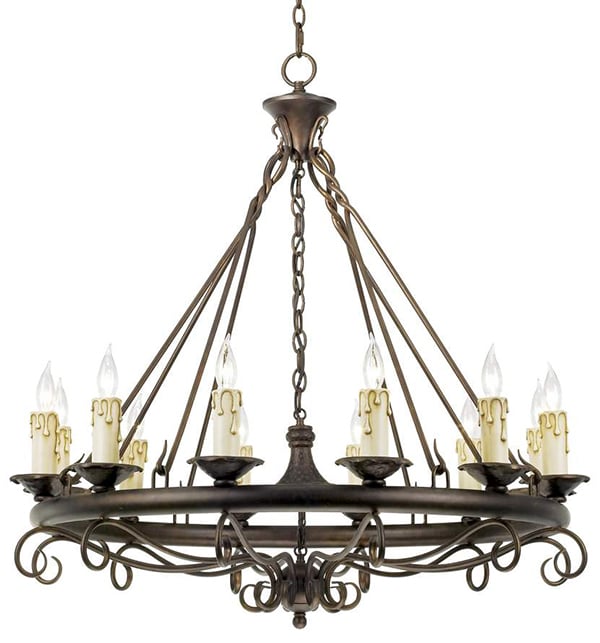
We purchased the Rodeo Collection Round Twelve Light Chandelier from Lamps Plus almost 10 years ago. I have always loved the size and the details of this light fixture, particularly the faux drip candles. When I bought this, I was in my Italian phase and it went perfectly with my large trestle table and hand-carved Mexican leather chairs. But in recent years, I’ve started adding more delicate touches to my home and suddenly, this fixture seemed a bit out-of-place in my dining room.
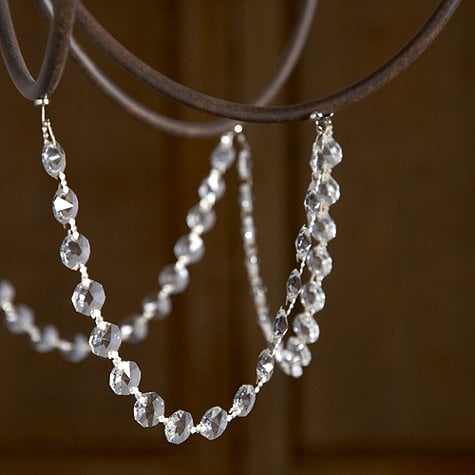
Quite some time ago I was browsing the Ballard Designs catalog and noticed these magnetic crystal chains that could be used to embellish an existing light fixture. I loved the idea, but not the price! {Sorry, Ballard Designs, I love your store but $45 for 3 ft. of chain was out of my budget!}
I have also seen boxes of loose crystals from old chandeliers at the antique fair and have thought about how I might be able to use those, but I’ve never found enough matching crystals and never any that could be used for the base chains. Then while browsing Michaels, I figured out a way to move my chandelier from Italy to France on a budget!
Basic Supplies
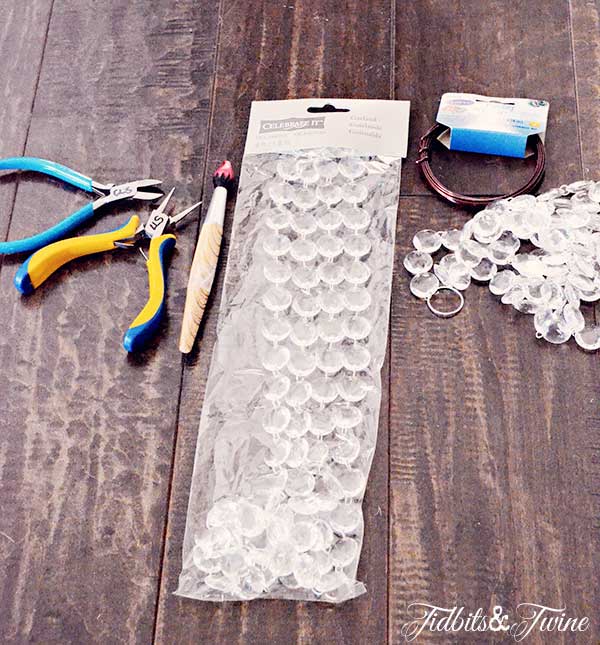
- 6 ft. acrylic crystal garland $12.99 {Similar chains can be purchased on Amazon and Save-on-Crafts, so check around for the best price in your area. The total length you’ll need will depend on the size of your chandelier and the amount of drape you create.}
- Wire {16- or 18-gauge in a color that matches your existing fixture}
- Wire cutters
- Mandrel {I used a thick ballpoint pen as a mandrel, but you could also use a wooden spoon or anything round}
Step 1: Make Jump Rings
Note: Since my chandelier has open, curved ends, I was able to make jump rings and just slide them onto the chandelier. If your chandelier doesn’t have an area where you can slide them on, you will have to make the jump rings directly onto your chandelier.
- Find an item to use as a mandrel that has a diameter large enough to slide over your chandelier. The ends of my chandelier are large and flat, so my jump rings are extra large so that they could fit over the end of the chandelier.
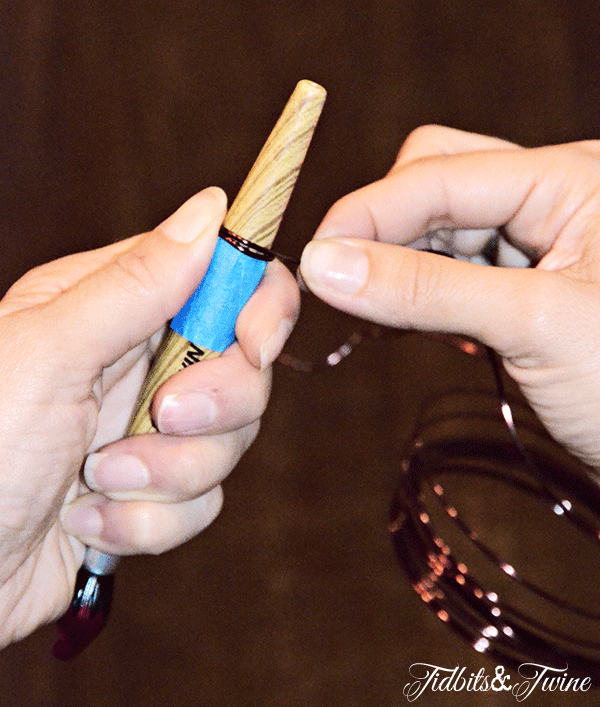
- Use tape to mark a spot around which you will bend the wire. This will help ensure that all of your jump rings are a consistent size.
- Hold the wire with your thumb and wrap tightly around the mandrel, overlapping slightly.
- Cut the excess making sure that you use the flat side of the wire cutters, not the pointed, so that you don’t end up with a pointed end that could scratch your chandelier.
- If you use pliers that have ridges on them, be sure to wrap them in tape so that they don’t scratch the coating off of your wire.
Step 2: Determine Length of Crystal Chain
Decide how much drape you want each of the strands to have and count the number of crystals so that you can ensure each strand has the same number. Be sure to leave the original silver jump rings attached to each end of your strand, as these are what you’ll use to attach to the jump rings you made.
Step 3: Attach
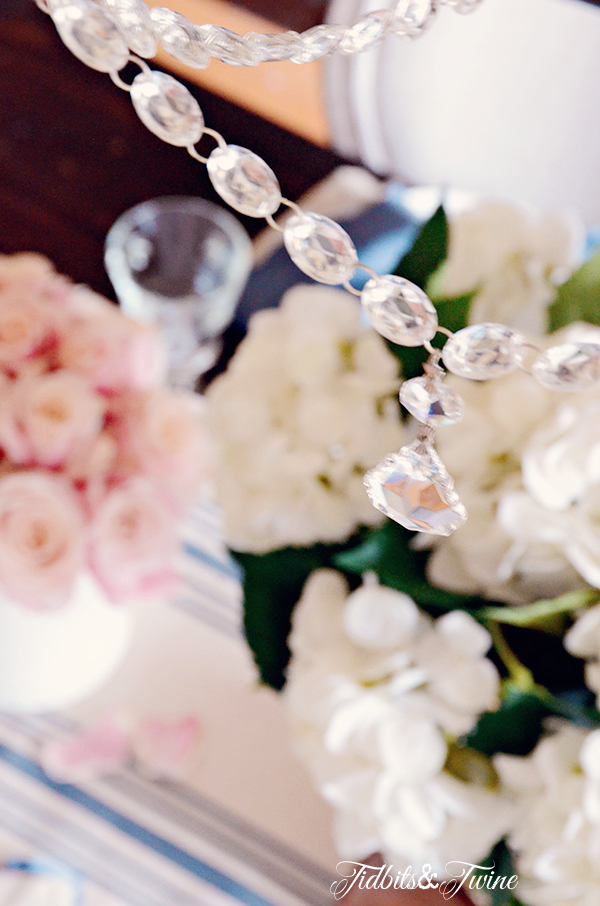
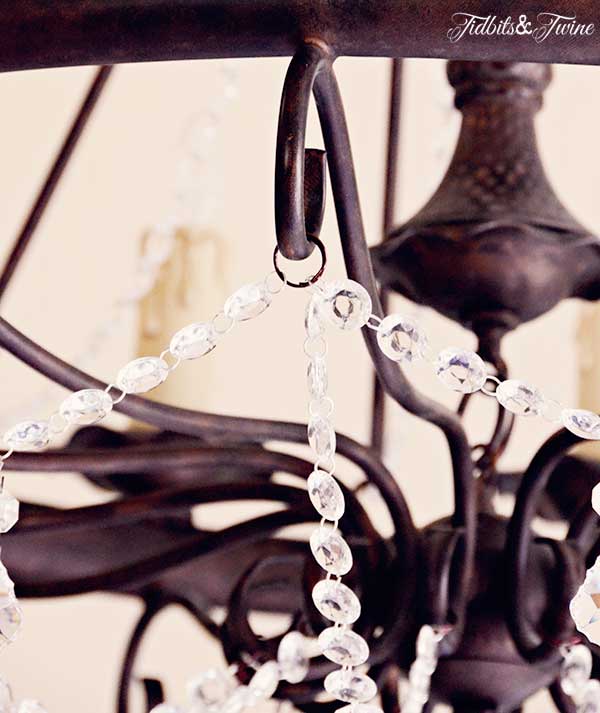
Slide the crystal chain’s jump ring onto the one you made and attach your jump ring to the chandelier along each arm.
Step 4: Additional Crystals
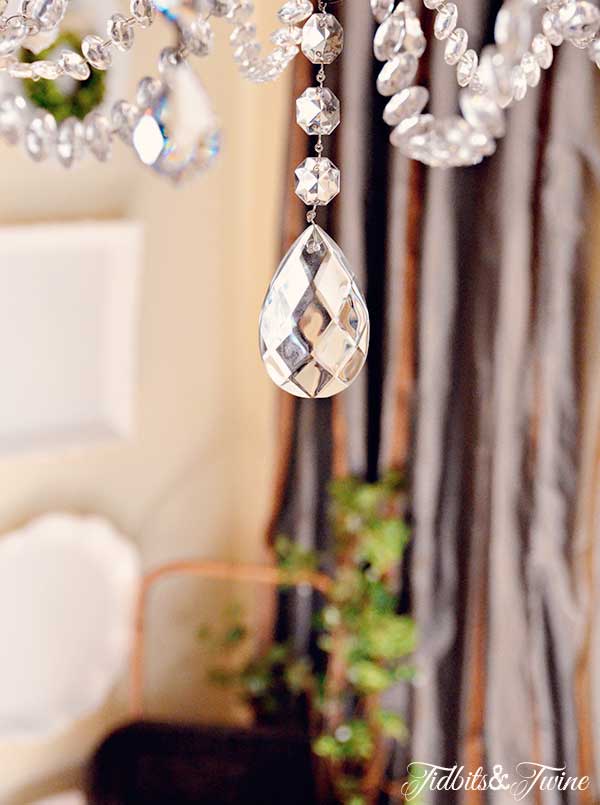
Once I was finished, I decided to add two additional types of crystals for a little extra bling! Around the circumference, I added these prism pendants purchased from Amazon for $14.00.
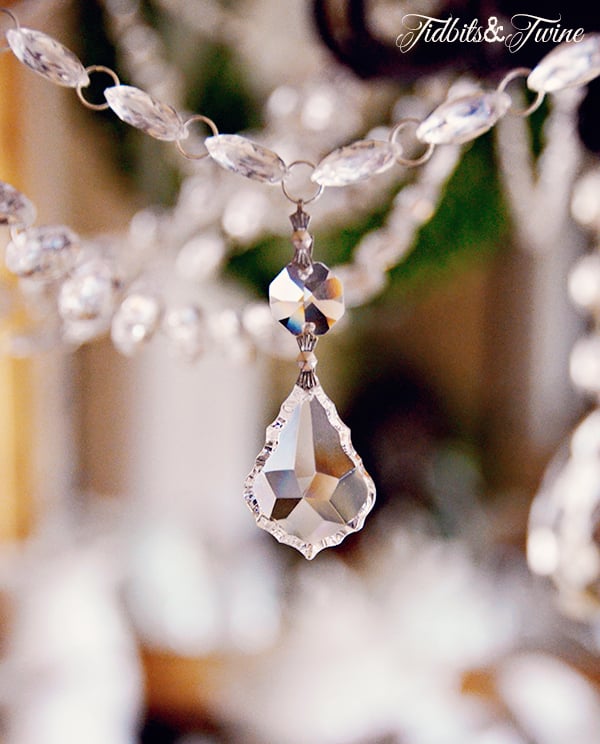
I also stopped by my local antique store and found a large crystal that I could hand from the bottom of my chandelier.
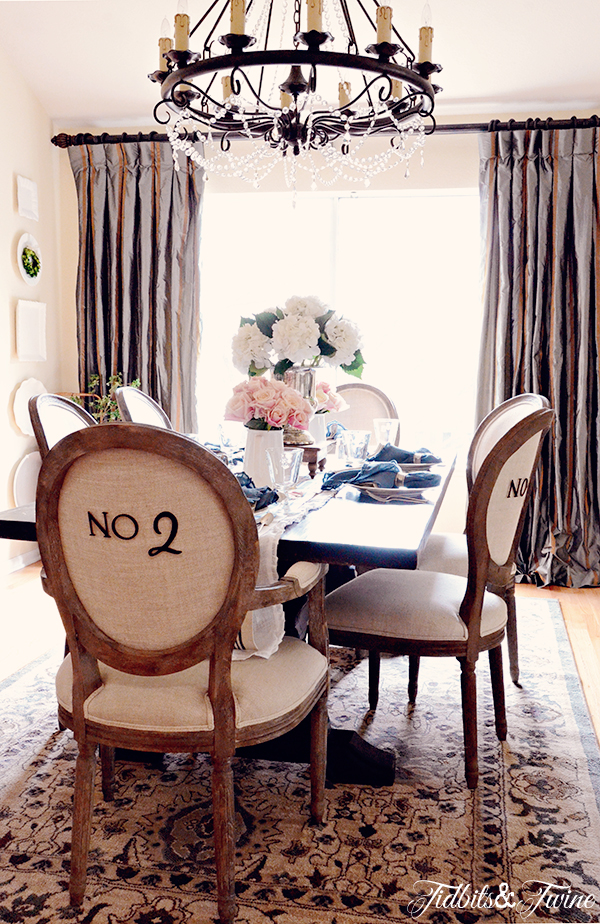
And that’s how I managed to move my chandelier from Italy to France on a budget!
I like that it now fits better with my other decor, but should I ever decide to change my style, I can just remove the crystals. It also solves another issue that I’ve had with my chandelier in that the crystals sit lower and thus make the chandelier feel closer to the table. The chandelier was not installed at the right height and was just a bit too high off the table, which made it feel disconnected. With the crystals attached, the bottom of the chandelier is now 34″ off the table and feels much better. {As a side note, a good height distance for a chandelier is 30″-36″ above the table surface. I wish I had known that 10 years ago!}
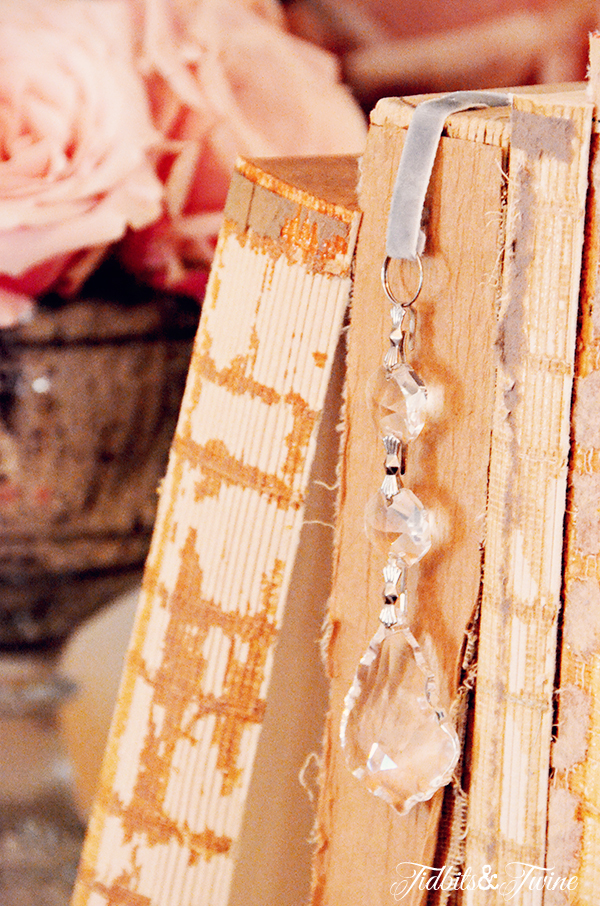
I have a few extra crystals left over, one of which I’ve already turned into a bookmark.
And now I have my eye on a candelabra and I’m trying to figure out how I could add a few crystals to it, too!!
Enjoy the weekend!

P.S. A big thank you to my neighbor, an amazing jewelry designer, who re-wire wrapped the individual vintage crystals for me and also taught me the word mandrel. :)
Join the Community
Let’s keep in touch! Get exclusive artwork plus the latest news delivered directly to your Inbox!

It definitely looks so much better a French country look. To even take it further perhaps changing the color of the chandelier to cream as well as the candle holders would also give it an updated look. Or just change the color of the candle holders they are very yellow in color. But in definitely is a wonderful update I love a little bling.
Thanks so much for the step-by-step. I feel much better about this project having read your article. Can’t wait to get started!
Very nice and well done. However,I would love to have a better close-up picture of your finished product.
Beautiful! I have a large chandelier in my foyer that desperately needs a makeover. If I send you a picture could you give me a little advice? Thanks so much!
Thank you so very much for showing me how to decorate a chandelier. It is on my lists of things to do and now that I have your tutorial, I can get to it much quicker than trying to figure it out on my own. Your chandy looks great.
Thank you so much for this post. I used it to upgrade my chandelier. I found the 12 ft garland at Michael’s for 1/2 price on clearance. It looks beautiful. I also added a strand of pearl garland along the top. Amazing and inspirational. Thanks again.
Hi Andrea – Your update sounds beautiful! I’m so glad you found the tutorial helpful and 50% off on the garland is a score! I’d love to see a picture if you have one! Happy New Year! :) Kim
This is gorgeous. What a beautiful update to this chandelier. Love it.
Kris
Hi Kris – Thank you so much!!
I love this! What a great idea and thank you for teaching me a new word…mandrel. BTW…did you make your draperies? They are gorgeous.
Hi Vickie – Thank you! Sadly, I don’t know how to sew so I can’t make anything, especially draperies! :) I purchased them from Half Price Drapes, which is my absolute favorite place to shop for window treatments. And the good news is that the 108″ panels are currently Buy 1 Get 1 FREE plus 20% off with code “PDS20”. They are the Preston Silk Taffeta Stripe draperies and are 100% silk, lined and interlined. I was a little worried about silk with my cat and two kids, but they’ve held up great and didn’t spot even when I accidentally spilled a ton of water on them. Whoops! The only difference is that mine are an Inverted Pleat and only the Pole Pocket is currently on sale. Here’s the link if you’re interested: http://shrsl.com/?~57je
Thanks for the heads up on the draperies. Unfortunately, they are the wrong color. Boo!!! But, I will keep going back to that website and check on their stock.
Good luck with your search!! :)
Wow, that really dresses it up. How pretty!
Thank you!!
Kim,
It looks amazing…it was pretty before but looks stunning now! Love how you blinged it up without spending a fortune! :)
Thank you, Cecilia!
You should be able to find the little magnets in the jewelry section of Michaels. They are just magnetic jewelry clasps.
Good to know! Thank you!
Beautiful update!!
Thank you, Martina!!! :)
This is genius. I love it. How fantastic and so, so pretty. Hugs, Marty
Thank you, Marty! Have a wonderful weekend!