Today is my ONE YEAR blogiversary! It was the early hours of the morning one year ago that I sat down and wrote my very first post. When I was done, I decided to quickly hit “Publish” before I had a chance to second-guess myself and have been happily posting ever since. I’ve learned so much in the last year and have had the pleasure of meeting so many wonderful people. So for today’s post {post #185}, I thought I would do an update to my #1 pinned post from the last year, my DIY wreath.
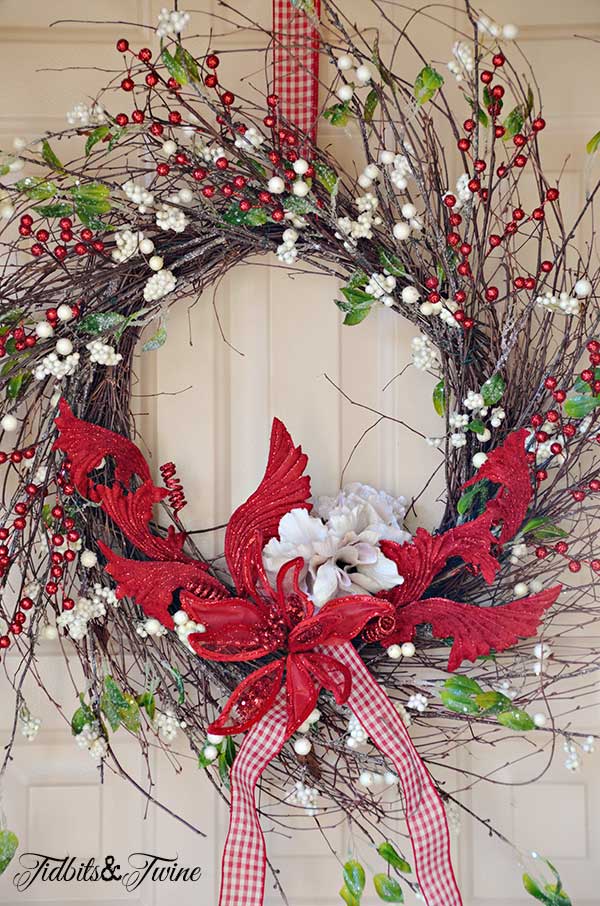
As you might know, I don’t like to buy wreaths for the different seasons because I don’t have the space or patience to store them! Instead, I use just a plain twig wreath purchased from a local craft store and wire different accent pieces to it depending on the season. At Christmas, my wreath looked like this.
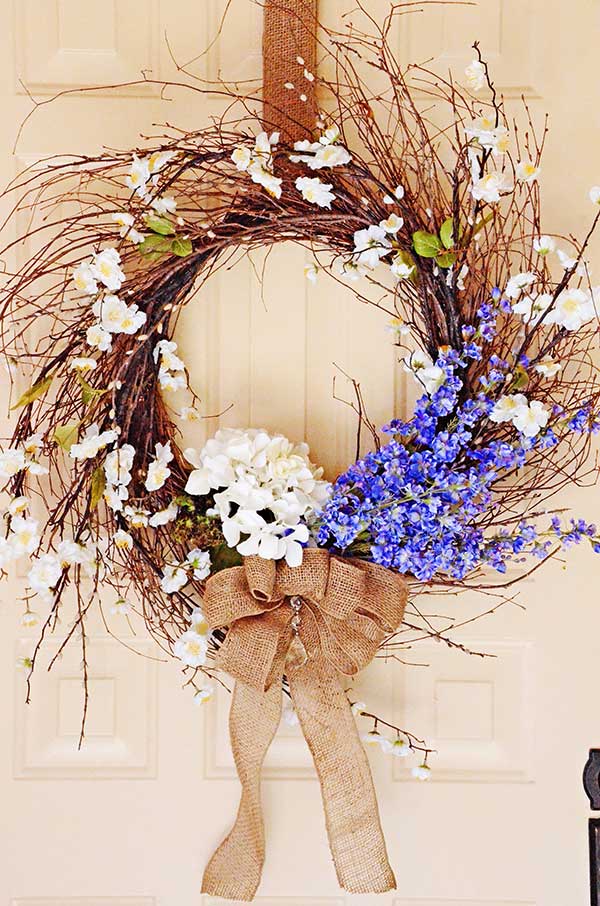
For Spring, I decided to create a very simple wreath using purple, white and green to complement my front garden, which consists mostly of boxwood, white roses, and lavender. With Spring stems 40% off right now, I decided to pick up a few new pieces to use this year. I unwired all of the holiday stems {which I’ll use as decorations on gift wrapped presents next year} and realized that I could reuse the same wire again for Spring – even better!
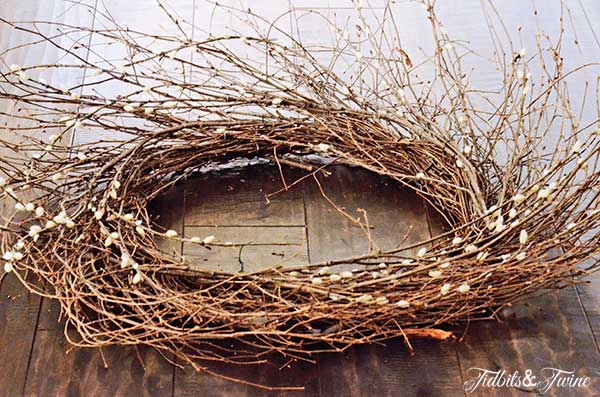
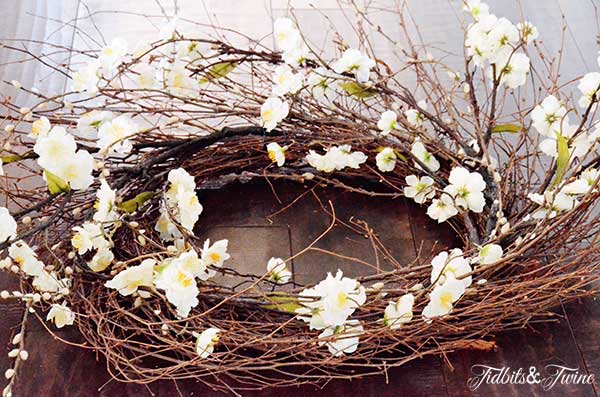
First, I wired pussy willow stems all the way around, making sure that they were going in the same direction as the twigs on the wreath. I previously used the pussy willow stems on my Fall wreath, but decided that they worked equally well for Spring.
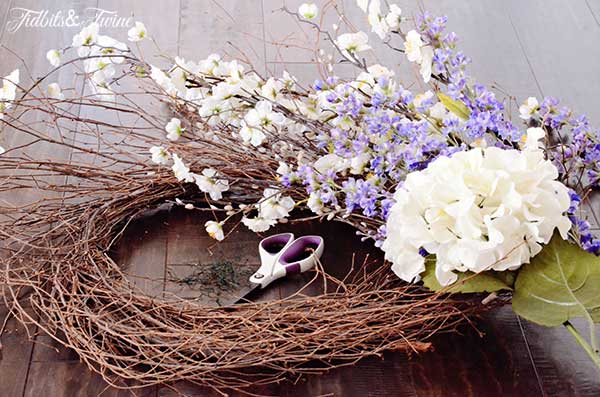
Next, I wired on two branches of white flowers.
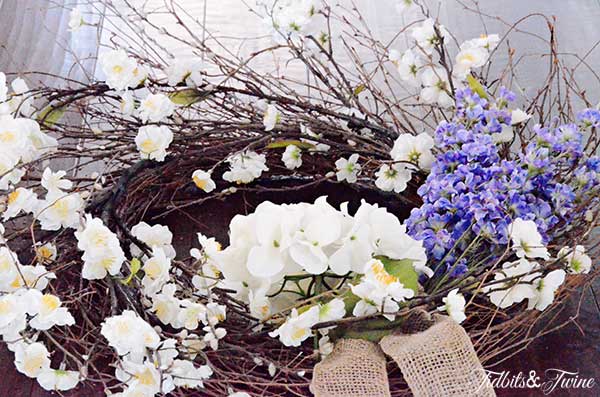
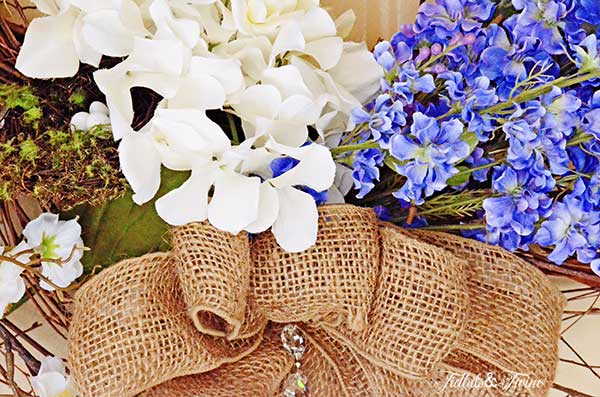
I knew before I started that I wanted to have more embellishments at the bottom of the wreath, as opposed to one that was decorated all the way around, so I took a small bunch of purple flowers and wired them just to the right of center along with the head of a white hydrangea.
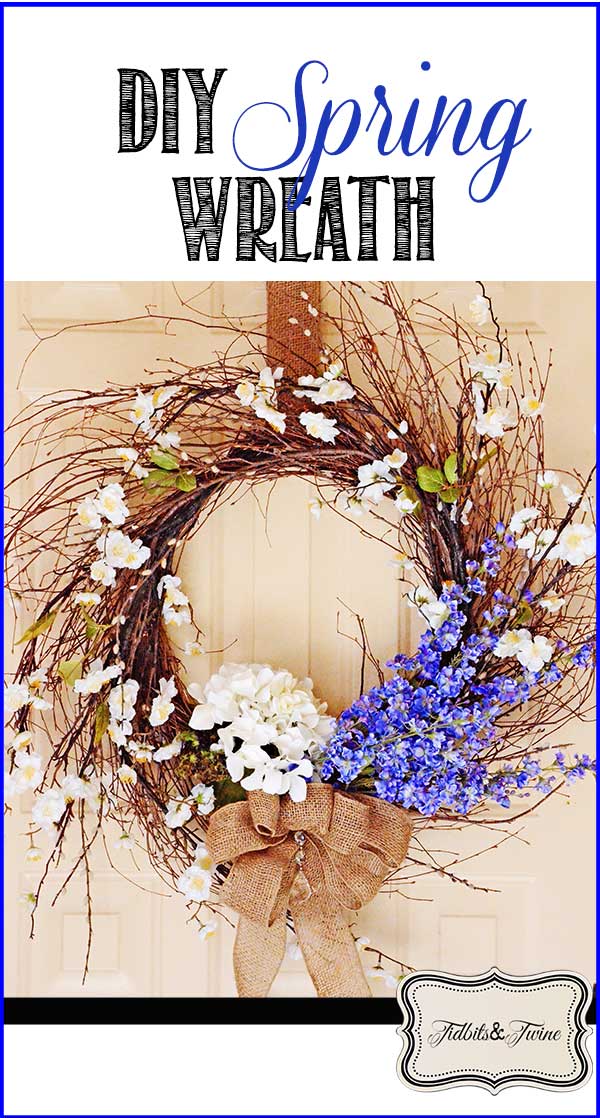
I then wasn’t quite sure what I wanted to add and so hung it up on the door to see what else to include. Here’s how it came out.
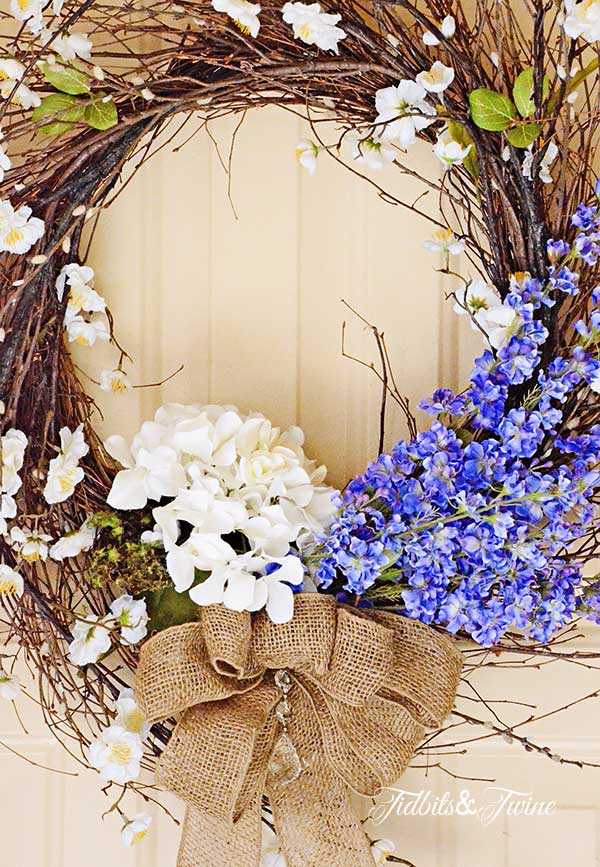
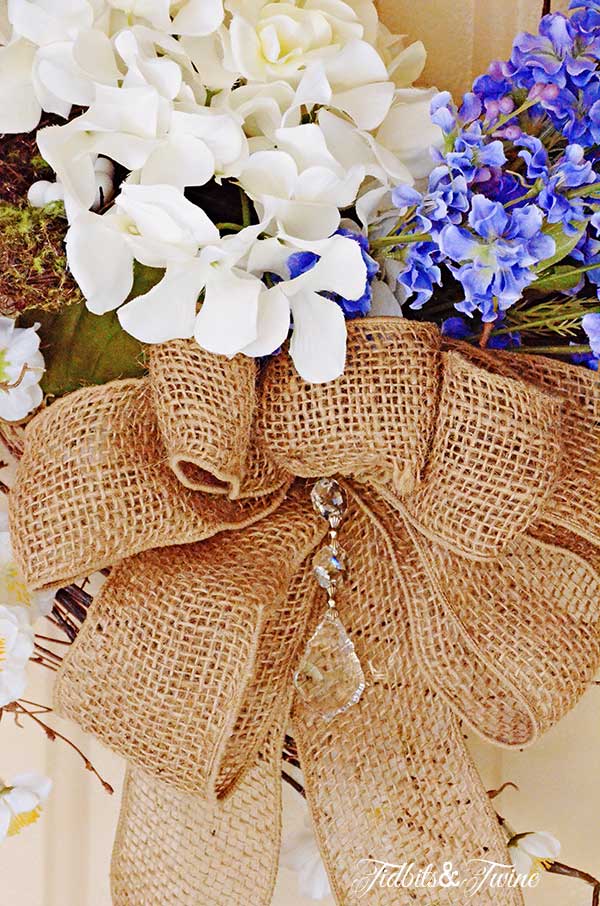
You’ll see that I added a fancy burlap bow to the center, which was actually left over from my Fall wreath. You can check out the step-by-step tutorial for making this bow {here}.
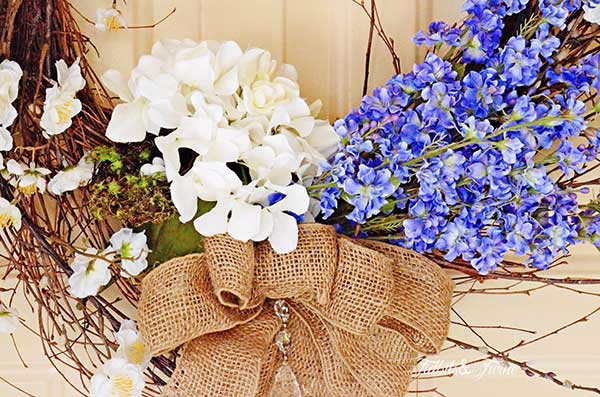
I also added one of the leftover crystals from my chandelier project.
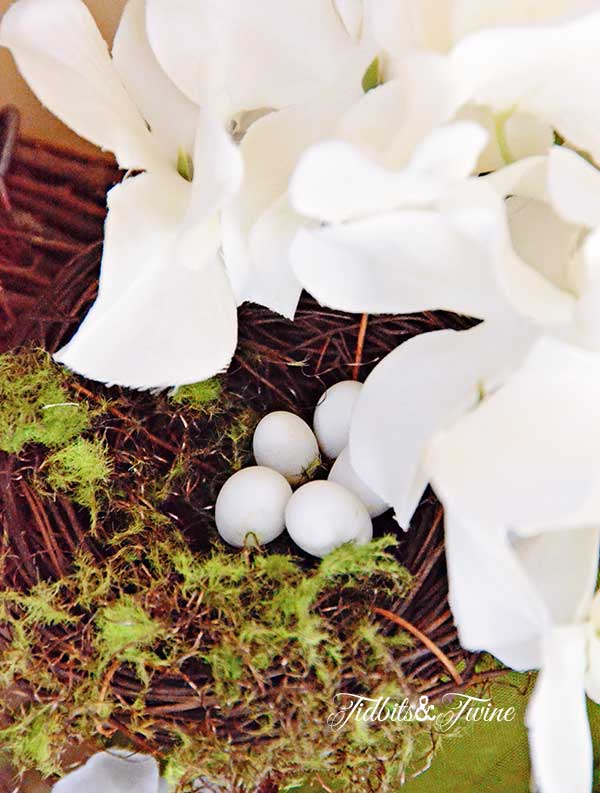
Tucked underneath the hydrangea is a small bird nest that includes 5 eggs that I collected from my little finch, Lola.
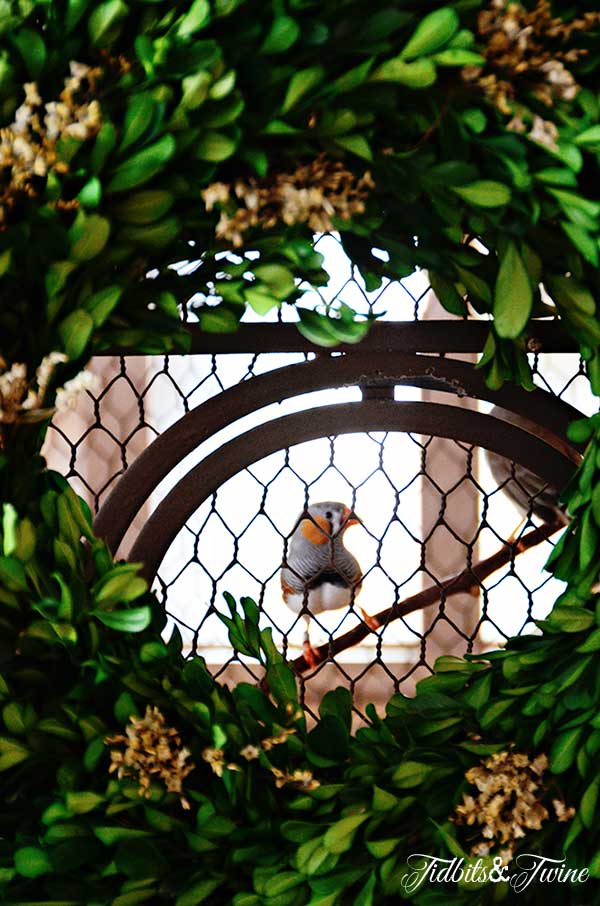
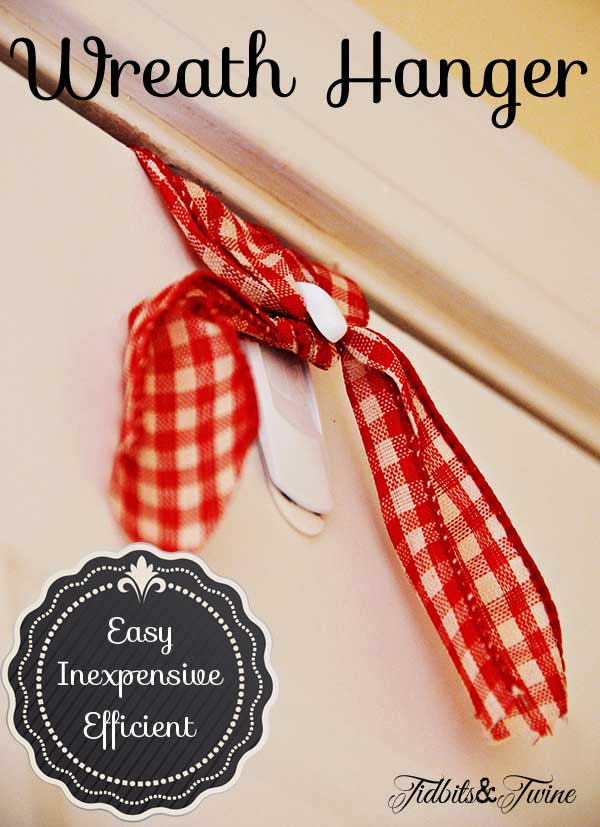
Of course, I hung the wreath on my front door using an upside down Command hook {with the hook on the inside of the door}. Here’s how it looked for my Christmas wreath.
Now I finally feel ready for Spring!
A big “thank you” to all of my readers for making this such a fun and amazing year for me and I’m looking forward to the upcoming year!

Join the Community
Let’s keep in touch! Get exclusive artwork plus the latest news delivered directly to your Inbox!

Love it, I will have to have a go at it.
Beautiful wreath! I love how you tucked in the nest with Lola’s tiny eggs. Happy blog anniversary, too!! Mine is coming up. I can’t believe it’s been a whole year, either. Have a wonderful week!!
Thank you, Zenda! And Happy almost 1 year to you!
Very pretty! Congratulations on another year of blogging!
Thank you!
Kim, congratulations on your anniversary.That is such a smart idea using one wreath for all seasons. I have so many that I just about don’t have room for anything else in storage. I think I’ll start downsizing!..Happy St. Patrick’s Day..Judy
Thank you, Judy!!
Very pretty. I like the winter one also and the idea of using one wreath and changing out the floral. Here’s to more blogging.
Thank you, Donna! I just can’t seem to keep wreaths looking good from one season to the next no matter how carefully I store them so now that I just have one wreath and it stays up year-round, I’m doing much better at keeping it nice. Plus it allows me to change the look each year with minimal cost. :)
Happy one year blogging may you have many many more. gloria
Thank you, Gloria!
Kim,
Love this so pretty. Congrats on another year. Have a great start to the week.
Kris
Hi Kris – Thank you so much! I always appreciate your kind comments. :)
So pretty!!
Thank you!