When I first told my husband I wanted to give our pantry a makeover, he couldn’t quite understand my reasoning. After all, the pantry is behind closed doors, so who cares what it looks like, right? Wrong! I care what it looks like! It only took me a couple of days to give it a facelift and I can’t believe how much more I am enjoying it now.
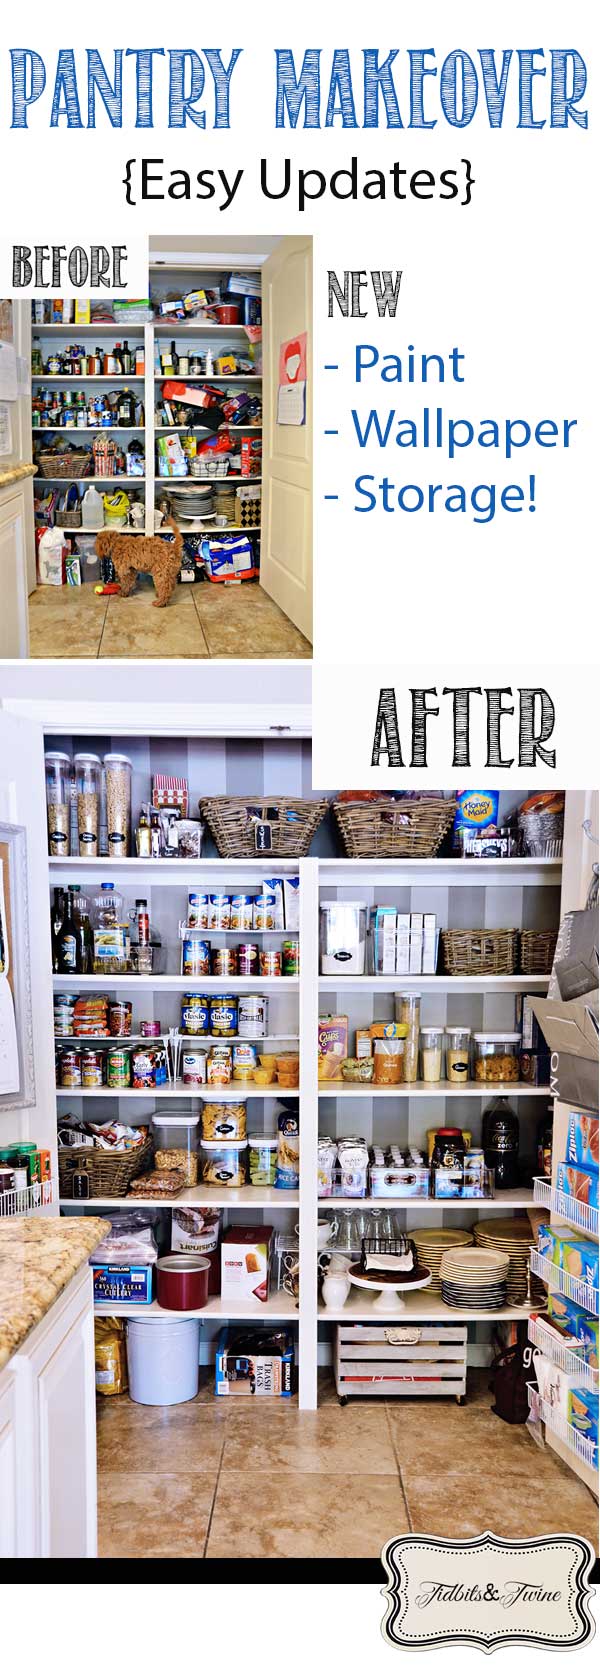
You might remember this super scary BEFORE picture of my pantry.
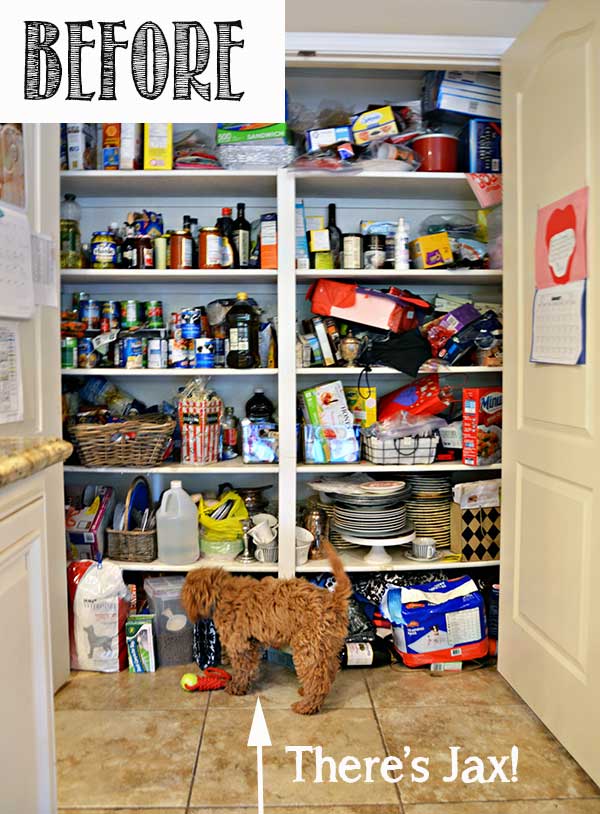
There were general areas for the various items, but in a hurry, I would just cram stuff wherever. It’s also usually my kids who go in the pantry and with everything in boxes, I would sometimes go in and discovered several empty boxes without ever having realized that we had run out of an item!
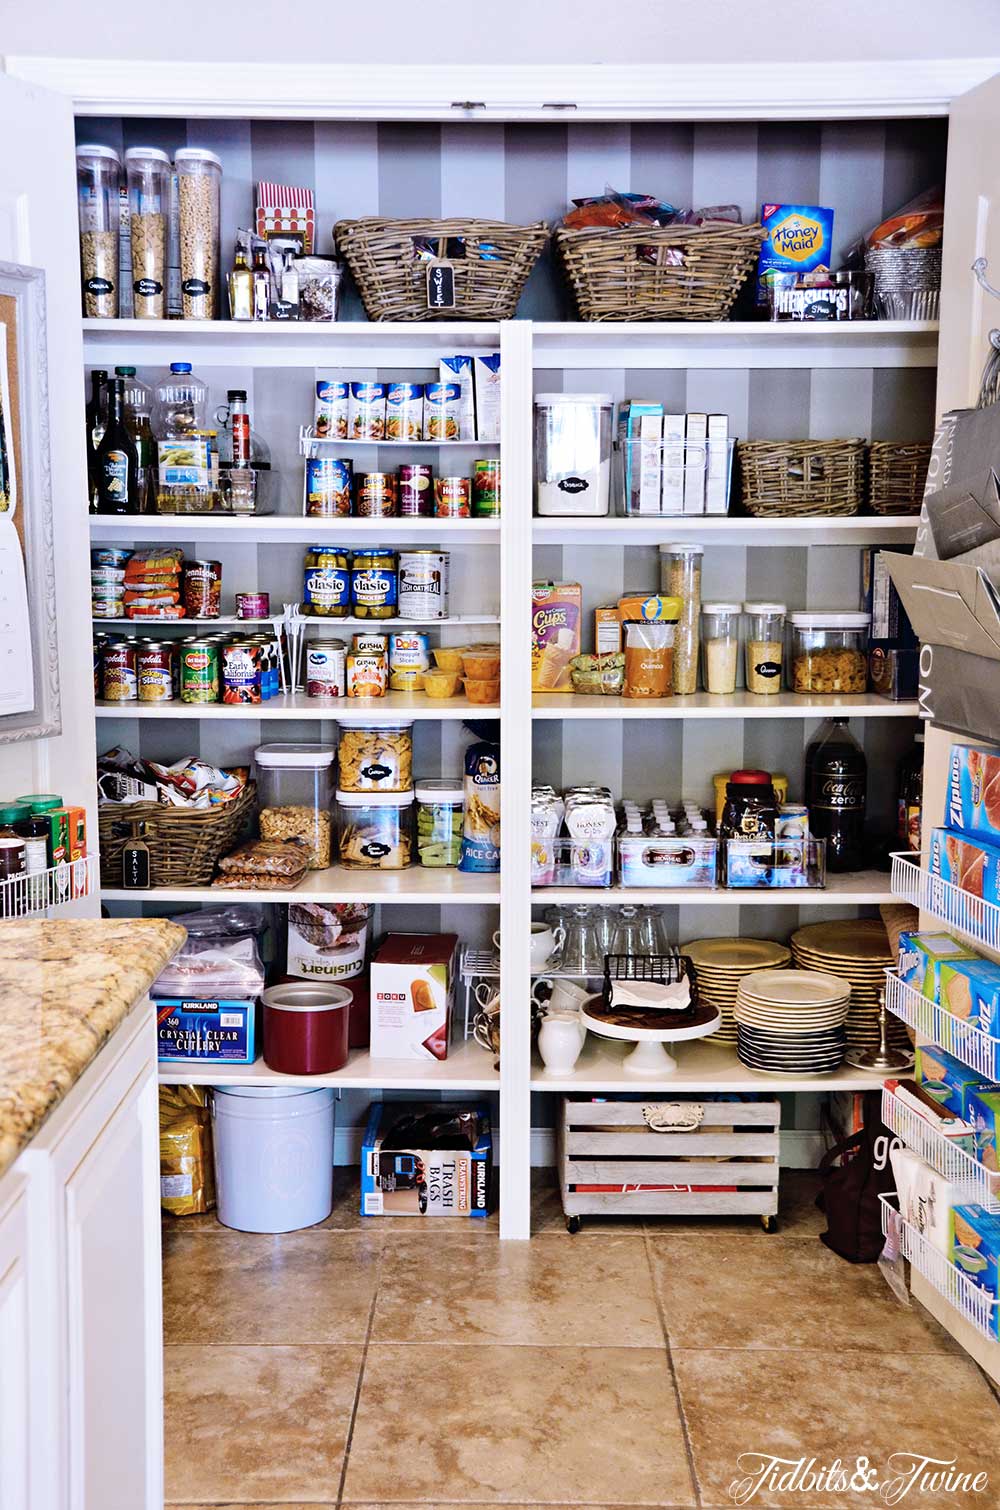
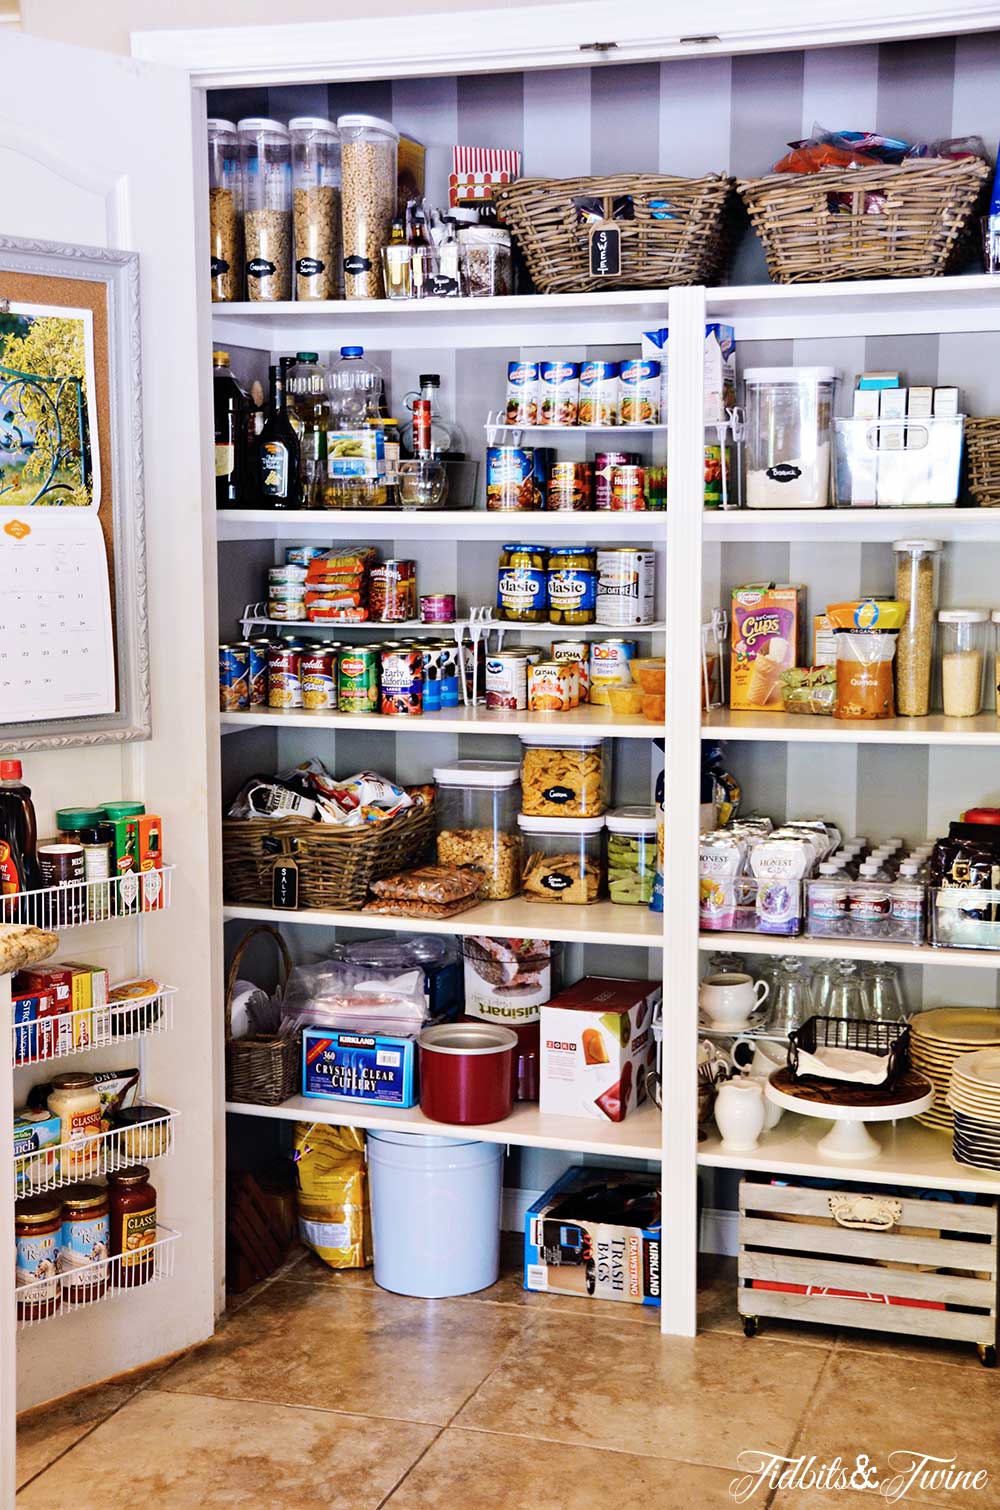
And here’s a look at the AFTER. I threw away just a few items that had expired, but believe it or not, I actually have a lot more food in the pantry now than I did before!
Now, I’ll be completely honest with you {but ssssshhhhh….don’t tell my hubby!}. The entire idea of making over my pantry came about as a result of my stumbling upon the removable wallpaper that is now sold at Target. I saw it, fell in love with the idea, and just *had* to find a place to try it out! The rolls aren’t very big so I needed a somewhat small place to paper and I wasn’t sure how it was going to turn out, so I wanted a somewhat hidden place and ta-da! The pantry makeover was born!
Supplies
- Wallpaper
- Wall Paint
- Shelf Paint
- Polycrylic
- Trim
- Yard Stick
- Box Cutter
- Drywall or Putty Knife
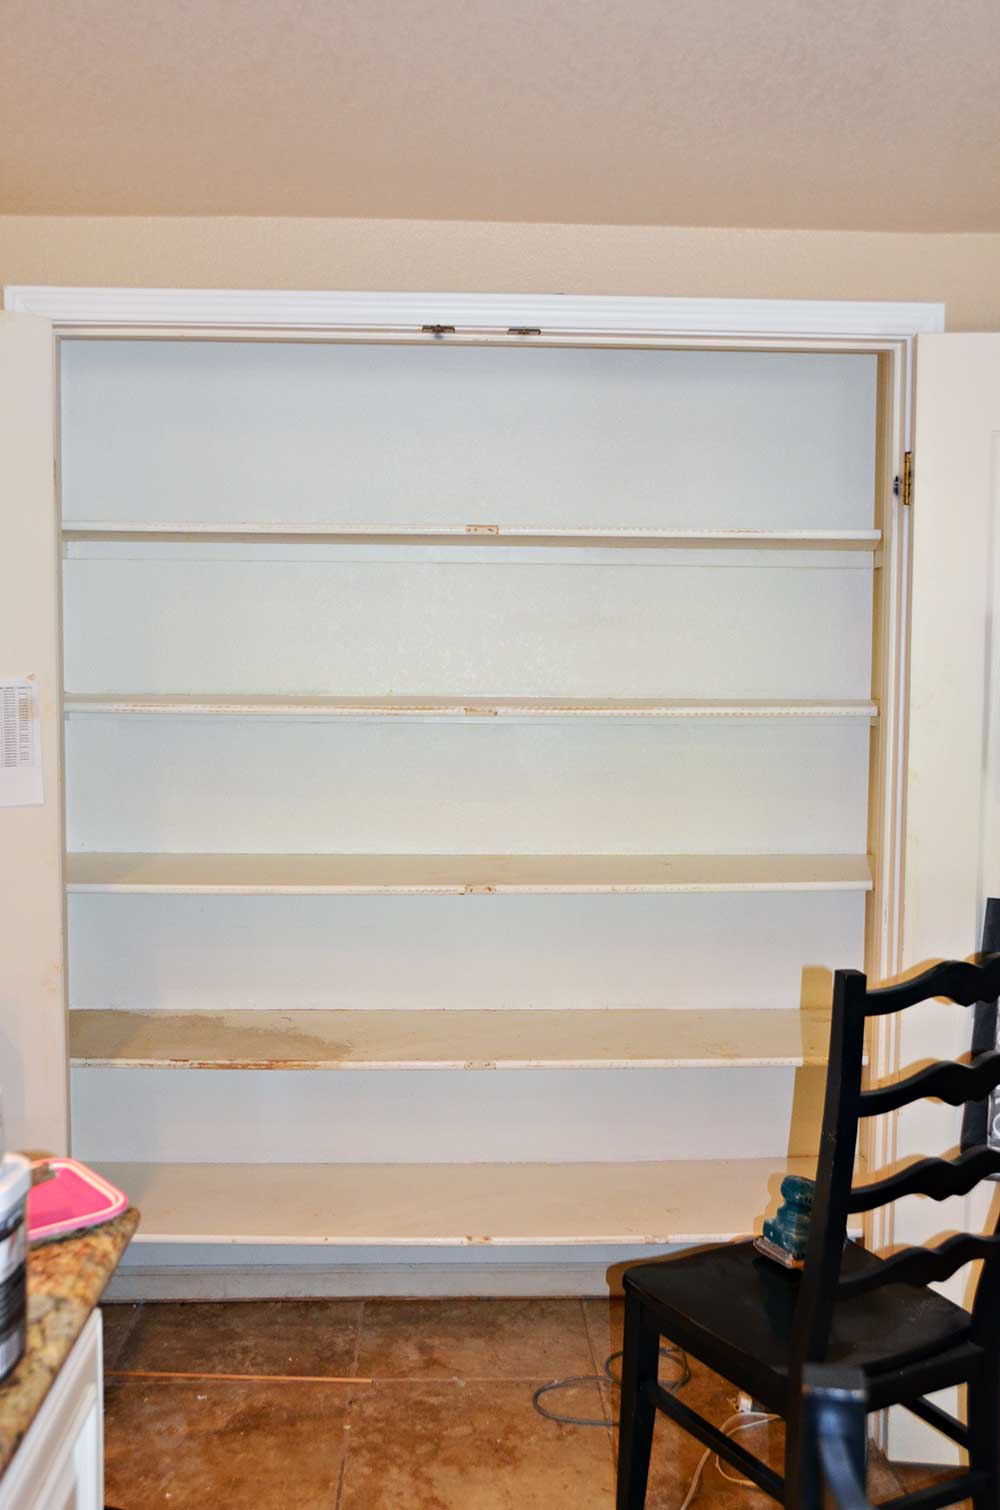
Step 1: Clear, Clean & Sand
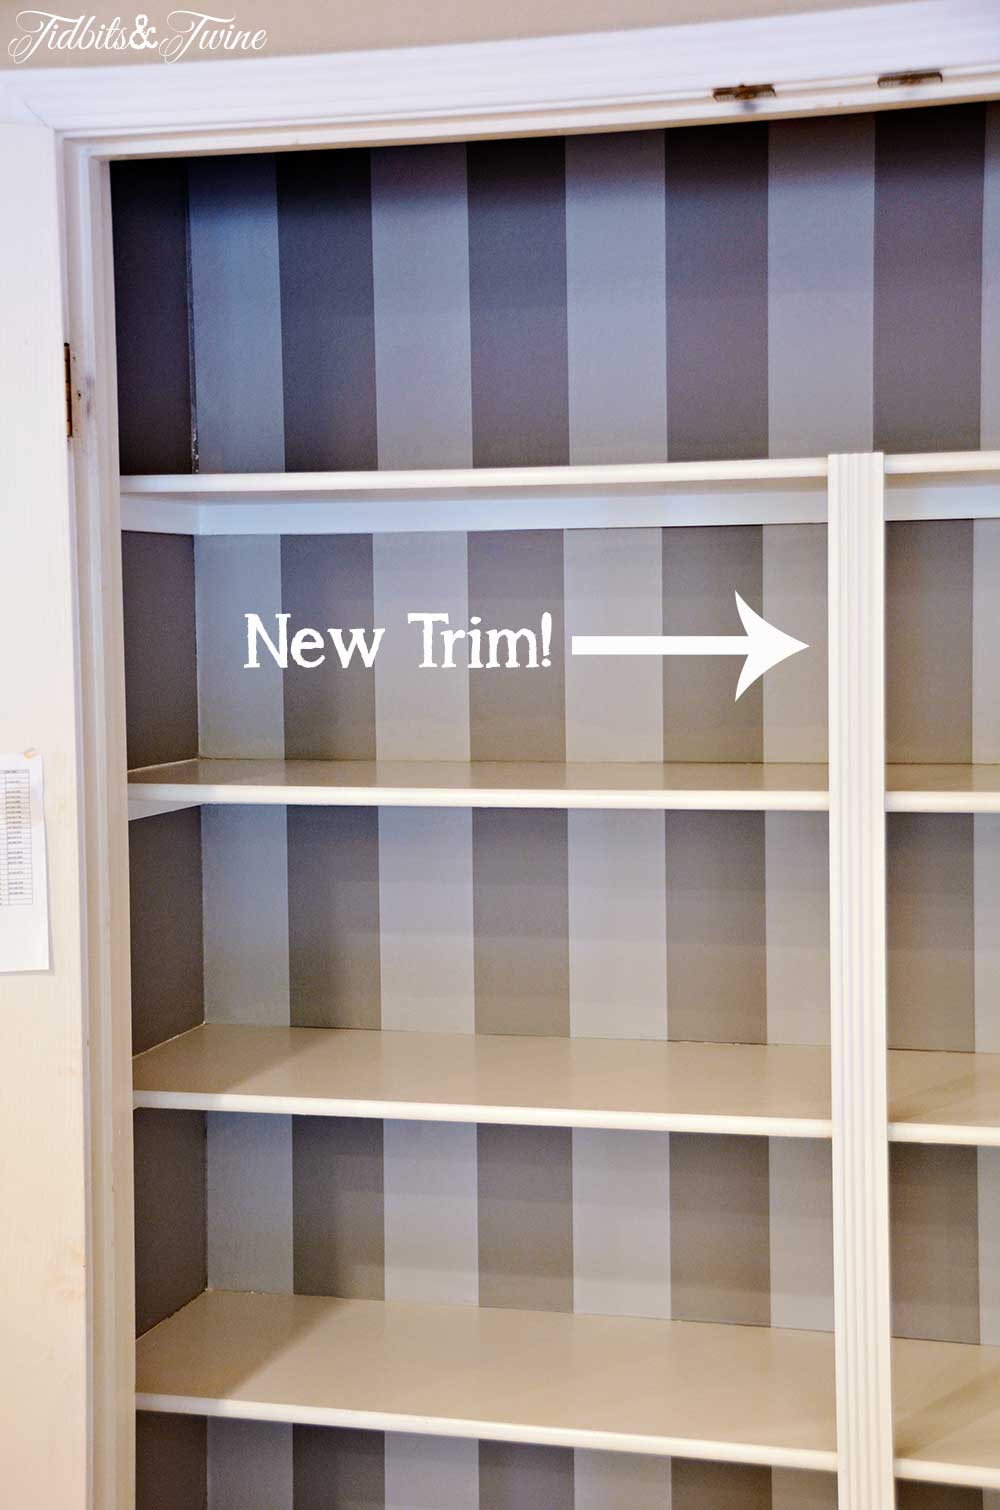
I started by emptying the pantry completely and sanding down all of the shelves. I also removed the center support {which was broken} so that I could replace it with more decorative trim.
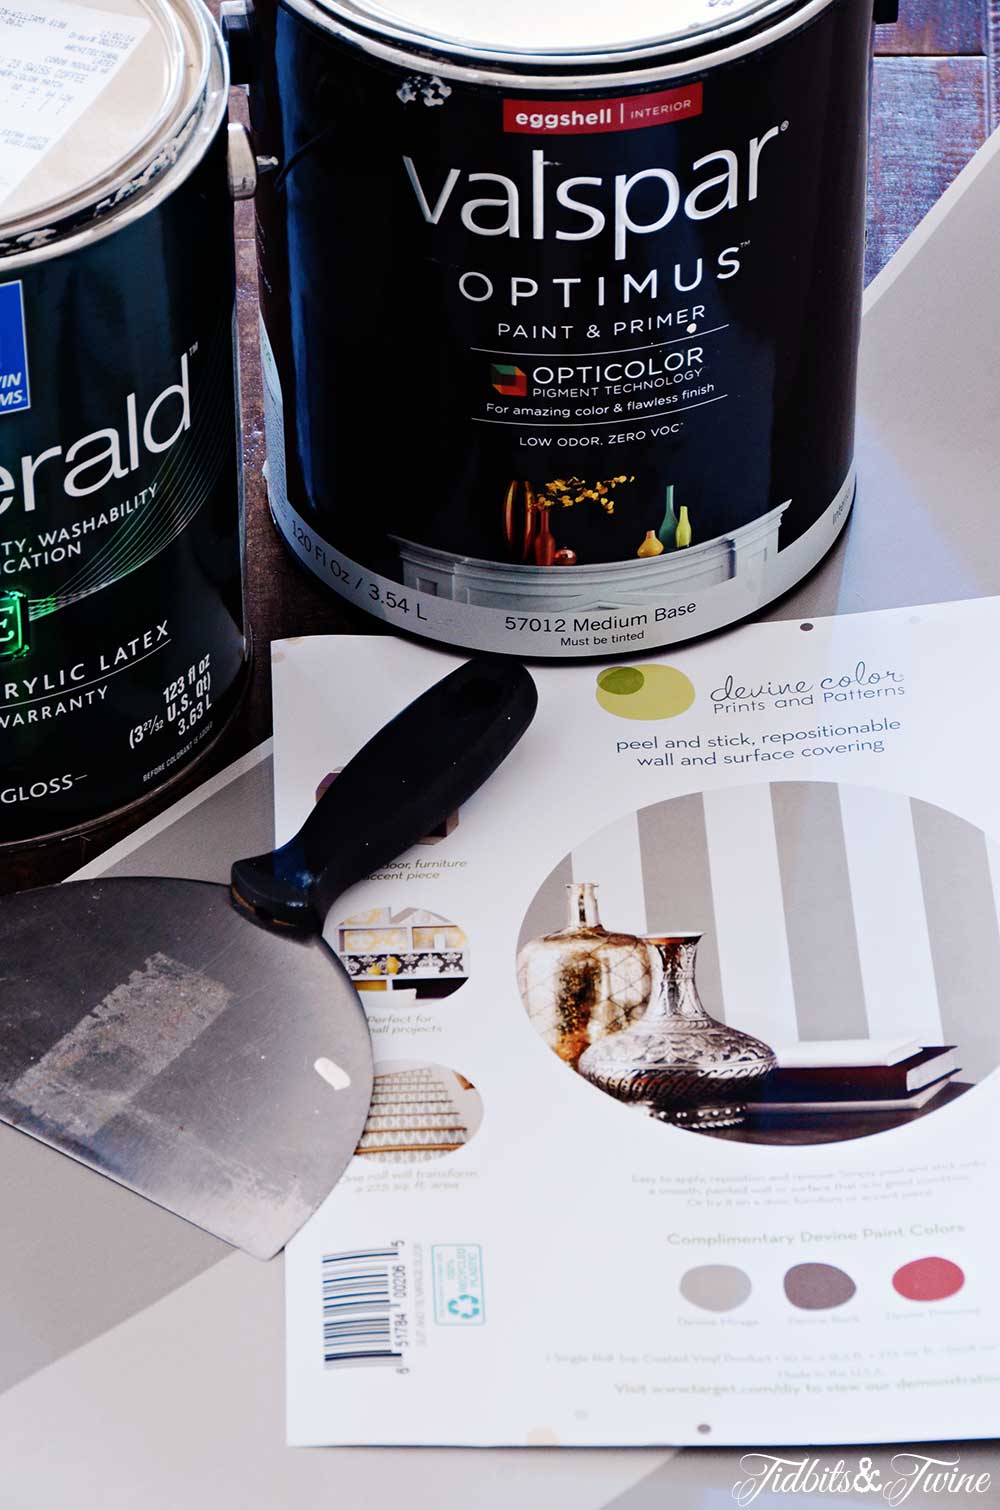
Step 2: Paint
I painted the shelves and trim with Swiss Coffee in semi-gloss. For added protection against scrapes and marks, I painted two coats of Minwax Polycrilic on top of the white. On the walls and ceiling, I color matched the darker gray stripe in the wallpaper and used an eggshell finish. Since the pantry is a small area and the top shelf is already dark, I decided to paint the ceiling the same color as the side walls for consistency and so that only the shelves and trim would pop.
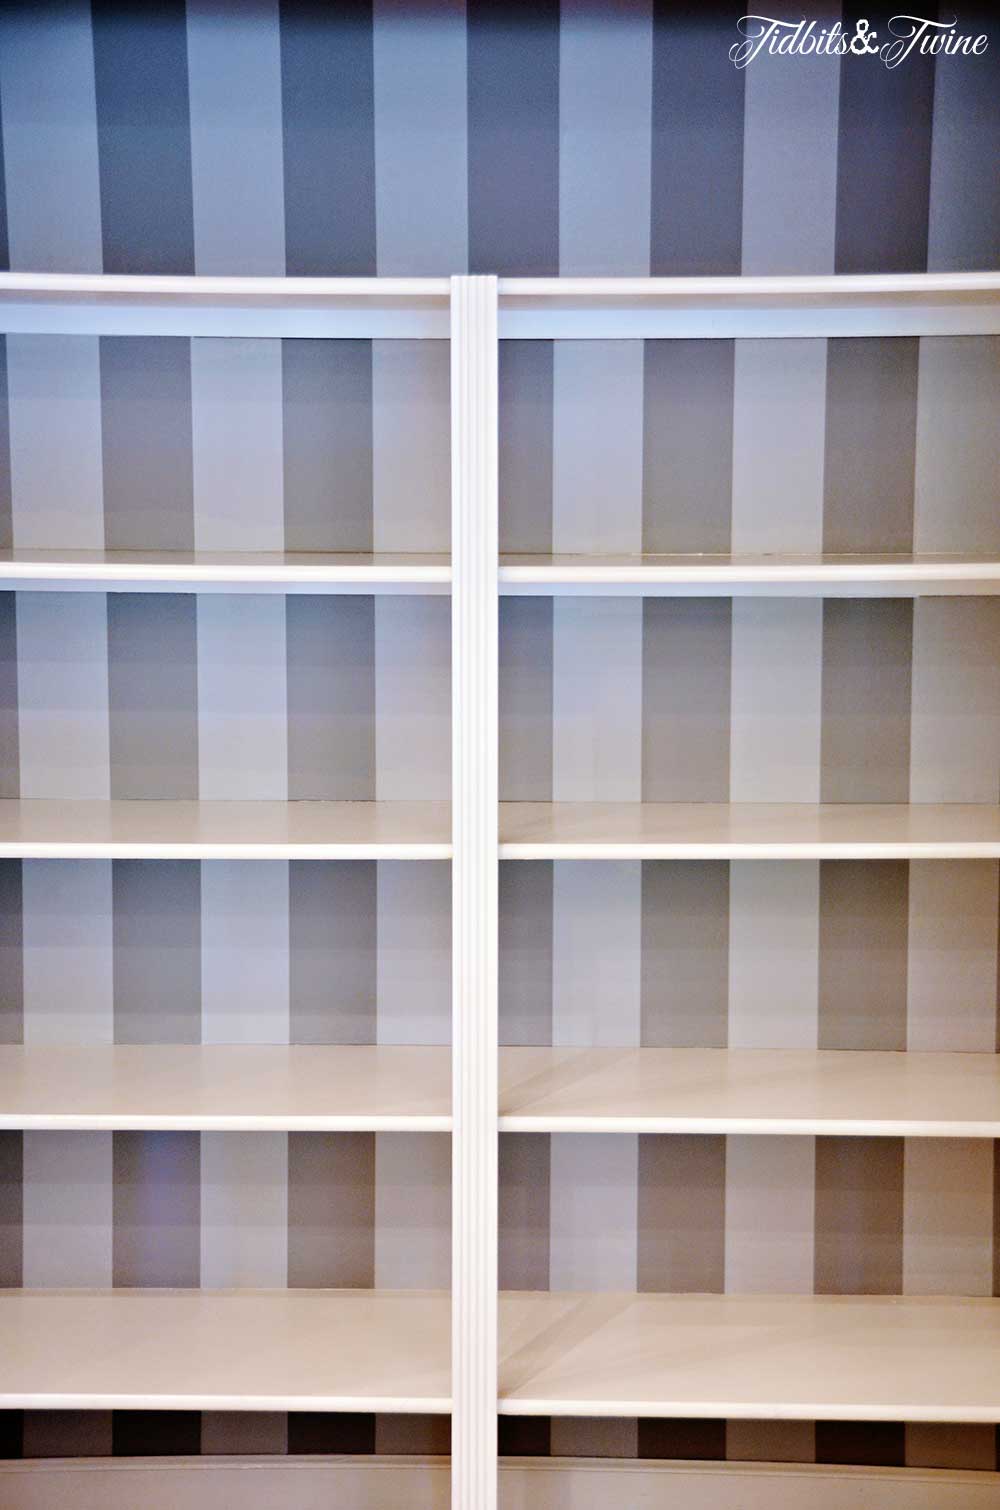
Step 3: Wallpaper
I can’t say enough about Target’s Devine Color wallpaper. I have personally never wallpapered before and I am not a particularly precise or patient person when it comes to DIY projects and this wallpaper was easy-peasy for me to use! It’s self-adhesive and repositionable, but unlike contact paper which is thin and easily sticks to itself, the wallpaper stuck only to the wall and not to me or itself. I even applied it and peeled it over several times to get it aligned just right and never once had any issues with it creasing, tearing or sticking.
I chose Mirage Suit & Tie for the pantry, which is light and dark gray stripes {the picture online doesn’t quite look like the actual product}. There are several other beautiful and dramatic wallpapers to choose from, but I decided to go with something a bit simpler and more subdued.
To apply the wallpaper, I simply measured the height of each shelf and added a couple of inches to the measurement. I then applied it to the wall and used a putty knife and box cutter to trim a nice clean edge at the bottom.
Step 4: Organize
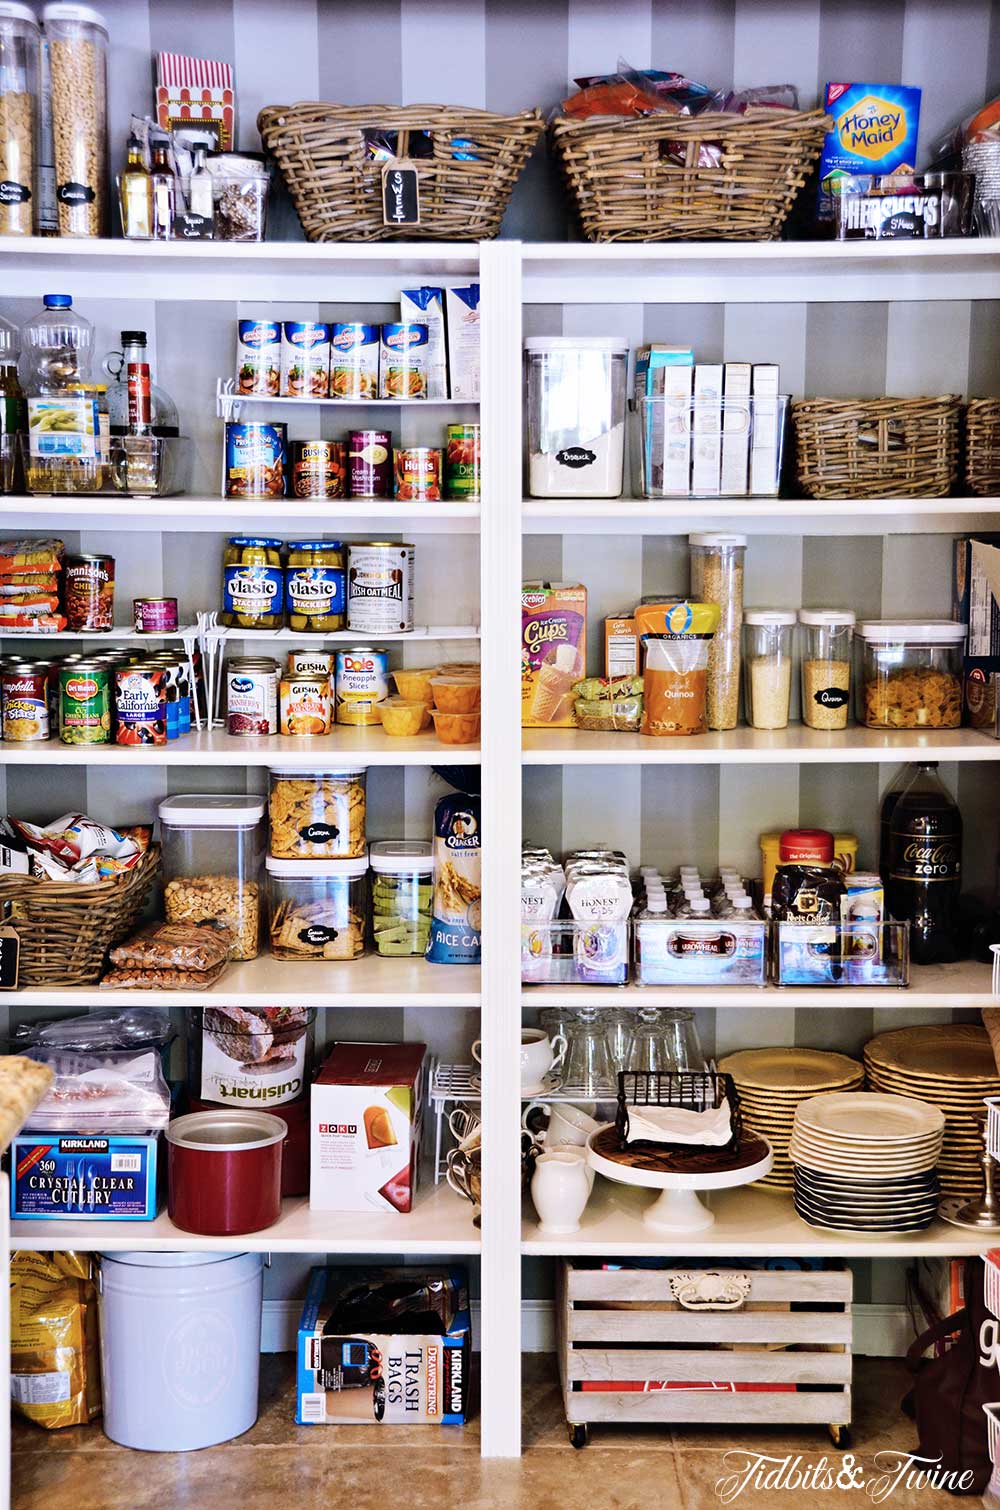
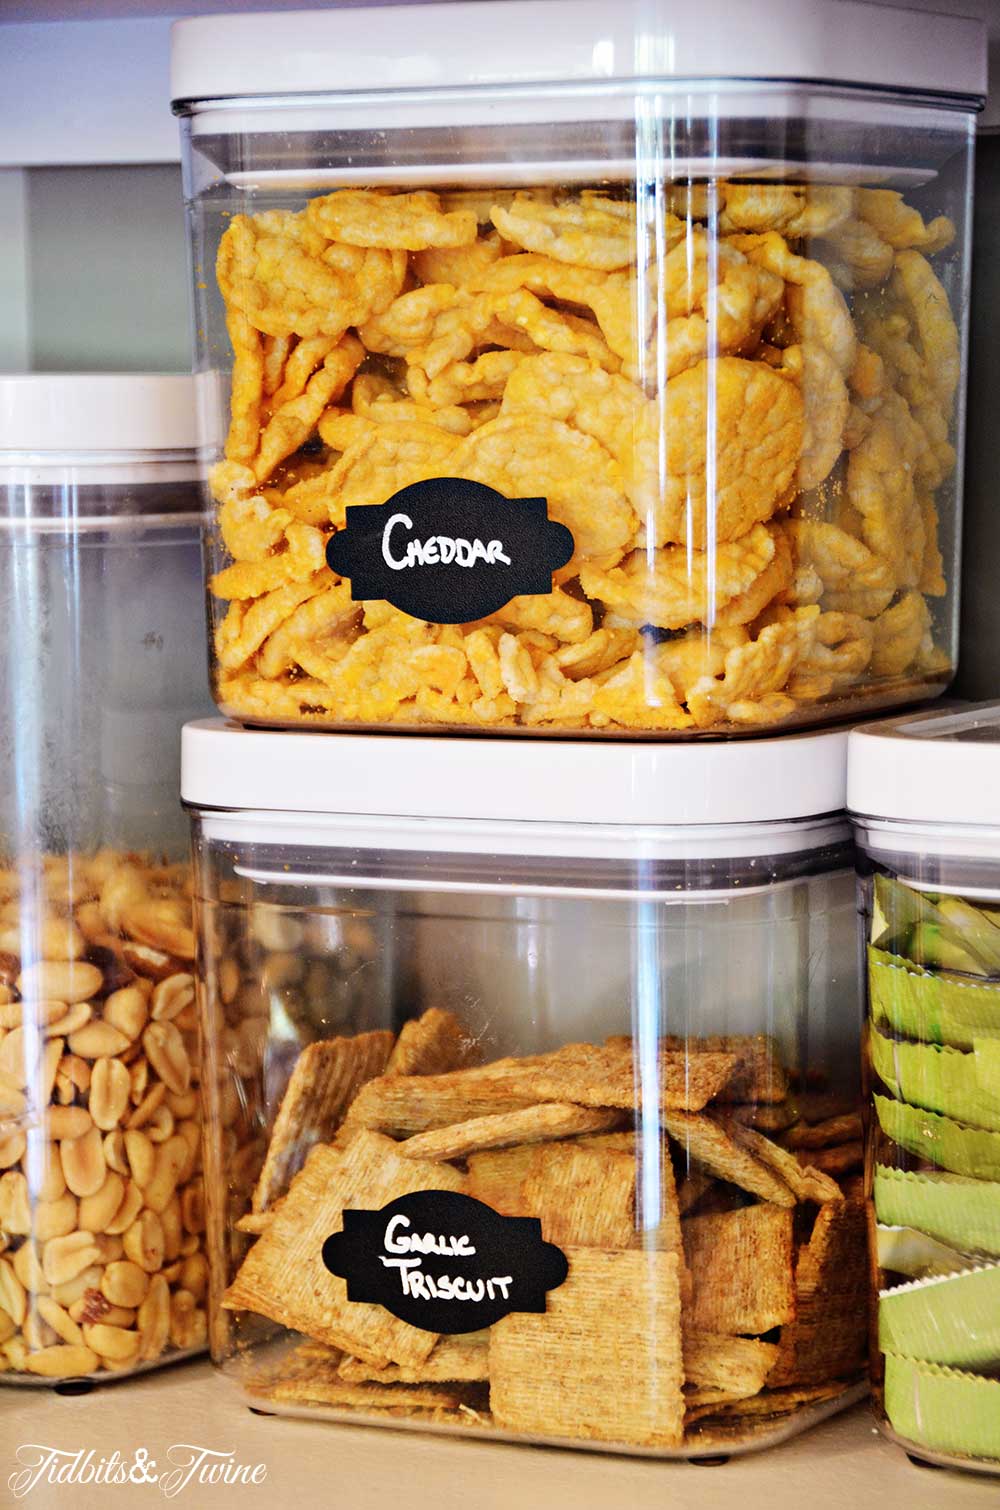
I ended up using a lot of clear acrylic containers and bins not only so that I could corral items more easily, but also so that I could see what was in them and if I was running out of something.
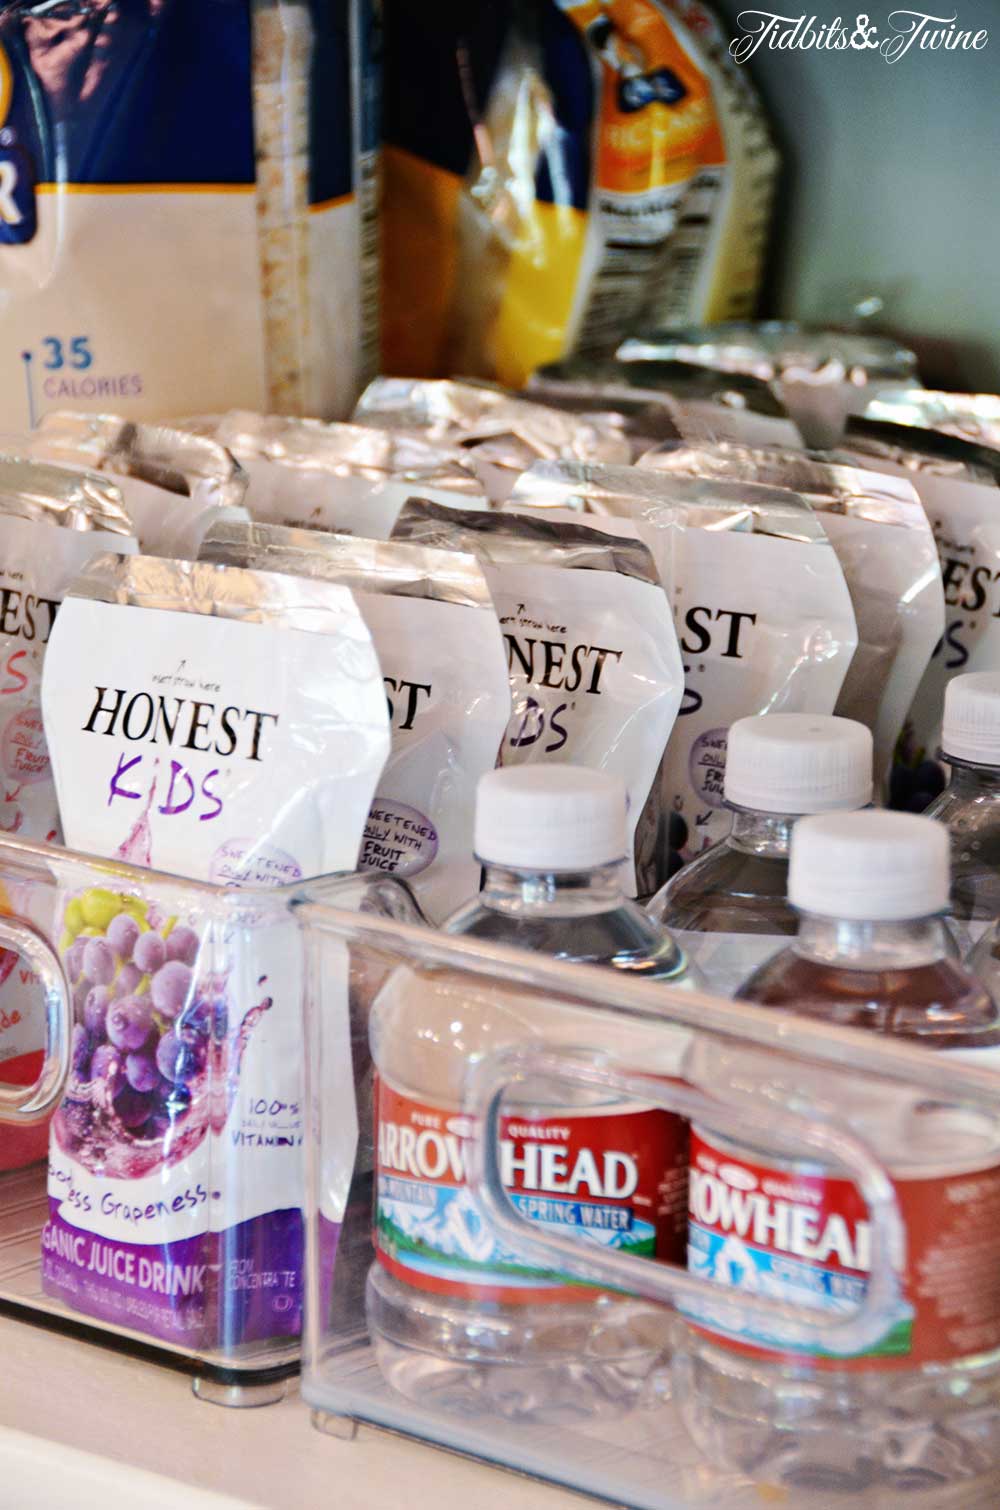
Since the pantry is mostly used by my kids, I placed their snack items on lower shelves and also made some easily accessible bins for them. Drinks are readily available in bins…
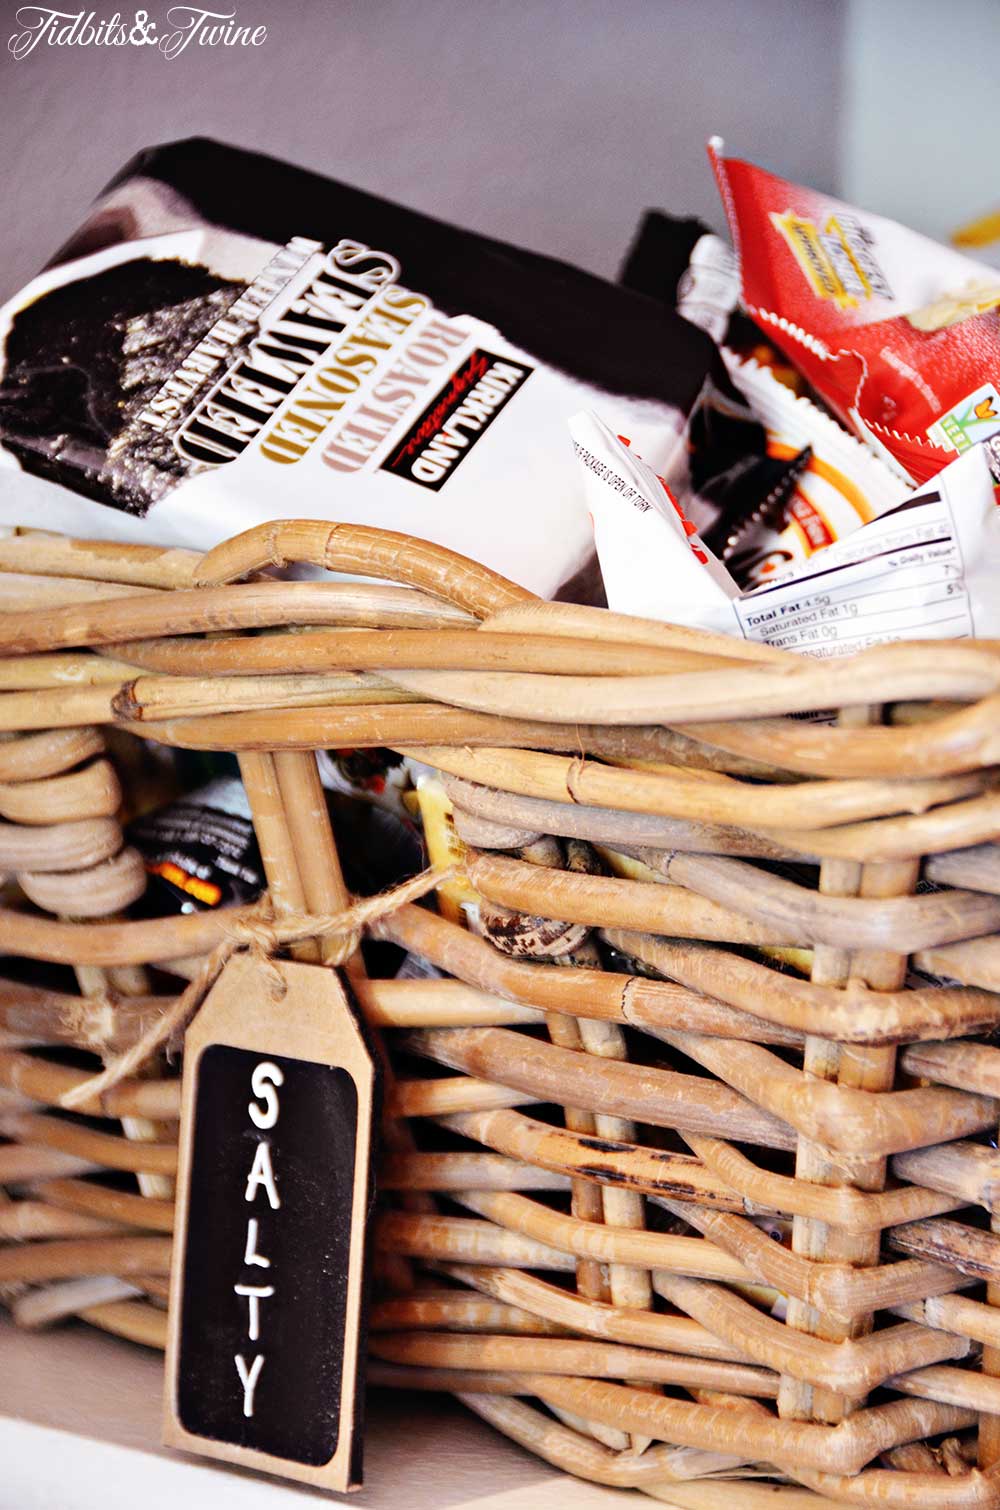
…and grab-and-go snacks are piled into a basket. {There are Sweet treats, too, but they are up on the top shelf away from little hands!}
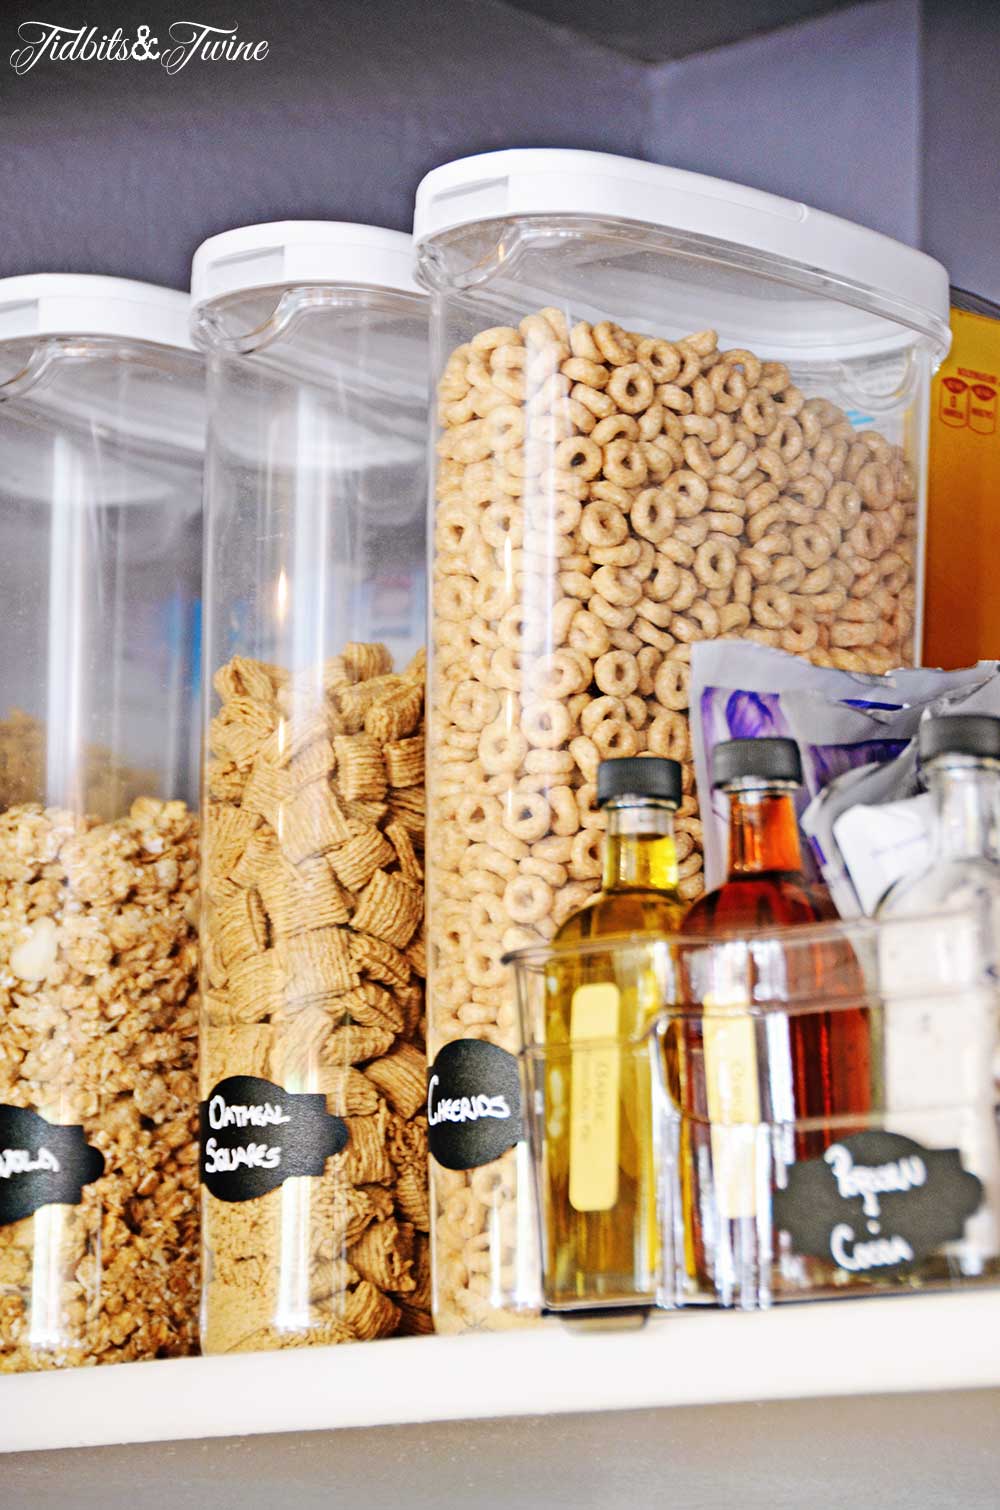
Cereal is now in ready-to-pour containers so we no longer have stale Cheerios. I love the convenience and the price of these IKEA containers but my one complaint is that they don’t quite hold a regular sized box of cereal.
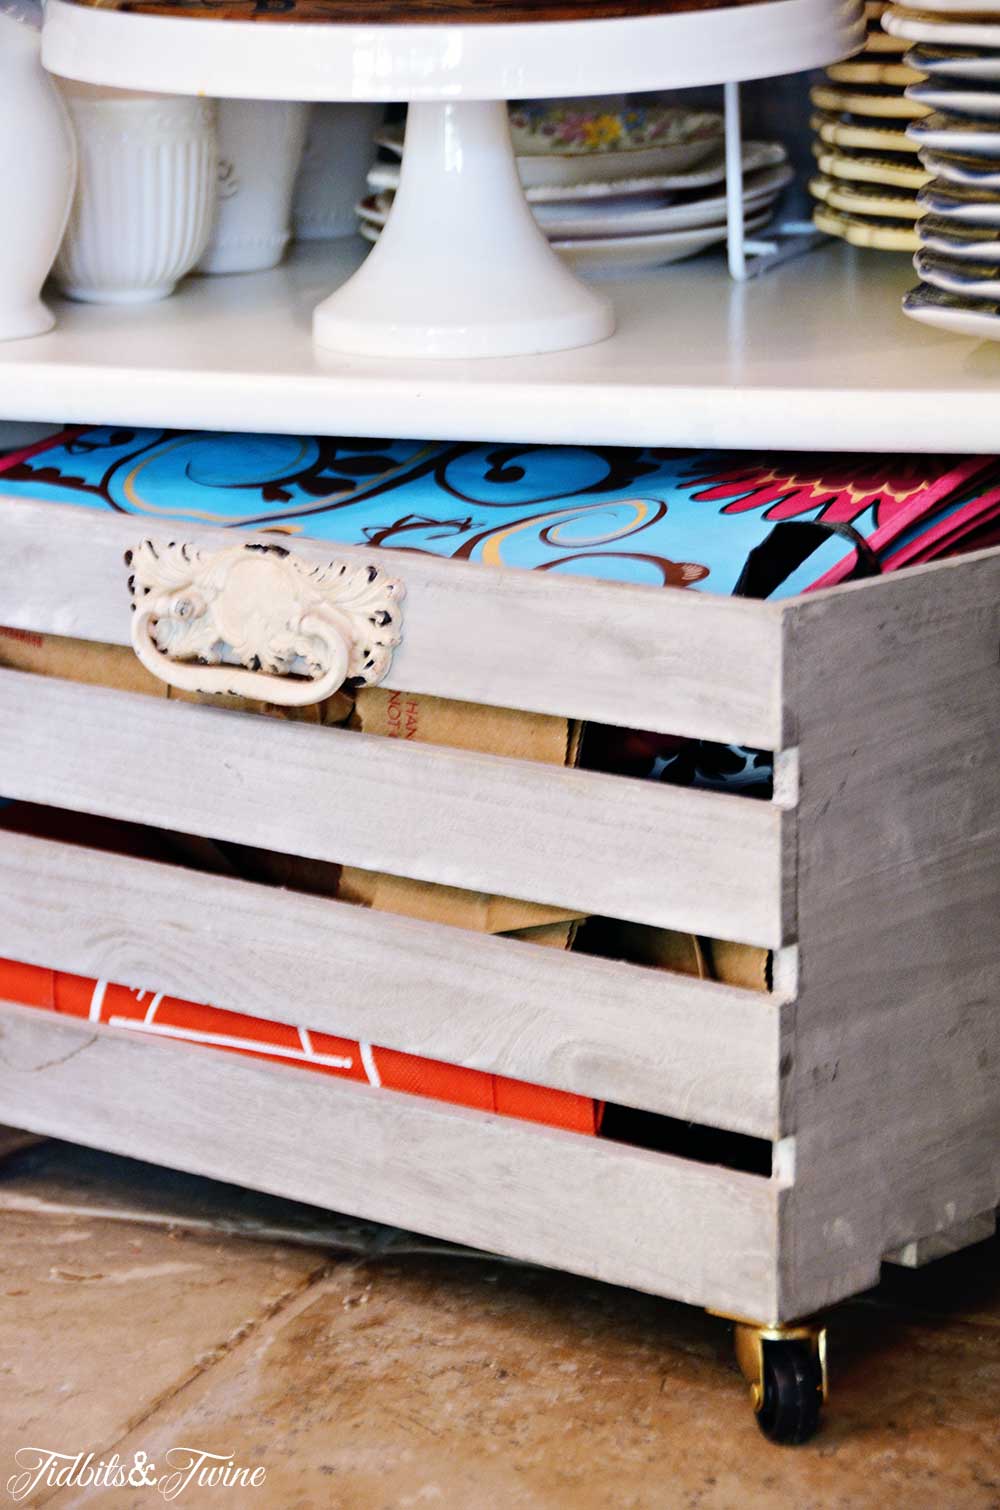
I also needed to make a lot of storage for bags. Where I live, most towns nearby no longer provide bags at stores so you have to bring your own bags from home. I’ve been stockpiling nice handled bags for many years so I made room for them on the hook on the back of the door. I also added caster wheels and a handle to this cute storage crate that I picked up from a craft store and stuffed it full with my stash of reusable bags.
And there it is! Finally done! Now that everything is organized and I have a lot more storage, I’m finding that the kids tend to keep things neater and I’m better about putting things away properly. Perhaps there is something to this organization thing after all!! ;)
And don’t forget to Pin It!

Join the Community
Let’s keep in touch! Get exclusive artwork plus the latest news delivered directly to your Inbox!