Here’s the best way to test paint colors in your home! PLUS details for how to buy sample paint, tips for painting boards, tricks for painting the walls, and more. Finding the perfect color for your home just got easier!
I honestly don’t understand why the lighting is so bad in most paint stores. There you are trying to pick a color and the lighting in the store is so bad that the color you see isn’t at all the color that it actually is once you have the swatch in your hand!
And why are there so many options?! It’s overwhelming to stand in front of the paint chip display to try and choose. My eyes! My eyes!
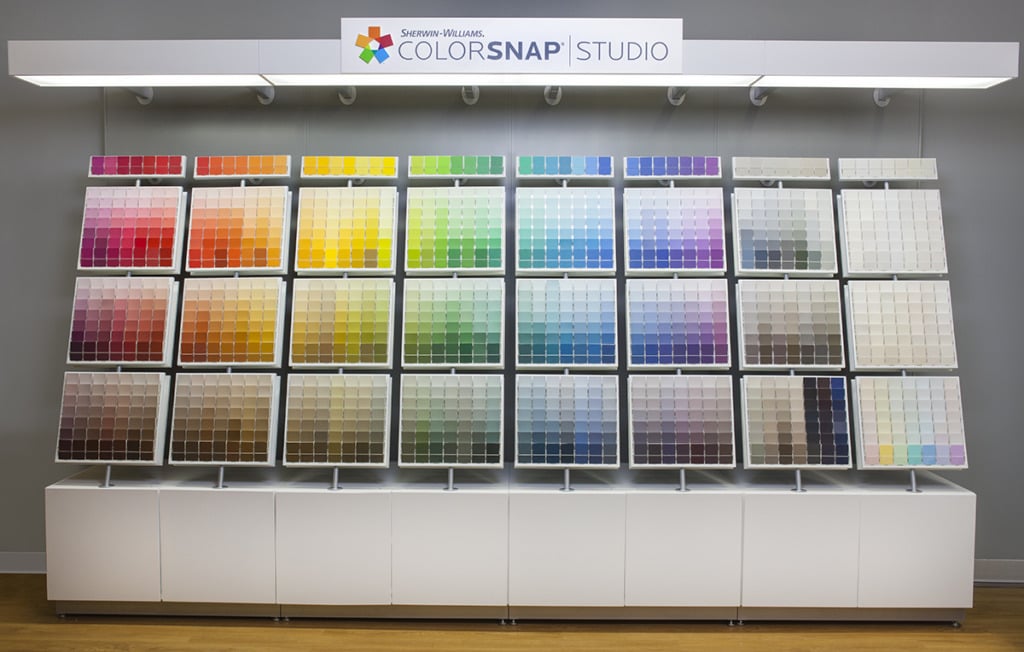
But honestly, even if they had good lighting, how a swatch looks in the store and how it looks in your home will always be very different. That’s why it’s so important to test paint colors in your home before committing to the painting process!
So let’s talk about:
- What affects how paint looks
- How to use paint chips
- How to purchase paint samples
- Options for testing paint colors
- How to Paint on boards
- Peel & Stick options
- Painting directly on the wall
- More Decorating Tips
What Affects the Appearance of Paint
Paint can look one way in one person’s home, and completely different in your own! There are a couple of big factors that affect how paint looks:
- Lighting
- LRV
- Natural Light
- Time of Day
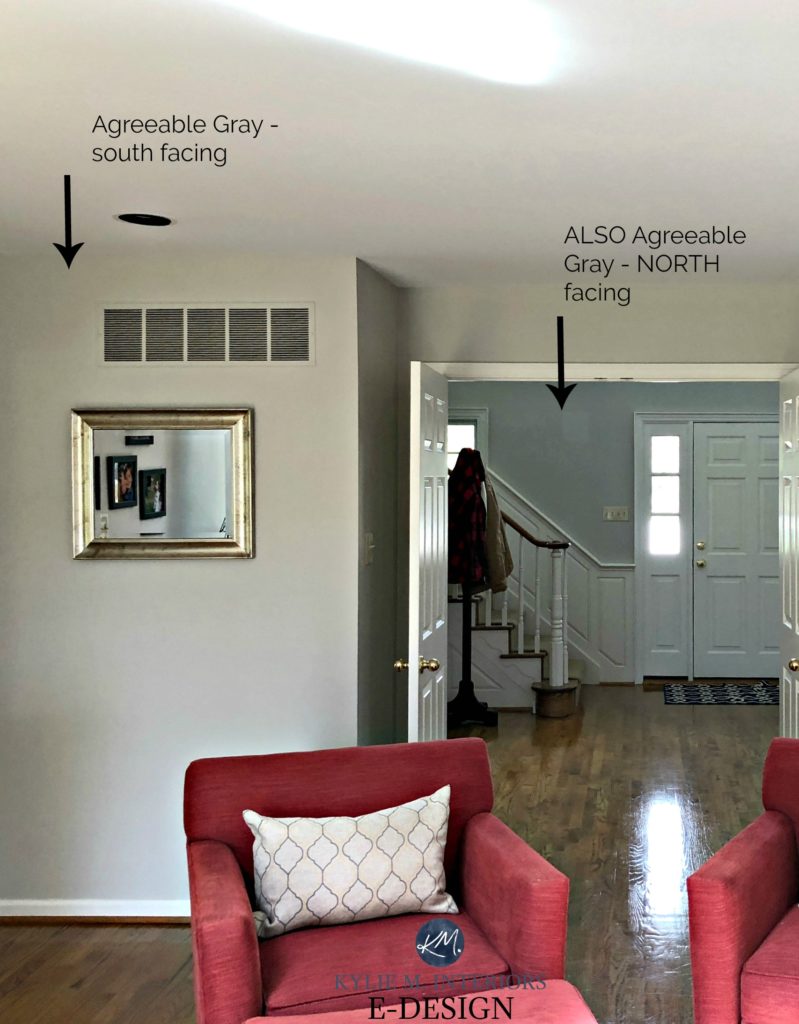
For example, paint in a south-facing room will often look a bit warmer than the same paint in a north-facing room. Why? Because the sunlight looks different based on the directionality! South-facing rooms have a warmth to them, while north-facing rooms accentuate the cool tones in a color.
Look how different SW Agreeable Gray looks below! In the south-facing room, it looks like a nice greige, but in the north-facing, it looks like a blue/gray!
Additionally, the LRV (of light reflectance value) will change how paint looks once it’s on the walls. The higher the LRV (closer to 100), the more that colors from surrounding objects will be cast on the wall. A paint with an LRV of 75, let’s say, will have a green cast if there’s a lot of green outside the window. Or maybe pink if you have a red tile roof.
Look at how Ballet White changes based on the reflection from the front porch!
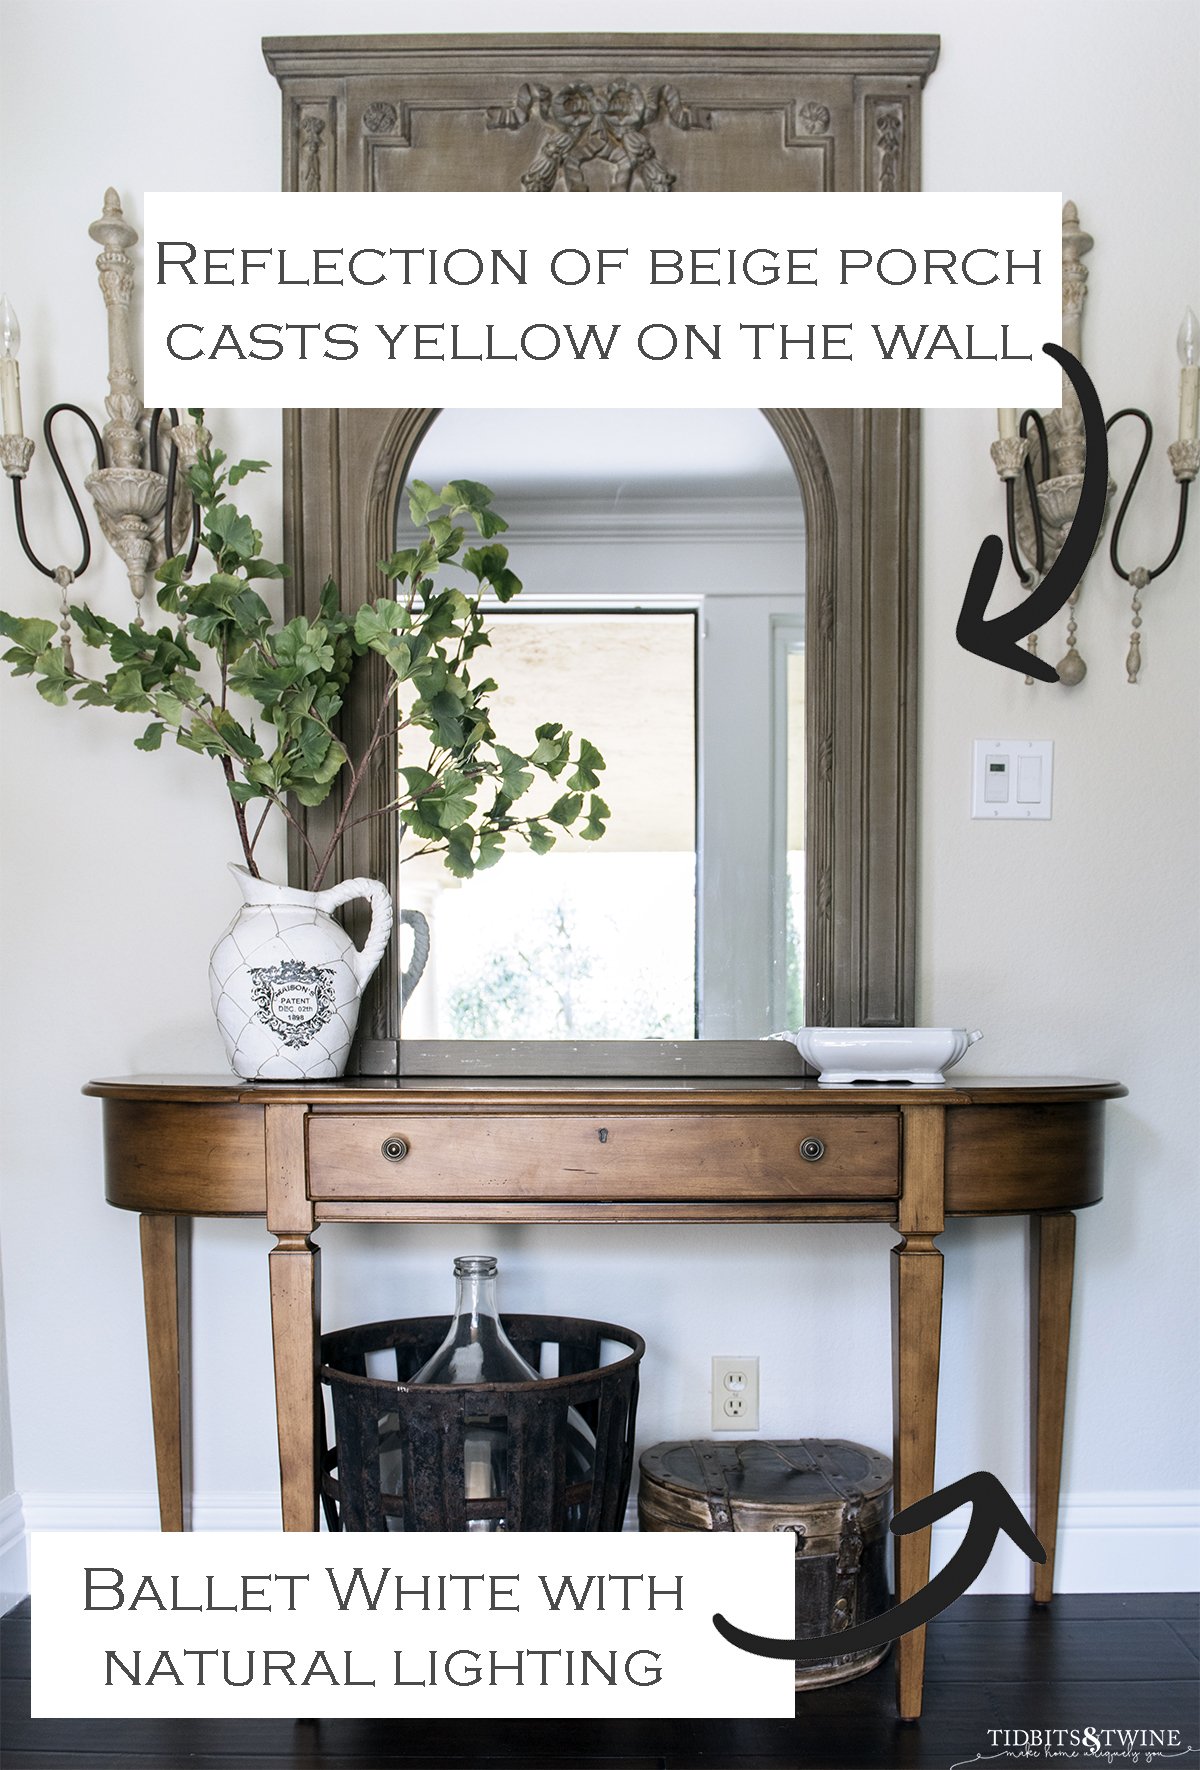
On the other hand, paint with an LRV less than 50 will soak up more light than it reflects and so will not reflect its surroundings the same as paint with a higher LRV.
So why does this matter?
It matters because the ONLY way to know how a paint color will look in your home is to actually test it in your home….in several rooms.
How to Use Paint Chips
The first step is to pick up swatches from the paint store and bring them home to see how you think they’ll look in your space. The lighting in most stores is quite bad, so how it looks in the store won’t represent how it’ll look in your home. You really need to look at the swatches in your home.
- Fold them over to see how each color looks on its on, or cut them apart!
- Be sure to hold them vertically, not horizontally…you’re painting the walls not the floor!
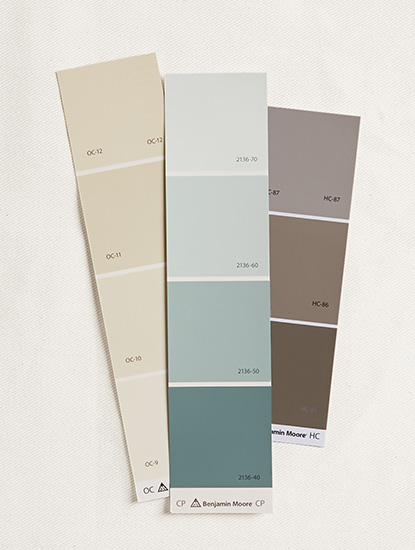
- Some manufacturers (not all) place paints in a gradation, so for a darker color, you simply move down one on the paint chip. This makes it easy to see how various shades will look.
Use the paint chips to narrow down your selection. Once you have a few colors picked out that you like, you’re ready to sample!
How to Purchase Paint Samples
Paints are now commonly sold in sample cans so that you have a small amount so you can test paint colors at home without breaking the bank. While you can choose from any color, you can’t choose the finish of sample cans and so are limited to whatever finish the manufacturer makes.
Here are the details of some common paint manufacturers:
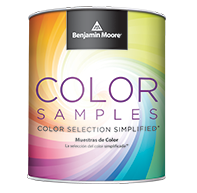
Benjamin Moore Paint Samples
- Can size: 16 oz.
- Price: $10.99
- Finish: Eggshell
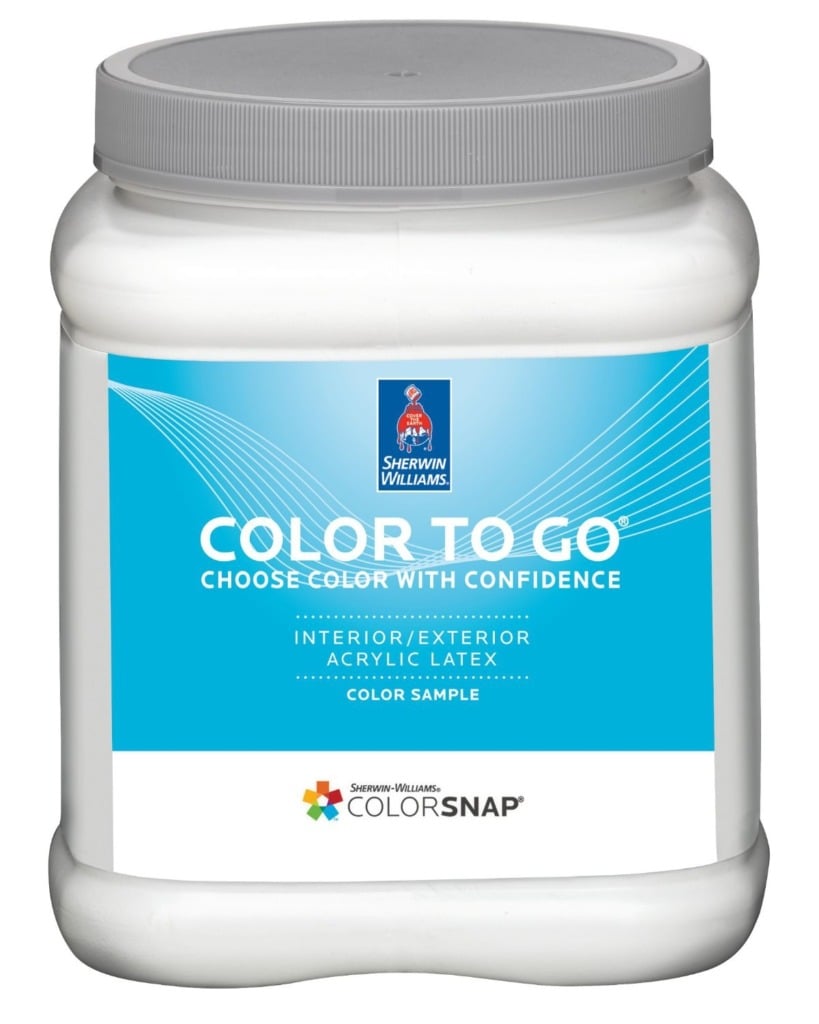
Sherwin Williams Paint Samples
- Can size: 32 oz.
- Price: Around $8.00 (depending on sales)
- Finish: Satin
- Exclusions: sample cans not available for the Designer line of colors
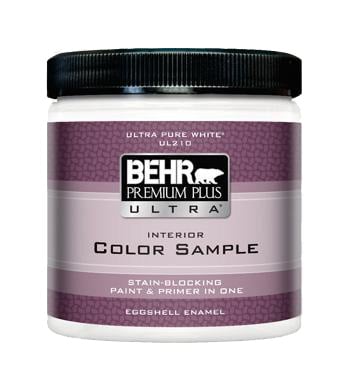
Behr Paint Samples
- Can size: 8 oz.
- Price: $4.48
- Finish: Satin
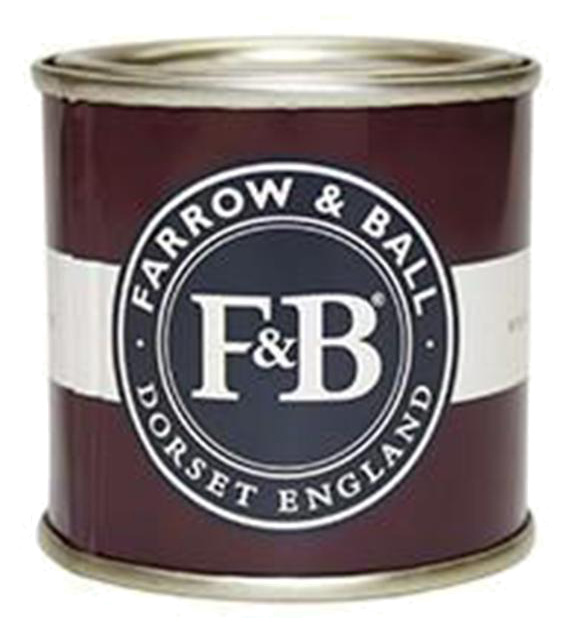
Farrow and Ball Paint Samples
- Can size: 3.38 oz. (100ml)
- Price: $8.00
- Finish: Matte
Options for Testing Paint Colors in your home
Now when it comes to testing out the colors, you have a couple of options:
- Paint on boards
- Use peel and stick samples
- Paint the wall
Ideally, you’ll use a combination of boards and the wall!
How to Paint on Boards
Now, painting on boards isn’t as accurate as painting directly on the wall because the paint doesn’t saturate the same. The best way to really test paint color is to try it on the wall.
But if you’re deciding between a few different colors or shades, there’s no need to paint a bunch of samples directly on your wall! You can narrow down your selections with sample boards.
So if you’re going to paint on boards, here’s how to do it the right way!
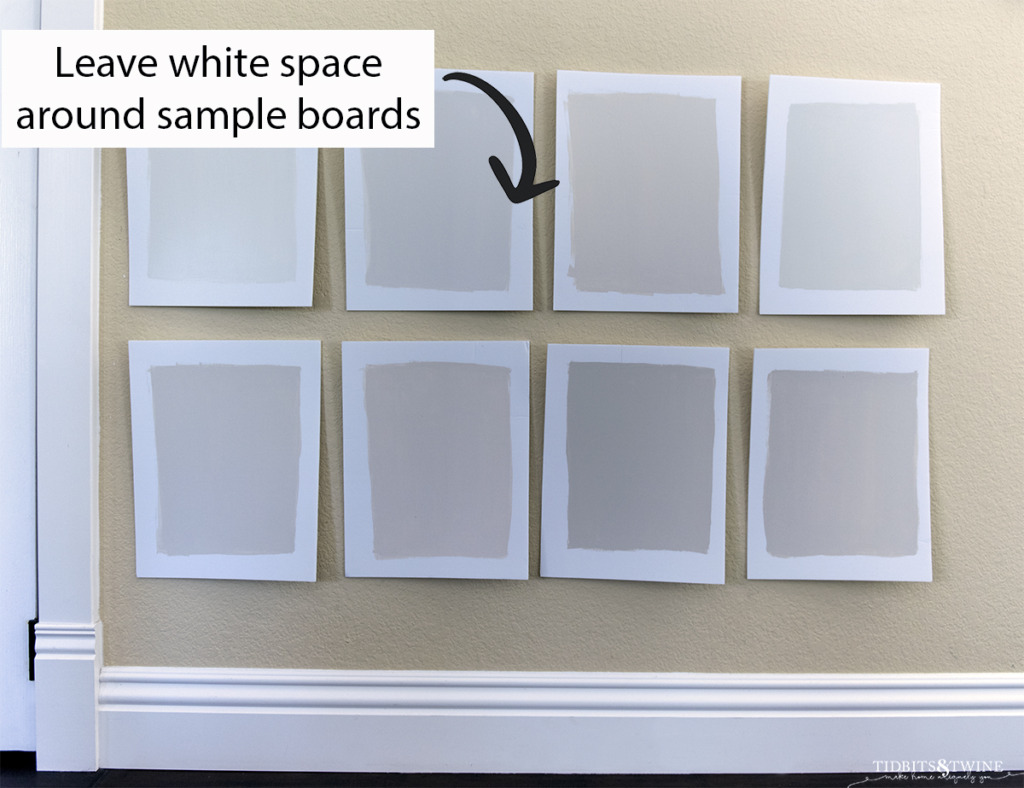
- You can pick up sample boards at any hardware store. They aren’t really boards, they’re more like posterboard or card stock. I like these foam core boards from Amazon.
- Always leave white space around your paint sample. The white space allows you to see the color for itself, without the influence of the color currently on the wall.
- Cover with 2 coats of paint, allowing the first coat to fully dry before applying the second.
- Wait until the paint is fully dry before making any sort of decision. Paint darkens as it dries.
- Always look at your sample boards vertically. Paint looks different on a horizontal plane than vertical, but since walls are vertical, that’s the way you need to look at your sample boards.
- Move your sample boards around to different rooms and look at the colors at various times of the day.
- Be sure to place boards near the floor to see how the wall and floor color look together. Also look at the color next to your trim color and any large pieces of furniture.
Peel & Stick Paint Samples
If you want to skip the mess of having to paint on boards yourself, you can try peel & stick paint samples such as Samplize. These are 12×12 peel and stick paint samples made with the actual paint. The colors are very accurate and should give you a good idea as to how a color will look in your home.
While sample boards are a great way to narrow down you selection, the best way to really see how paint will look in your home is to…
1. Paint Directly on the Wall
Paint on drywall just isn’t the same as paint on a sample board, so the color will look different. The difference is in the way the paint gets absorbed on sheetrock vs paper. Additionally, the starting color of the wall influences the new paint color (primer is important if you’re starting with a bold color!) Lastly, if you have a textured wall as we do here in California, the texture slightly changes how the paint appears.
Here’s an example of my sample board next to the SAME color painted on the wall. What a difference!
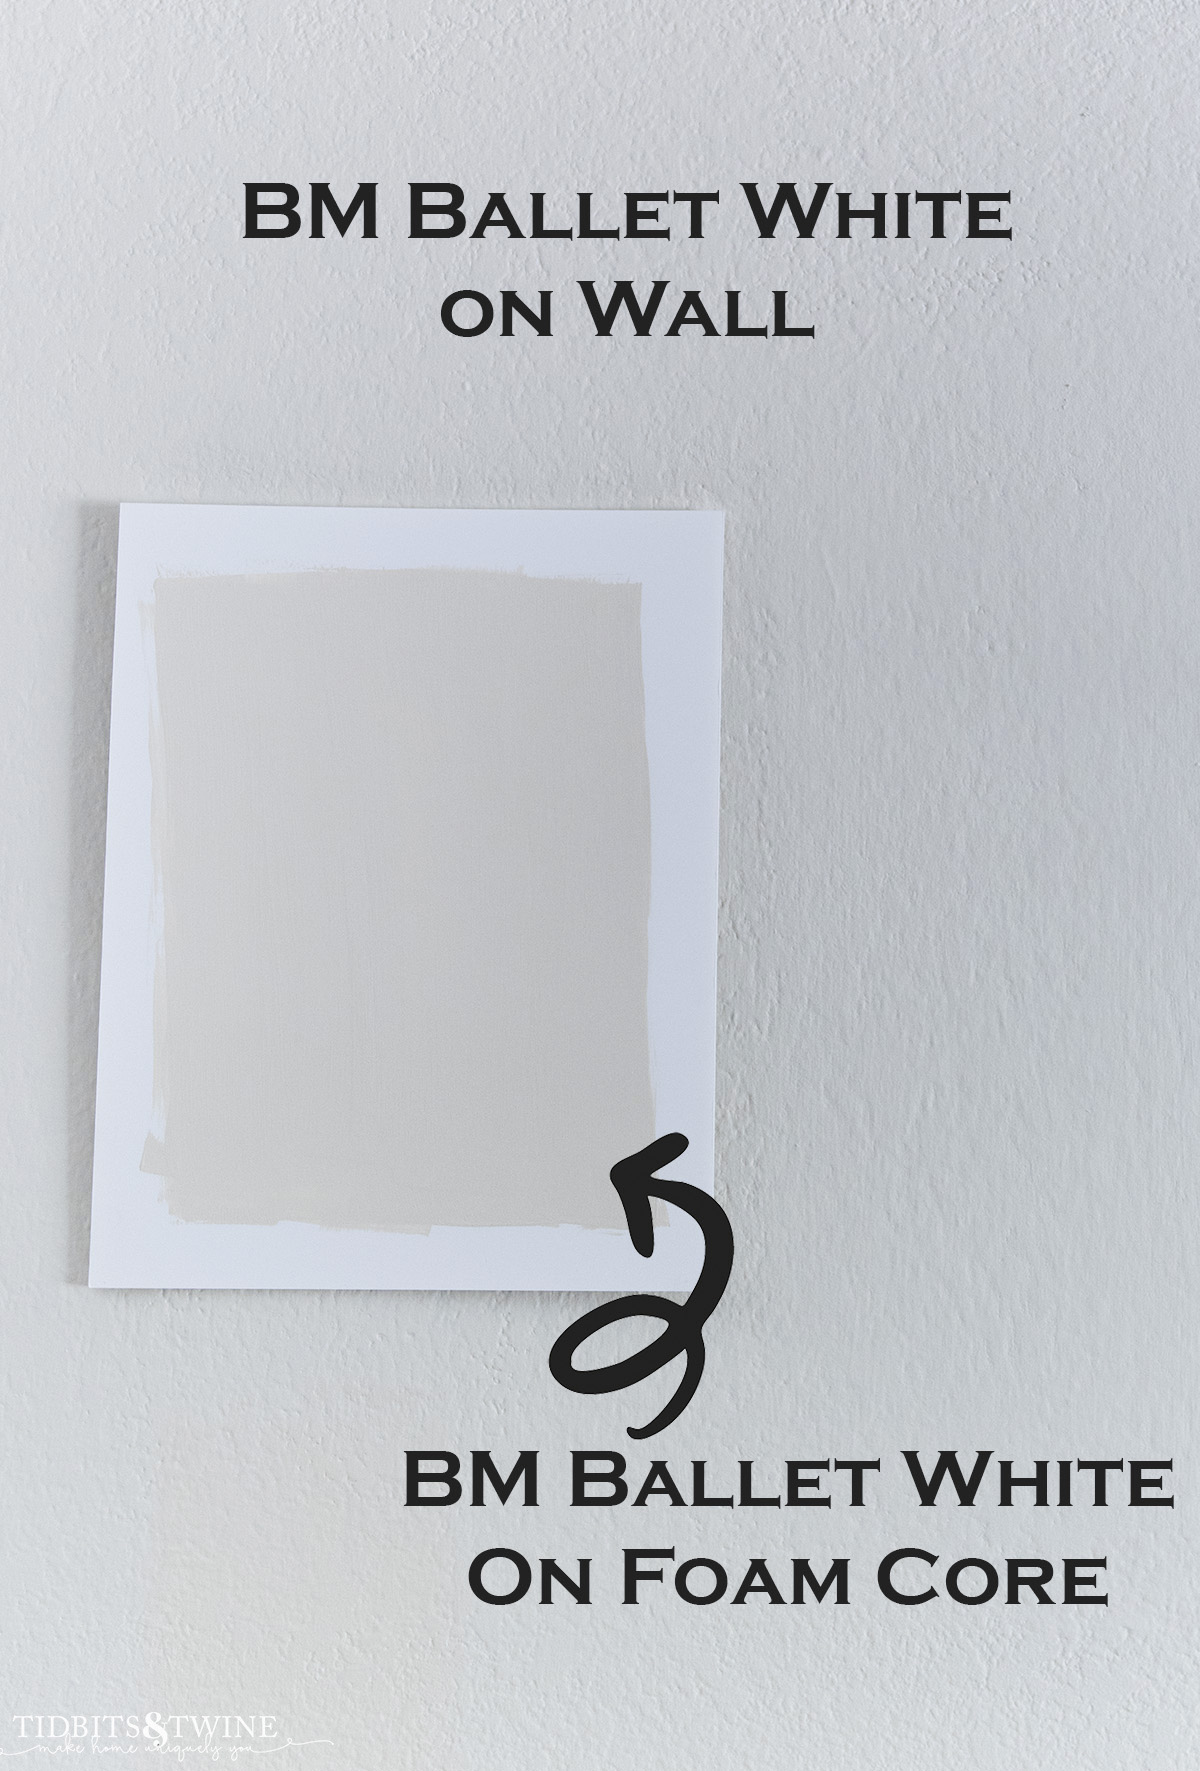
Besides the accurate coloring, painting on the wall has another plus. With the samples painted, you’ll be able to observe them throughout various times of the day to easily see how the color changes with the light.
Tip: If you’re worried, you can always paint behind a large picture or mirror! This way, if you postpone your painting project, you can cover your sample up like it was never there!
2. Paint a Large Area
Paint at least a 3×3 area, if not larger. With the exception of Farrow and Ball, the sample cans are generous and will allow you to paint a few large areas throughout your home. A 16oz container can cover approximately two, 4×4 areas.
Paint an area that is about eye level, since that’s the angle from which you’ll usually be looking at the wall. Paint near a door or window with trim if you can, so you can see how the color works with your trim color.
If you’re feeling bold, you can even paint lower on the wall near the baseboard to see how the color looks with the flooring!
3. Use Two Coats
As with any interior latex paint, you need two coats in order to get 100% coverage and really see what the color will be.
4. Test on Multiple Walls
Because natural light affects how paint looks, it’s very important to test out your paint samples on multiple walls. The color will change depending on whether it’s in a low-light north-facing room or a sunny south-facing room. Make sure you test in a variety of locations to ensure you like the color in all rooms!
5. Use Primer for Bolder Colors
Some bold paint colors, such as red, will need to be primed before you can paint a new color over them; otherwise, the base color can bleed through your new color. Most sample pots are not paint and primer in one, though, so you’d need to purchase a separate primer and paint it first.
6. Compare to Fixed Elements
You want to see how the new paint will look with the fixed elements in the room like flooring, trim, fireplace, sofa, cabinets, etc. You don’t want to compare the sample paint to the old wall color!
For this reason, painting it next to trim can help. Even better is if you can paint a white border around it so that you’re really looking at the new color without the influence of the old wall color.
Regardless, make sure you look at the paint color next to other elements in your home to ensure they complement one another. You don’t want to paint your walls green only to realize that green brings out red in your floors you never knew existed!
Once you paint a few samples on your walls and live with them for a few days, you really should have a good idea as to how the color will look when the entire space is painted!
More Decorating Tips:
- How to Choose the Perfect Paint Color
- Painted French Dresser Makeover
- How to Create a Chippy Paint Finish using Chalk Paint
- How to Create a Faux Wood Finish
Coming soon, my favorite warm white paint colors!

Join the Community
Let’s keep in touch! Get exclusive artwork plus the latest news delivered directly to your Inbox!

Thank you ! I’m struggling with this right now !