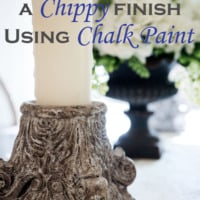
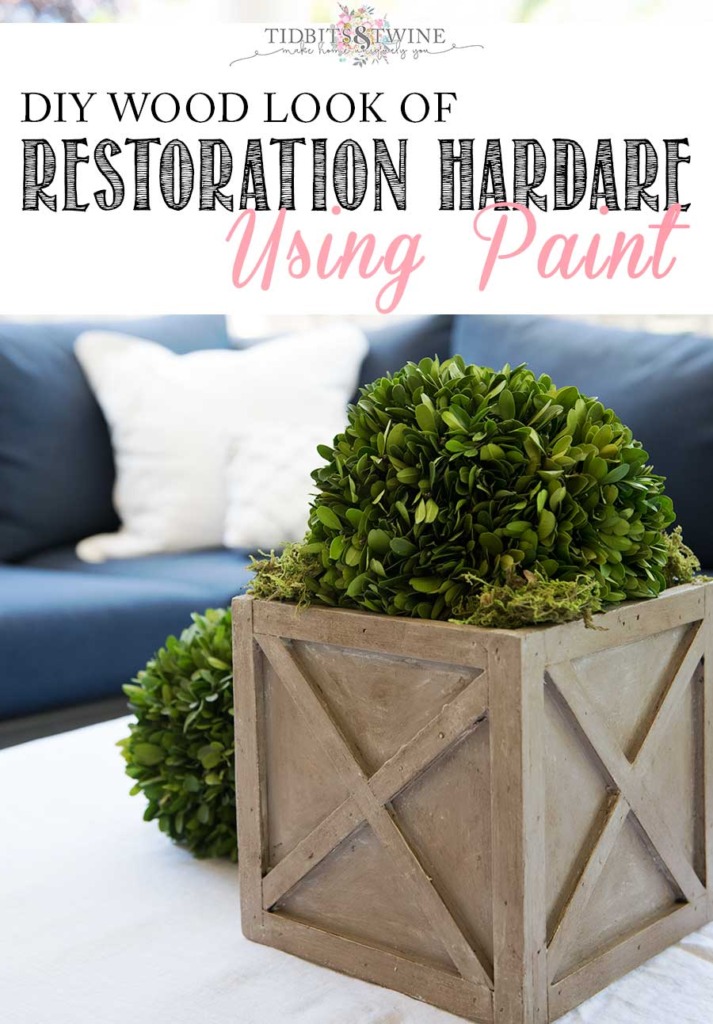
Today I’m sharing with you how to create a chippy paint look using chalk paint. I love this look because it gives pieces a more of an old-world, timeworn look. The process was completely accidental and truth be told, I’m slightly embarrassed to share my actual process with you, but a Facebook reader asked and so here goes! It all worked out beautifully in the end, so I guess it’s okay that I made some mistakes along the way. Lol!
There are no mistakes, just happy accidents.
Bob Ross
If you follow me on Facebook, you’ll know that just before our Shelter in Place order, I found some fantastic hurricane lamp candle holders at HomeGoods for just $19.99. Now the good news is that since the stores closed shortly thereafter, there’s a good chance that HomeGoods will still have these in stock when the stores open again.

I loved the detail on these cement candle holders, but not so much the color. Thinking I’d just give them a quick coat of paint when I got home I purchased them without hesitation. Little did I know that I’d change my mind THREE times before settling on a look I liked! Lol!
Below is the process I used…admittedly, this probably isn’t the most efficient way to achieve the look. So at the very bottom I’ve written the instructions for a better way to achieve the look. Regardless, this is what I did using supplies I already had on hand.
Supplies
- Annie Sloan Chalk Paint – Coco
- Annie Sloan Chalk Paint – Paris Grey
- CeCe Caldwell Chalk Paint – Texas Tea
- Annie Sloan Soft Wax – Clear
- Annie Sloan Soft Wax – Dark
- 3 stiff brushes
- 1 small craft paintbrush
- Lint-free rags
How to Create a Chippy Paint Look Using Chalk Paint
- Paint Entire Piece Brown
I painted the entire concrete base with a thick coat of Texas Tea. I am specifying thick coat in this step because I didn’t water the paint down, and I often do. I wanted a thick coat so as to minimize the risk of rubbing the brown all the way off during later steps in this process.
- Paint Entire Piece Coco
Once the Texas Tea was dry, I covered the entire piece with a coat of Coco. Originally, I wanted to create wood look for the candlesticks, so my plan was to rub some of the Coco off, exposing the brown (which would look like wood).
- Wet Distress
To expose some of the brown underneath, I took a clean, damp rag and rub away spots of the Coco {this is known as a wet distressing technique}. I took the paint off of the high ridges to mimic how things normally wear over time.
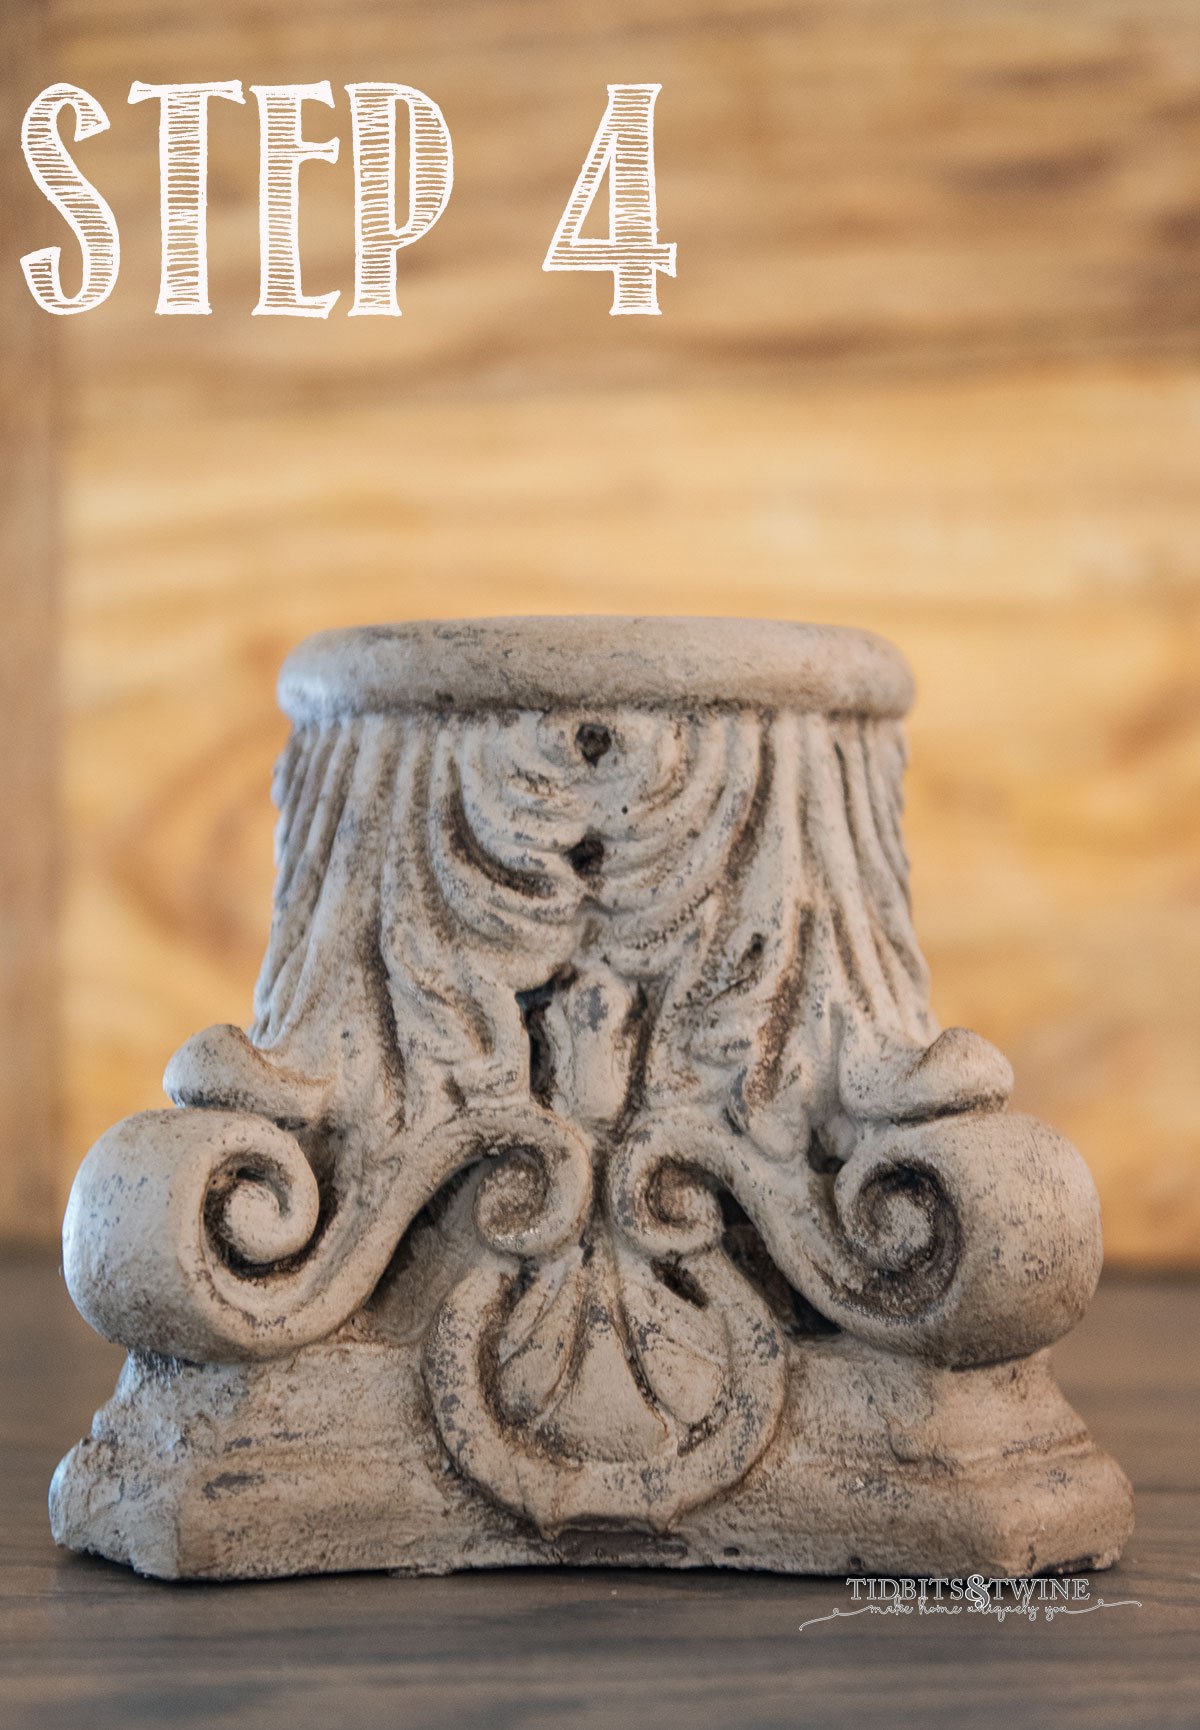
- Add Clear and Dark Wax
In this step, I used another stiff brush to first apply a coat of Clear wax to the entire piece. Before it dried, I used another stiff brush to apply a coat of Dark wax to the entire piece and quickly rubbed off excess using a lint-free rag. I then went back with a small craft paintbrush and added more dark wax to the crevices.
- Apply Liming Wax
Just to add a few highlights, I applied some liming wax using a dry cloth, quickly wiping off excess. If you plan to stop at this step, then use the liming wax. If you plan to complete the tutorial for the chippy paint look, skip this step completely {see below}.
Now in all honesty, this is where I planned to stop because this was the coloring I had in my head when I started. But after living with it a couple of days, I didn’t like it. It was a little boring and didn’t seem authentic to me. And so….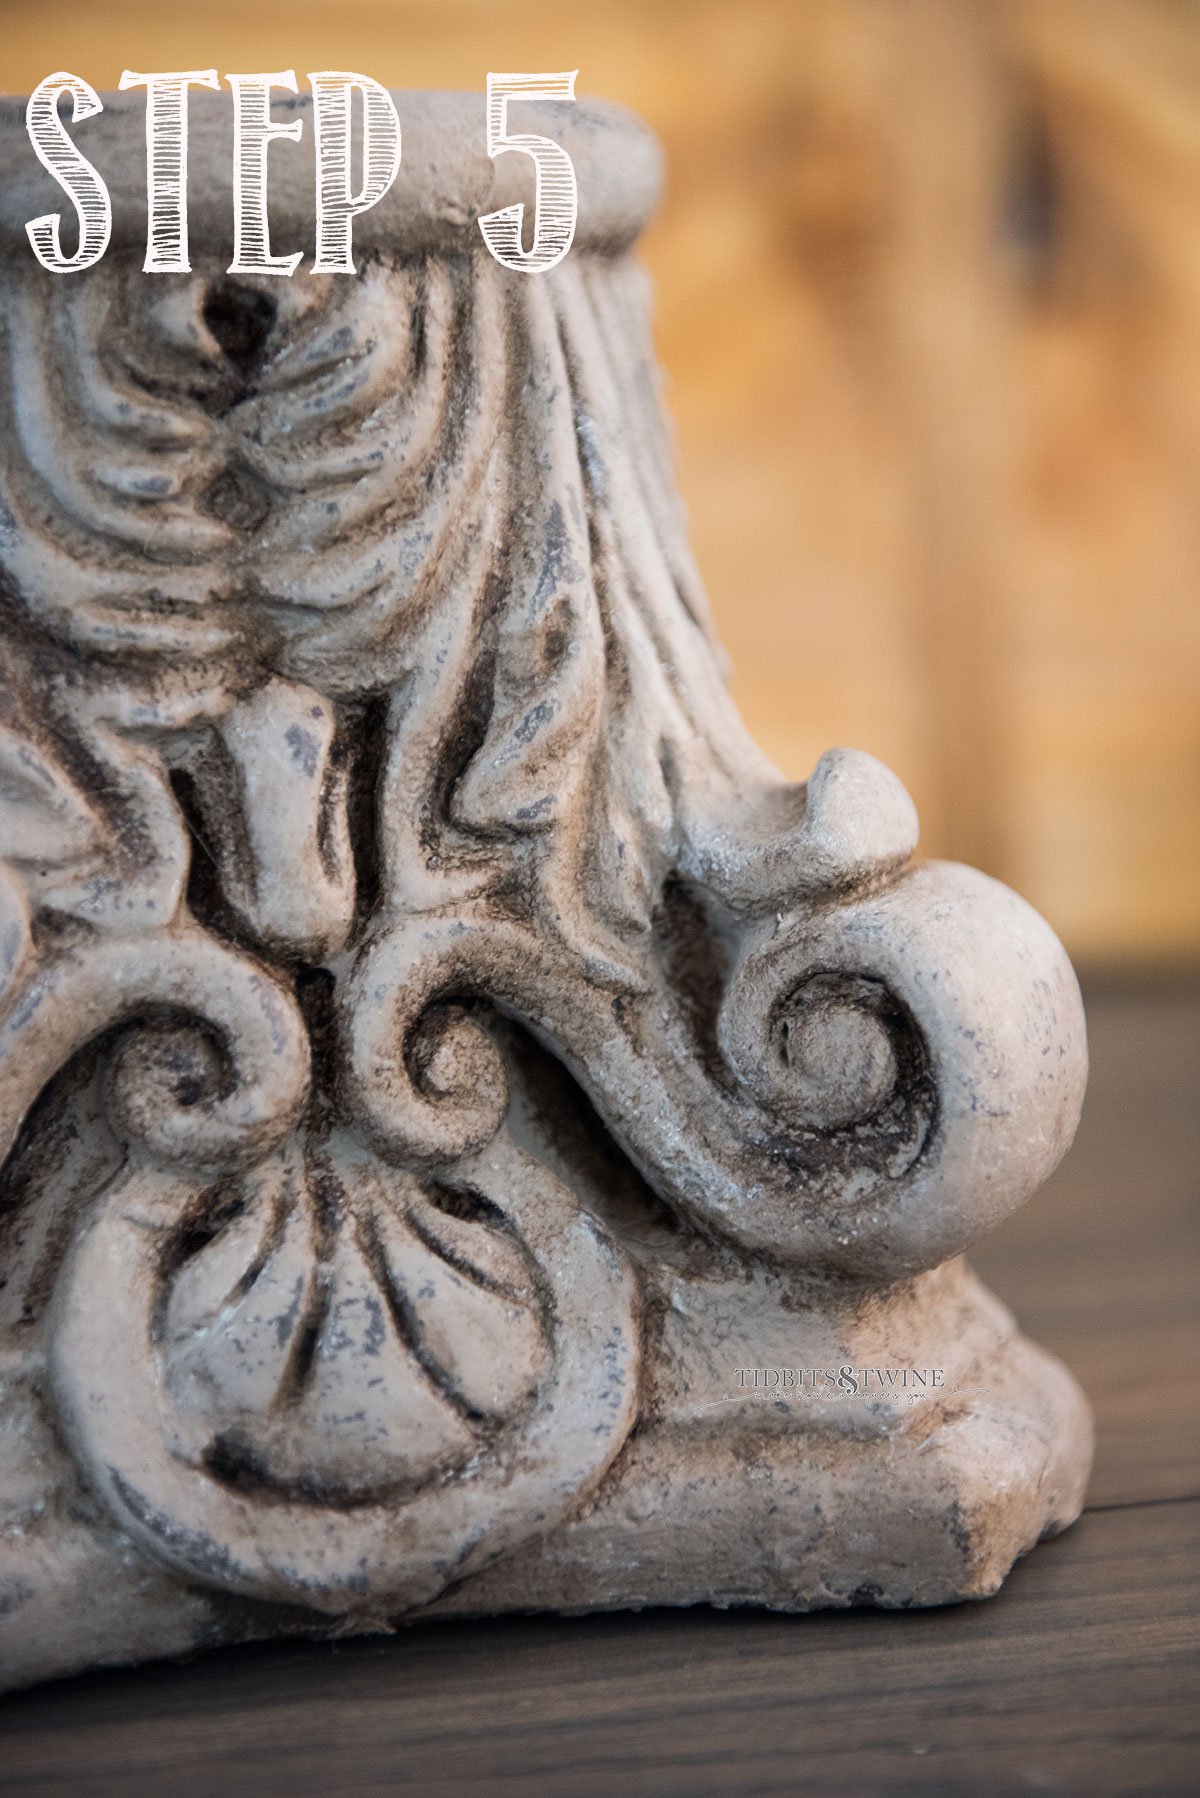
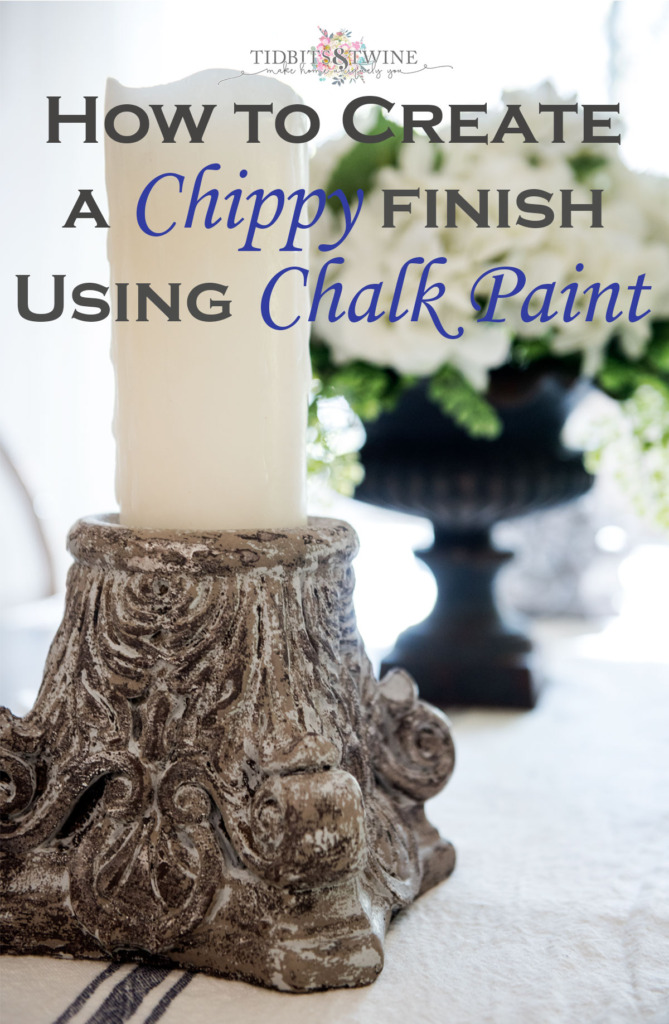
- Paint Entire Piece Paris Grey
I thought maybe I didn’t want it to be brown anymore! Maybe grey was the color for me! So I painted the entire thing with Paris Grey, then Clear and Dark waxed it again.
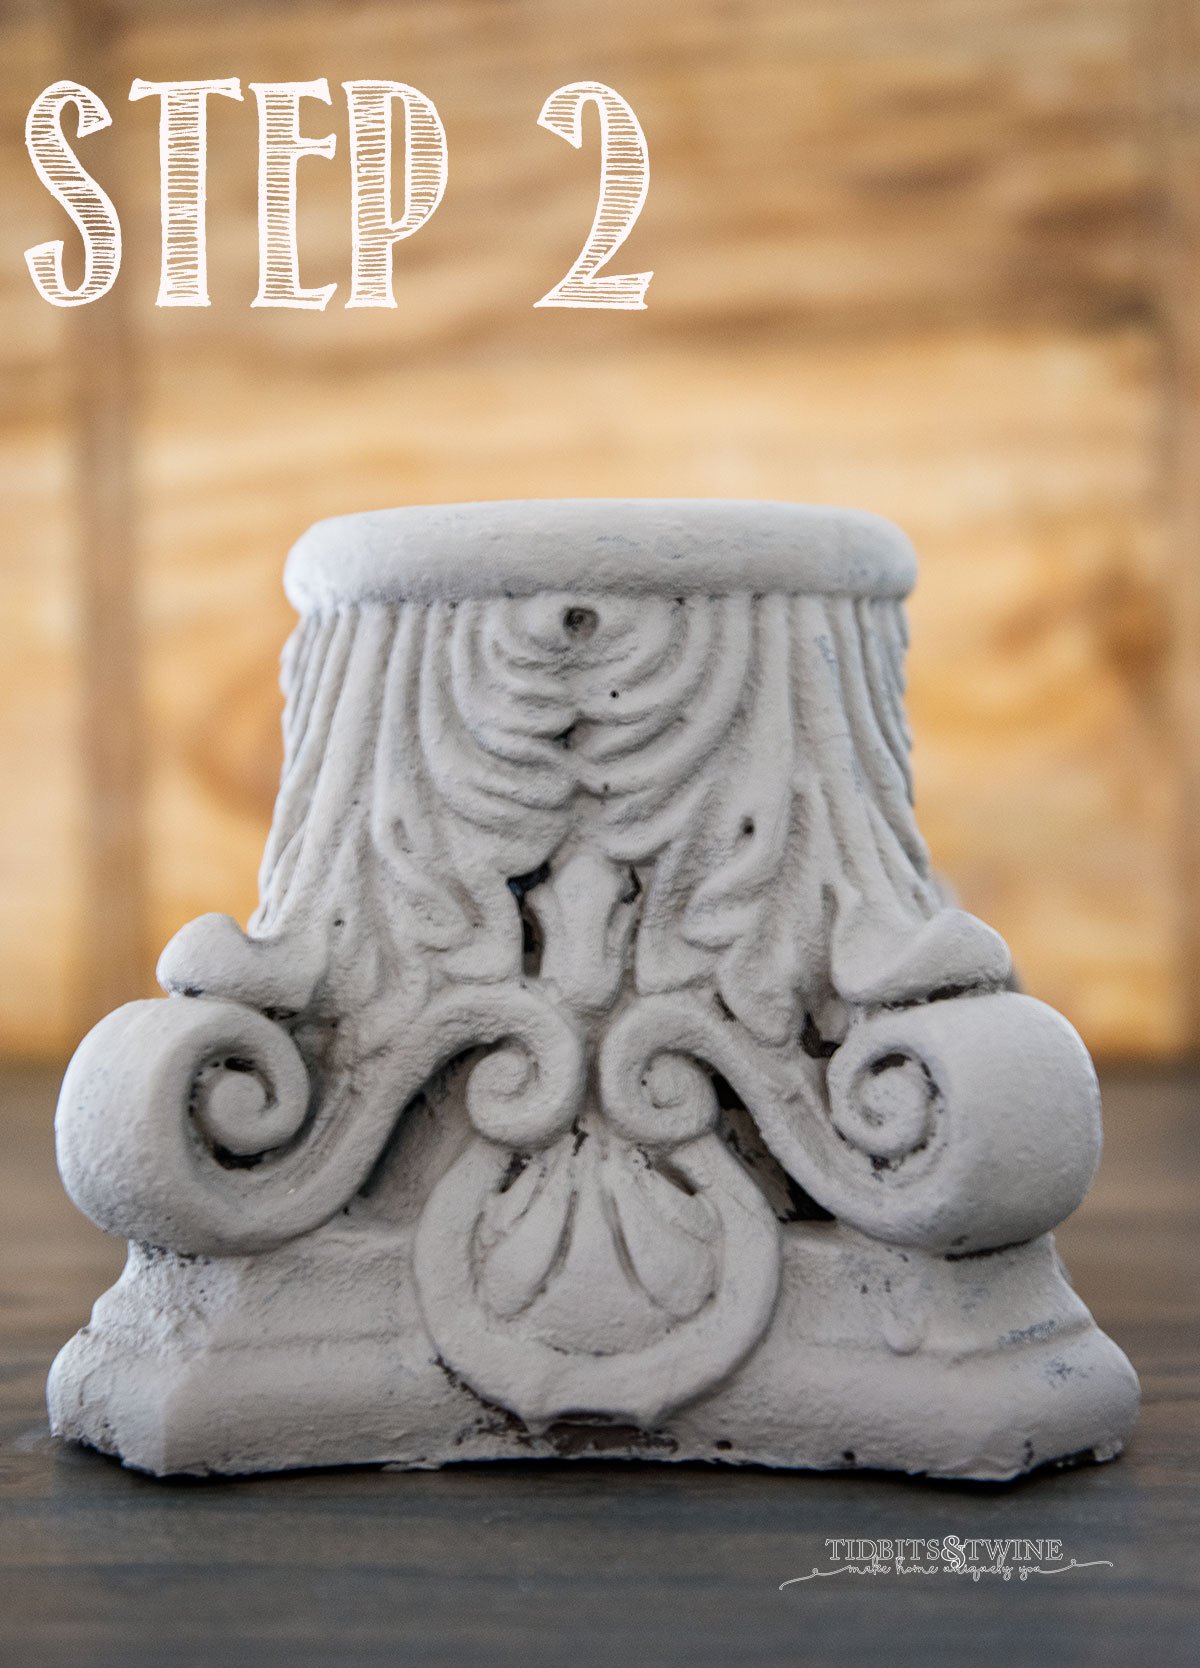
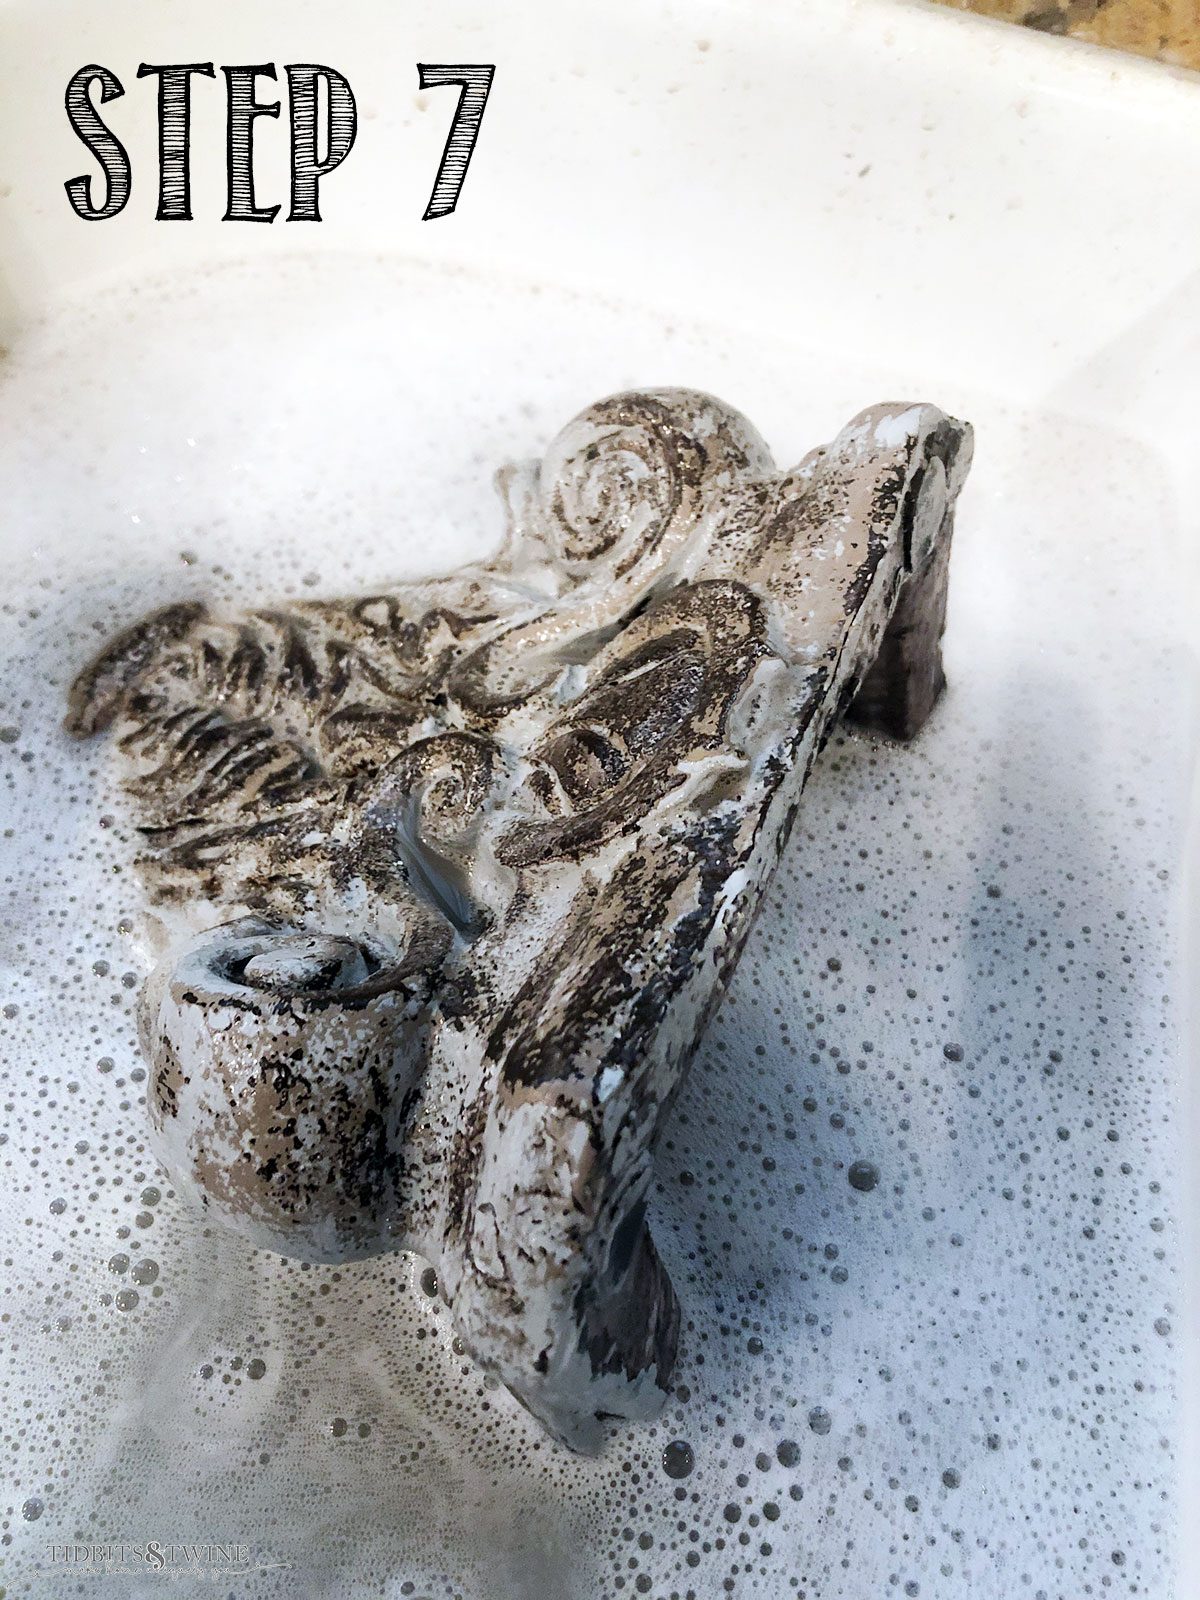
Unfortunately, I didn’t really like this look either. The contrast between the Paris Grey and the Dark wax in the crevices was much to dramatic and phony looking. At this point, I regretted ever painting it in the first place! And so… - Throw Entire Thing into the Kitchen Sink and Scrub Like Crazy!
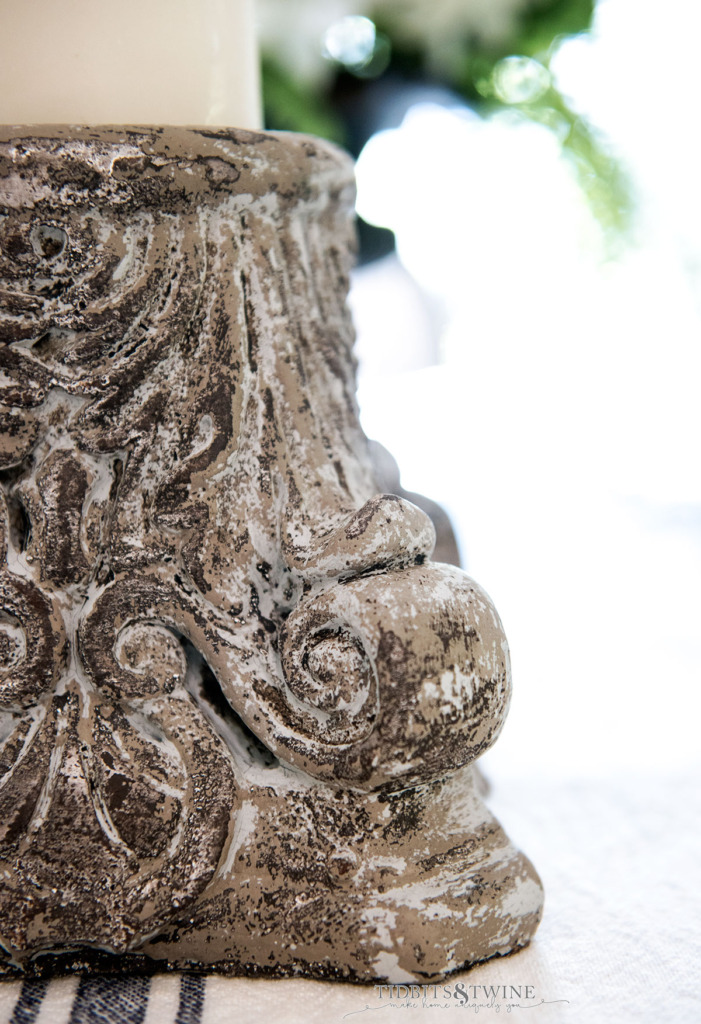
I told you this wasn’t the most efficient process! Yes, I threw the entire piece into the kitchen sink and let it soak for a good hour in warm water {to soften the wax}. I then used dish soap and a scrub brush and went to town. By a stroke of fortune, the result is just what I wanted! A nice chippy old-world look with a mix of three paint colors.
A Better Process
Obviously, most things that you paint can’t be thrown in the kitchen sink, so the process I used isn’t practical. If I were to do this all over again, I’d do the following:
- Paint the first coat in brown
- Wax the brown coat (to ensure I didn’t rub it all the way off}
- Paint a layer of Coco
- Paint a layer of Paris Grey
- Take a damp rag and rub the colors back off in a random fashion to allow all three colors to be exposed. Note: Without the wax on the outer layers, there’s no need to resort to warm water and a scrub brush to get it off. Instead, simply use a standard wet distressing technique.
- The majority of the piece is Coco, with bits of brown showing through underneath and Paris Grey as highlights.
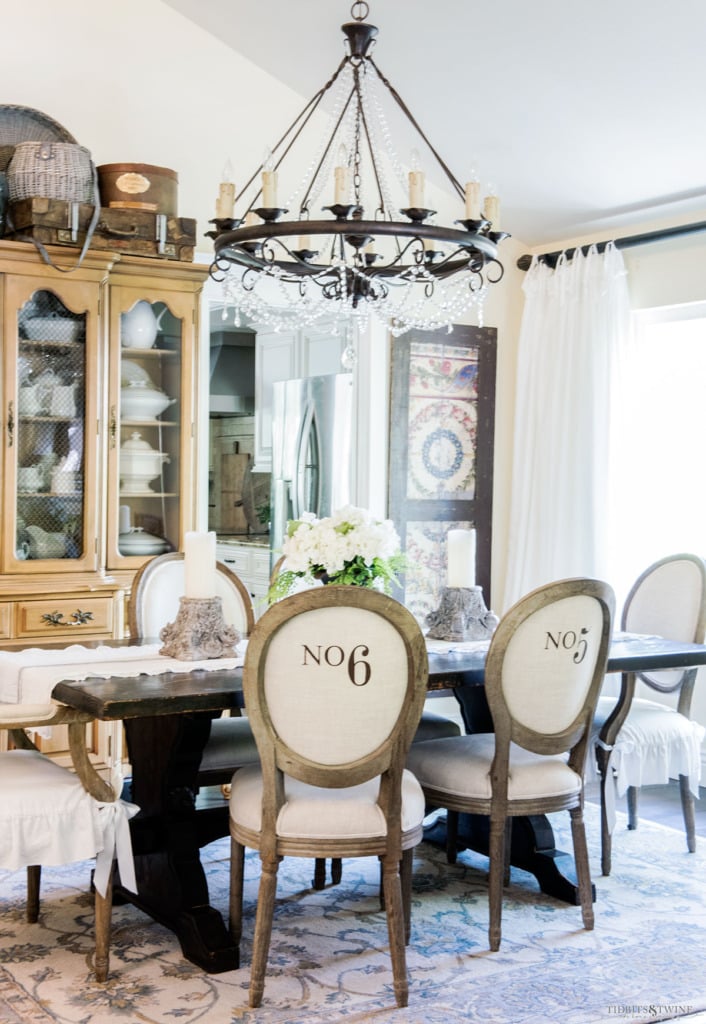
I took the glass off because I’m not great at dusting and I’m just using the base for a candle right now.
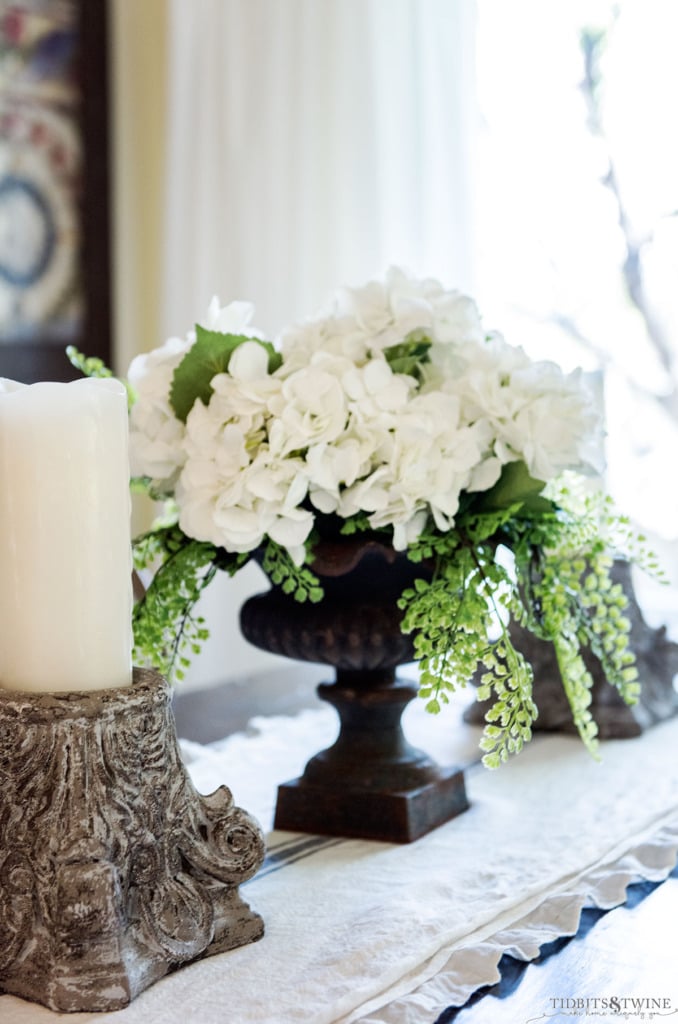
Both are on my dining room table, along with an old iron urn that a friend gave to me. Since I can’t go out to the store, I didn’t have any flowers or a plant to put in urn to make for a pretty picture! Instead, I’ll have to make due with a faux plants. At least I can’t kill them!
Want to remember this? Be sure to PIN it!
Sometimes, the best things happen by accident!

You might also enjoy this article:
Join the Community
Let’s keep in touch! Get exclusive artwork plus the latest news delivered directly to your Inbox!
Another home run!