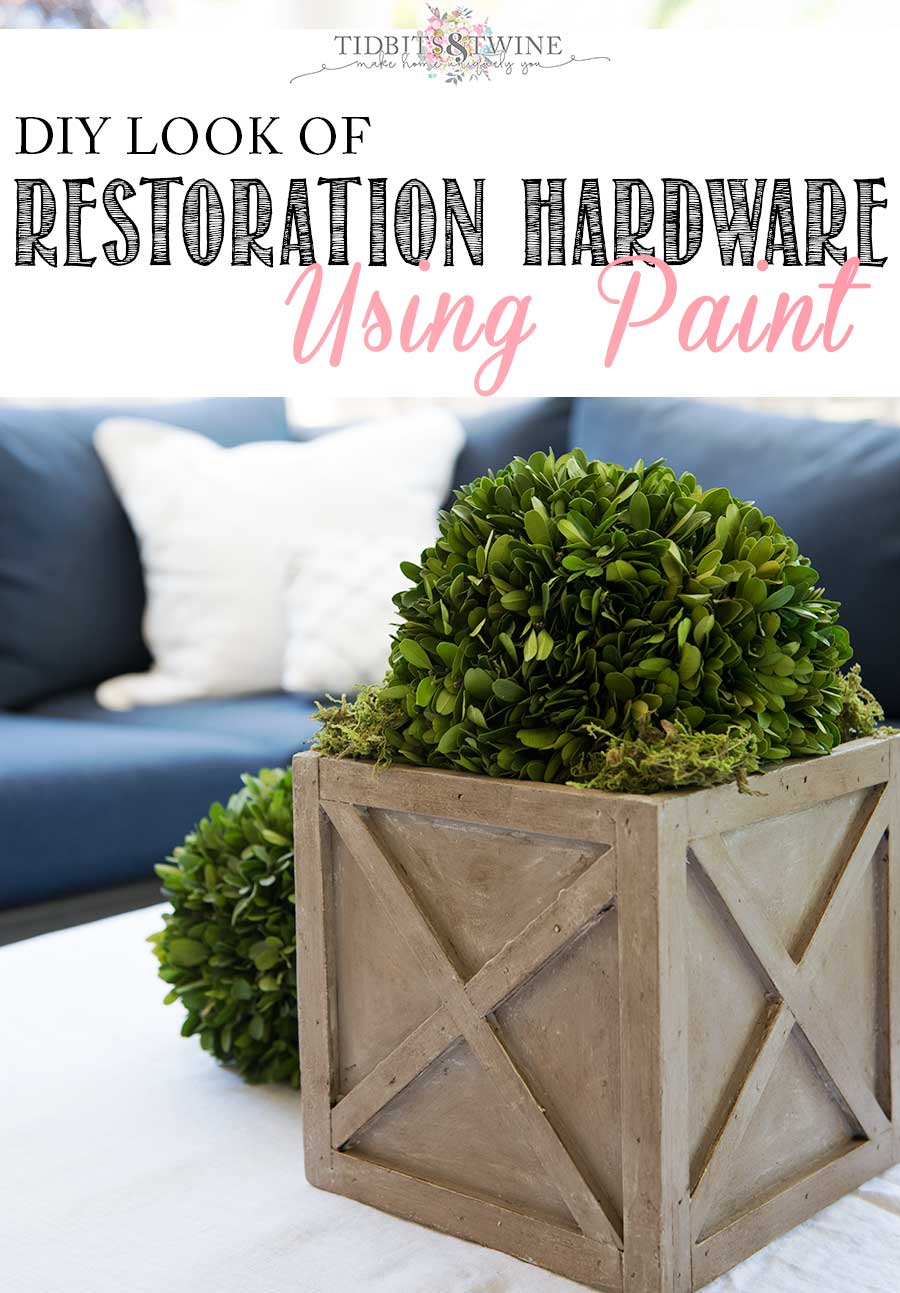
Admittedly, this tutorial is long overdue but that One Room Challenge really wiped me out! Many of you have asked how I painted my living room mirror, and more recently, my master bathroom mirror, so today I’m sharing all of the details. Here’s how to create a DIY Restoration Hardware look using paint!
For those of you that prefer videos, you can watch the tutorial below. Otherwise, scroll down for written instructions!
Supplies
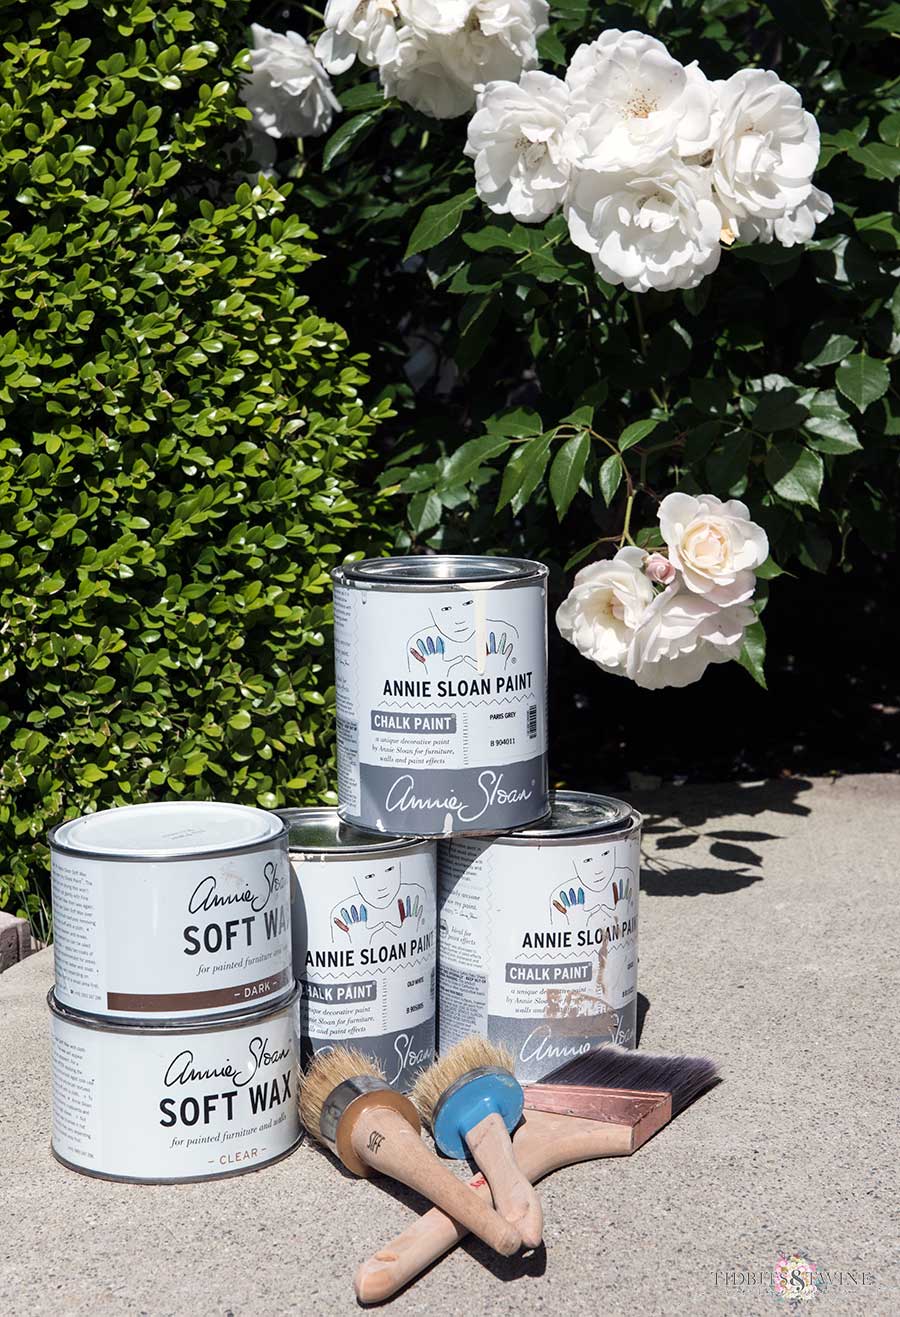
To replicate this look, you’ll need:
- Annie Sloan® Coco Chalk Paint
- Old White Chalk Paint
- Paris Grey Chalk Paint
- Annie Sloan® Clear Wax
- Annie Sloan® Dark Wax
- Paint brushes
- Wax brushes (or stiff bristled brushes)
- Lint-free rags
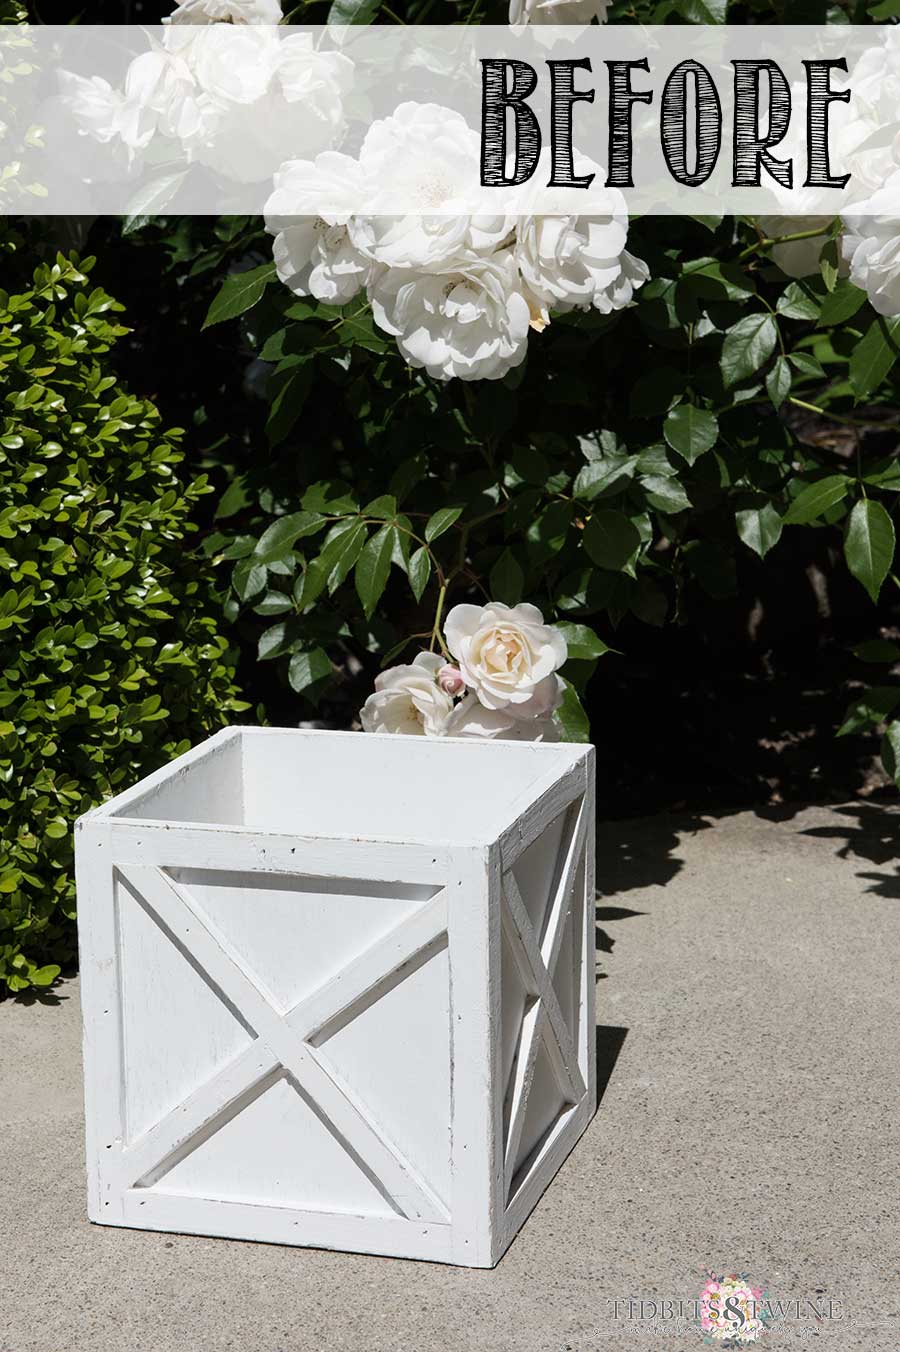
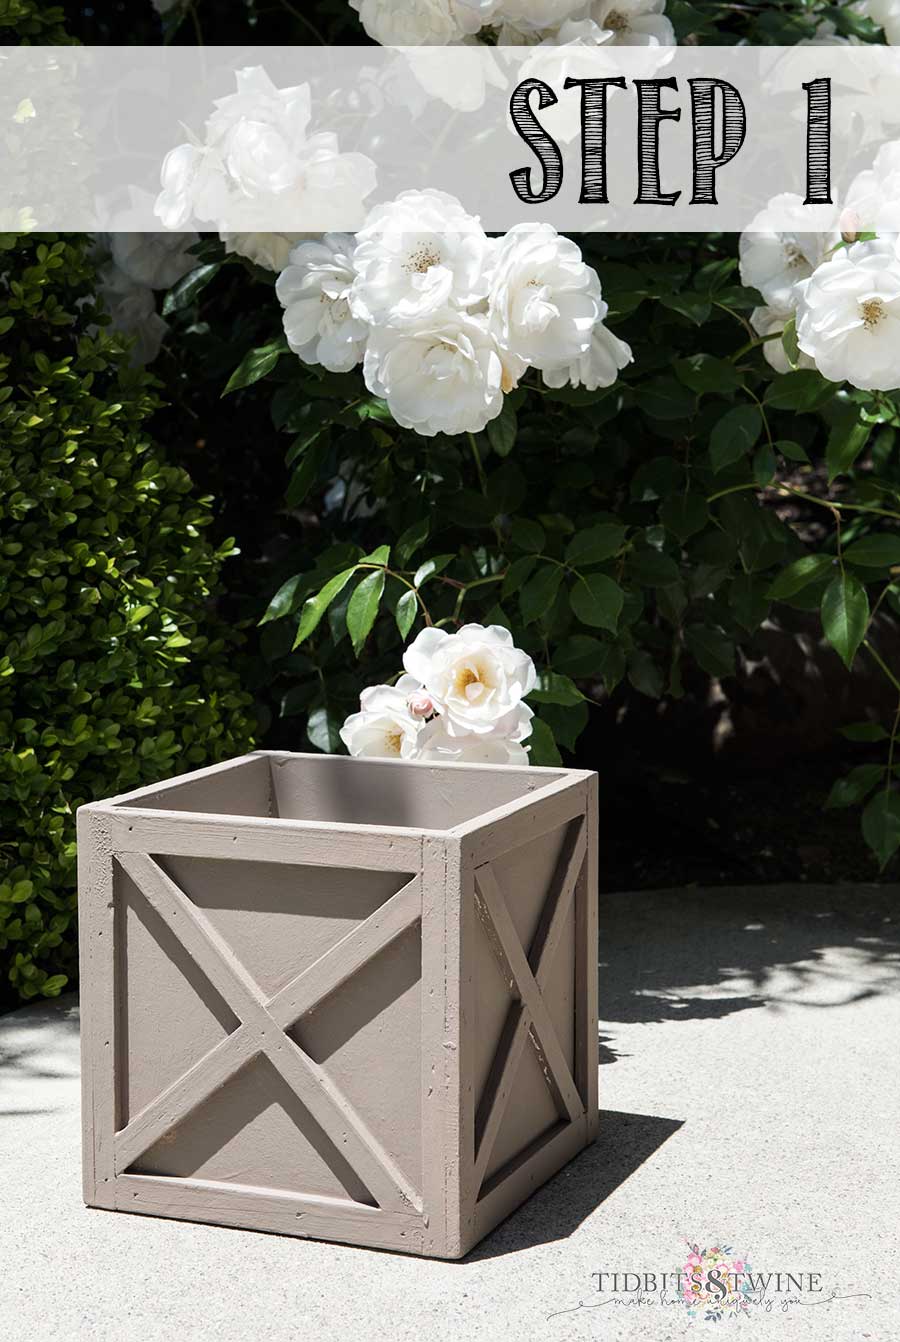
Step 1 – Paint Entire Piece with Coco
The first step is to paint a coat of Coco over your entire piece. I’d recommend a minimum of two coats. You’ll be using a wet distress technique later that might pull up some of the Coco color, so if the color you’re painting over isn’t something that you want to show through, paint maybe three coats of Coco so that you don’t accidentally wipe the color away during the next step.
I painted straight out of the can without wetting my brush first or watering down my paint. I just use a rubber band around the can and wipe by brush against the rubber band to wipe away excess without spilling paint into the rim of the can.

Also, in this first step, you don’t need to worry about brush marks or anything. Do try to paint in the direct that you’d imagine the wood grain running, but don’t worry about whether it’s perfectly smooth. Because there are two more steps, any imperfections will be wiped away.
Let the base coat completely dry before moving onto step two.
Step 2 – Wipe on Old White/Paris Grey Mixture
For step two, you’ll want to mix equal parts of Old White and Paris Grey. You can use measuring cups or a syringe, but I’m lazy so I just used a plastic spoon to scoop out equal amounts of Old White and Paris Grey and mixed them into a cup. If you plan to paint more pieces later and need them all to match exactly, then it becomes more important that you’re precise with your mixture so that you can replicate it exactly.
Once you have your paint mixture ready, you’ll want to lightly dampen a lint-free cloth and have it set aside and ready. So dip a clean brush into your mixture and lightly brush it onto your piece. You’re not trying to cover the coco entirely, so just use the tips of the brush. Then, quickly take your rag and use it to smear the paint mixture into the Coco.
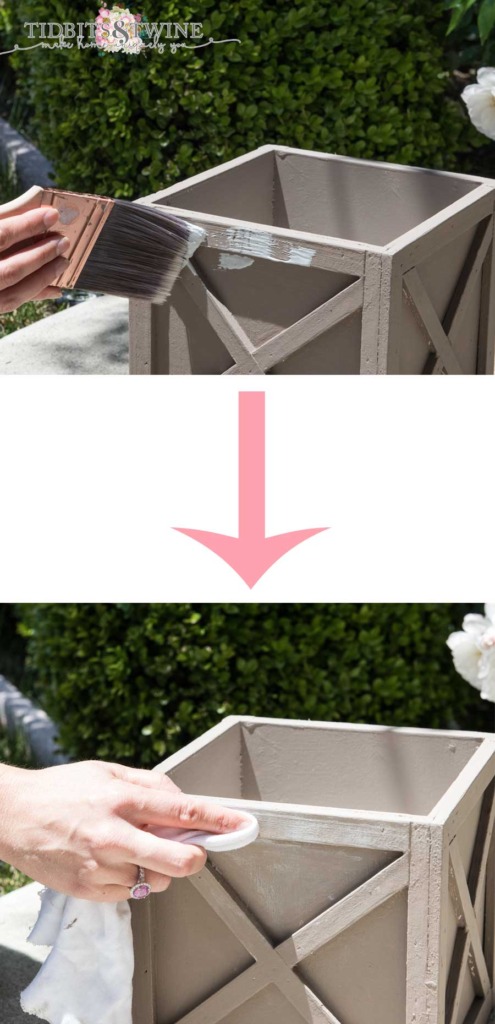
By using the wet rag, you’re simultaneously pulling up some of the white paint mixture and blending it at the same time. Continue doing this over your entire piece until you’re happy with the mix of Coco and White.
Pro Tip: For a more rustic look, leave larger solid patches of white. For a more consistent look, blend the white in completely.
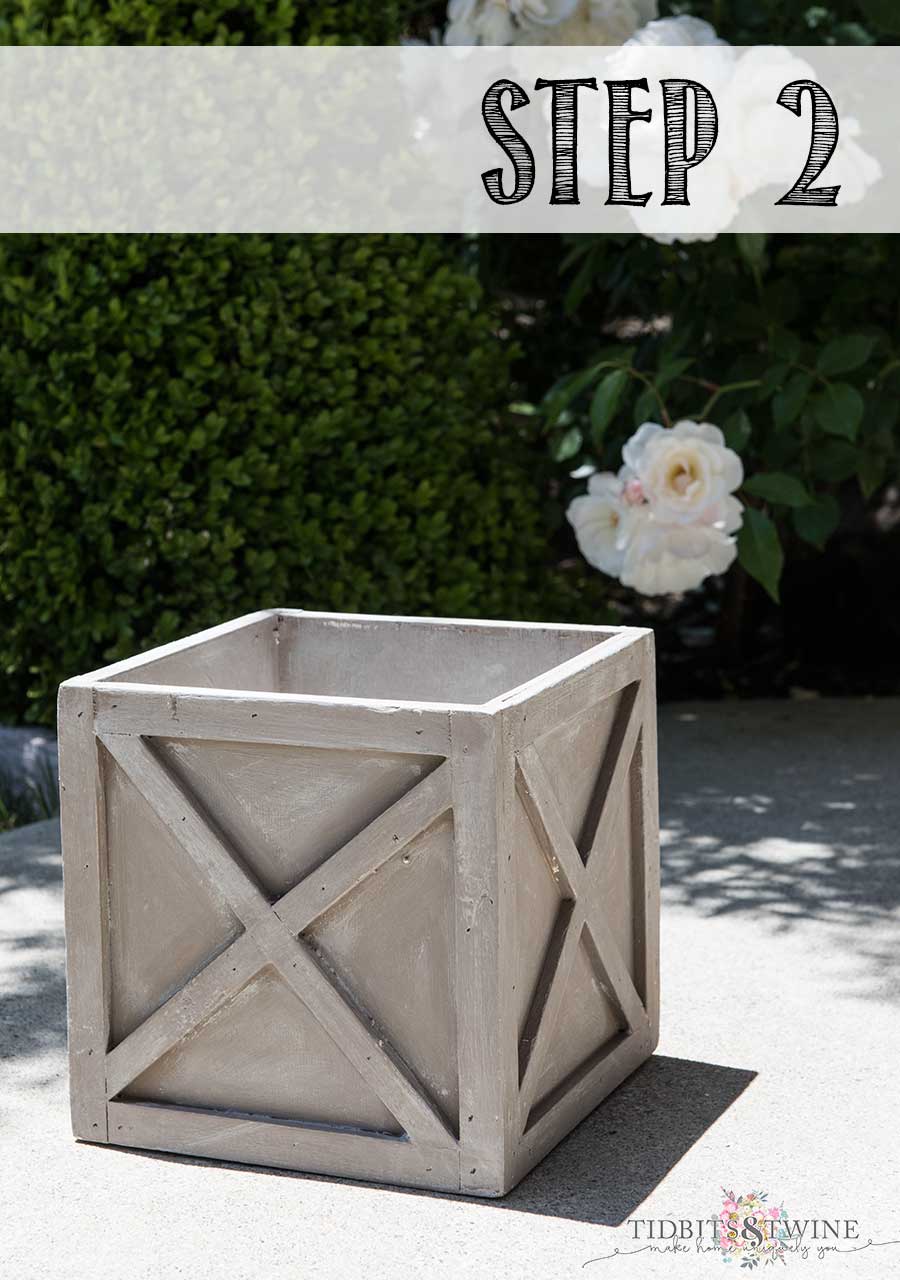
Step 3 – Wax
The third step involves wax and this is where the magic really happens. I have two wax brushes, one for light wax and one for dark. If you don’t have a wax brush like this, you can use any stiff bristled brush.
Once your piece is completely dry, dip your brush into clear wax and lightly wax a portion of your piece. Next, use your other brush in the dark wax and go over the same area with dark wax. Then, come along behind it with a clean rag and wipe away any excess dark wax.
![]()
Now I will tell you, it is much easier to go back darken a piece later than it is to try and lighten it if you made it too dark the first time around. With that being said, be cautious when using the dark wax. Don’t cake it on right away just go lightly around your piece. And try to think about where dark wax would naturally settle, like in the crevices or detail areas. Use the stiff bristles of the brush to really push the wax into those areas.
Once you’ve got your dark wax how you like it, go over it gently with a clean rag to ensure you don’t have any excess lumps. Be careful how much you rub it, though, because if you rub too much, it will start to create a sheen.
Pro Tip: If you do make something too dark and can you can no longer simply wipe away the dark wax with a rag, you can add more clear way to the piece and it will pull up the dark wax so you can wipe it away. Now it doesn’t do it evenly so you won’t be able to completely erase the dark wax, but in a pinch, that’s an easy way to lighten your piece if you’ve made it too dark and don’t want to repaint.
Pro Tip: For an aged look, leave areas of heavy dark wax. For a more consistent look, blend the wax evenly into the paint.
You’re Done!
And that’s it! I told you it was easy!! If you want to add another layer for depth, you can repeat the step with the white mixture and the wet rag to add some more light areas, but I skipped that step for my projects as I wanted to create a little bit more of a consistent look across the piece.

One of the great things about this technique is that you can achieve a wood look even on something that isn’t wood. And you can determine how aged you want your piece to look by the amount of white and/or wax you leave behind. You can also adjust the color using the white and the wax, so the final product is really up to you!
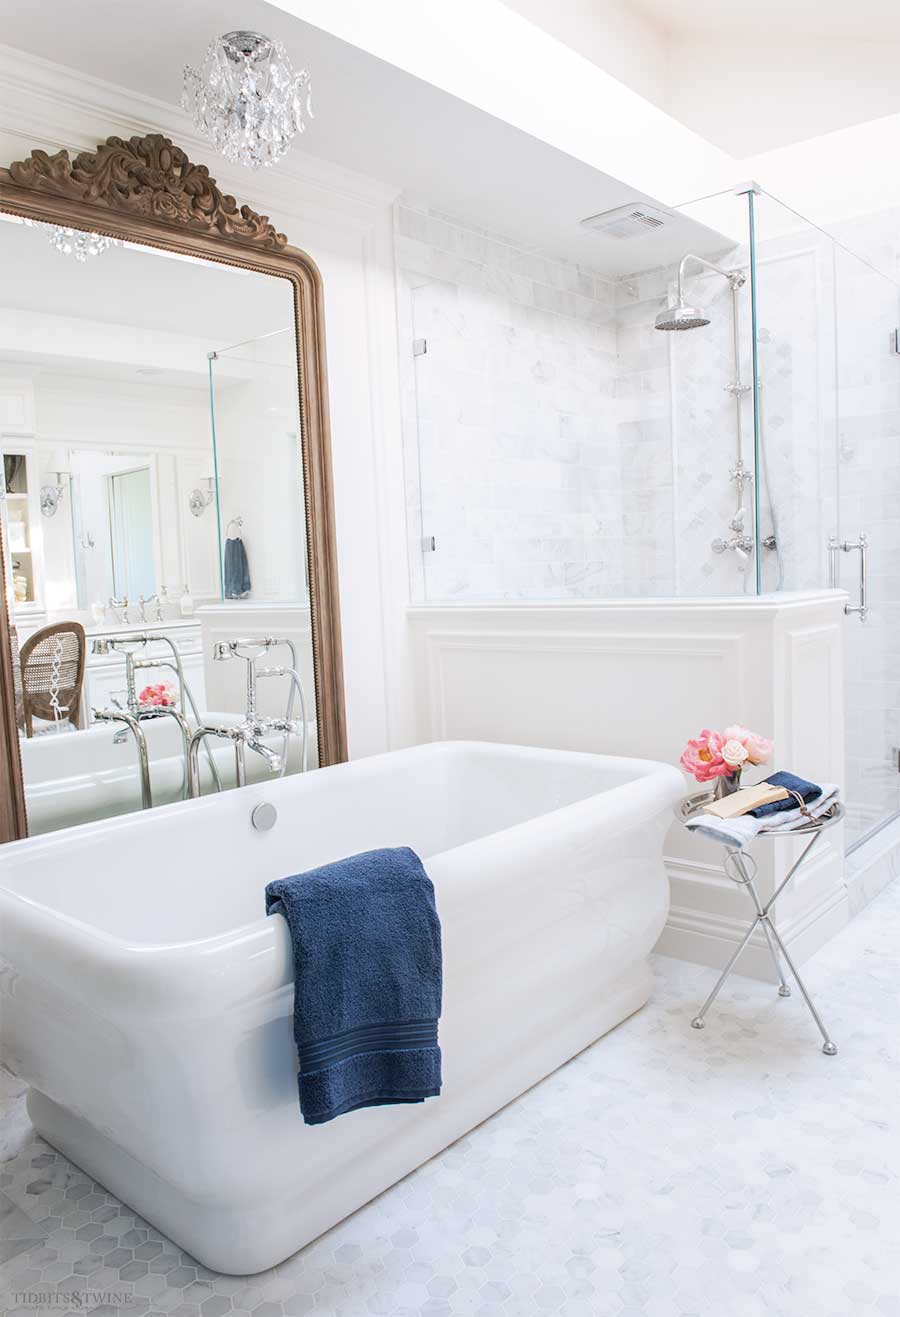
And for those of you that want to know how I made my bathroom mirror, here’s what I used:
- A piece of chair rail that I picked up from a local trim company
- This flexible pearl moulding
- This polyurethane onlay
- Mirror glass custom made to fit
Did I miss something? Have a question? Drop me a note below and I’ll do my best to answer.

Would you have any ideas as to what colors to use with the recent Annie Sloan global alignment? The Old White and Paris Grey have supposedly changed and are not the same colors. Thx – love this look!
Amazing totitorial! Thank you so much. You are so inspiring !
Can we have more info on how you made your gorgeous mirror? Like how do you create curved moldings from the chair rail? Do they sell curved pieces for the corners? Thanks!
Hi Beth,
That’s a great question! Some mouldings can be made with a radius. At my local store, they make the trim profile out of plastic according to the radius specs that you give them. However, they can’t do it for all trim profiles and of course, I picked one they couldn’t do. I didn’t do the assembly of the mirror myself because the wood trim had to be cut into about 30 small pieces with gradually increasing angles to eventually create the 90 degree corner (I had my cabinetmaker do this for me). The pieces were then glued together and then I took wood putty and filled in the groves so that it looks like one smooth piece. This project would have definitely been easier if I had picked a trim that could have been made with a 90 degree radius!
Does that answer your question?
-Kim
Yes! Thank you!!
Lovely! Great tutorial and you do a great job on camera! Don’t be shy! It’s nice to feel like we know someone who talked us through the techniques! Yeah—she’s my friend! We’re like this 🤞 lol
Thank you
Love the mirror and your bathroom, and I love to repaint items that need a facelift or use want a different look, your box is beautiful, thanks for sharing.
Congratulations on your ingenious bathroom mirror, so clever and thank you for this tutorial and video! Although you are camera shy you are a natural and I enjoyed it. Your home is beautiful! x
Your mirror and bathroom are beautiful! Thanks for sharing your tutorial!