A few years back, I found a cute French country coffee table on Craigslist for a steal. While it wasn’t a color that I liked, it was solid wood, the perfect size, and looked sturdy enough to withstand my teenagers and their friends. The problem? It was a heavily-distressed sage green. For years I’ve thought about painting it but it wasn’t until the Shelter in Place that I finally decided to give this table some attention.
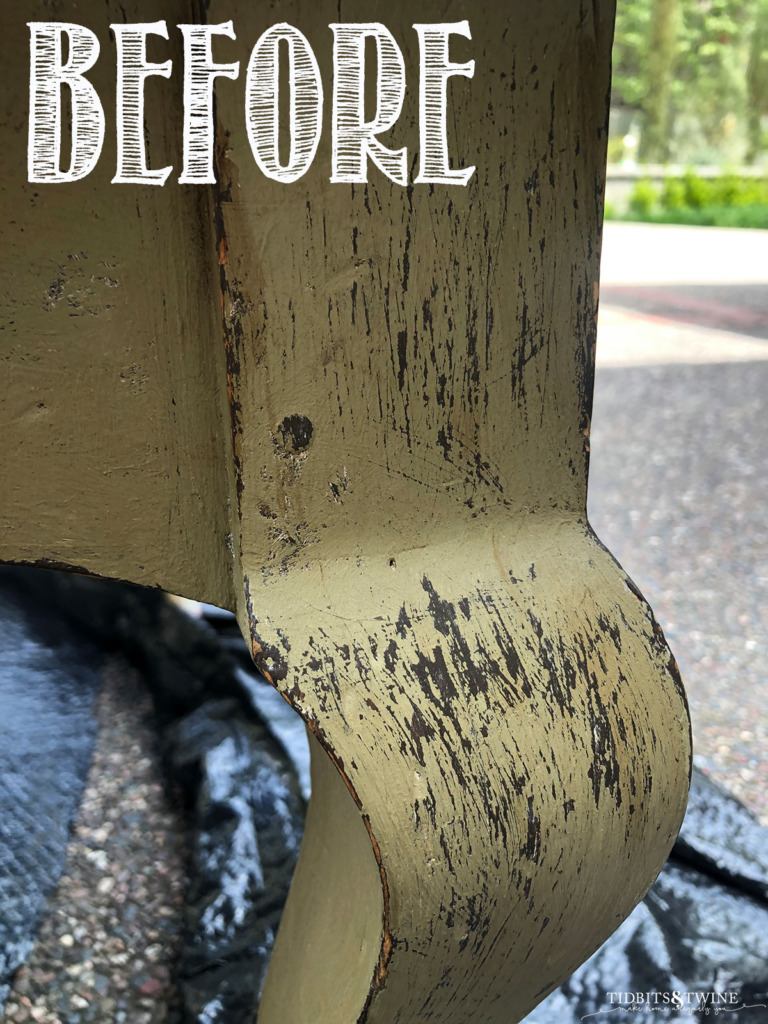
The Before – Green & Brown Table
I committed a major blogger faux-pas on this project and forgot to take a full before picture! I thought I had, and by the time I realized that I hadn’t, I’d already started painting. So all I captured was this corner of the original table on my phone. The entire table – top and bottom – was painted this sage green with brown distressing.
Don’t Do This
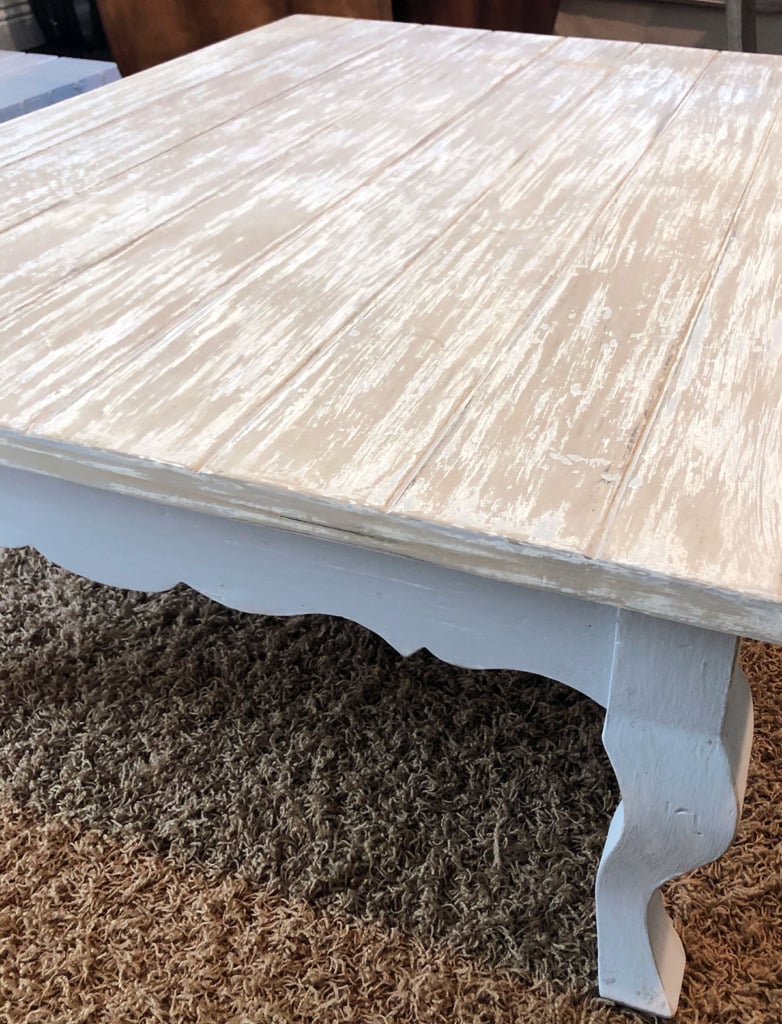
What I should have done was given some thought as to what I ultimately wanted the table to look like in the room. Instead, with so much time on my hands, I decided to experiment a bit. I tried out a few different options and techniques, all of which I loved on the table, but not once I put the table in the room.
This was my chippy, Gustavian look using taupe, gray, and white paint layered on top of one another.
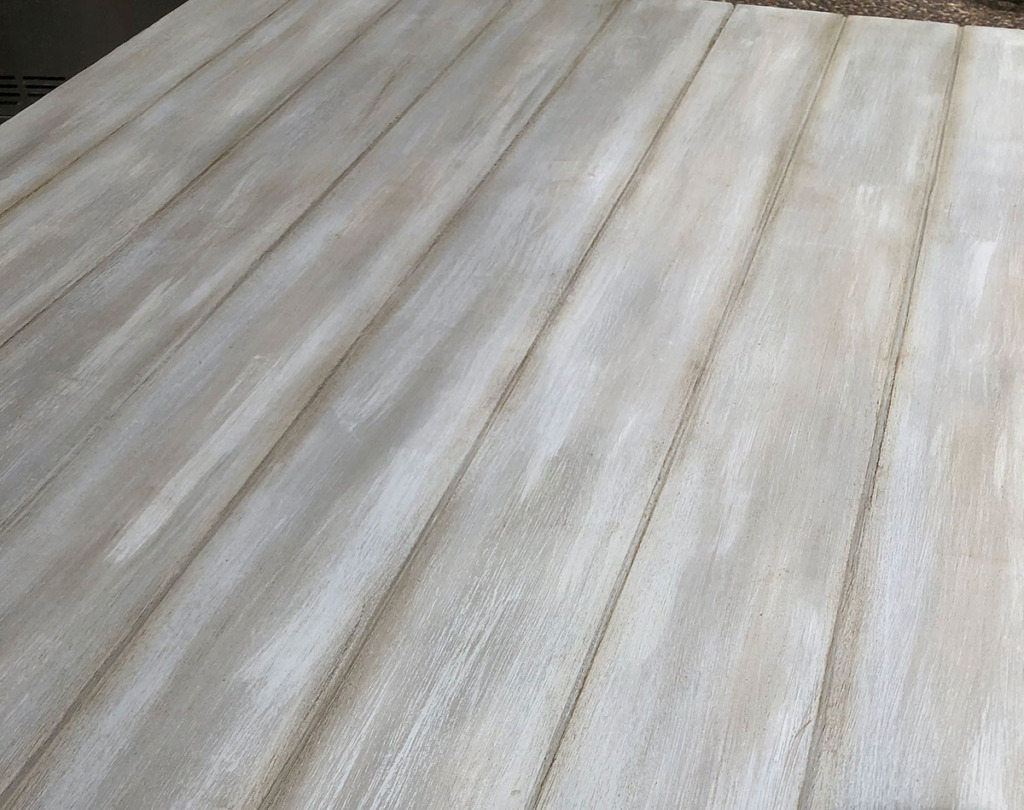
Then I tried a more refined look where I blended the colors together. So instead of a time-worn chippy look, it had more depth of color…
There were about four other versions but ultimately, I decided that I wanted the top to look like wood and the base to be a blue-gray just for a fun pop of color.
Supplies – Paints, Brushes & Wax
Here’s what I used:
- Annie Sloan Chalk Paint Coco
- Annie Sloan Chalk Paint Antique White
- Annie Sloan Clear Wax
- Annie Sloan White Wax
- Annie Sloan Dark Wax
- Annie Sloan Black Wax
- Dixie Bell Chalk Mineral Paint Manatee Gray
- Lint-Free Rags
- Misting Water Bottle
- Foam Roller for Trim
- Paint Brushes
Time needed: 2 days
Refinishing a coffee table with a faux wood finish on top using chalk paint and complementing it with gray/blue legs
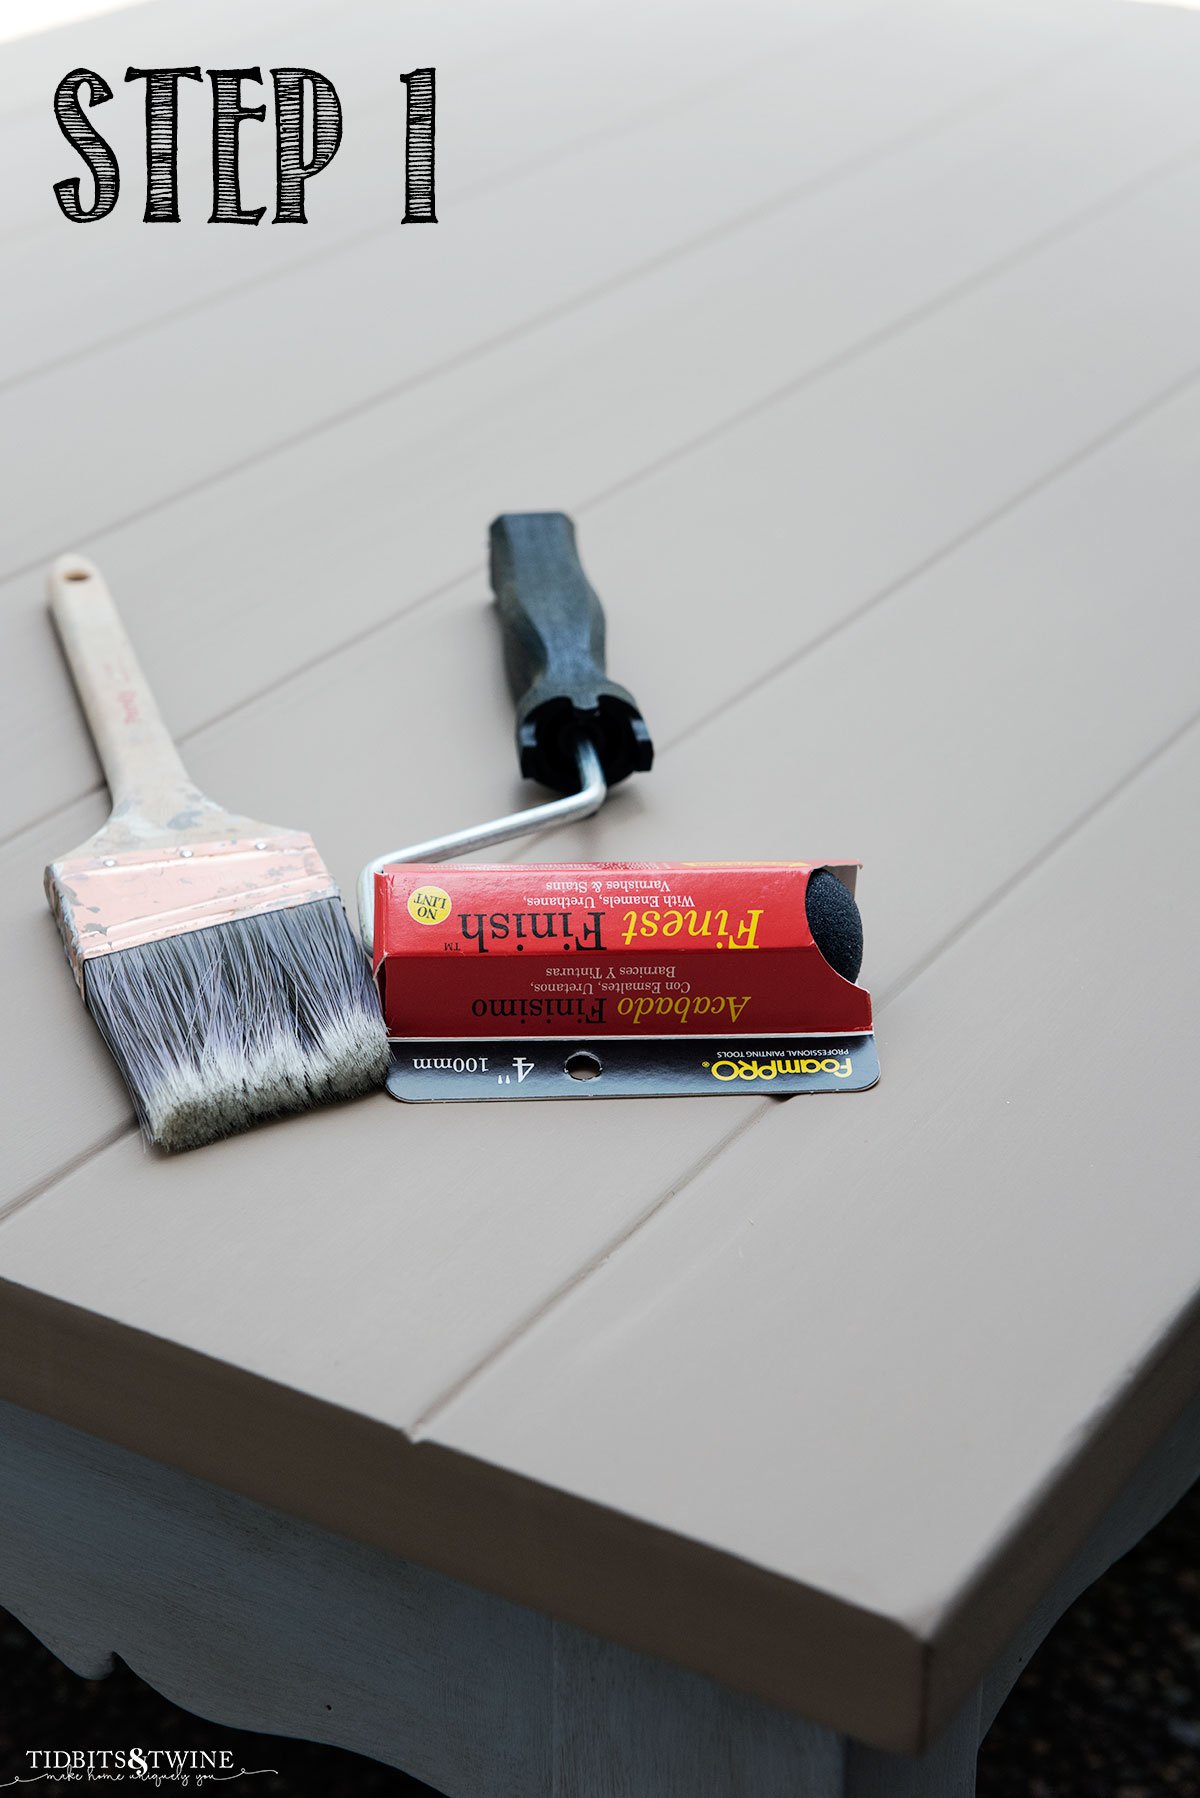
- Paint Table Top Coco
The table is long and I wanted to minimize brush strokes so I used a foam roller to apply the paint one board at a time. The benefit to the foam roller is that it applies a thin layer of paint, which helps minimize brush marks.
Once the board was covered, but still wet, use a mister on the paint and your brush and then smooth out the paint using the brush. The mister keeps the paint wet and minimizes drag marks, allowing you to get a smooth finish.
- Apply White Wax
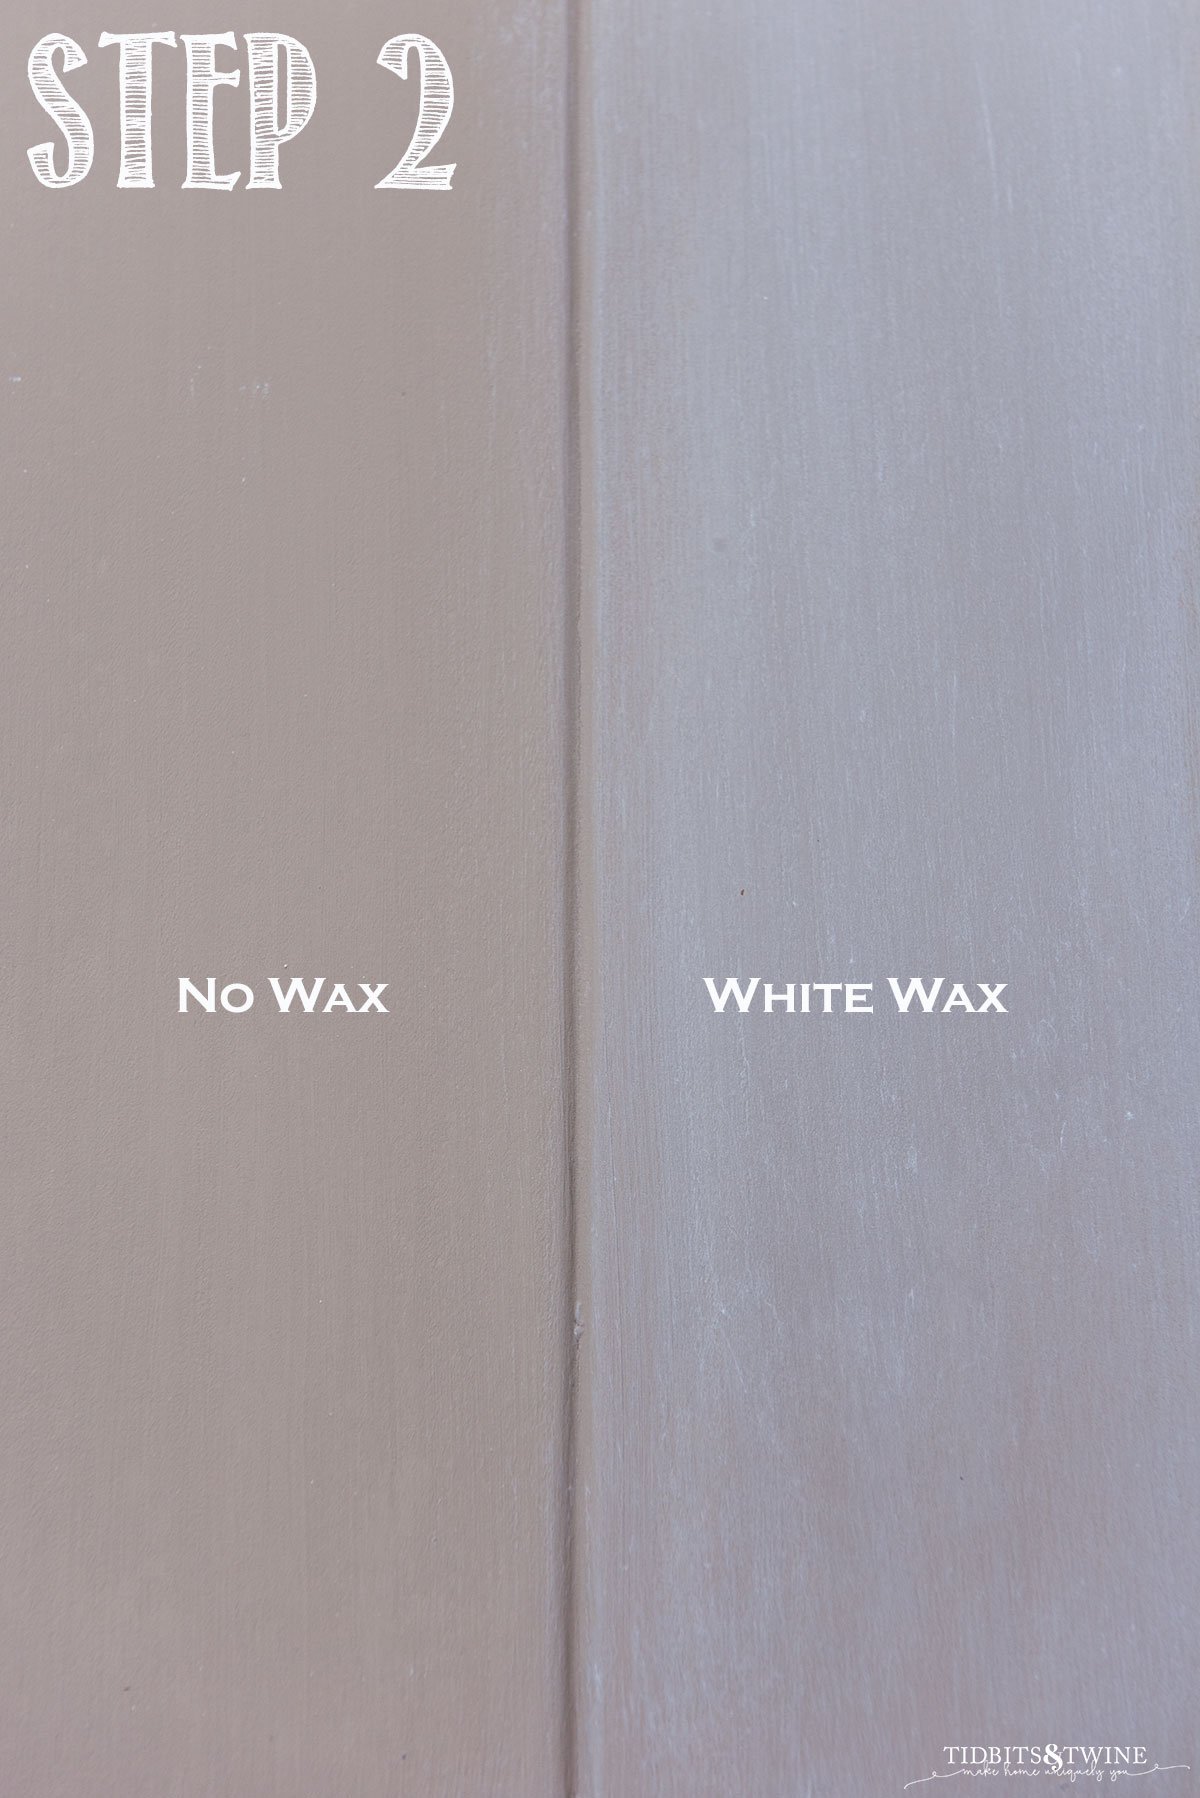
Once the Coco is dry, use a stiff brush to apply White Wax in the direction of the grain. Use a lint-free rag to wipe off any excess.
The purpose of the White Wax (as opposed to Clear first), is to create highlights on the table top.
- Apply Dark Wax
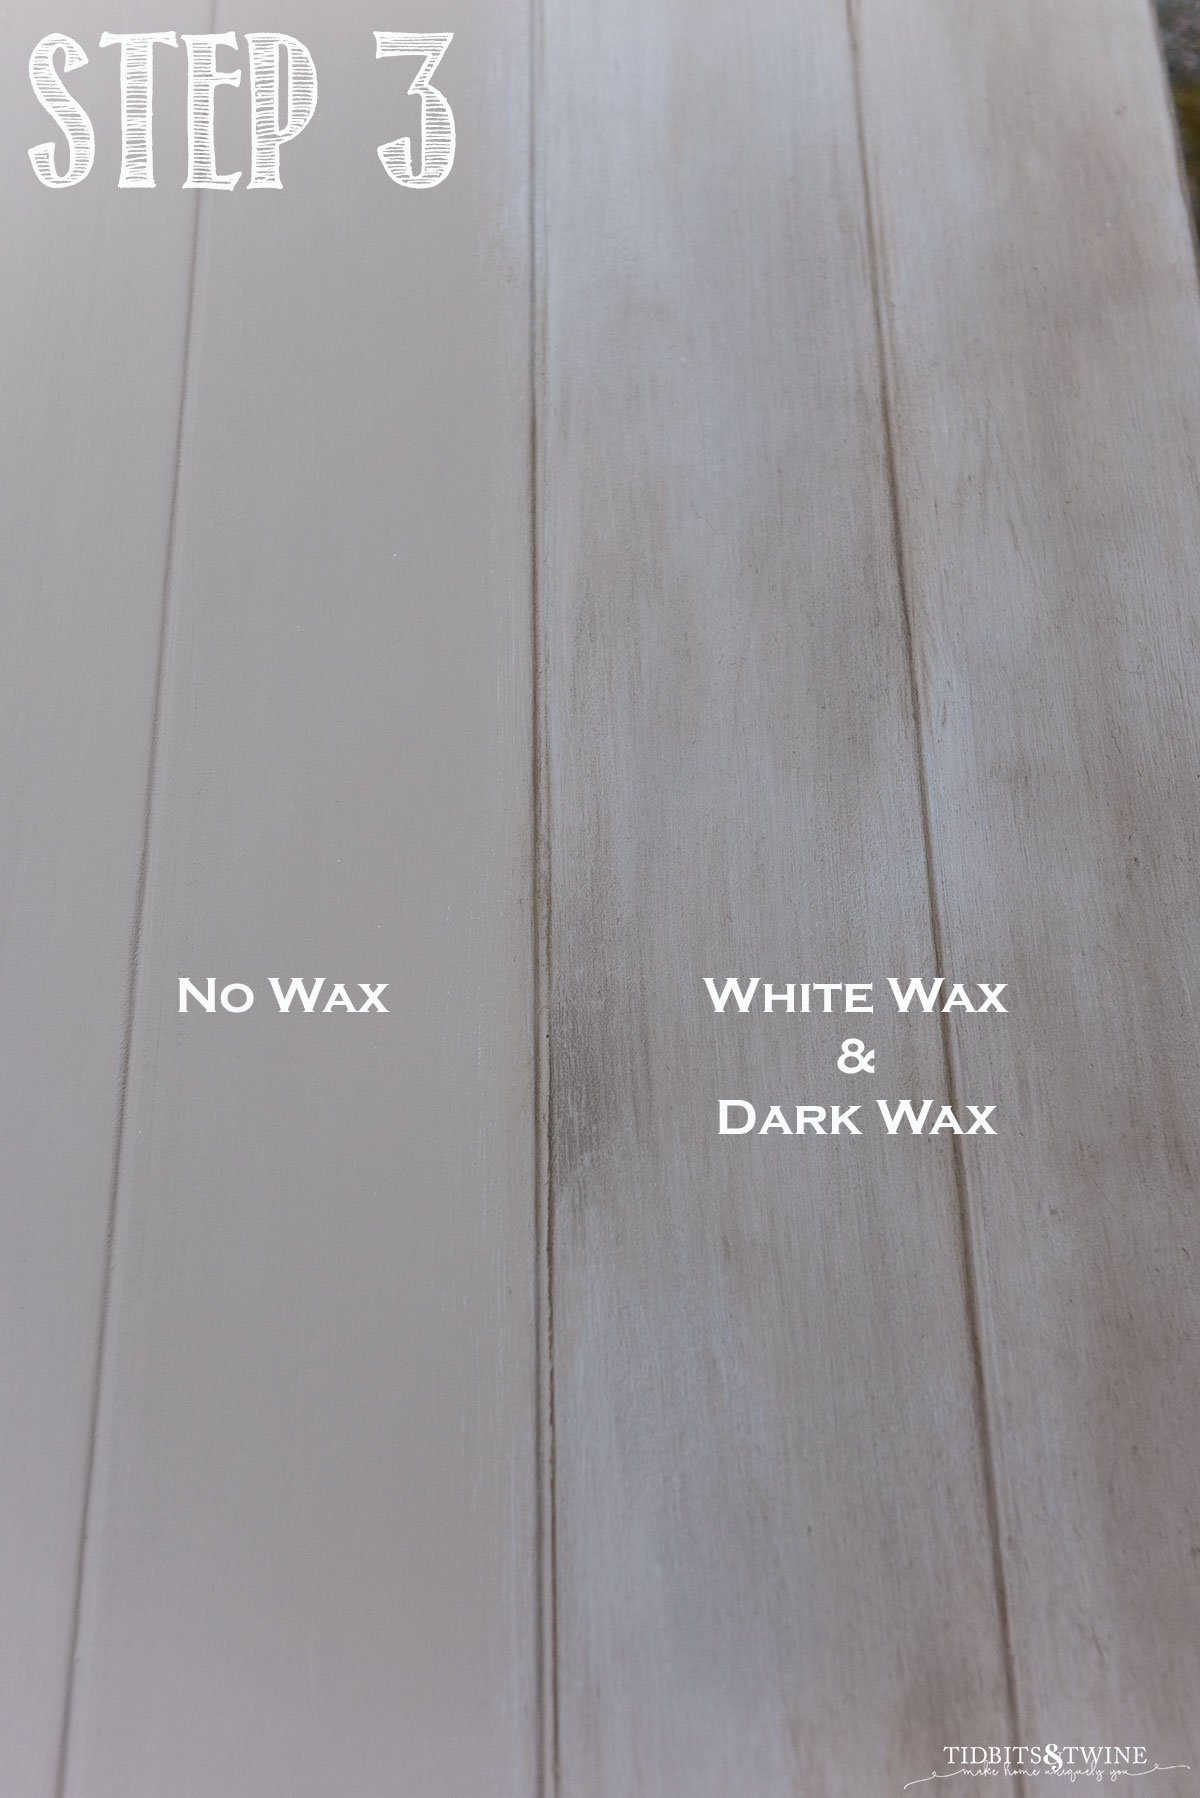
While the White Wax is still wet, use a stiff brush to apply Dark Wax. You can control how dark the piece gets based on the amount of Dark Wax that you use. I prefer to start with a small amount and then build up over time.
Here’s what the first coat of Dark Wax looked like, but you’ll see in the next photo that I built up to a much darker color.
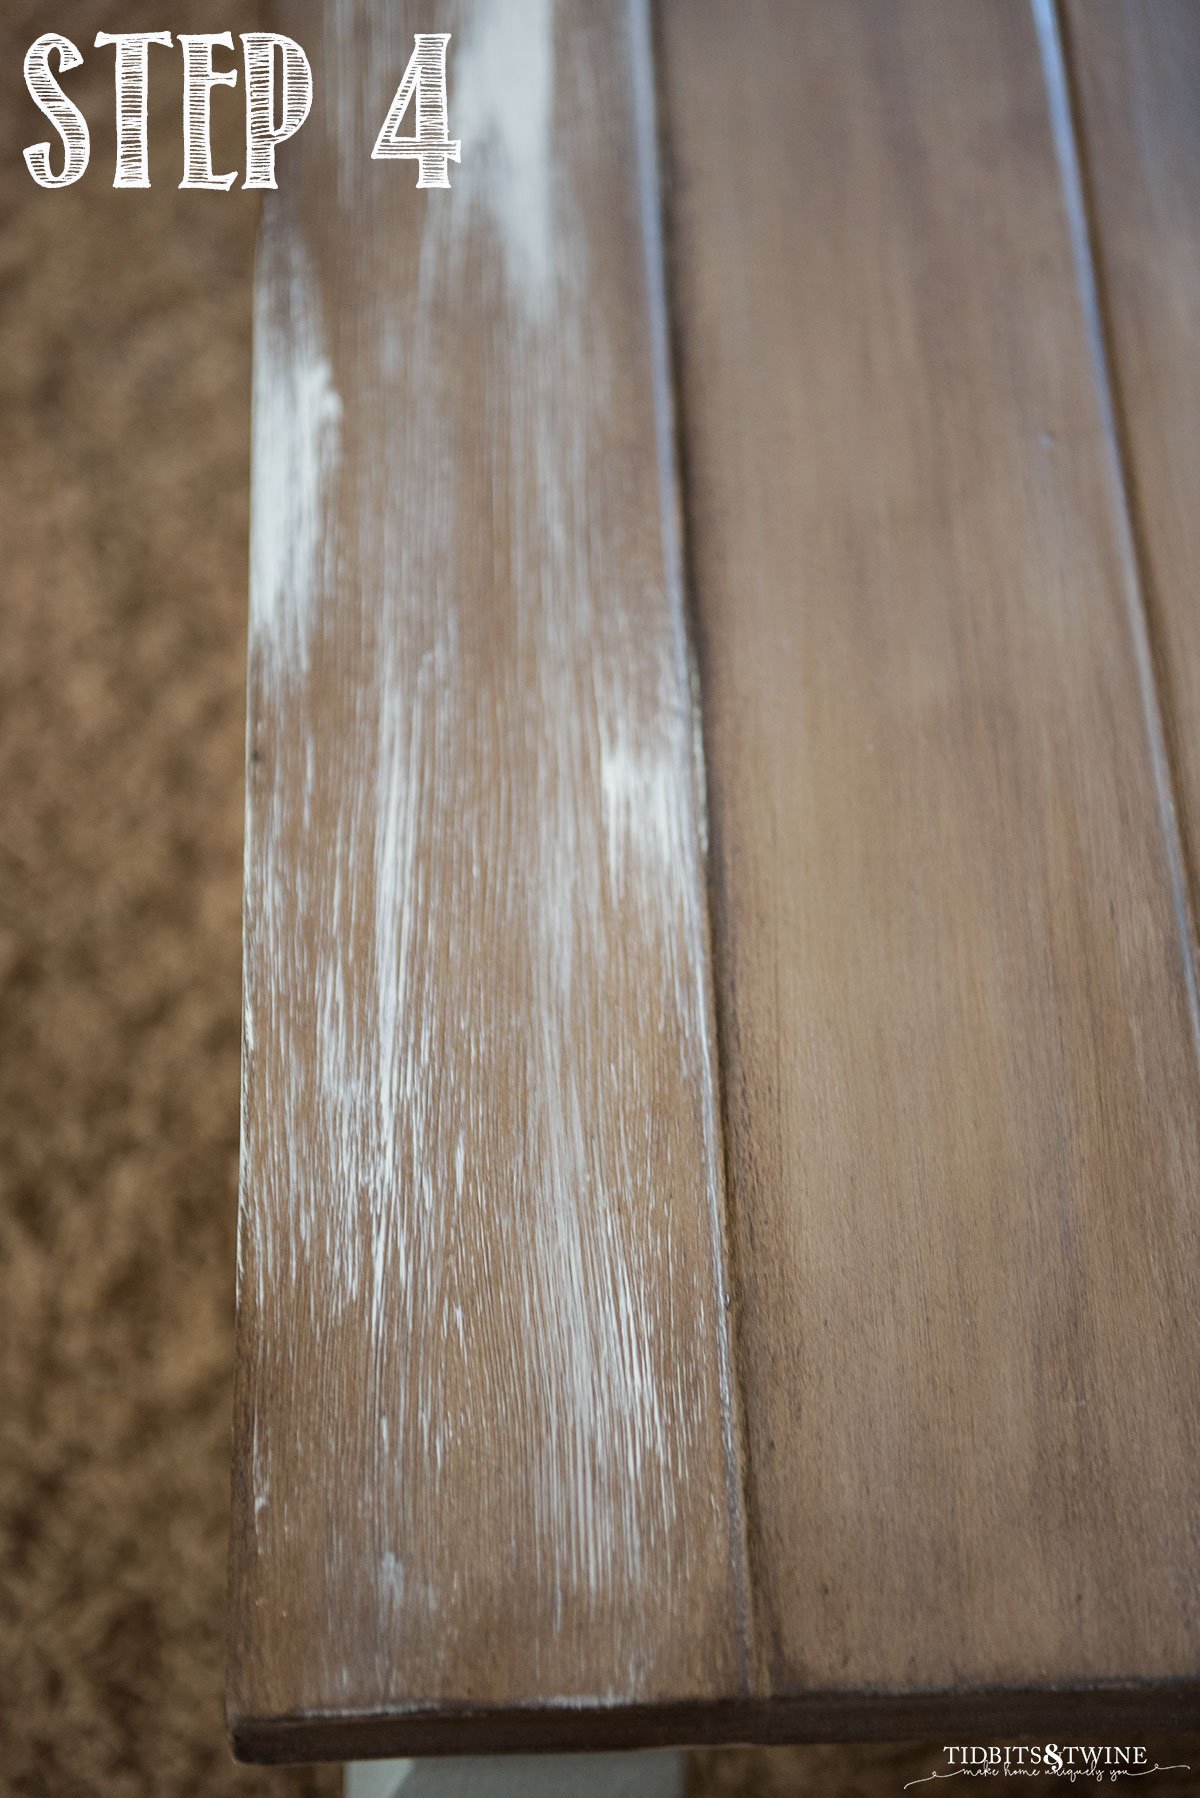
- Apply Antique White
If you like the look you have at this point, you can stop. I put so much Dark Wax on that the top looked like real walnut! If you want to give it a bit of a gray tinge or to soften the yellow that is in the Dark Wax, then do this step.
Once the Wax is dry, use a paint brush to put a small amount of Antique White on top. If you want a solid coating, then paint the entire table. I only wanted to highlight areas, so I painted in patches following the grain.
- Wash Antique White
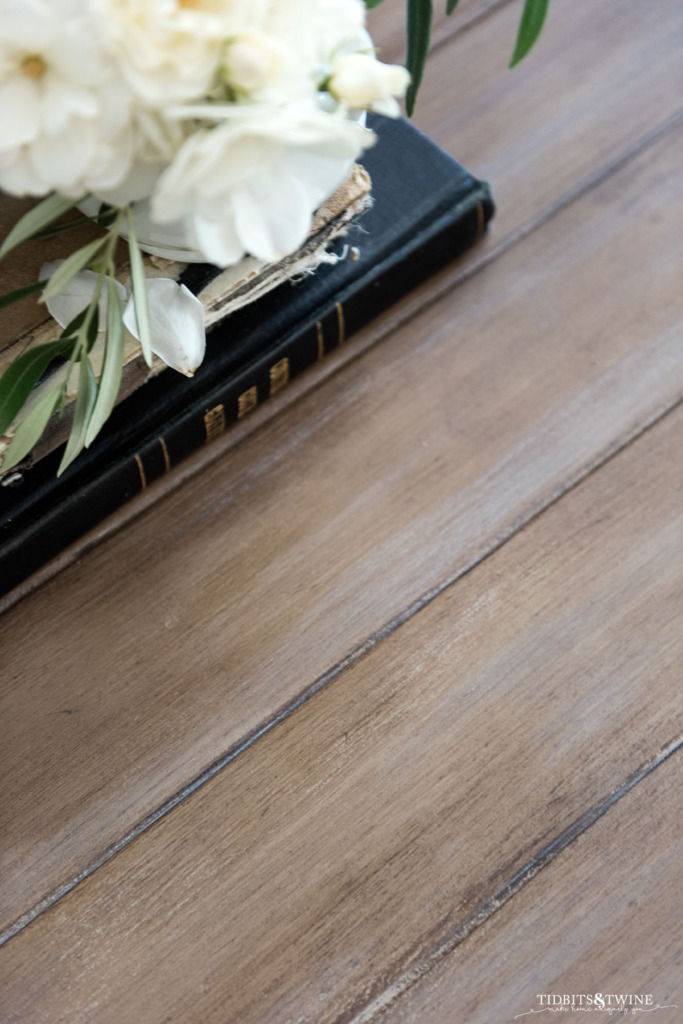
Because the Antique White was painted on top of Wax, it won’t penetrate and can easily be washed off using a damp rag. The paint leave behind a “stain” of color, though, giving it even more highlights and softening the look of the Dark Wax.
- Paint Base Manatee Gray
Use a brush to paint the base Manatee Gray. You can use the misting bottle to smooth any any lines or drag marks.
As a side note, this is my new favorite gray-blue!! I used to love Annie Sloan’s Paris Grey but after the formula change, I no longer like it quite as much. Manatee Gray is gorgeous, although it is a deeper color than the old Paris Grey! - Wax the Base
I wanted to darken the base a bit, so I first applied Clear Wax, followed by Black Wax both using a stiff brush. Wipe off any excess using a lint-free rag.
Chalk paint is very porous and so absorbs the wax easily. I didn’t want to cover the Manatee Gray with Black Wax, so using Clear Wax first creates a barrier on which the Black Wax can glide over.
The After – A French Blue Beauty
The table now fits in with my decor better than it did before! And even though the color on the base is subtle, I like that it ties in with the rest of the family room.
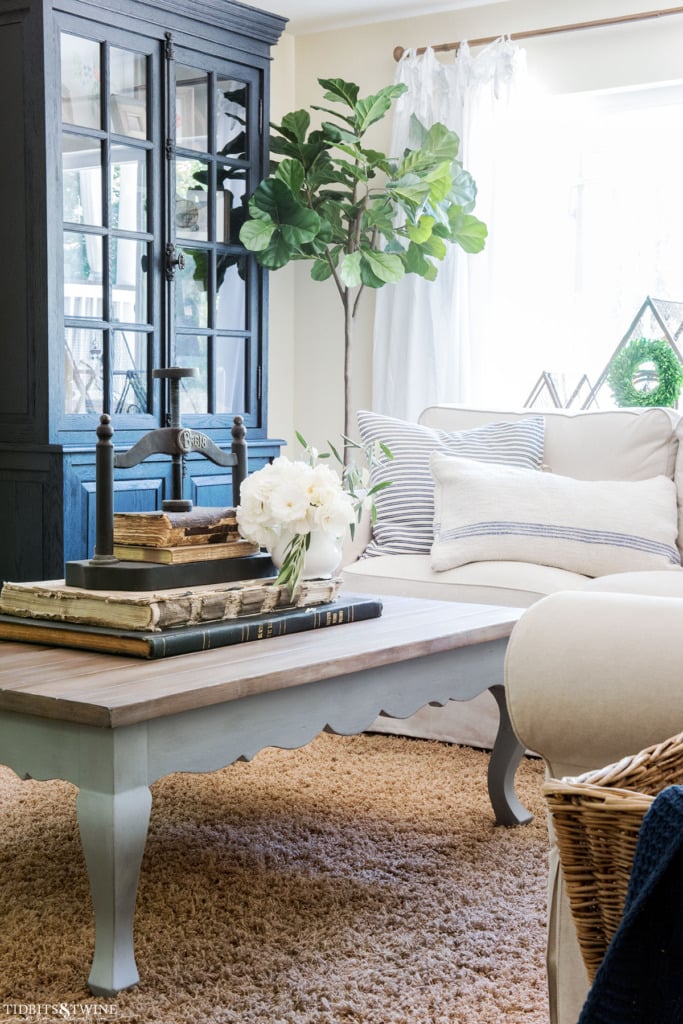
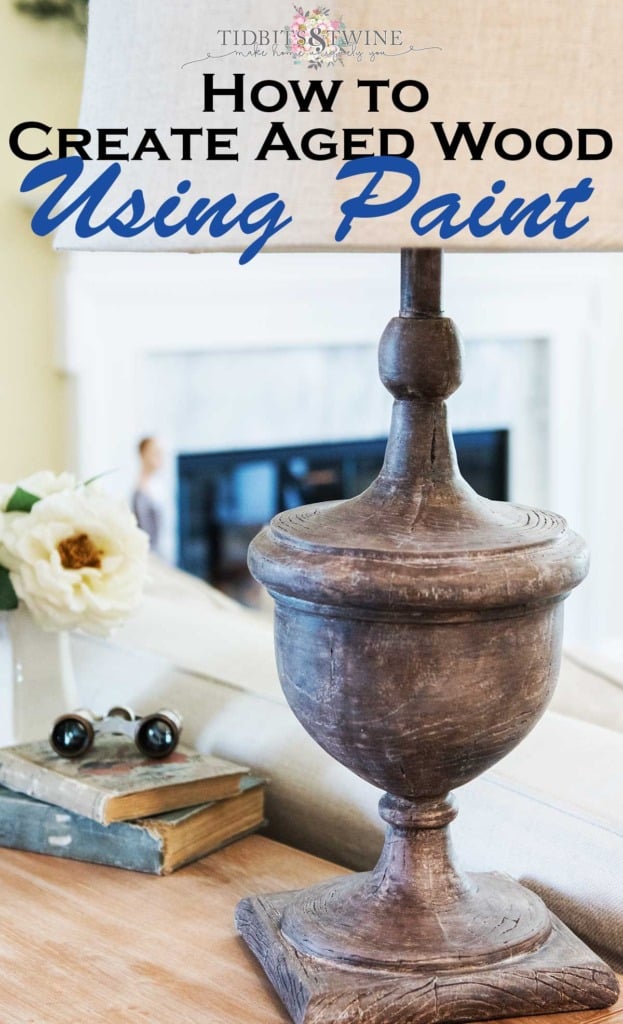
I especially love how the top turned out because it has so much depth of color with highs and lows created by the wax and wash.
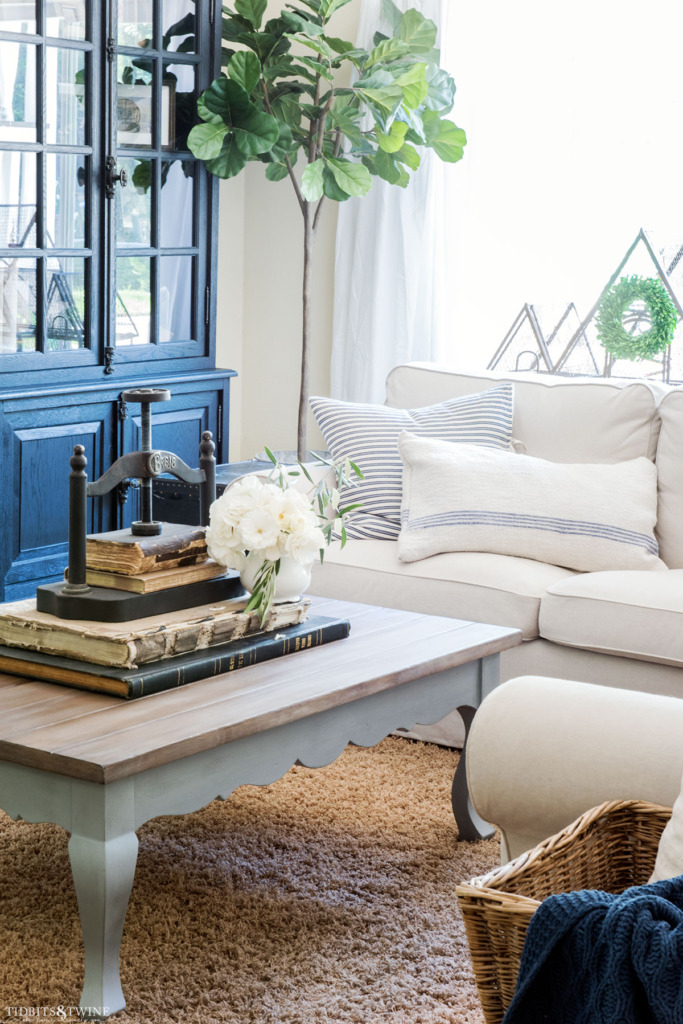
Tips & Tricks for Chalk Painting
- A foam roller helps create a thinner layer of paint
- A misting bottle can wet the paint and allow you to use a brush over the top to help minimize brush marks
- If your paint is too thick, add water to thin it to a consistency you like
- If you accidentally add too much water, you can leave your opened paint outside so the water will evaporate
- White wax used in conjunction with a dark wax (brown or black) helps to create highlights and low lights
- Chalk paint is porous. If you want a colored wax to really stick, use it directly. For just a hint of color, use clear wax first to seal the piece and then apply colored wax on top of the clear
- If you apply too much colored wax, you can use clear wax to remove some of it
- You can paint on top of a waxed piece and wash it off (or even color wash it), and it’ll leave a color residue behind
- Keep a damp rag handy in case you make a paint mistake
Final Thoughts: French Country Makeover
I do love how the table ultimately turned out, especially the top. If you’re considering refinishing furniture, think about how you want it to look in your room, so that you have a vision in mind before you start. Creating a faux wood look on the top helps to keep a “warmer” element in play, especially if you choose a cool color, like white or gray, for another area.
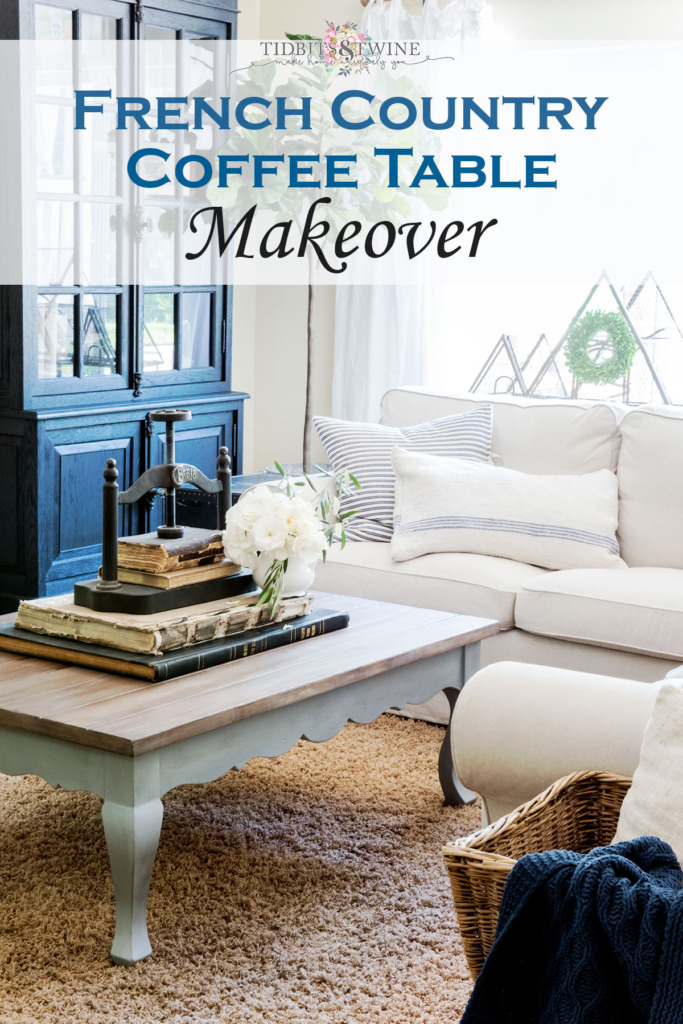
What’s great about chalk paint and wax is that you can create the look of wood on any surface, plus it’s really forgiving and easy to work with.
Next up for me is to paint an antique dresser that I recently purchased!

You might also like:
Join the Community
Let’s keep in touch! Get exclusive artwork plus the latest news delivered directly to your Inbox!


Great post! I love how you transformed the French country coffee table. The soft, rustic charm is beautifully enhanced, giving it a fresh and elegant look. Your attention to detail is inspiring! It’s amazing how a makeover can breathe new life into a brown coffee table, adding warmth and character to any living space. Keep up the fantastic work!
Really beautiful, Kim. Thank you for sharing your oops as well as the incredible final product! Can’t wait to try this out!
This is a beautiful finish! Thank you for this detailed tutorial and for sharing your paint colors and techniques. Hope to try this soon!
This is so beautiful! I love how it turned out. Thanks for sharing the colors you used.
Wow! It turned out so nice! Thank you for the instructions. Pinning for later.
Thank you for sharing such a beautiful tutorial! LOVE the table! What an awesome finish! I’m considering this for a dining room table top that I will definitely have to strip first. My question is regarding Steps 4 and 5. What brand of Antique White chalk paint did you use and did you wipe it with a damp rag after applying to blend it out? Thanks again for the help!
Hi Sondra! Oops I forgot to mention the paint! I used the new formula of Annie Sloan Antique White. Once it dried, I wiped it off entirely with a rag so that only the residents was left behind. Because the Coco is waxed, the Coco won’t wipe off, just the white. Good luck with your table! :) Kim
I love how this coffee table top turned out! I’d love to use the process on our kitchen table. It’s one of those standard oak round clawfoot tables (the top is veneer). Do you think the Annie Sloan paint technique would hold up to a kitchen table for a family of 5? The Minwax stain finish we’ve done gets gummy after a couple of years. I can’t keep sanding the veneer, so I thought I’d just pain it and then I can easily clean and paint from then on. Thanks for any wisdom you can offer!
Hi Janet!
For a table that gets lots of use, I’d seal the top. I redid my oak clawfoot kitchen table last summer (I never posted a picture) and used the General Finishes brand topcoat. I put three coats of it on our kitchen table and it’s held up well so far! I added the extender to the topcoat to make it easier for brush marks to smooth out and it was super easy to apply. As long as you seal the paint it should be fine!
Good luck with your project! :) Kim