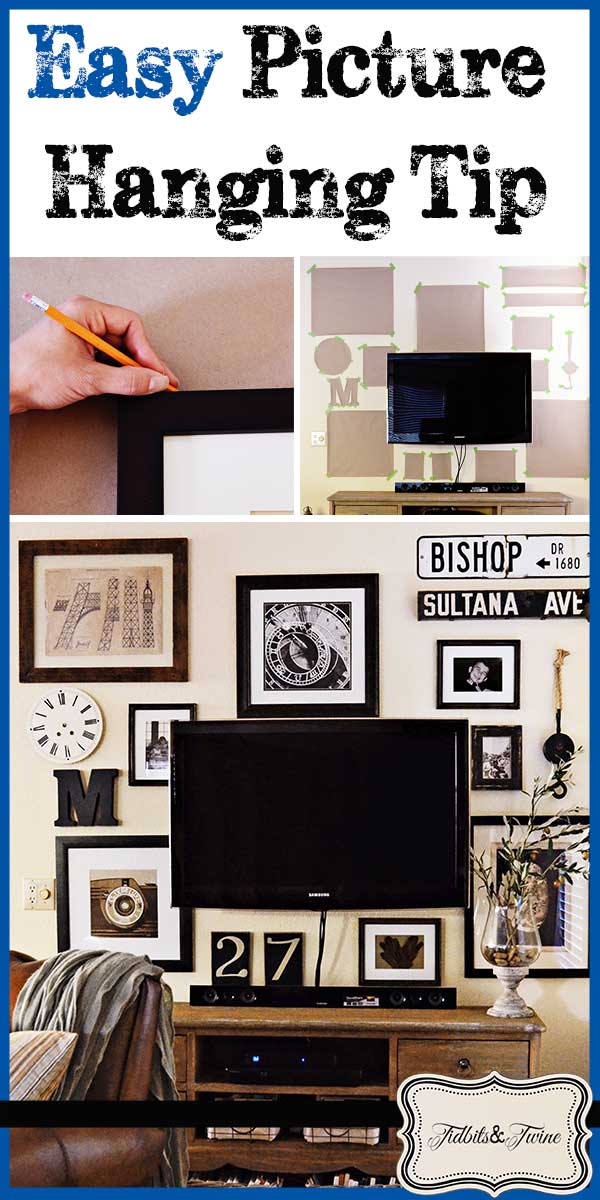
Before the frenzy of the holidays hits in full force, I wanted to take a minute to share with you an easy picture hanging tip that made my recent gallery wall project SO much easier!
When it comes to hanging pictures, I’m usually a guess-and–eyeball kind of girl. I always get the picture where I want it eventually, but it might take a couple of tries with my fingers crossed that the picture will hide any mistakes. If I’m hanging pictures in a row and need to ensure that they are all at the same height, I might break out the level, but in those cases, I also have to measure the distance between the top of the frame and the picture hanger on EACH frame since the height is sometimes different, even on identical frames. And even though I measure and use a level, there’s still room for error.
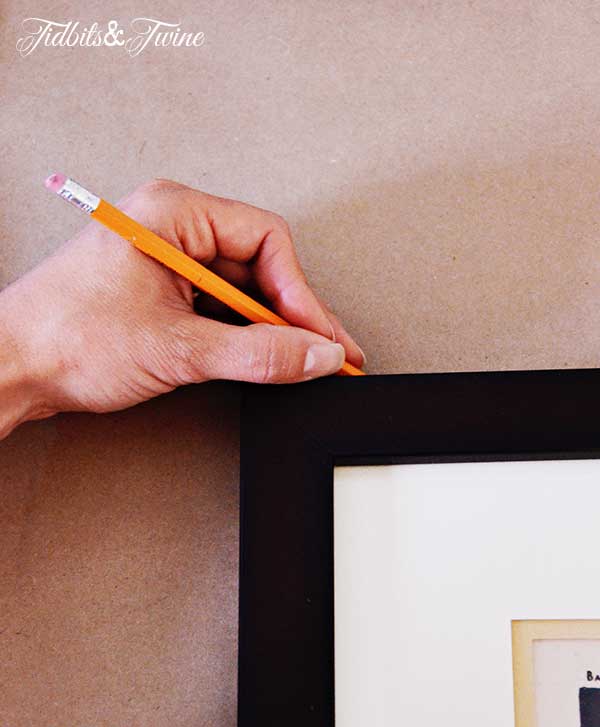
With the latest gallery wall that I created, I decided that there was no room for error and I didn’t want extra “oops” holes in the wall, so I followed a tip I saw at 320 Sycamore. I first traced around each frame that I was going to hang. I used butcher paper, but you could also use newspaper, paper grocery bags, or even old wrapping paper.
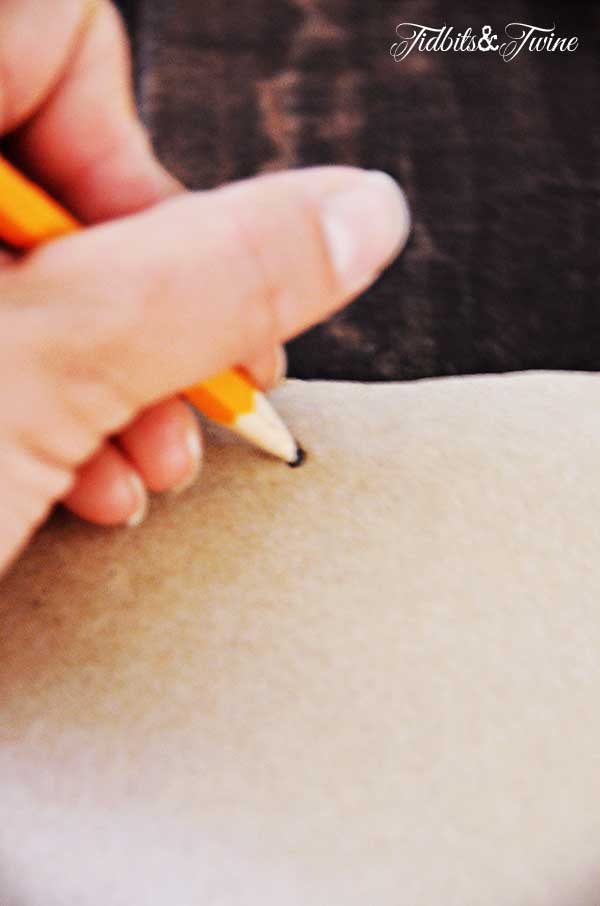
Next, I turned the frame over, face down, and also turned the paper template over so that it aligned with the frame. (Note: It is especially important that you know which is the front and which is the back of your template if your picture has more than one hanger on it.) I then used a pencil to make a hole in the template in the center of the picture hanger – the spot where a the nail would rest.
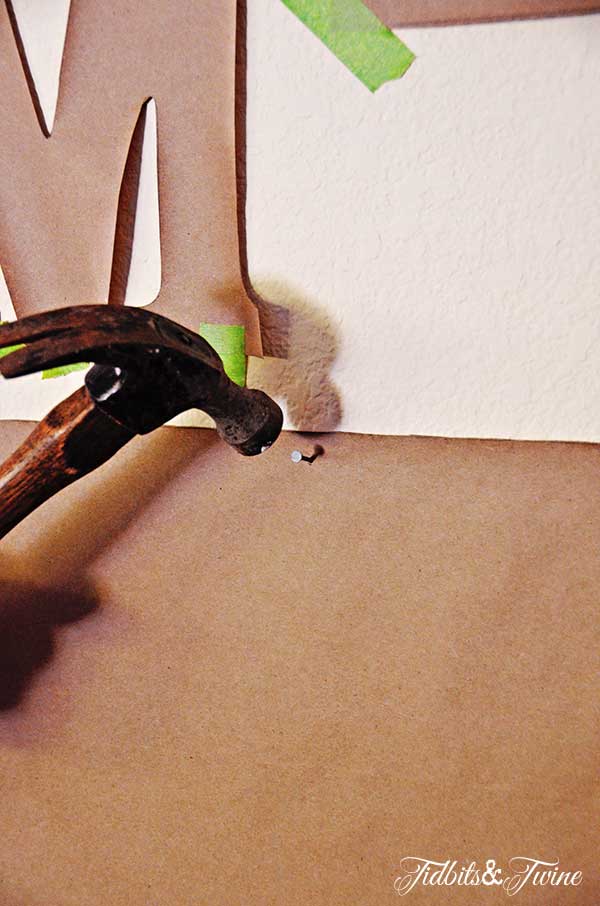
Once I had my templates ready, I simply taped them to the wall using painter’s tape in the layout I had already determined.
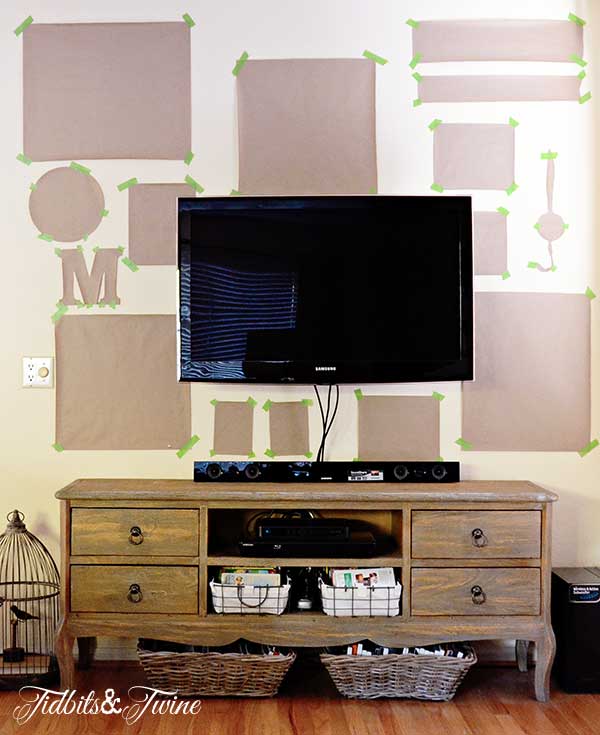
The last step was to nail through the hole I had already made in the template, rip away the template and hang the pictures!
This process not only helped me visualize how the gallery wall would look, but also ensured that everything would hang exactly where I wanted it without making any unnecessary holes in the wall. Making the holes in the wall and physically hanging all of the pictures took under 5 minutes using this process!

I’m always a fan of any tip that makes life easier and hope that you find this helpful, too!

;
Would you like to receive my posts via email? Enter your email address below. You will instantly receive an email from FeedBurner and you will need to click the link to activate your subscription.
Join the Community
Let’s keep in touch! Get exclusive artwork plus the latest news delivered directly to your Inbox!
Thanks for the how-to! Your gallery wall is fantastic!!
Thank you, Anne!
What a great idea. I have always used the eyeball method, and you’re right, there have been more than a few times I’ve had multiple nail holes behind the frame.
Thanks.
Karen
:)