Update: This gallery wall has gone through a few more updates. To see the latest look, click {HERE}.
Over the weekend, we finally finished our gallery wall so today I’m sharing with you the BEFORE and AFTER photos of this project!
Many months ago, we sold our TV cabinet and opted to mount the TV to the wall on a large, articulating arm. We wanted to accomplish this project quickly and with minimal cost and so chose not to hide the cords thinking that I might be able to artfully hide them with decor. Nothing like a challenge, right?!
The wall our TV is mounted on is just a small section of wall in the corner of our family room, so there isn’t a lot of space to work with and I knew from the get-go that the TV would dominate the space. Here’s a look at the “Before”.
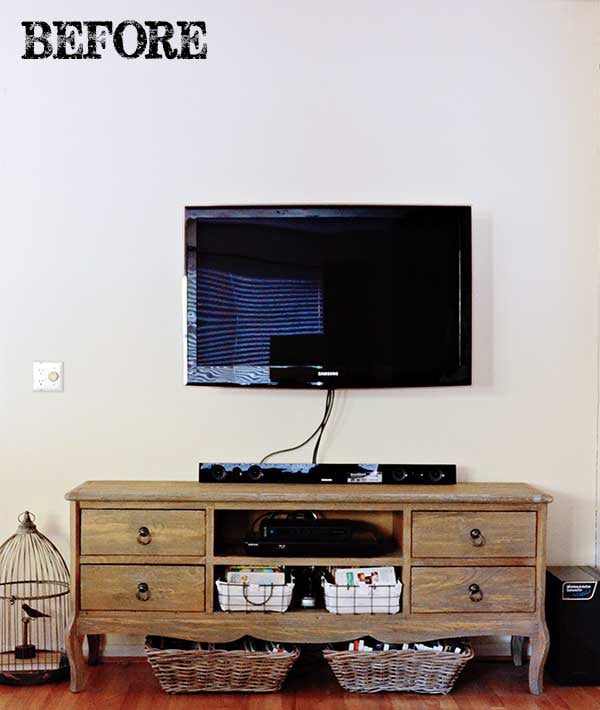 I know…yikes! And that *blah* wall color isn’t doing anything to help matters, but painting this part of the house isn’t going to happen in the foreseeable future.
Ever since we hung the TV I knew I wanted to surround it with art so that it felt less like it was floating alone on the wall and more like it was part of a grouping. I love having family photos around, as well as images that represent our family, so, over time, I’ve been purchasing framed art, as well as empty frames, that I could include as part of a gallery wall; however, since I like a collected look, I wanted to include a few other elements. Finding these other elements has proven to be a challenge, though! Luckily, I found the last couple of pieces at the antique faire last weekend and so was finally able to put the wall together.
In a previous post, I gave tips for creating a collected gallery wall. With those tips in mind, when I started shopping, my criteria for the elements were as follows:
- All pieces needed to stay in the brown, black, white and creme color scheme in order to maintain a consistent feel among varying pieces.
- There needs to be some uniformity among the frame sizes, so I needed at least 2 of any given size.
- Objects should be included in addition to framed pieces.
- Only things that I really loved could be included.
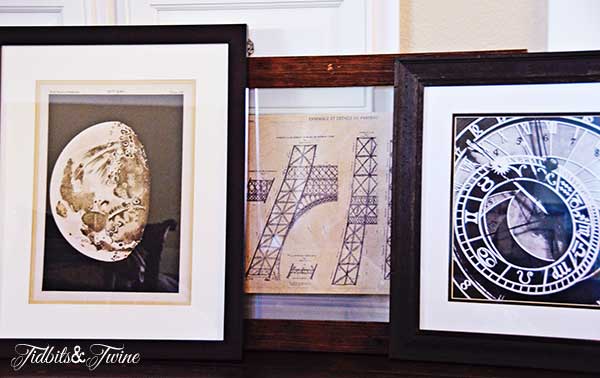
One of my favorite framed pieces that I found is this schematic of the Eiffel Tower that is in a floating frame. I also really like this image of the moon because it reminds me of my husband’s astrophotography. Now before you think I’ve left his work off of this wall, let me assure you that I’ll be swapping out one of the images for one of his nebula pictures, but we haven’t gotten around to having one printed just yet.
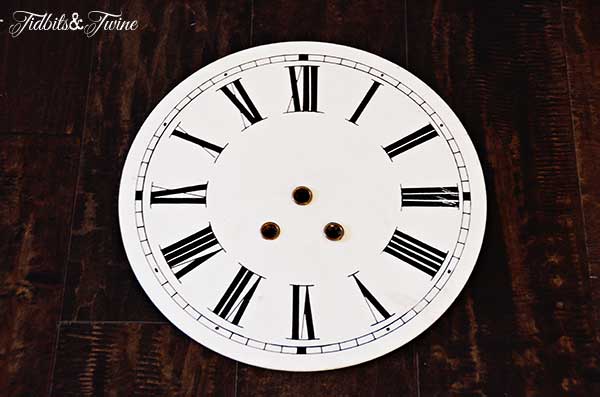
I love, love, love clocks and was excited to find this old clock face from France at the antique faire last weekend. (Okay, between you and me, just by looking at it, there’s really no way to tell it’s from France so I feel like I paid more for the history than for the clock face itself, which is rather nondescript. But it is made out of metal and most new clock faces that are made to look old tend to be made from cardboard or pressboard, so the fact that it’s metal is a plus, right?)
I was also thrilled to find these two street signs! The brown/black one is an original street sign from L.A. in the 1930’s and the other is a vintage porcelain sign. I chose these two because their coloring works well with my scheme and they also add just a bit of the industrial look that my husband loves.

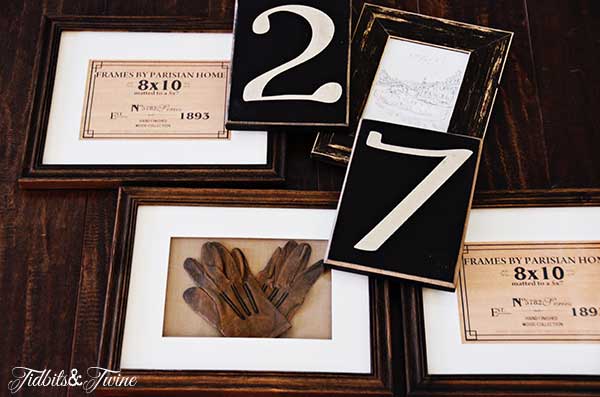
I also purchased an assortment of pieces that were medium- and small-sized to help fill in the wall. I was able to finally frame my grandmother’s leather baby gloves in one of the frames!
When I finally found a layout that I liked, I started hanging everything on the wall. (I have a really easy method for both finding a layout and hanging it on the wall, so I’ll share that with you in a separate post soon.) Now that it’s finished, here’s a look at our updated TV space:
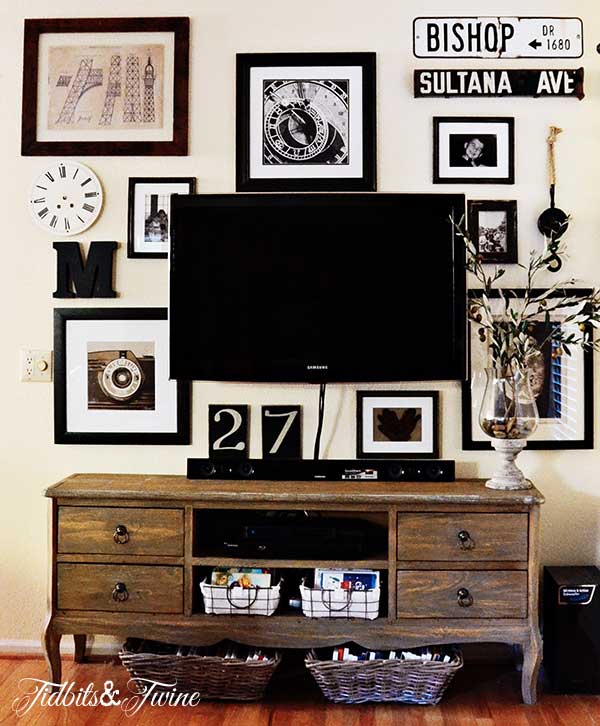
You might notice that the TV is hung a bit higher than normal above the console and that’s because we have a chair that sits in front of it. We also usually angle the TV so that it faces the sofa and kitchen.
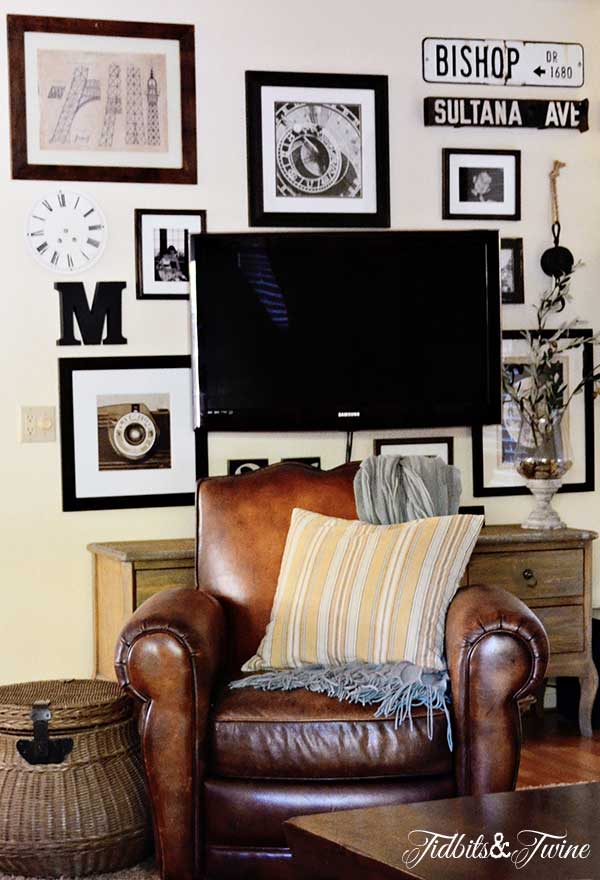
I feel like the whole room looks different now and the TV no longer looks so lonely in the corner.
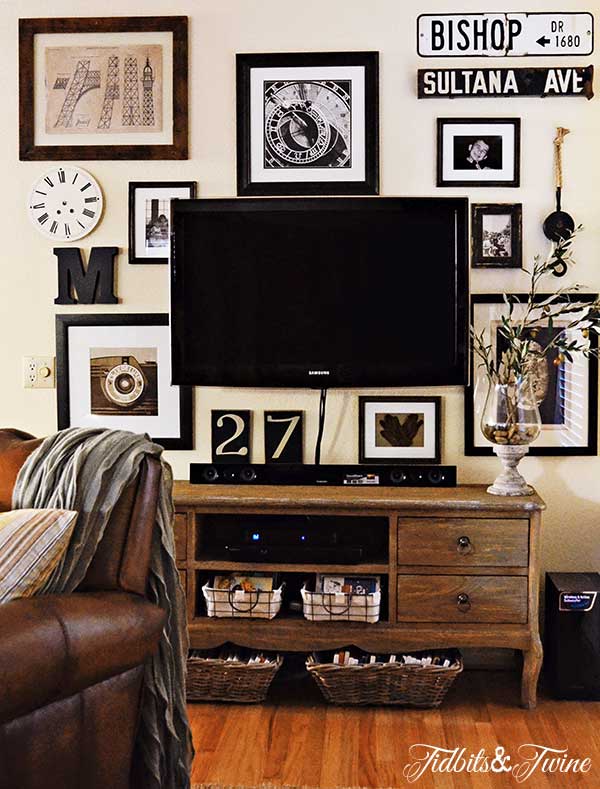
For other ideas on how to disguise your flat screen TV, you can read my previous post here. I should also mention that all of the art and frames are from HomeGoods, as is the media console, which helped to keep the cost of this project low. Never hesitate to shop at discount stores for wall art. They have great pieces and even if you don’t like the art, you can always change it out for something else and still nab a great deal on the frame! (I am in no way affiliated with HomeGoods or sponsored by them, but I always love to share my favorite shopping haunts with you!)
Now that this is done, maybe I’ll finally get around to some of the other projects on my list!

Sharing At: The Dedicated House, Knick of Time Tuesday, Home Stories A to Z, Not Just a Housewife, Hope Studios, Savvy Southern Style, French Country Cottage, Jennifer Rizzo, Tatertots & Jello
Join the Community
Let’s keep in touch! Get exclusive artwork plus the latest news delivered directly to your Inbox!

It looks like Pottery Barn could have created it! Your layout is great and the overall theme looks fabulous! I’m going to share this with my son for his big screen TV set up.
Many months ago, we sold our TV cabinet and opted to mount the TV to the wall on a large, articulating arm. We wanted to accomplish this project quickly and with minimal cost and so chose not to hide the cords thinking that I might be able to artfully hide them with decor. Nothing like a challenge, right?!
Great job. You found really near coordinating pieces and the street signs were a perfect touch.
I’ve got to ask, why is your tv over top of your art? You smooshed it all up on the television and I don’t understand why?
You did soo much research on spacing and pinned examples with excellent spacing choices but then didn’t exactly execute it.
I mean zero harm…I am just very curious.
Your wall looks great – just a thought about the TV cord. You could make a sleeve
for it like you might use on a chandelier chain. If it was the same color as the wall
it might blend in more. Cords are a pain and my husband isn’t bothered by them
showing!
I love this, and I really like your console…any ideas on where to source something similar?
Hi Danielle – Thank you! I have a few ideas that I’ll look into for you. Is it the color, style, or both that you’re looking for?
The shape is the first thing that caught my eye. I like the wood tone, but I am also open to something painted.
Well, it turns out that shape is harder to find than I thought! I have a couple more places to look, but I’ve found two so far that are similar.
1. http://www.homedecorators.com/P/Provence_Media_Cabinet/410/
2. http://www.wayfair.com/Riverside-Furniture-Coventry-Two-Tone-61-TV-Stand-32540-RVF4850.html
I’ll do a bit more looking and let you know if I find anything else.
I think the first option might work! Thanks for the suggestions.
Good luck with your project! :)
I love how this looks! The tv blends into all the black frames so well. I love all the different things you used to make your gallery wall too (signs, photographs, the numbers and letter, etc)- it all mixes really well!
Thank you, Brooke!
I love your gallery wall! You used a wonderful collection of items to keep it interesting and in the same tone of colors. Thanks for sharing!
Hi Tracy – Thank you so much for your kind comment!
Awesome job, it looks fabulous and I love the combination of items you used!!
Thank you, Pam! I have fun collecting all of the various pieces to use on the wall. :)
I just did this a couple of weeks ago in my own house! It made the biggest difference! Fun to see someone else’s version!
Lindsay – It’s amazing what a little wall decor can do for a space, isn’t it?!
Wow this is impressive! It looks like Pottery Barn could have created it! Your layout is great and the overall theme looks fabulous! I’m going to share this with my son for his big screen TV set up.
Thank you so much, Liz!
What a fantastic idea to help disguise a TV. I think you have done an amazing job and I feel definitely would inspire others to do similar. My TV is on a large shelving unit, I am sure if I used all black and white around it on the shelves it would look 100% better. Ideally I would love one of those cabinets where they electronically come out of but…..dreaming I guess!
Lee :)
Hi Lee – Thank you for your kind comments! I dream about one of those cabinets, too… :)