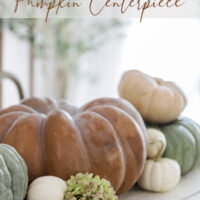
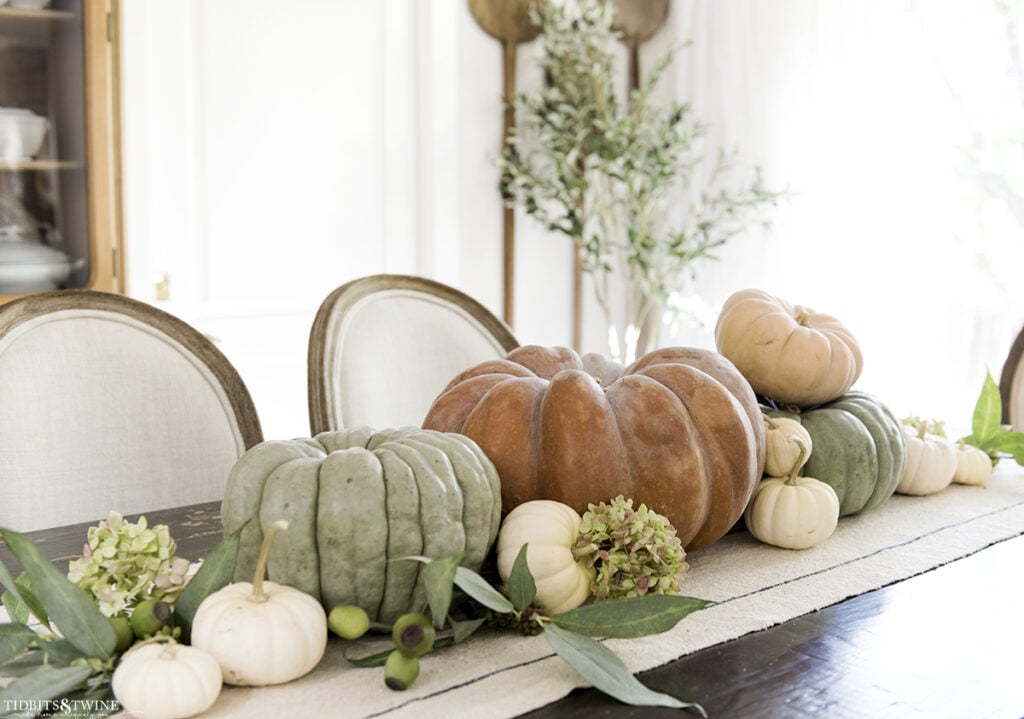
An easy, edible 5 minute pumpkin centerpiece for Fall to add a warm seasonal feeling naturally. Follow this step-by-step tutorial to quickly create an eye-catching table display no matter your level of DIY skill!

I typically have some type of decor on my dining room table, but one of my favorites is one that can transition from everyday to a dinner party without any extra work on my part! My Fall centerpiece last year was very elaborate, so this year I made it as simple as possible. So simple in fact, that it takes less than 5 minutes to put together.
What I like about this Fall centerpiece is that everything can be found at the grocery store, so it makes shopping simple. Not only that, but once done with it, you can actually use the pumpkins for cooking, so there’s no waste! And unlike fresh flowers, this pumpkin centerpiece won’t wilt or spoil within a week.
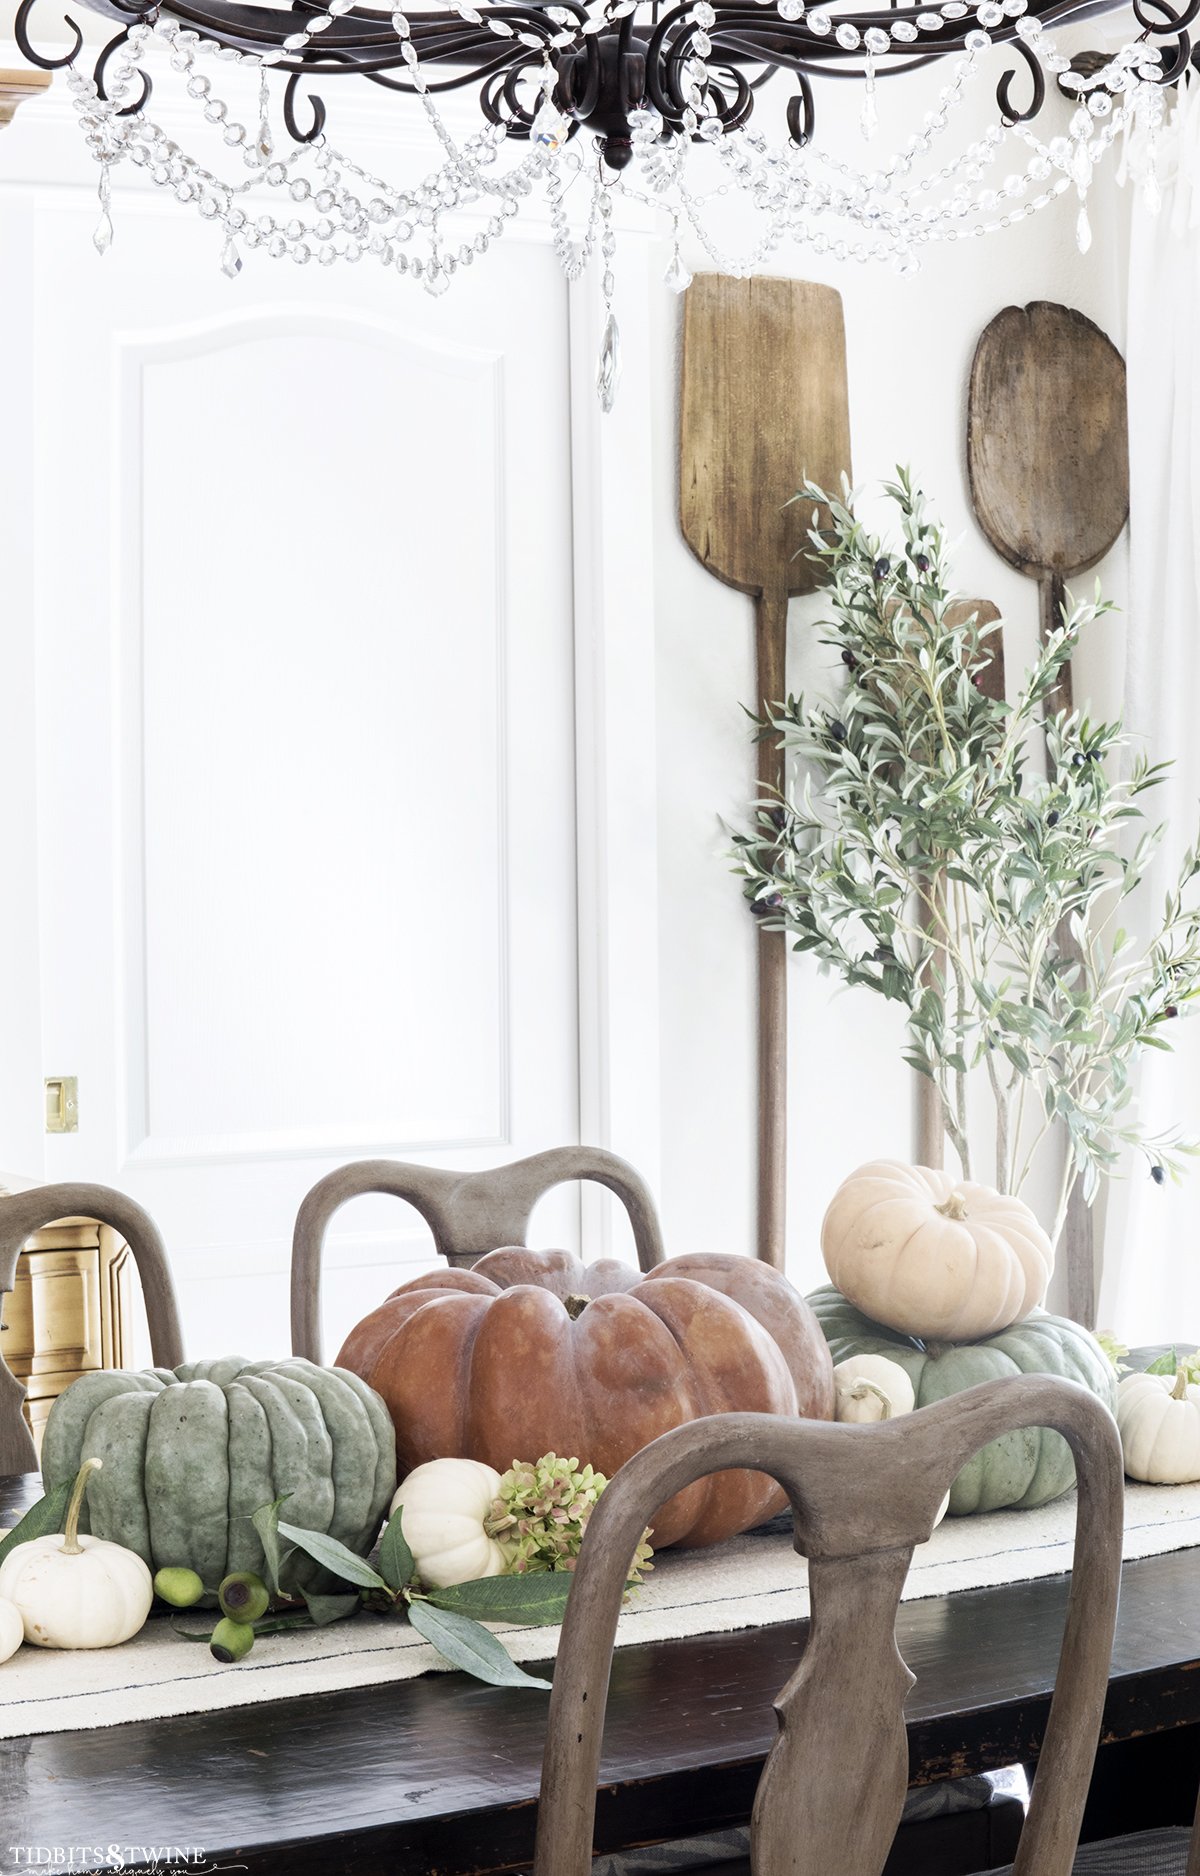
This centerpiece is low enough that you can chat with guests without bobbing and weaving your way around a statement display! Who needs that?! Plus, it has a symmetrical look to it, but depending on your pumpkin placement, you can make it asymmetrical if that’s more your vibe.
Supplies for a Pumpkin Centerpiece
- 1 large pumpkin
- 2 medium, matching pumpkins
- 6-8 small pumpkins
- Eucalpytus
- Dried hydrangea
How to Make a Pumpkin Centerpiece
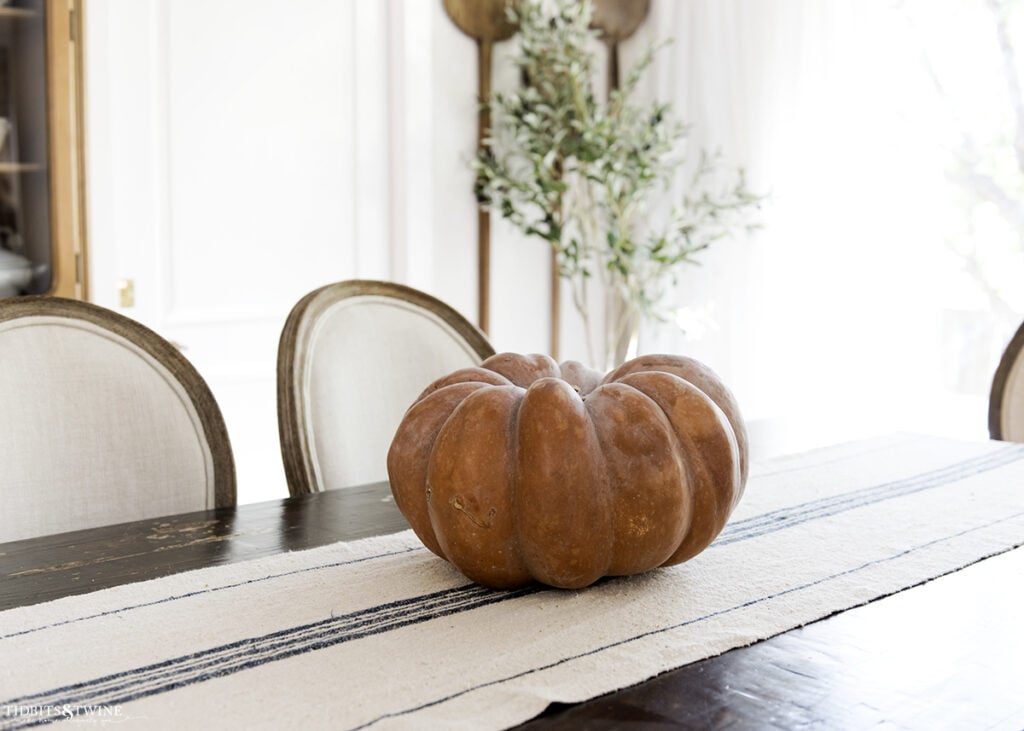
Step 1
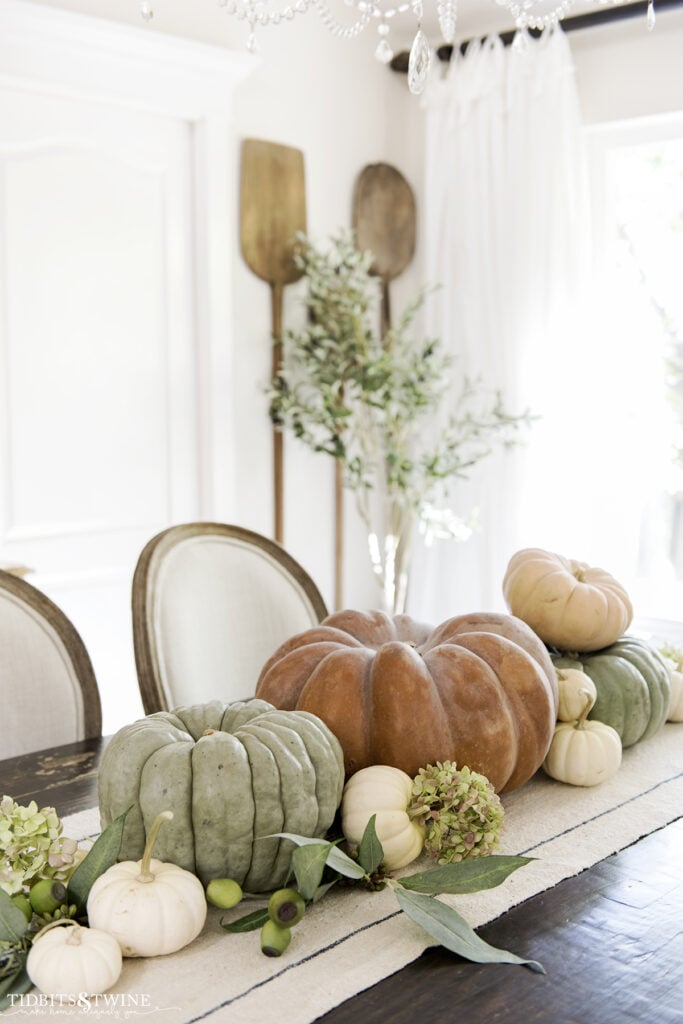
Start with your largest pumpkin and place it in the center of the table. This will be your main focal point, so choose a color and pumpkin variety that best fits your style. I chose a terracotta Fairytale pumpkin that is approximately 9″x15″.
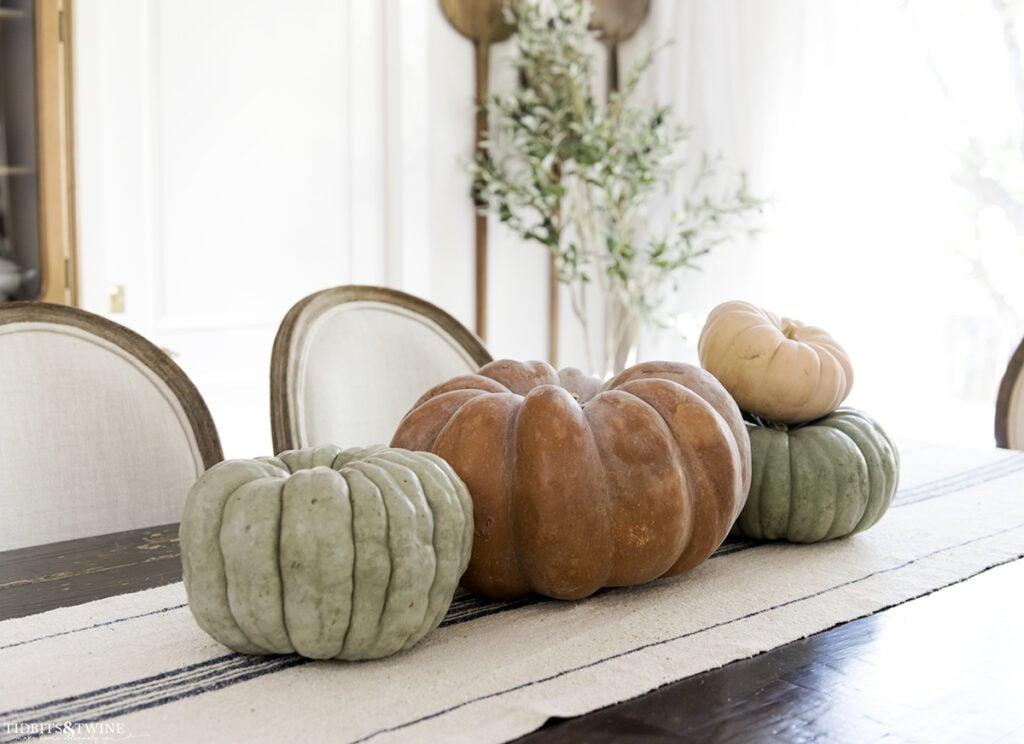
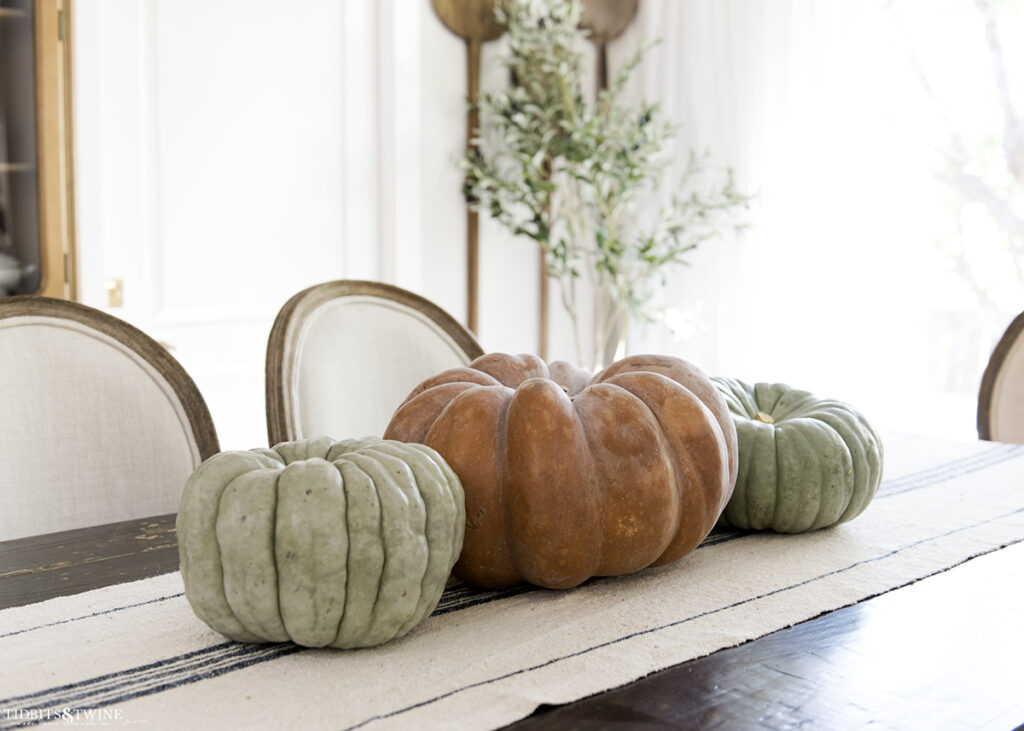
Step 2
Next, add matching pumpkins to either side of your center pumpkin. The pumpkins should be the same color with a similar size and shape, but they don’t need to be identical. I selected muted green Fairytale pumpkins for this step.
Step 3
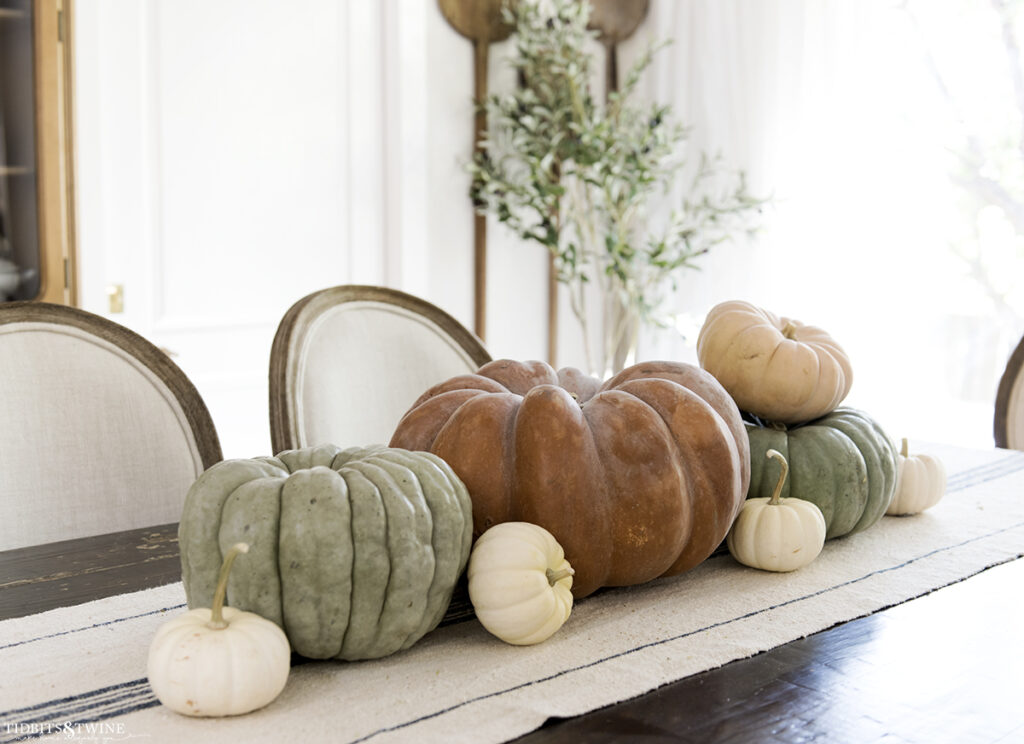
Add in your next largest set of pumpkins. I used 1 small orange pumpkin to detract from the differences between the two green, and white pumpkins for the remainder. Place them flat and at angles to fill in some of the gaps.
Step 4
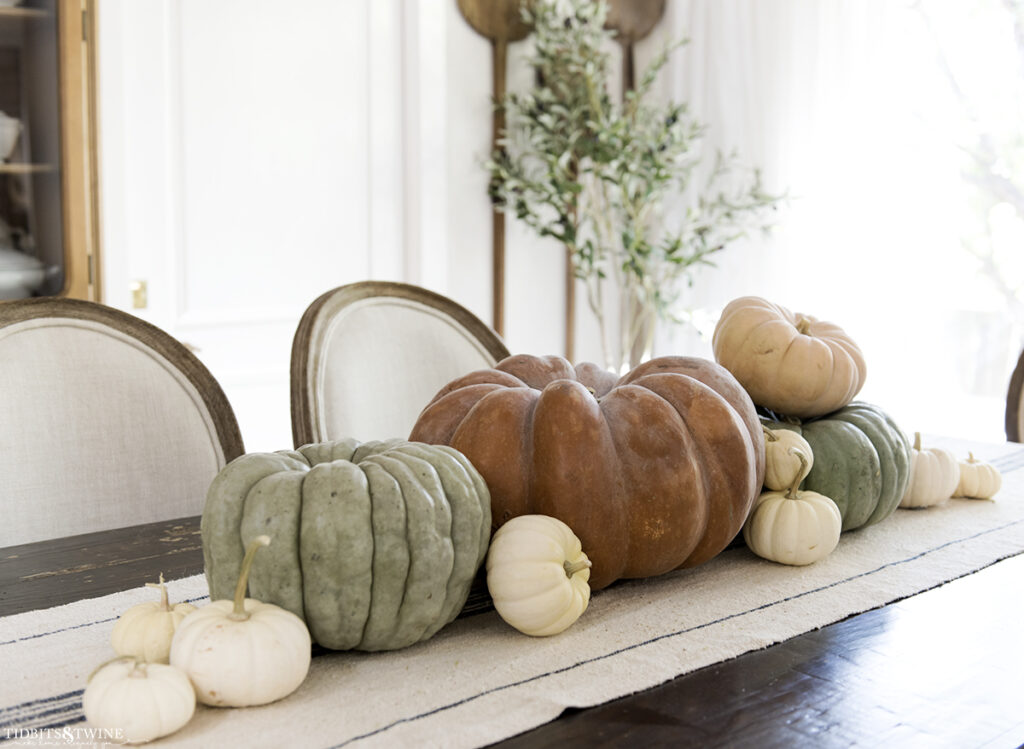
Next, layer in your smallest pumpkins, again using them to fill gaps or create balance within the overall design, as needed.
Step 5
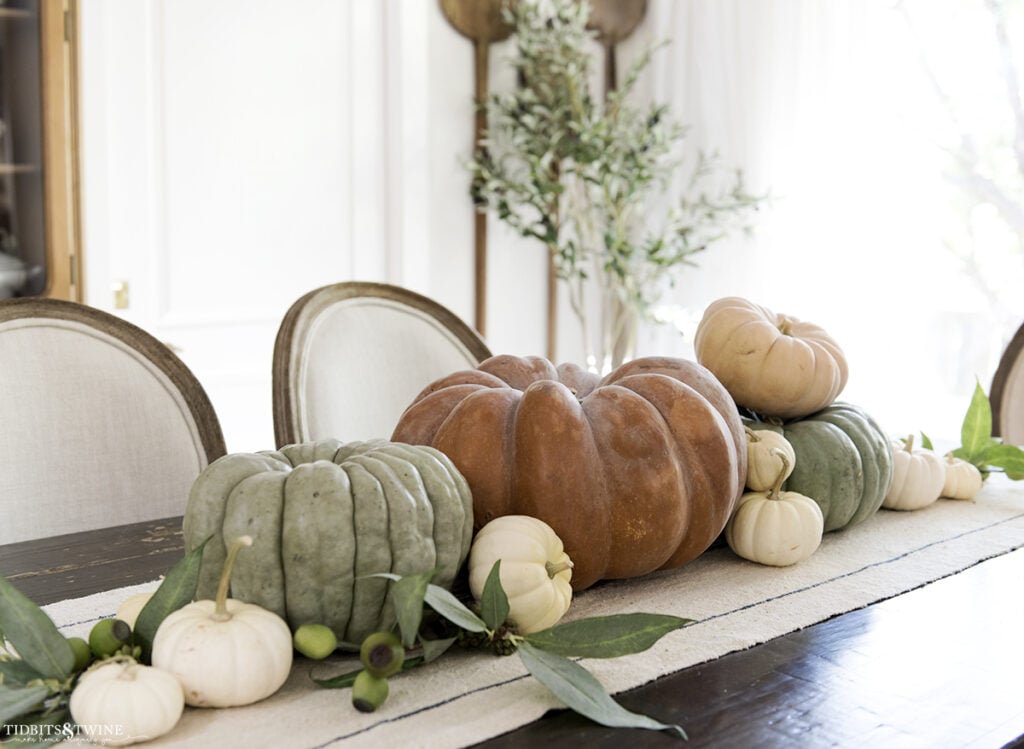
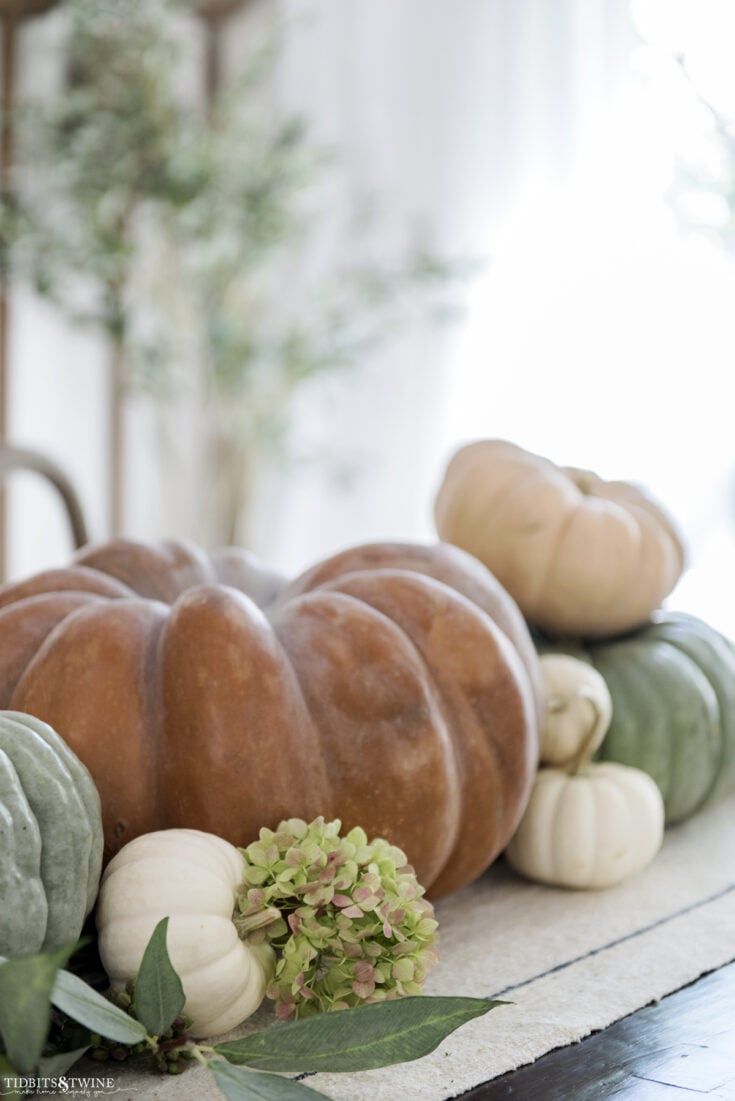
Now that the pumpkins are in place, insert a few stems of eucalyptus branches. I used fake branches, but real ones picked from the yard or bought at the store would be equally beautiful. Ensure that you have a branch at each end that runs parallel with the table. Then poke a few others here and there for interest.
Step 6
Lastly, place a few dried hydrangea heads in the display. These just add another layer and texture to the mix for interest.
That’s it! An easy 5 minute pumpkin centerpiece to use as everyday Fall table decor or for a special dining occasion. And when you’re done, cook them up or do what I do, donate them to the zoo!
Additional Tips & Tidbits
- You can use all one color of pumpkins for a monochromatic look
- Scale your pumpkin sizes up or down depending on your table size and how big you want the final centerpiece
- In lieu of dried hydrangea, you can place small votive candles for an intimate, cozy feel
More Fall Decorating Ideas
- Natural Fall Decorating: 8 Ideas for An Easy Fall Feel
- Easy & Natural Fall Kitchen Decor with Copper Accents
- Easy Fall Decorating In the Family Room
- A Beautiful Fall French Tablescape: The Softer Side of Autumn
5 Minute Pumpkin Centerpiece
An easy, edible 5 minute pumpkin centerpiece for Fall to add a warm seasonal feeling naturally. Follow this step-by-step tutorial to quickly create an eye-catching table display no matter your level of DIY skill!
Materials
- 1 large pumpkin
- 2 medium, matching pumpkins
- 6-8 small pumpkins
- Eucalpytus
- Dried hydrangea
Tools
- Scissors or pruning shears
Instructions
- Start with your largest pumpkin and place it in the center of the table.
- Next, add matching pumpkins to either side of your center pumpkin.
- Add in your next largest set of pumpkins. Place them flat and at angles to fill in some of the gaps.
- Next, layer in your smallest pumpkins, again using them to fill gaps or create balance within the overall design, as needed.
- Now that the pumpkins are in place, insert a few stems of eucalyptus branches.
- Lastly, place a few dried hydrangea heads in the display.

Join the Community
Let’s keep in touch! Get exclusive artwork plus the latest news delivered directly to your Inbox!