
I’m sharing my easy method for how to dry hydrangeas to preserve the color and delicate petals! Dried hydrangea makes a beautiful addition as Fall decor, but can also be used year-round as part of vignettes and other styling!
I love love love dried hydrangea blooms. I love the color and the delicate petals and find that it’s a great addition to your home decor to give an organic item that requires no maintenance! In fact, dried hydrangea might be my all-time favorite Fall decor item…
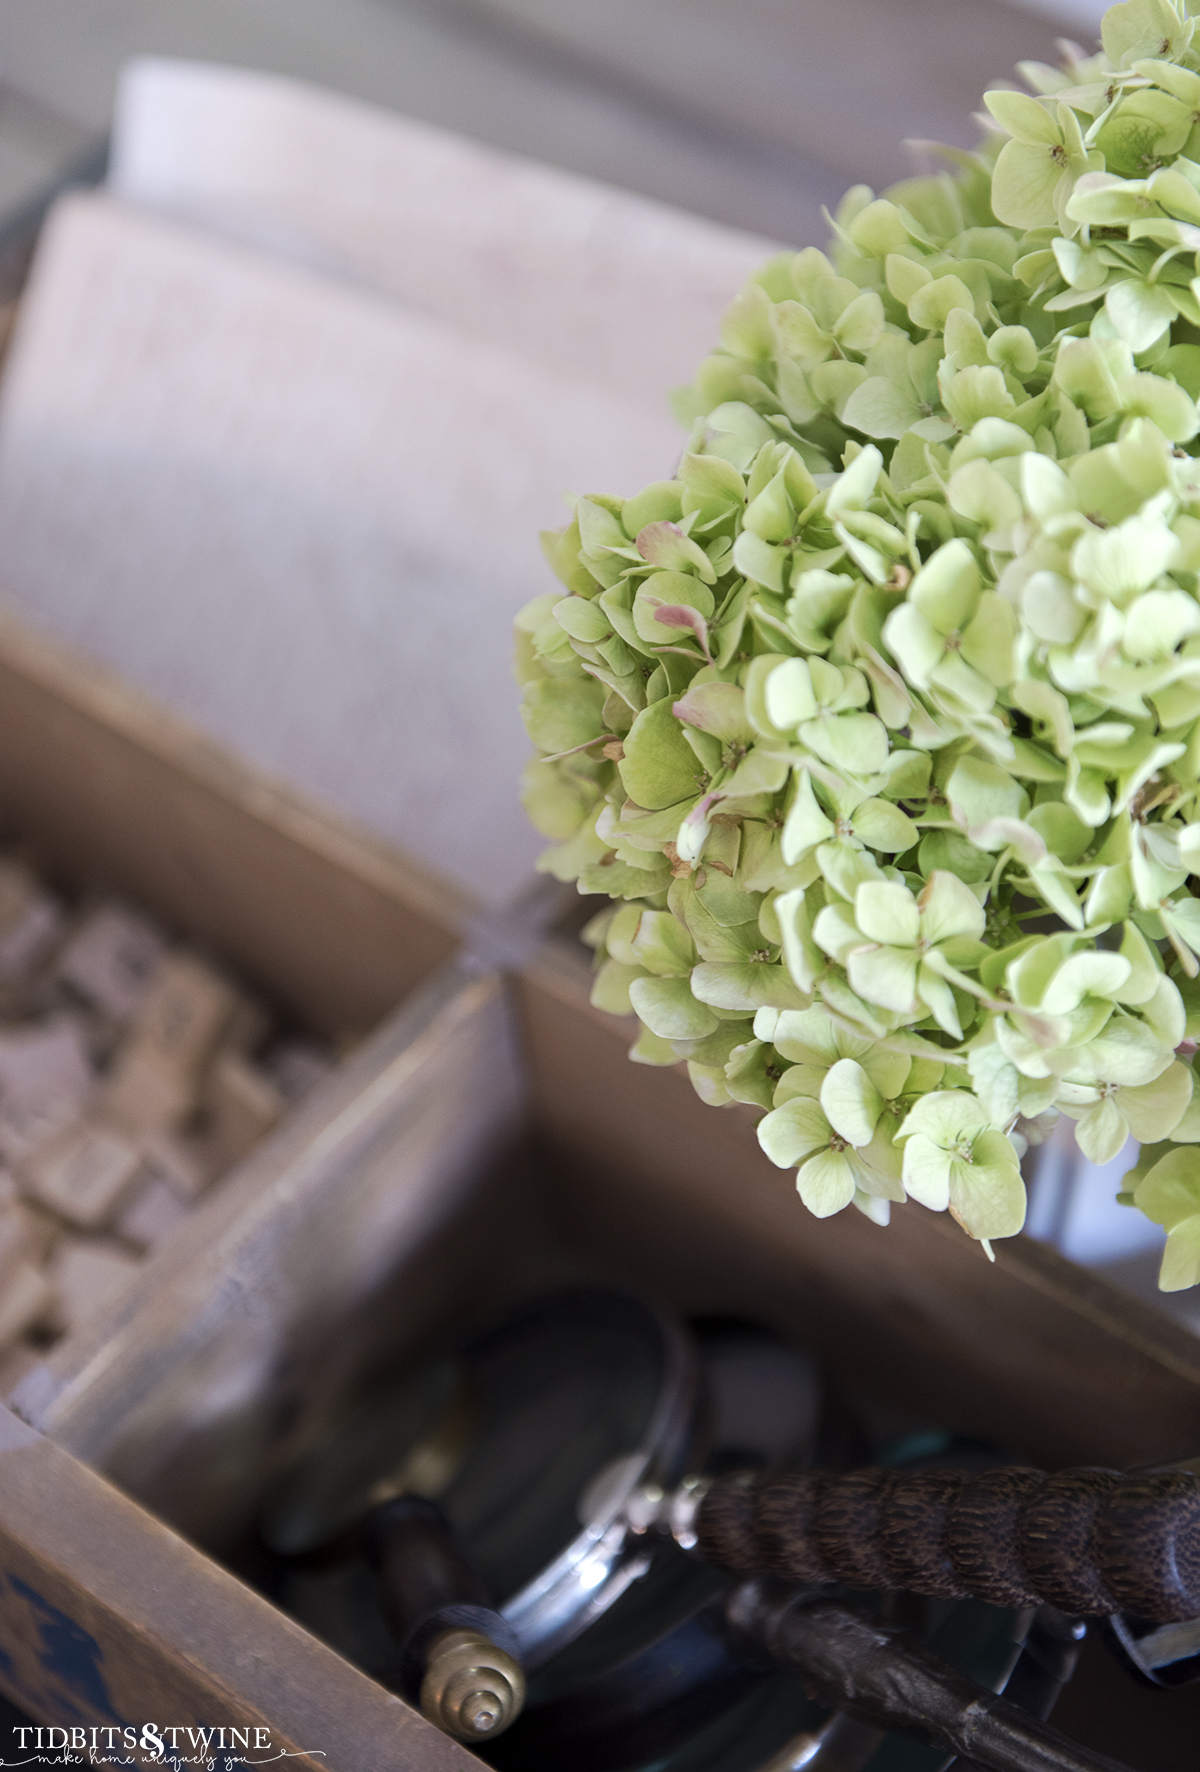
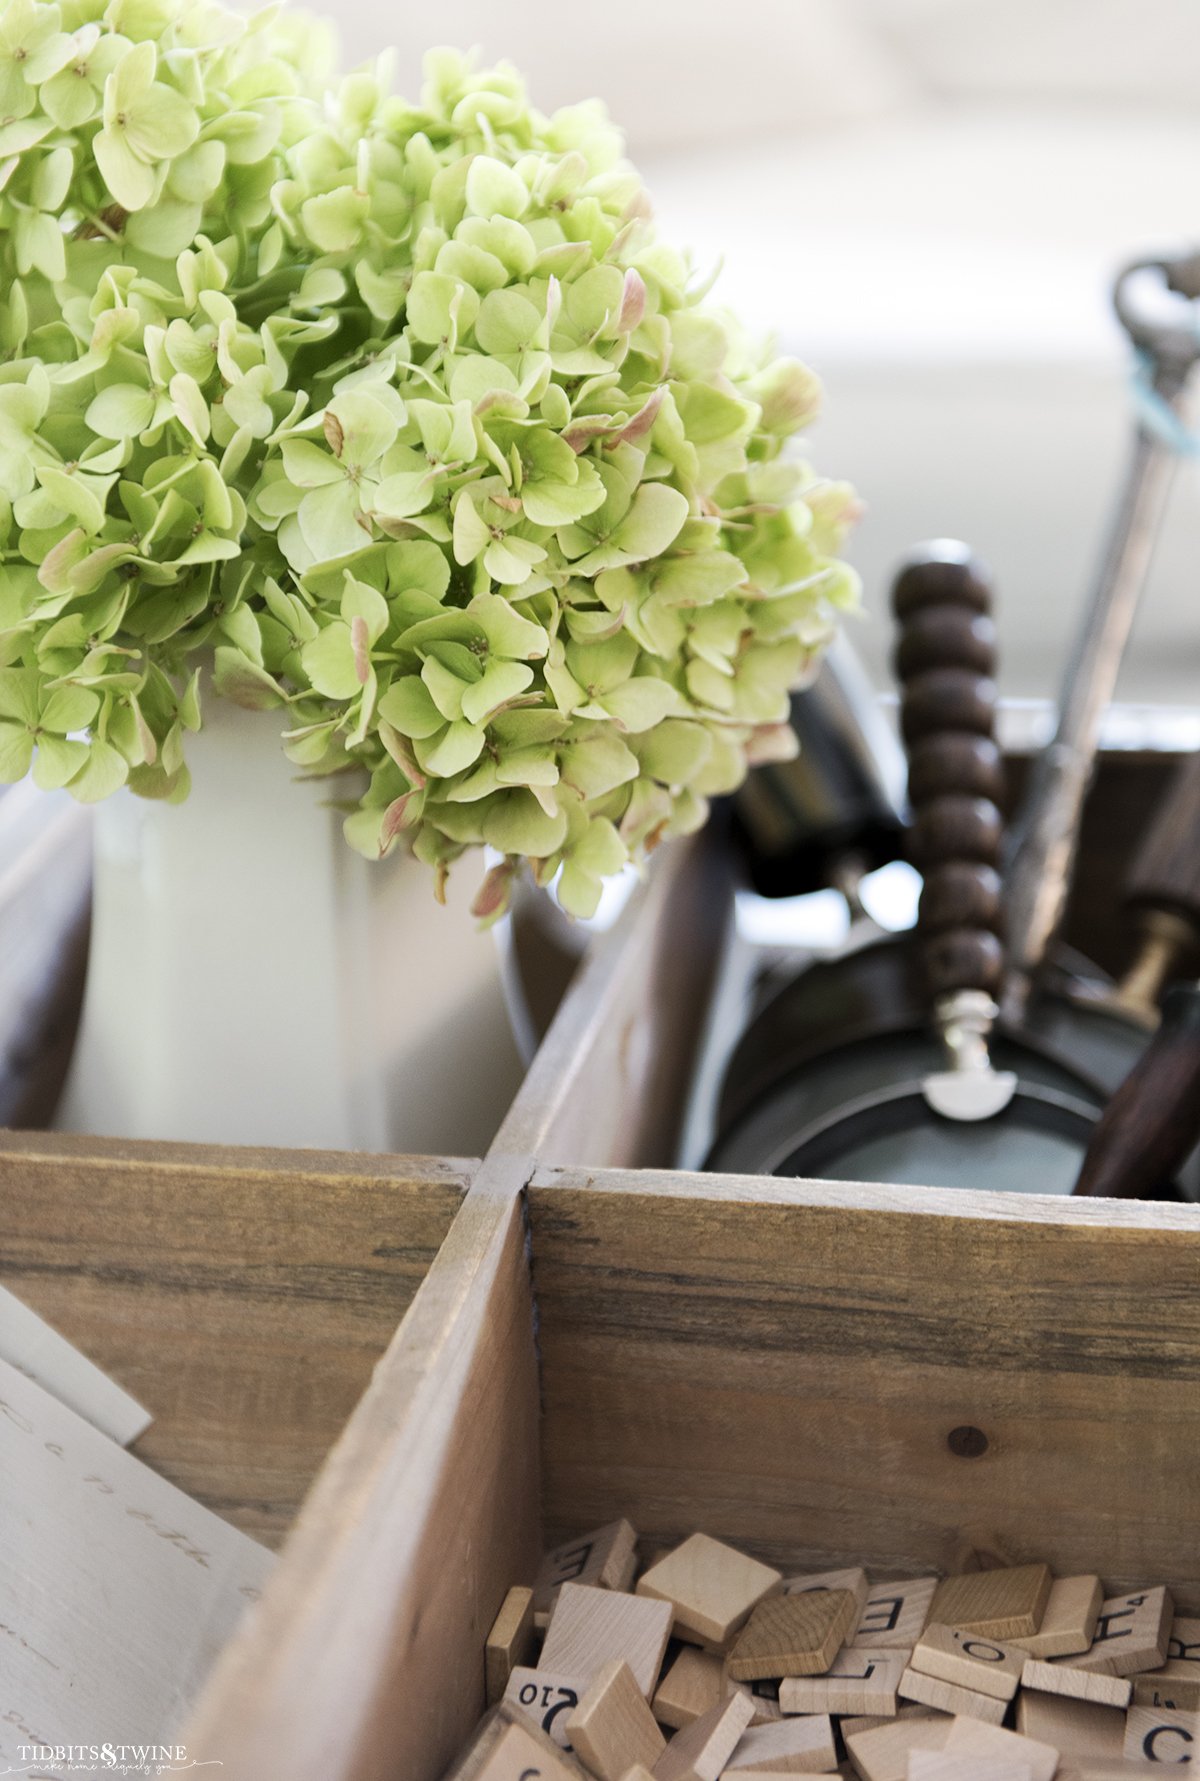
So many people (professional designers included) overlook the importance of adding organic elements to a room. Or if they do, they only consider live plants or fresh flowers.
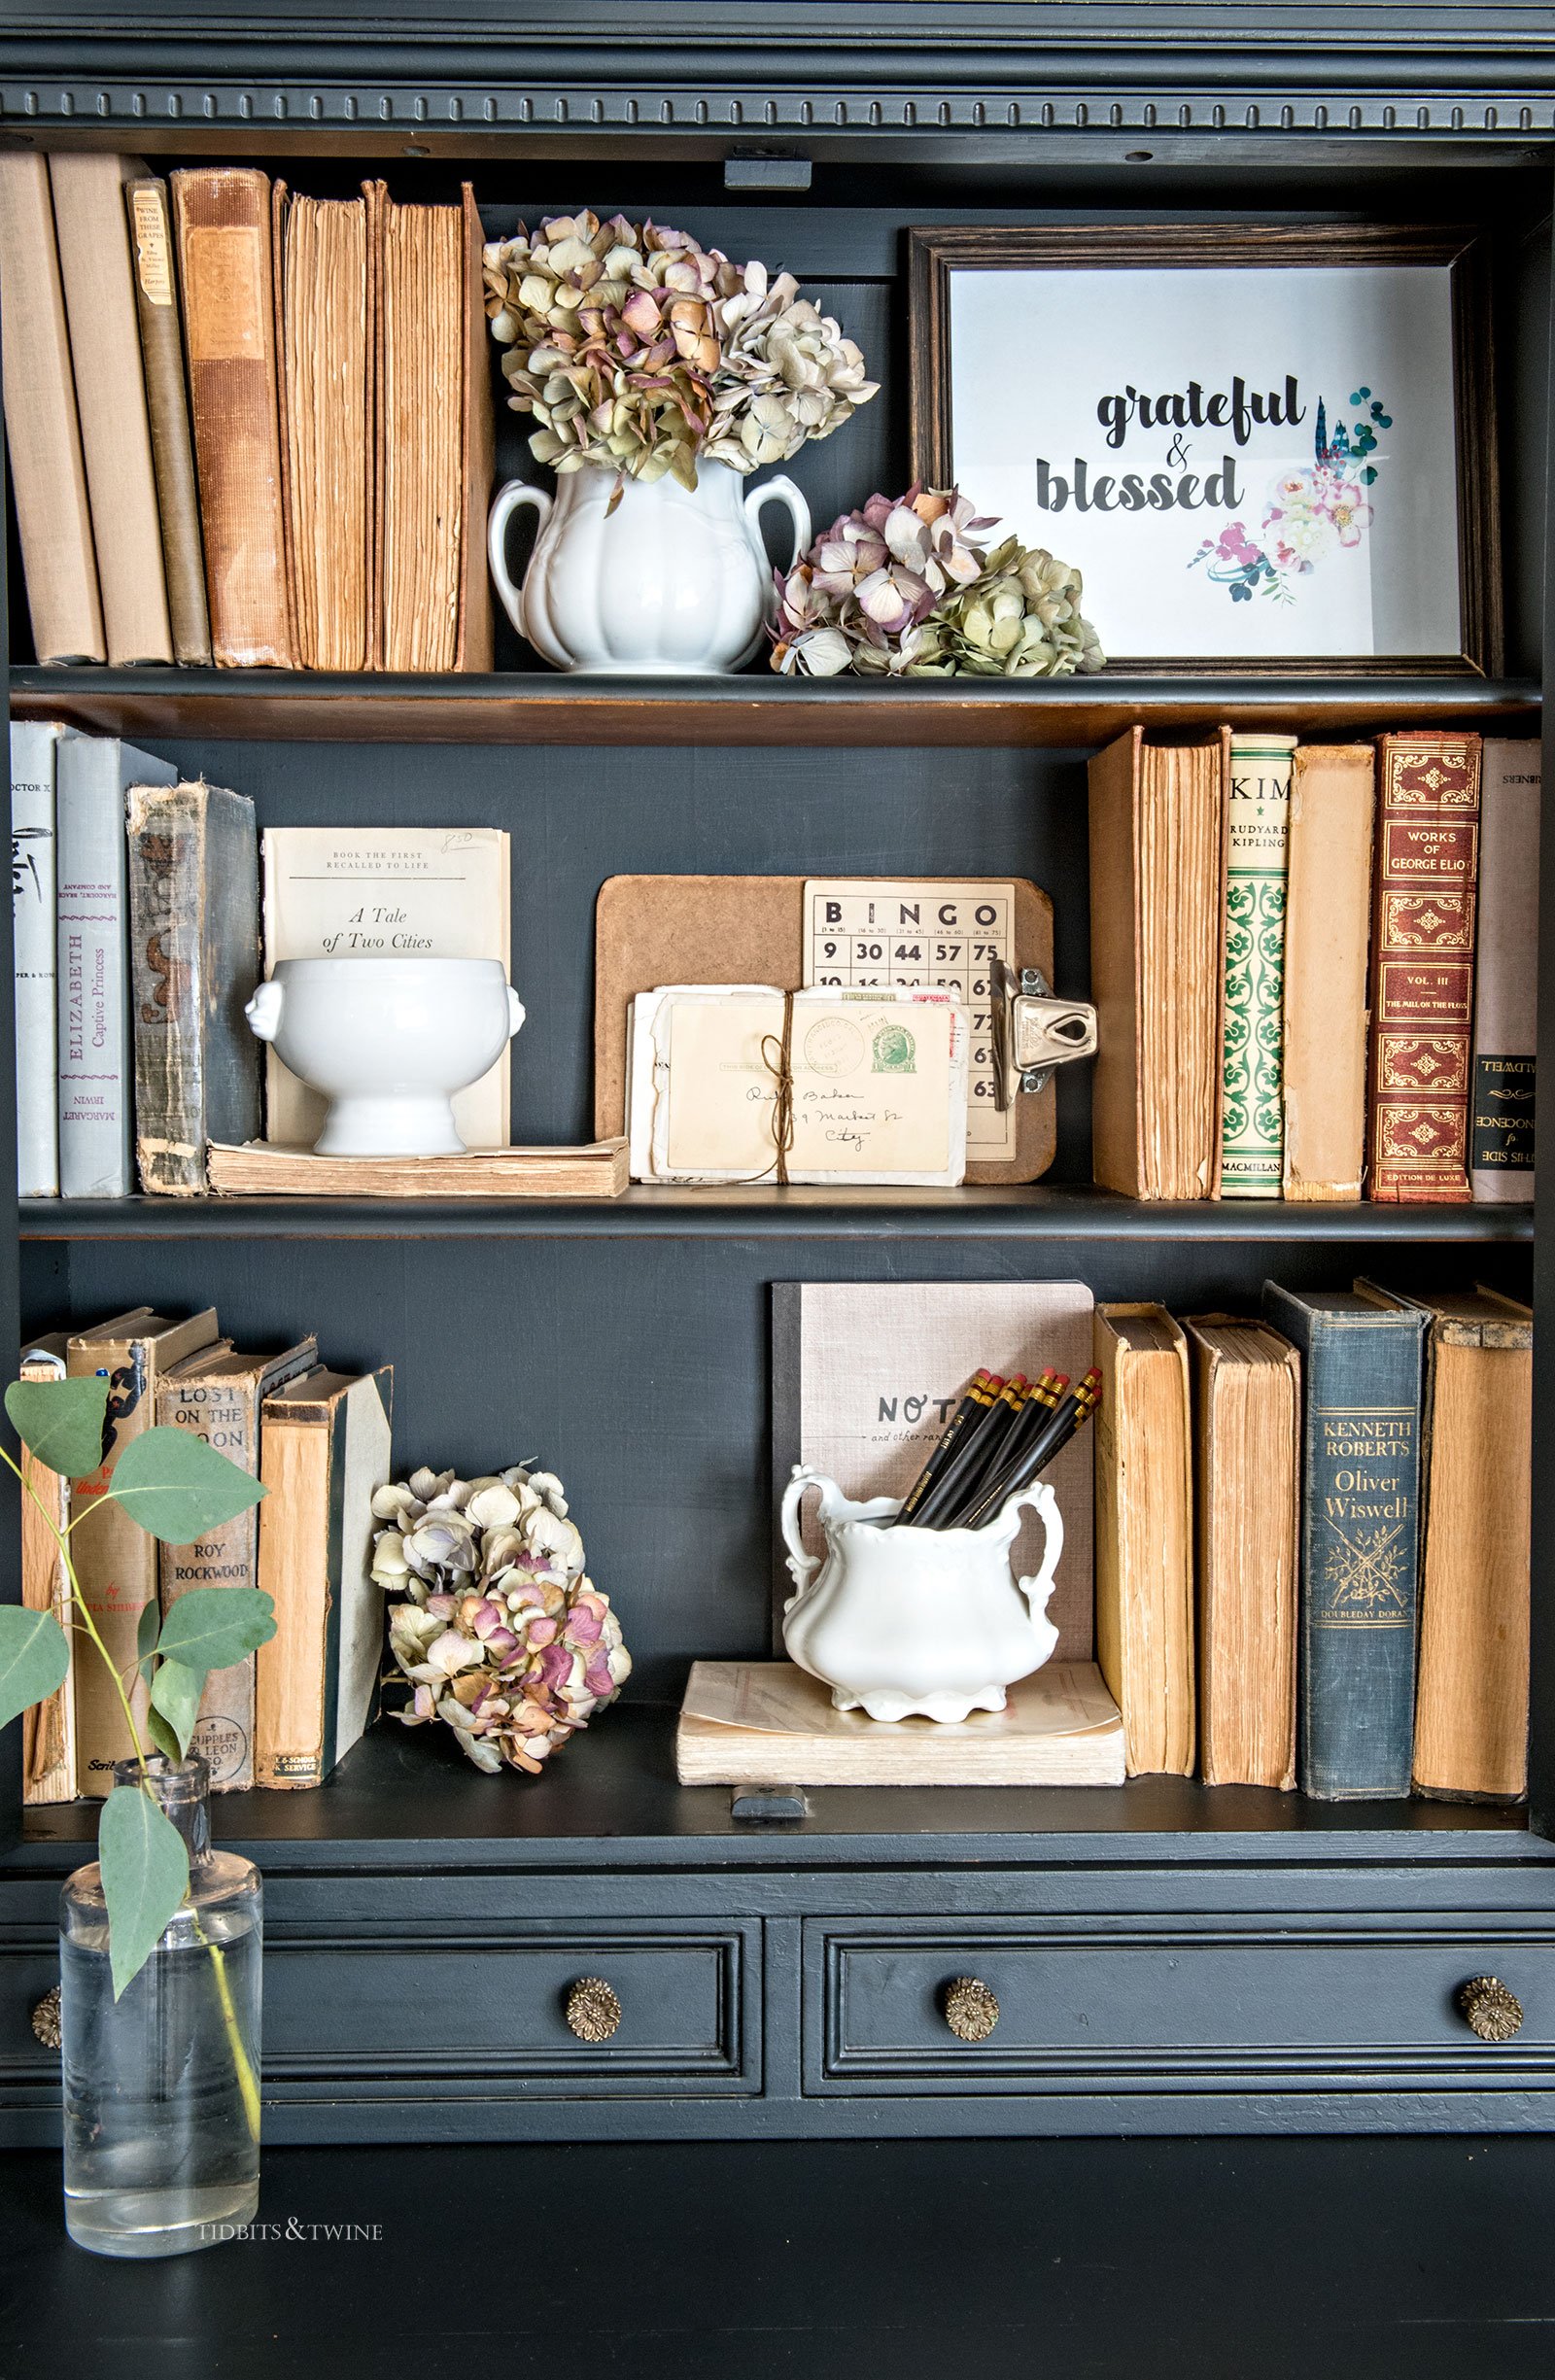
Well, not everyone has a green thumb and not everyone can afford to maintain fresh flowers in their home. There are so many other organic items that can be included in a design, such as branches, moss, pinecones, and yes, dried hydrangea blossoms!
Do you need help finding fake plants that actually look real! I put together my list of favorite Fake Plants that Look Real just for that reason!
How to Dry Hydrangeas the Easy Way
I’ve been drying my own hydrangea for several years now. Originally, I tried to dry them like I do my roses – upside down in a dark area. That didn’t work at all. They wilted and withered.
Now I have a super easy method that allows me to enjoy my beautiful hydrangeas while they dry! So here’s how to dry hydrangea flowers the easy way!
What’s Growing in my Garden
I have only big leaf hydrangea in my yard, known as Hydrangea macrophylla. They have large clusters of flowers and large, dark green leaves. Most of them are not repeat bloomers, but just this last spring, I added a few Endless Summer varieties which promise to bloom on the previous year’s wood stem!
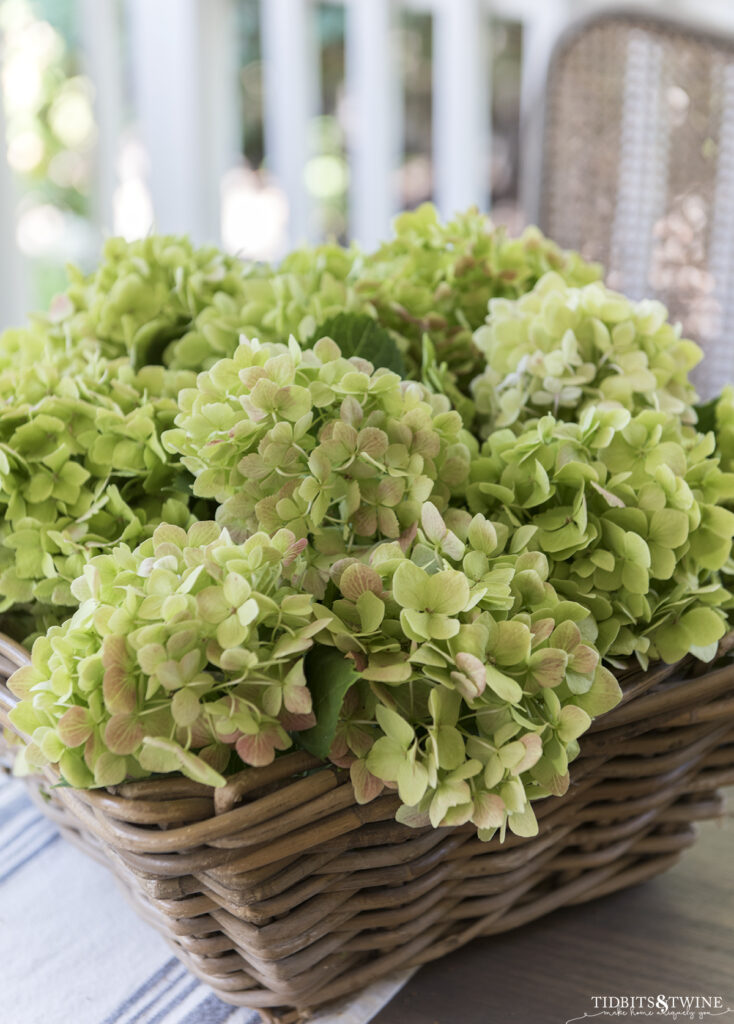
What Colors Do Hydrangea Turn
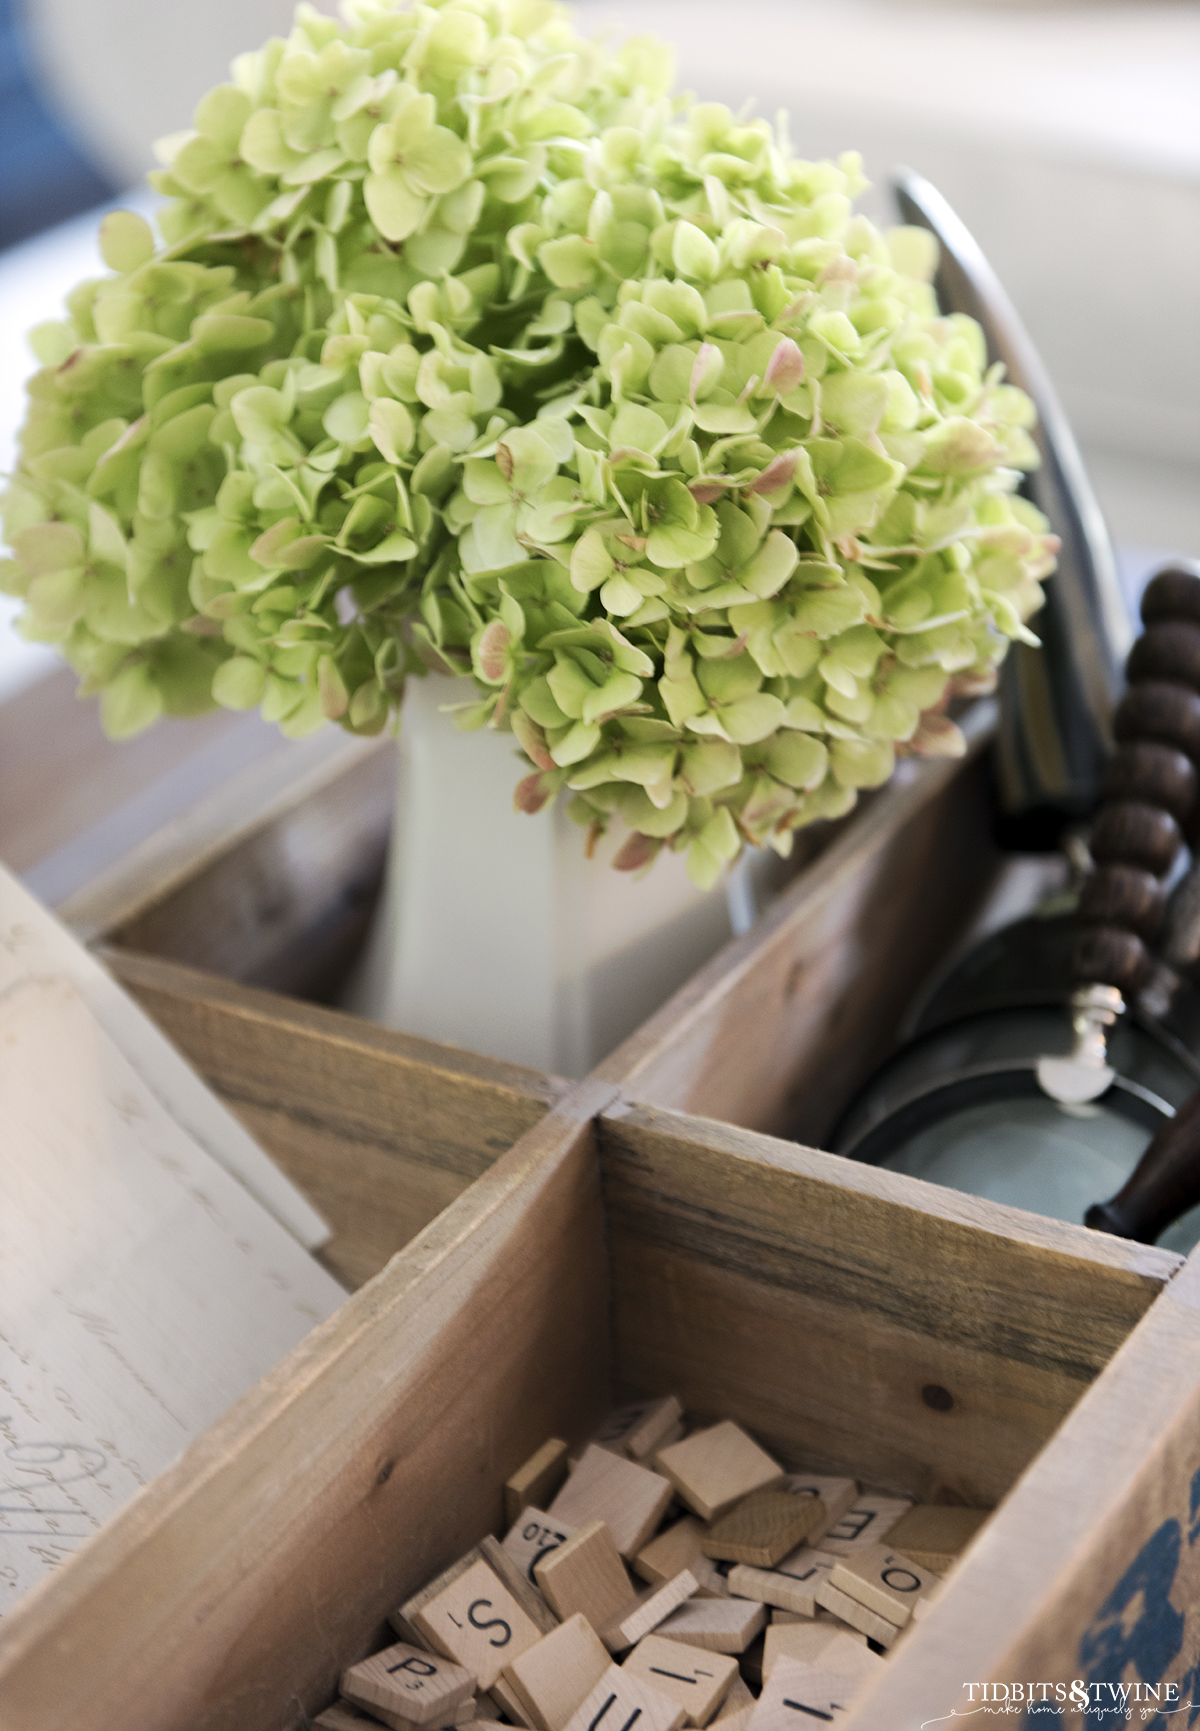
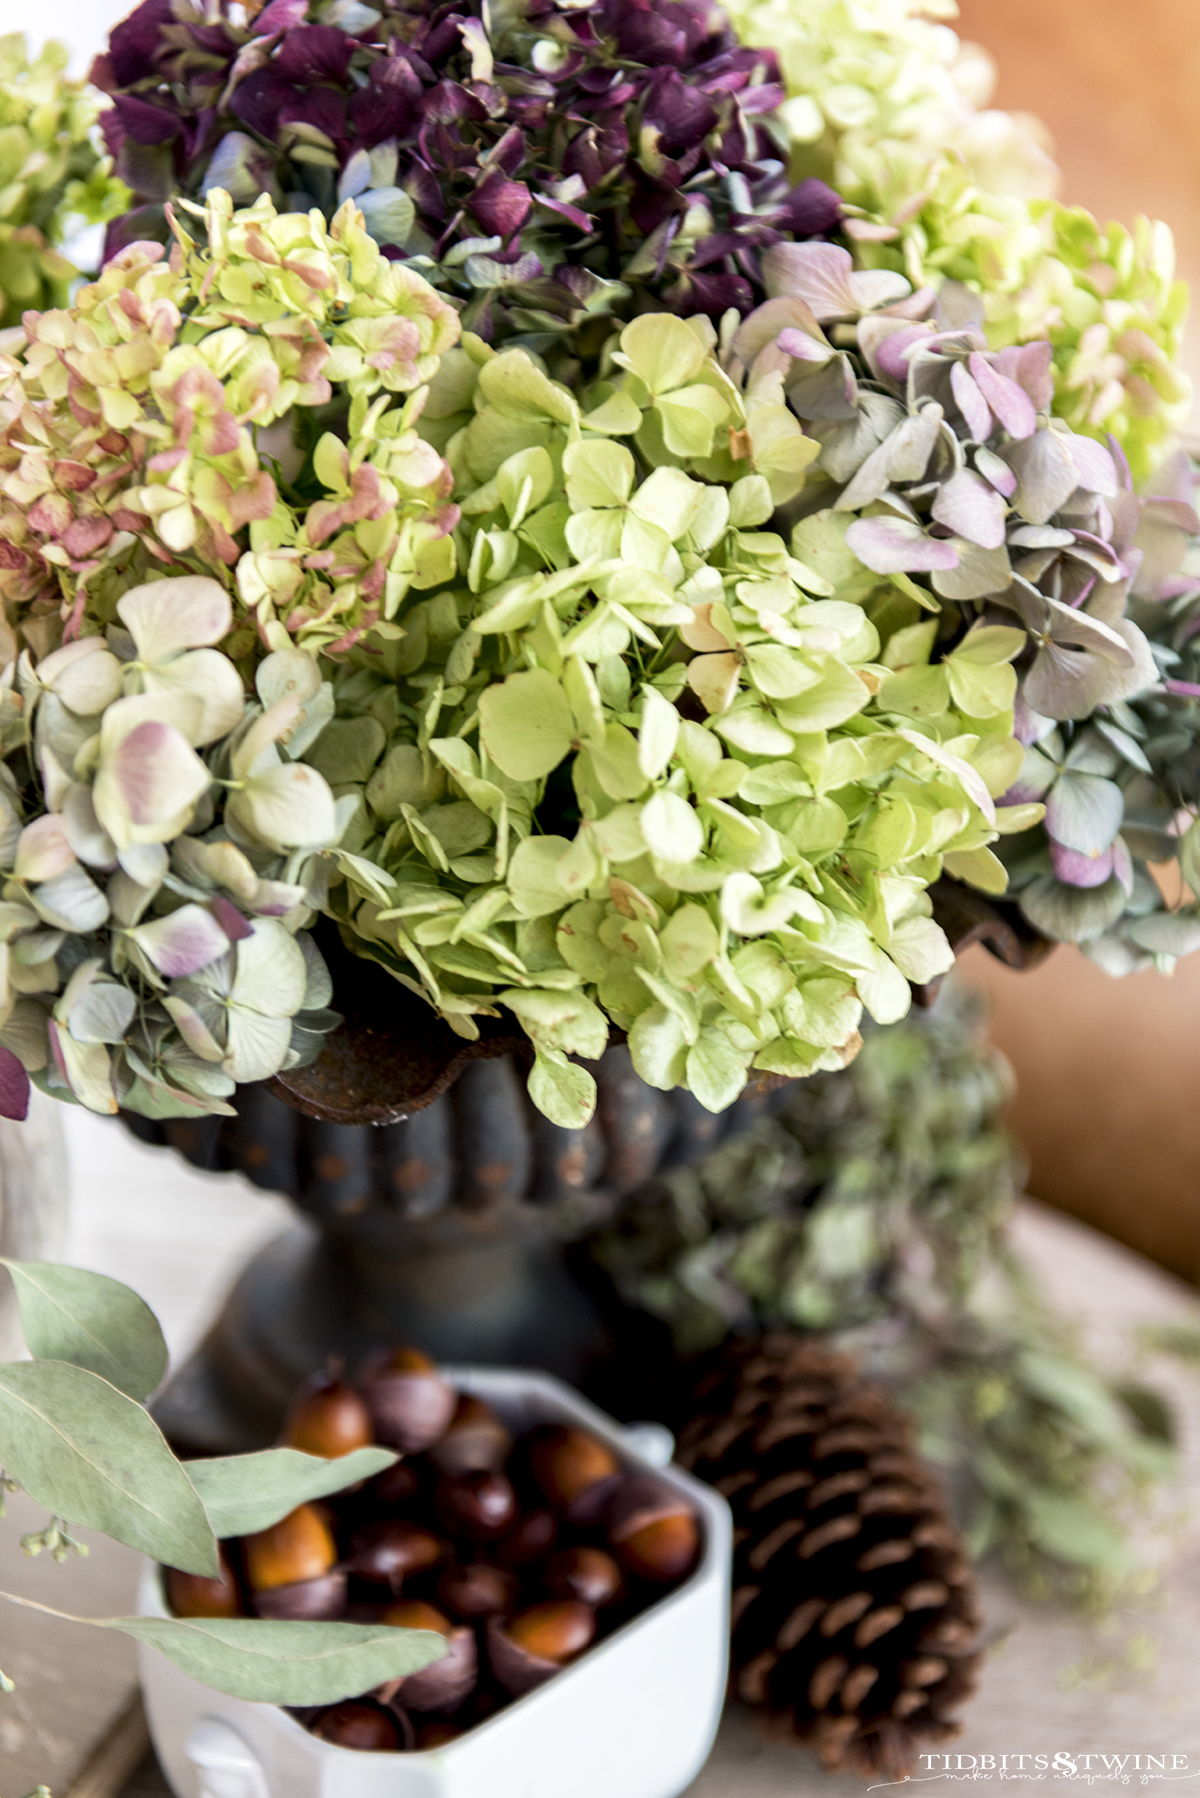
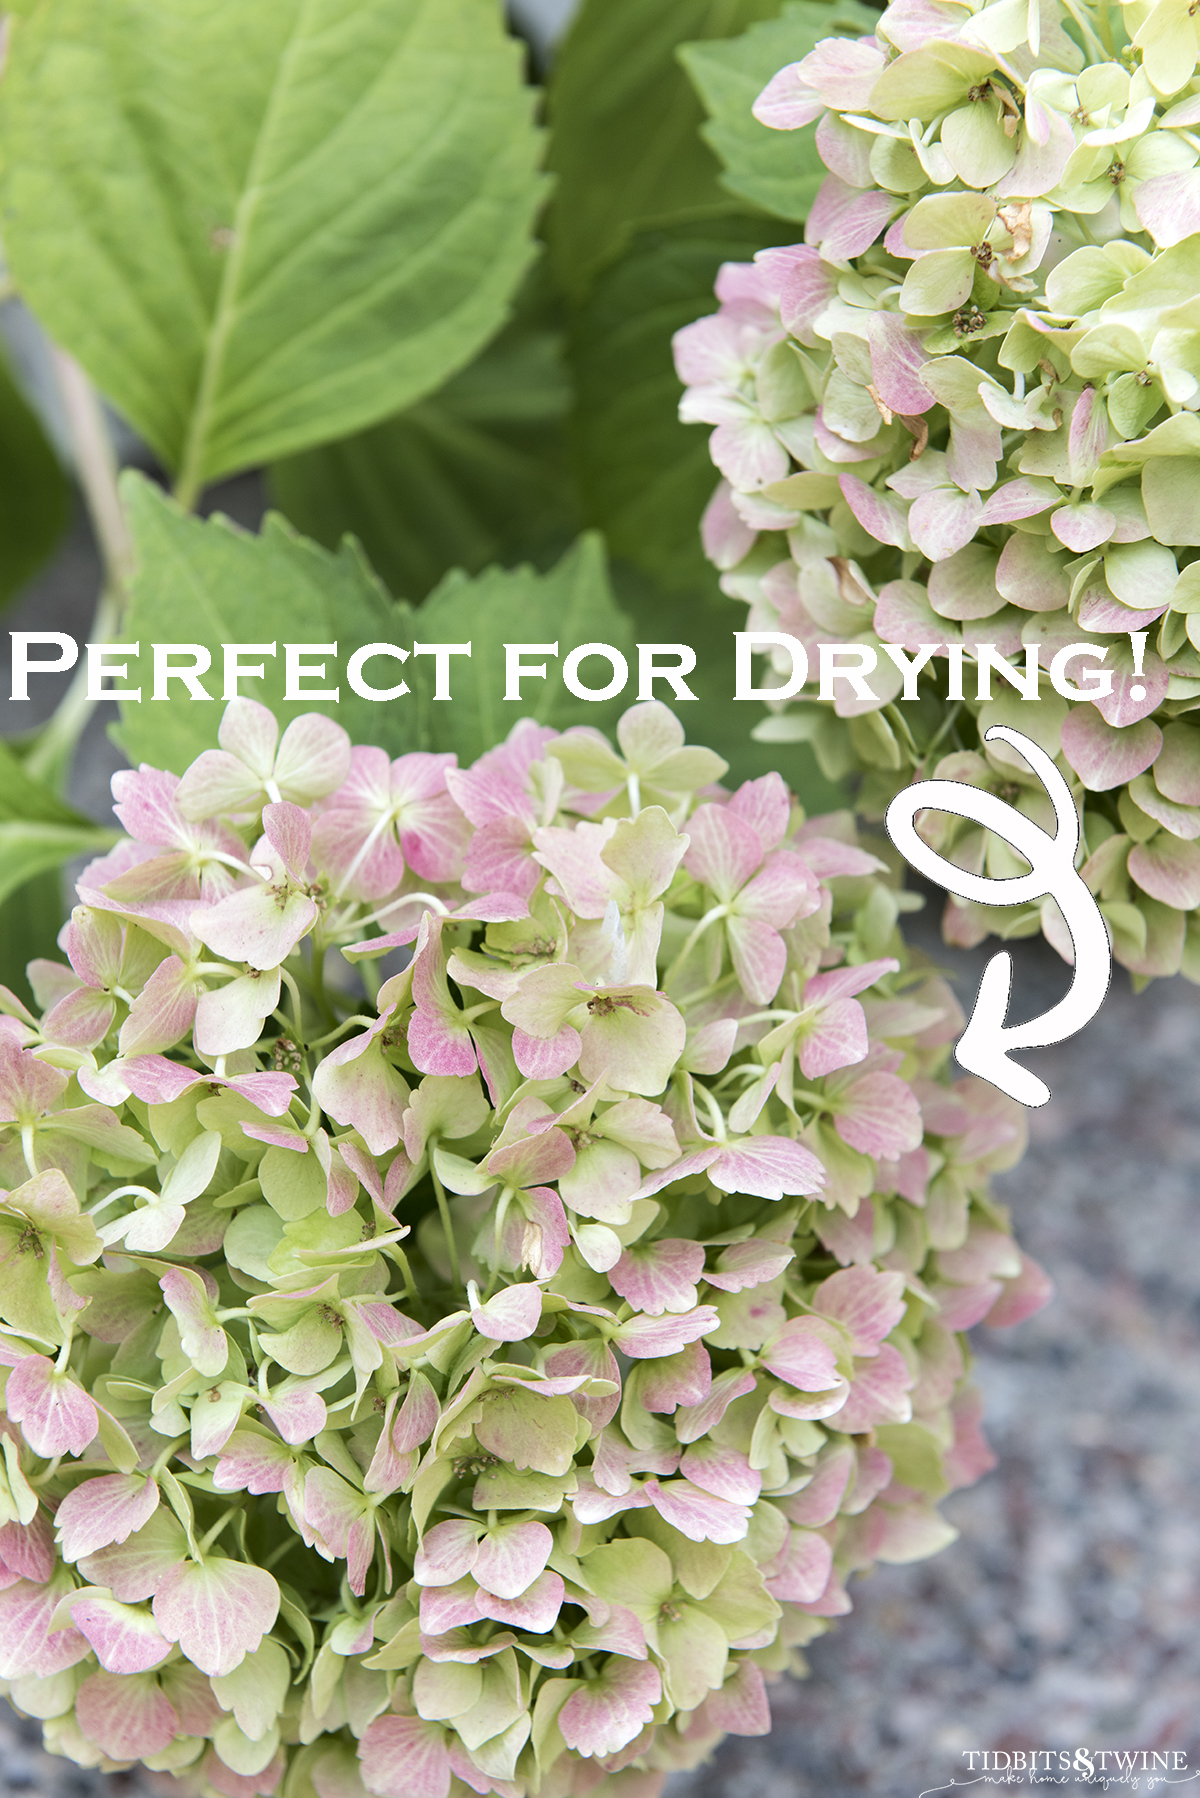
As their season comes to an end, you’ll notice that your hydrangea flowers will start to turn colors. My white turn a beautiful shade of chartreuse green, some with crimson tips. My pink dry a soft lavender and the blue dried a deep purple, but the color shift depends on the pH of the soil.
Prune at the Right Time
When drying your hydrangea blossoms, the secret is timing! Don’t cut them at the height of the season when they are in full bloom. If they have too much moisture at the time of pruning, they wilt instead of drying.
Instead, wait until they start to turn color, signaling they are toward the end of the season (August – October depending on the variety and your location). You’ll also notice that the texture changes from soft and fresh to a more paper-like feel. For me, this is usually late summer, around the end of August or early fall, at the beginning of September.
Really, finding the right time is similar to Goldilocks – not too soon, not too late, just right!
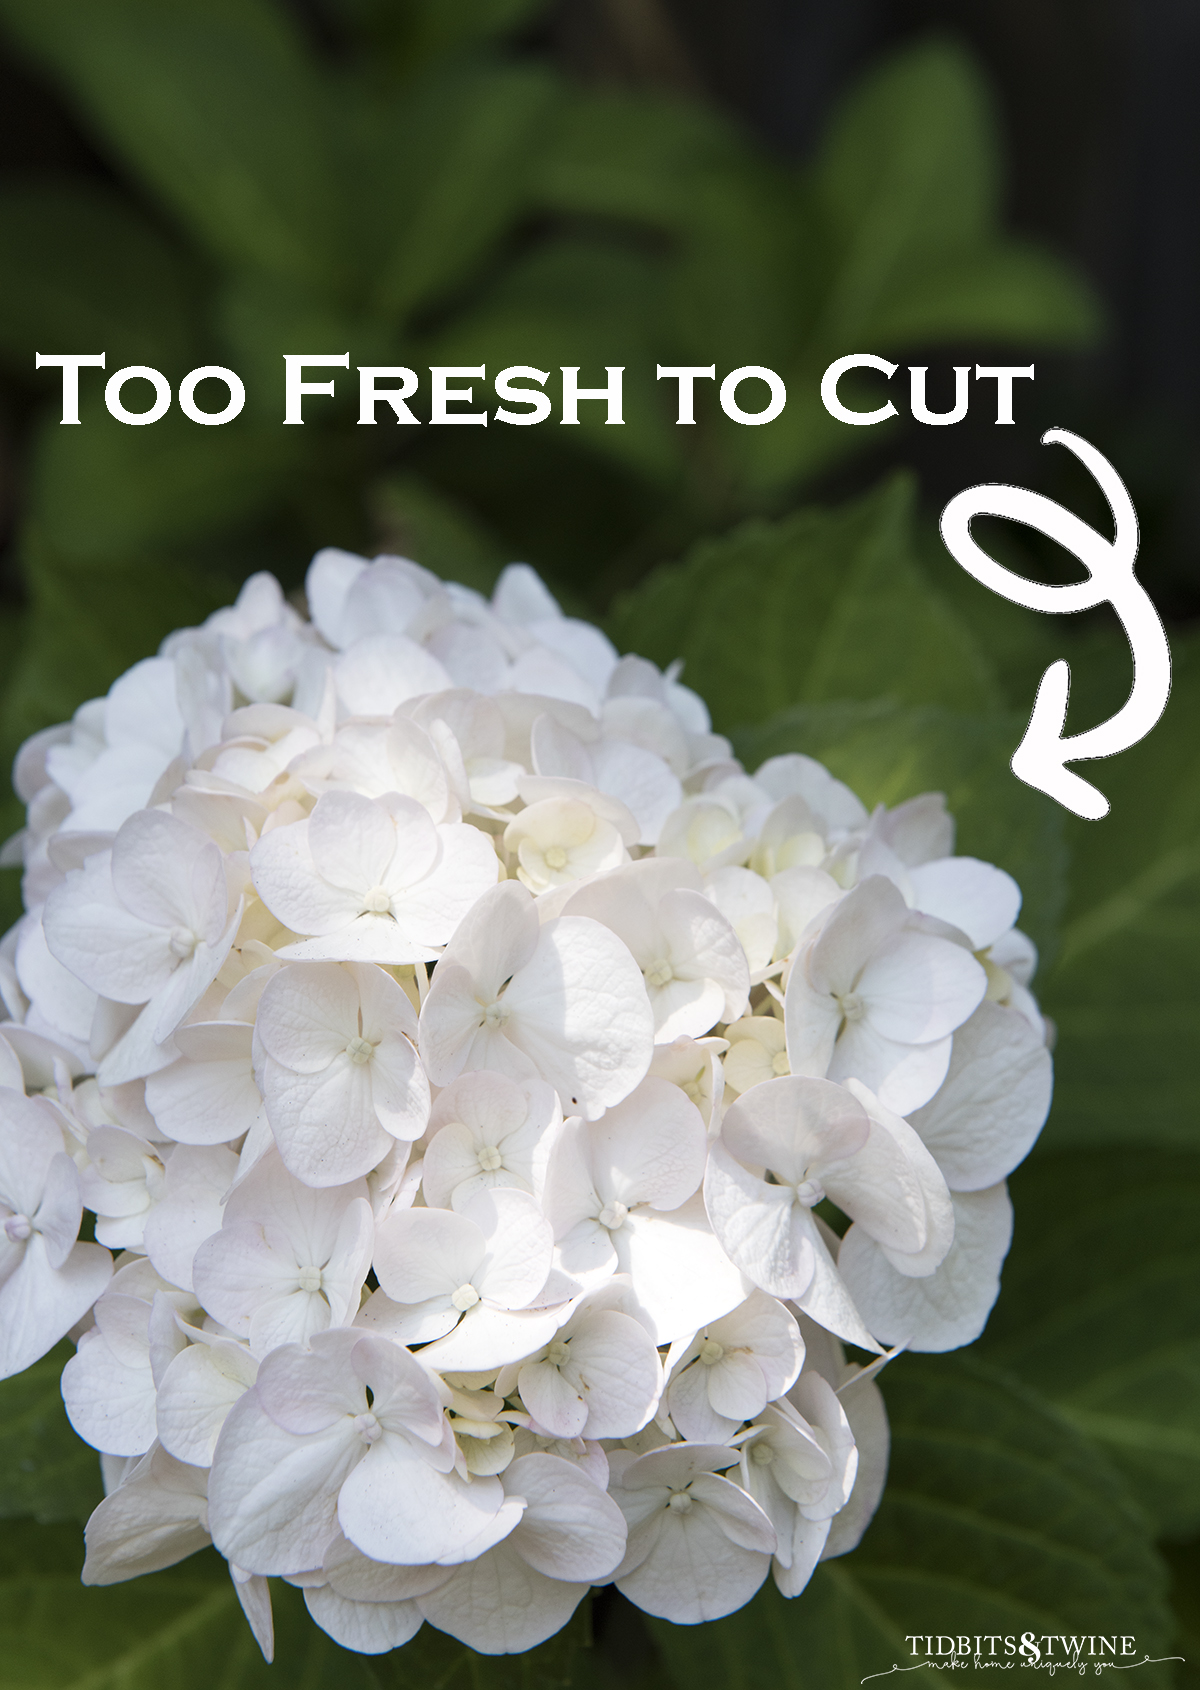
Too Early to Prune
Here’s a hydrangea that is still too fresh to cut! It hasn’t yet changed color…
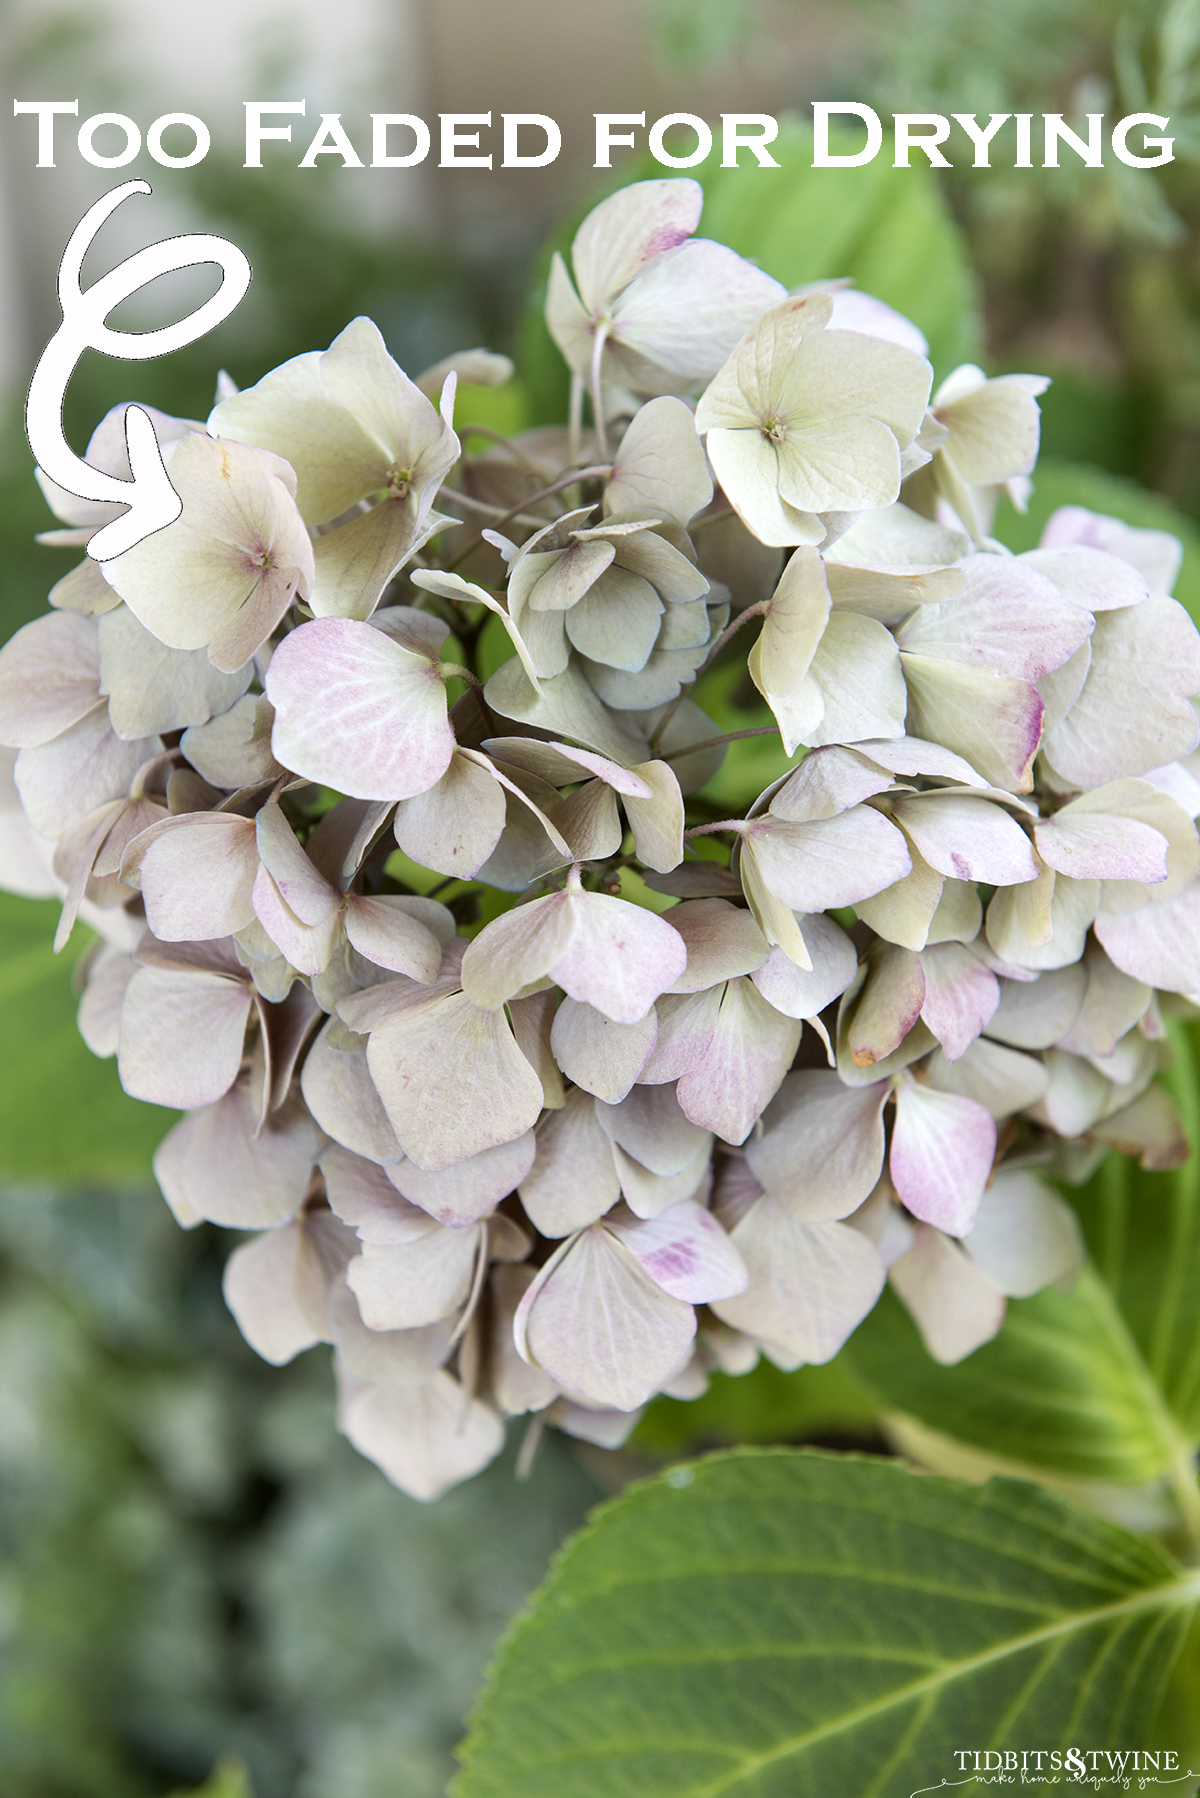
Too Late to Prune
I waited too long to cut this pink hydrangea and too much of the color has faded. It looks more beige than anything.
The Perfect Time to Prune
Here’s an example of a white hydrangea that lost too much color because I waited too long, and an example of one that is at the perfect time to prune for drying!
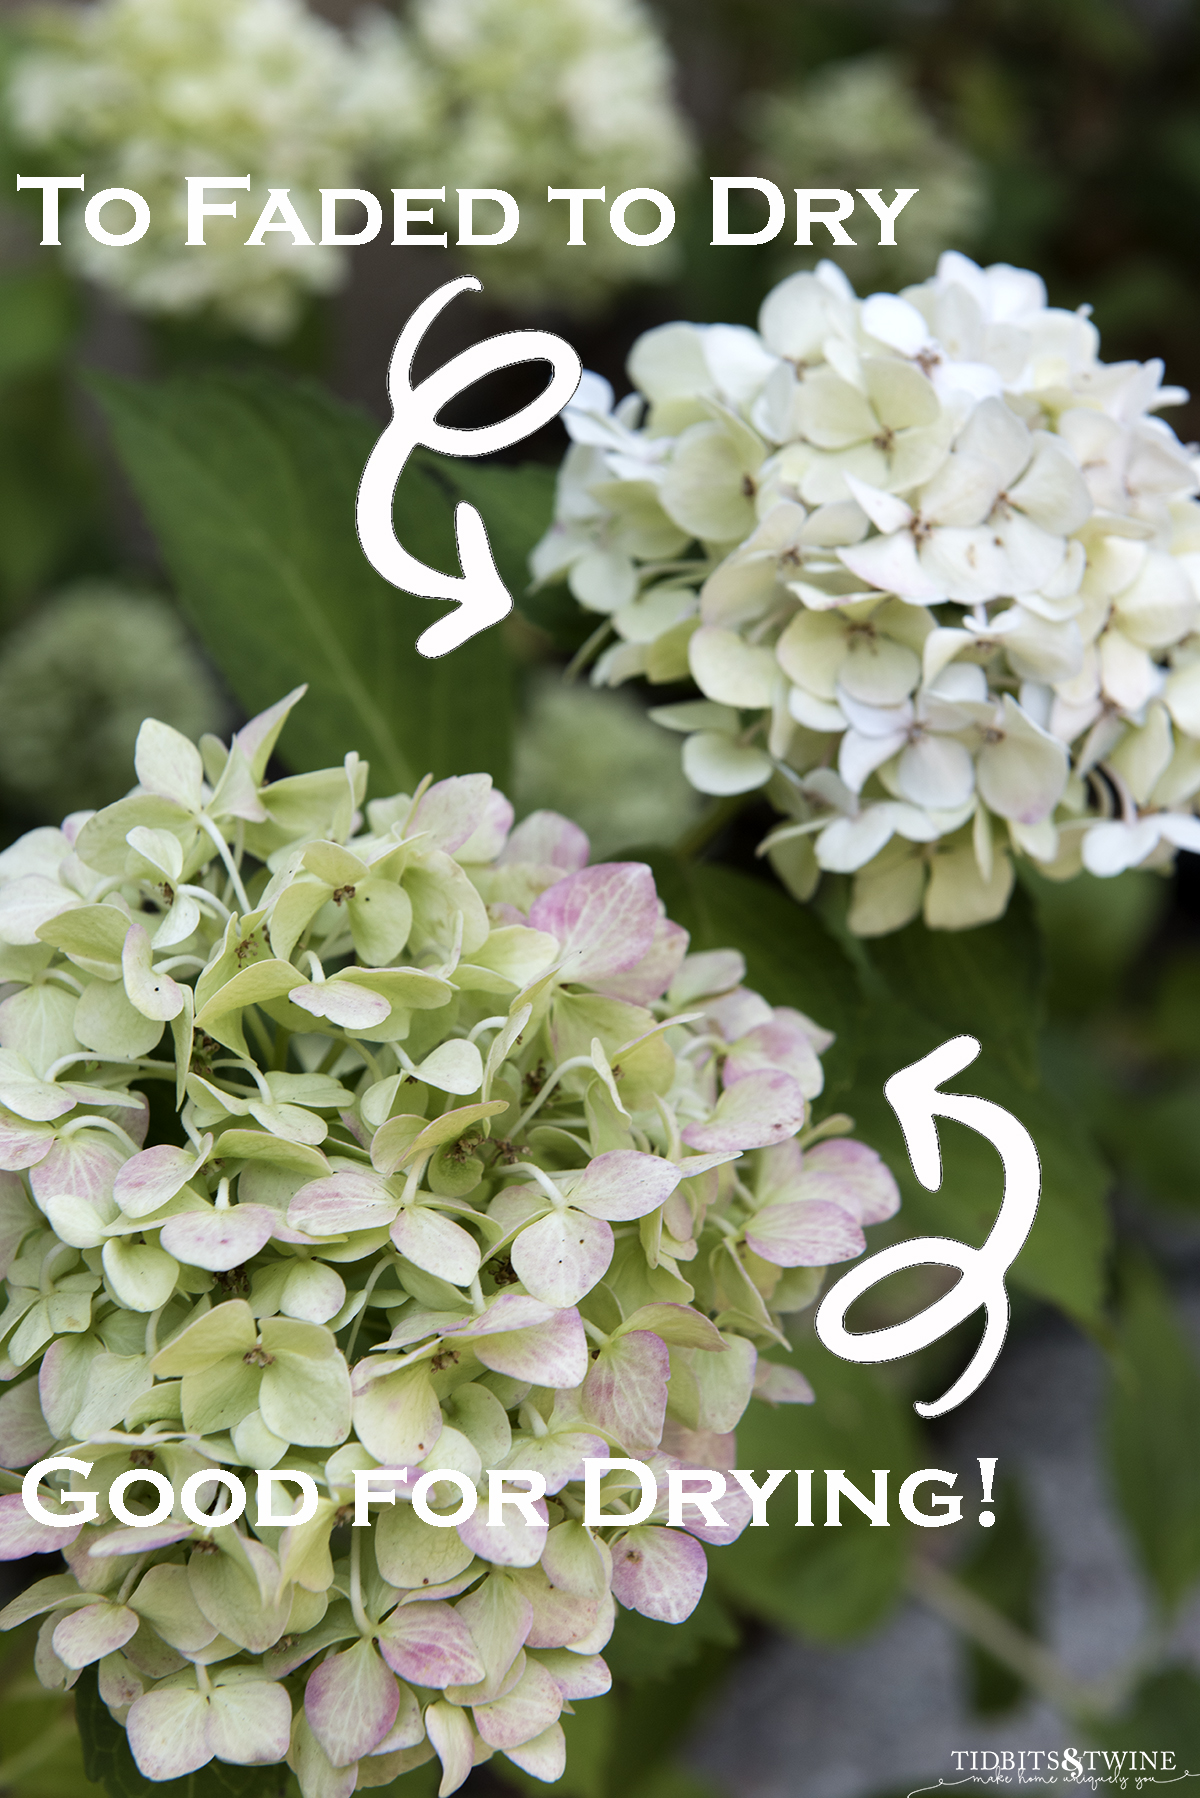
Ideally, for my white hydrangea, I look for a beautiful shade of green or green with crimson tips. That means they are ready to be cut and dried!
Pruning the Flowers
I cut all of my blossoms at an angle using sharp shears, being careful not to cut off any new growth that I see. Be sure to wait until the dew has dried before cutting.
Once cut, remove all of the leaves. You don’t want to give any nutrients to the leaves because they take away from the flowers. Also, be picky! Any dead spots or faded areas will be more prominent once the flowers are dried.
Place in Water
Place all of the stems in fresh water. You can cluster a few together, but don’t overcrowd them. As they dry, crowding will cause permanent indentations and change the shape of your flowerhead. Ideally, you want each flower to have its own space that will preserve its shape and have good air circulation. Also be sure to keep them in a cool spot out of direct sunlight.
Decorate and Enjoy
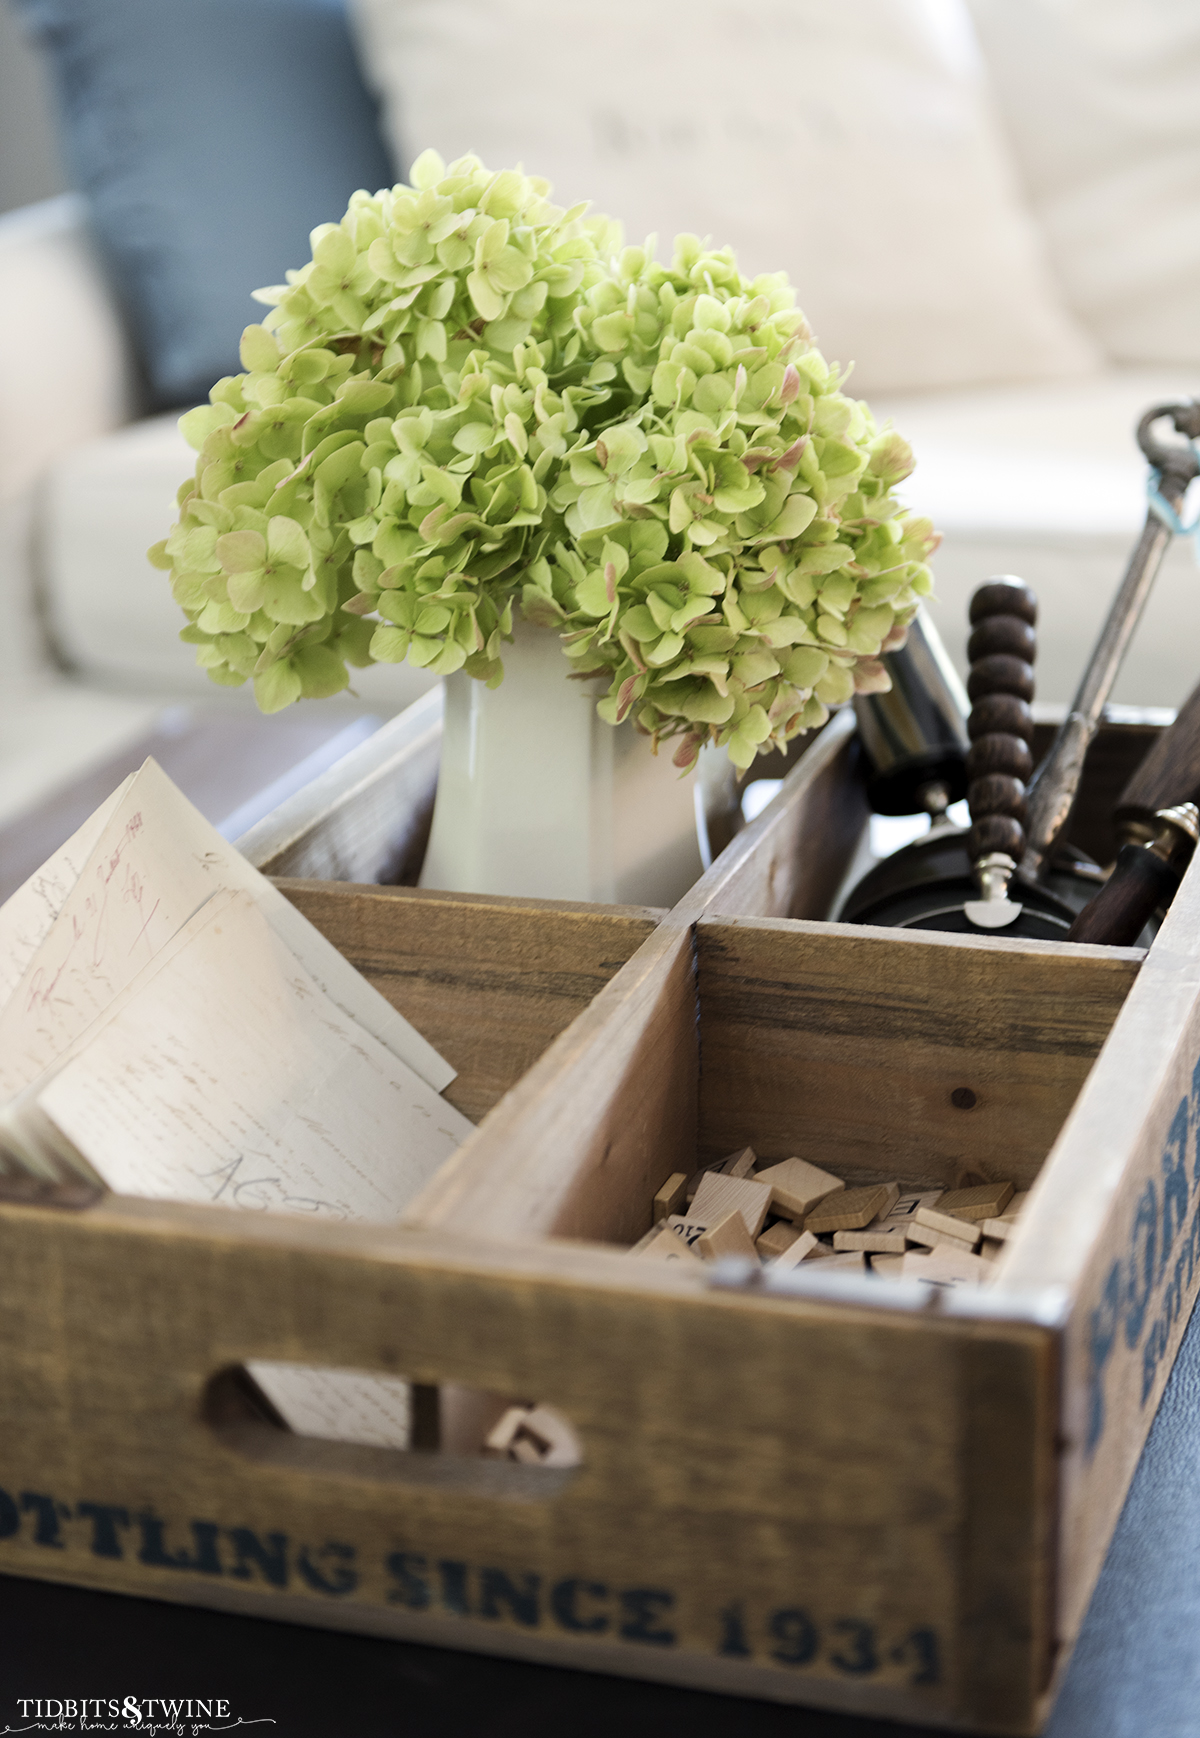
Use your vase of hydrangea to decorate and enjoy in your home! Just be sure to keep the blossoms out of bright light. Refill the water as needed until the hydrangea is no longer drinking any water. Then just allow them to sit until they are completely dry. Drying time will vary based on how much moisture each blossom had at the time of pruning, as well as other factors like humidity. For me, it takes about 2 weeks until they are completely dry.
More Decorating Tips
- Fall Decorating using Natural Elements: An Easy Fall Feel
- 6 Tips for Creating Beautiful and Stylish Interior Design Vignettes
- The BEST Fake Plants That Look Real
- Decorating a French Fall Mantel with Muted Colors
Even though I probably should have done this two weeks ago, I harvested almost 50 flowers yesterday to dry. I expect most to make it, but a couple might wither and that’s okay. I’ll use the dried flowers for decorating this fall and after that, will store them away for the following year!

Join the Community
Let’s keep in touch! Get exclusive artwork plus the latest news delivered directly to your Inbox!
Just curious Kim. I have several endless summer hydrangeas that are at their peak right now. You said you picked 50. What ideas do you have to use them all for? Unless you use them all in a vase. Would love to know. :)
Hi Cindy,
That is a great question! I have absolutely no use for 50 hydrangeas in a vase! I have some on the coffee table and some on the mantel, but the rest are in mason jars on my kitchen counter. And then I ran out of jars so some are in plastic cups. It’s a mess! Lol! But I definitely have use for 50 dried hydrangeas, which is why I picked them all. I love to put them on shelves and add them to a fall mantel. Even a basket or doughbowl piled high with dried hydrangea looks beautiful! So, most will just hang out in my kitchen until they finish drying.
:) Kim
I can’t grow them in Houston but I enjoyed your pictures. I love your blue pumpkin. Where did you buy it?
Hi Lisa,
If I recall correctly, I purchased it from Hobby Lobby last year but you can definitely find blue velvet pumpkins on Etsy!
:) Kim
Great tips. I find that if I put my mopheads in about an inch of water they dry better than if I filled the vase. This doesnt work with my Endless Summer. With that variety I dry the same way you do.
Good to know! I have clipped my Endless Summer ones yet and I’m excited to see how they do next year.
:) Kim
My way is even easier. I pick them when green before they turn brown and put them
In a vase. They don’t wilt and last all winter. I do this each fall.