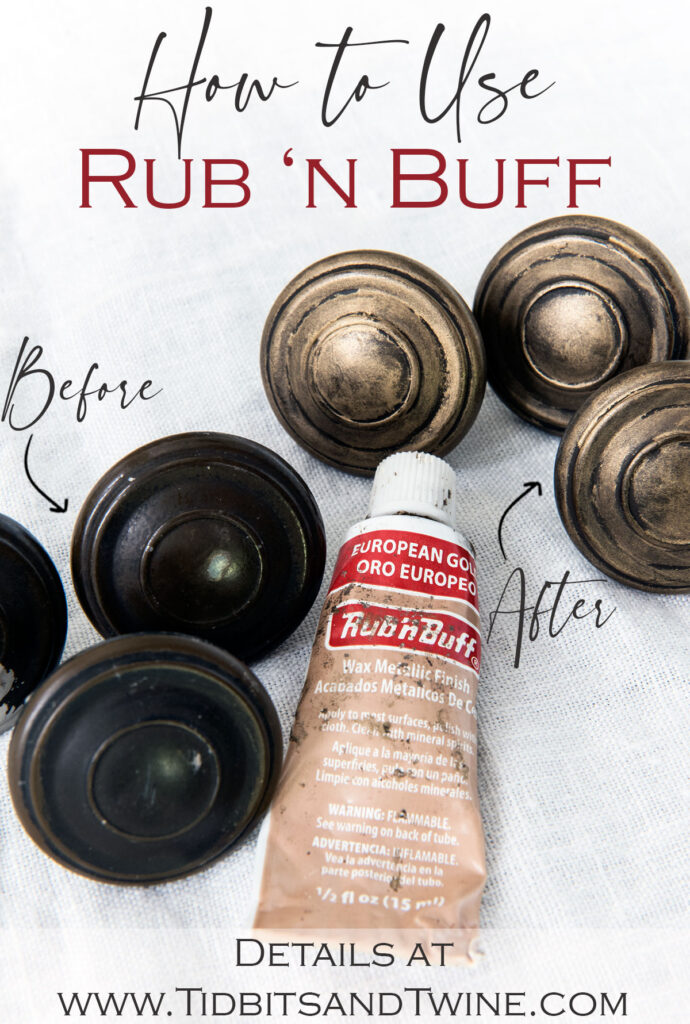
Achieve the look of antique brass with European Gold Rub n Buff! This is a designer’s secret for an easy DIY to update the look of almost any solid surface without breaking the bank.
If you’re like me, you might change your mind over time about metal finishes. Or maybe you moved into a home with shiny 80s gold and you want the sleek look of brushed nickel.
All of these are possible without replacing your items!
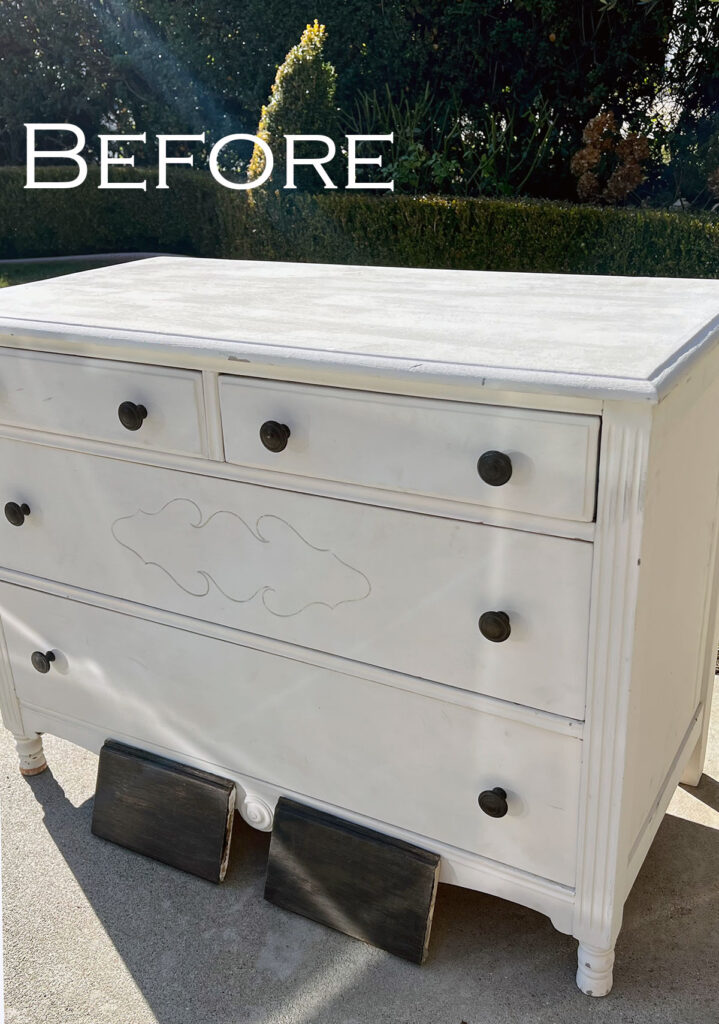
In my case, I’m redoing my guest bedroom and wanted to change out some of the black and bronze colors to a beautiful, antique gold. Yes, there are tutorials about taking gold spray paint and adding dabs of black to age it, but that requires a lot of effort, skill, and a place to spray paint!
I have a much simpler solution. It’s a bit of a designer secret. It’s a product called Rub n Buff.
What is Rub n Buff
According to the manufacturer’s website, Rub n Buff is “Formulated from Carnauba waxes, fine metallic powders, and select pigments for a finish no paint can duplicate.”
Let me assure you. They aren’t lying.
As a user, what truly makes Rub n Buff unique if you want to create a metallic look, is the nuance and depth of the finish. Unlike paint which can look flat (or sometimes flat with sparkles), Rub n Buff creates the true multi-dimensional look of metal.
Rub n Buff comes in a small 1/2 fl oz tube and runs anywhere from $5-$10 per tube depending on color and whether you purchase 1 or a set.
Now, this might seem like a lot of money for a tiny tube, but you will be AMAZED at how far this one tube will stretch!!!
What Can Rub n Buff Be Used On?
This is the best part. Rub n Buff can be used on almost any solid surface! This includes plastic, wood, metal, glass, etc.
No priming or sanding is necessary, as the wax readily adheres to the surface. The wax creates a very thin layer, so it will mimic the texture of the surface underneath. So, if you have a rough surface but want a smooth finish, then you might want to sand to start with a smooth surface, but that is up to you and not necessary.
Great Ideas for Rub n Buff
What I love about Rub n Buff is that it can literally save you money! If you have an item but you want to change the finish, just use Rub n Buff. Or maybe you can’t find something in the exact finish you want. Well, you can still get it and just change the color.
Here are some great ideas for where to use Rub n Buff in your home:
- Sconces
- Picture frames
- Cabinet hardware
- Curtain rods
- Mirror frames
- Door knobs
- Furniture with relief patterns
- Candlesticks/candle holders
- Vases
- Lamps
- Decorative trays
- Faucets (the wax is water-resistant!)
Does Rub n Buff Need to Be Sealed?
No! You don’t need a topcoat or sealant on top of your project. Since it’s a wax-based product, to give it a more durable finish, you can buff your finished item with a soft cloth. I don’t happen to like shiny metal, so I’ve never actually buffed mine.
Does Rub n Buff Wear Off Over Time?
Technically, Rub n Buff is not considered permanent. That being said, it is extremely durable and I’ve personally never had it wear off and I’ve used it for cabinet hardware.
If you scratch it with a hard surface, you might see it scrape off, but it doesn’t chip or peel. If you do get a scratch or wear marks, though, you can just apply a bit more and blend it right in! Because Rub n Buff goes on in such a thin layer, it isn’t like paint that will show a difference in thickness between the original and the repair.
Rub n Buff Colors
Rub n Buff comes in a variety of colors ranging from silvers, white, black and a variety of golds.
- Spanish Copper
- Patina
- Silver Leaf
- Ruby
- Antique Gold
- Grecian Gold
- Autumn Gold
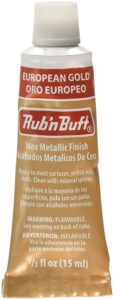
- European Gold
- Gold Leaf
- Antique White
- Ebony
- Pewter
Gold Rub n Buff Colors
Jenna Sue at the Jenna Sue Design Co. tested out the golds on a set of black plastic spoons and created a beautiful visual comparing the gold colors.
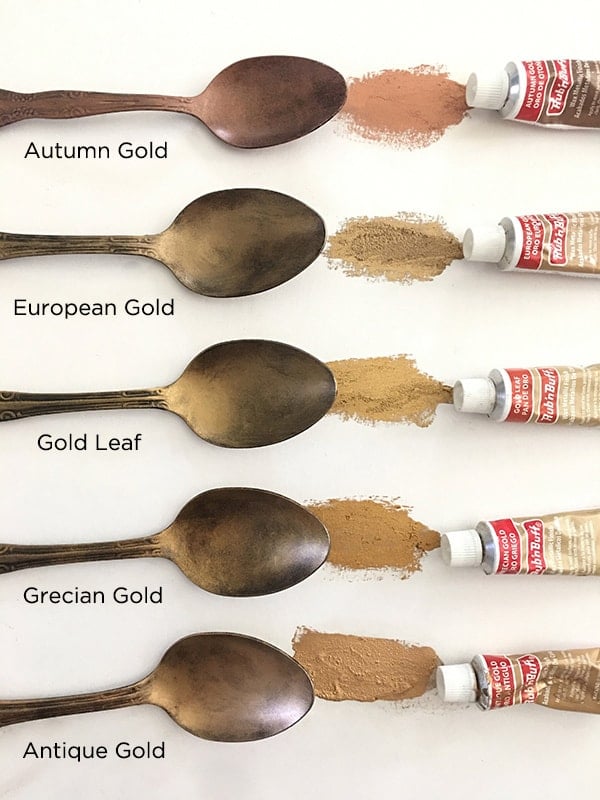
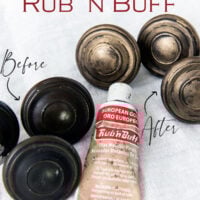
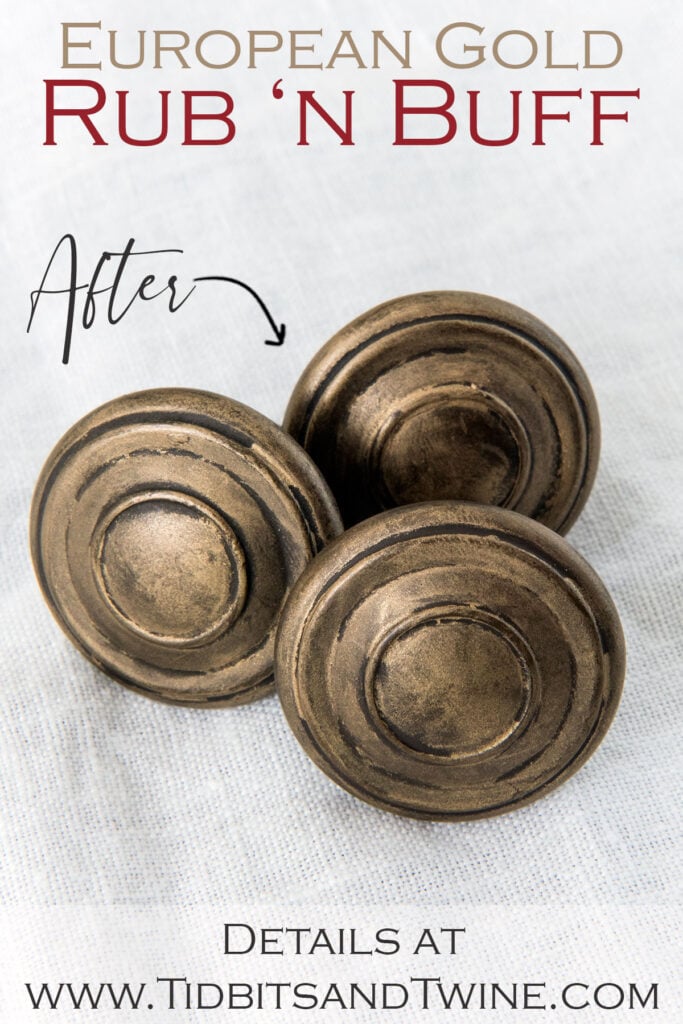
Today I’m just going to focus on their gold colors. Since I wanted the look of antique brass, I first purchased Antique Brass Rub n Buff (makes sense, right?). I discovered quite quickly, though, that it was more yellow than I wanted. I wanted a bit more brown. Next, I tried European Gold and that was the winner!
European Gold Rub n Buff Tutorial
Supplies
- Painter’s tape (optional depending on the project)
- Latex gloves (to keep your hands clean)
- Q-tip or small brush (optional, for small crevices)
- Rub ‘n Buff in the color of your choice
- Lint-free cloth
- Cabinet knobs
How to Use Rub n Buff Step-by-Step Guide
- Prepare your surface
- Make sure it’s clean and dry. Use painter’s tape to cover any areas that you don’t want to transform.
2. Put on latex gloves
This is to protect your hands because Rub n Buff is hard to get off if you get it on your hands. It does come off with dish soap and a stiff brush, though.
3. Put a small dab of Rub n Buff on
A little goes a long way so start with a small amount and add more as necessary. Work it around in a circular motion.
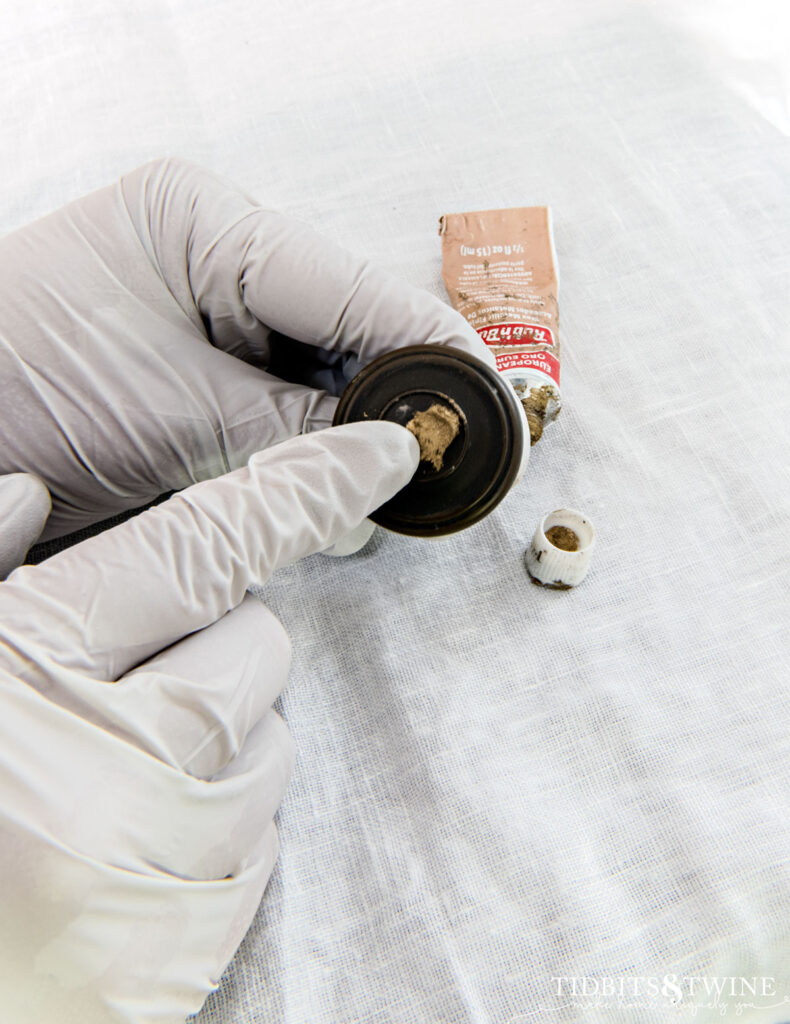
4. Use your finger or a small brush and work the Rub n Buff around in a circular motion.
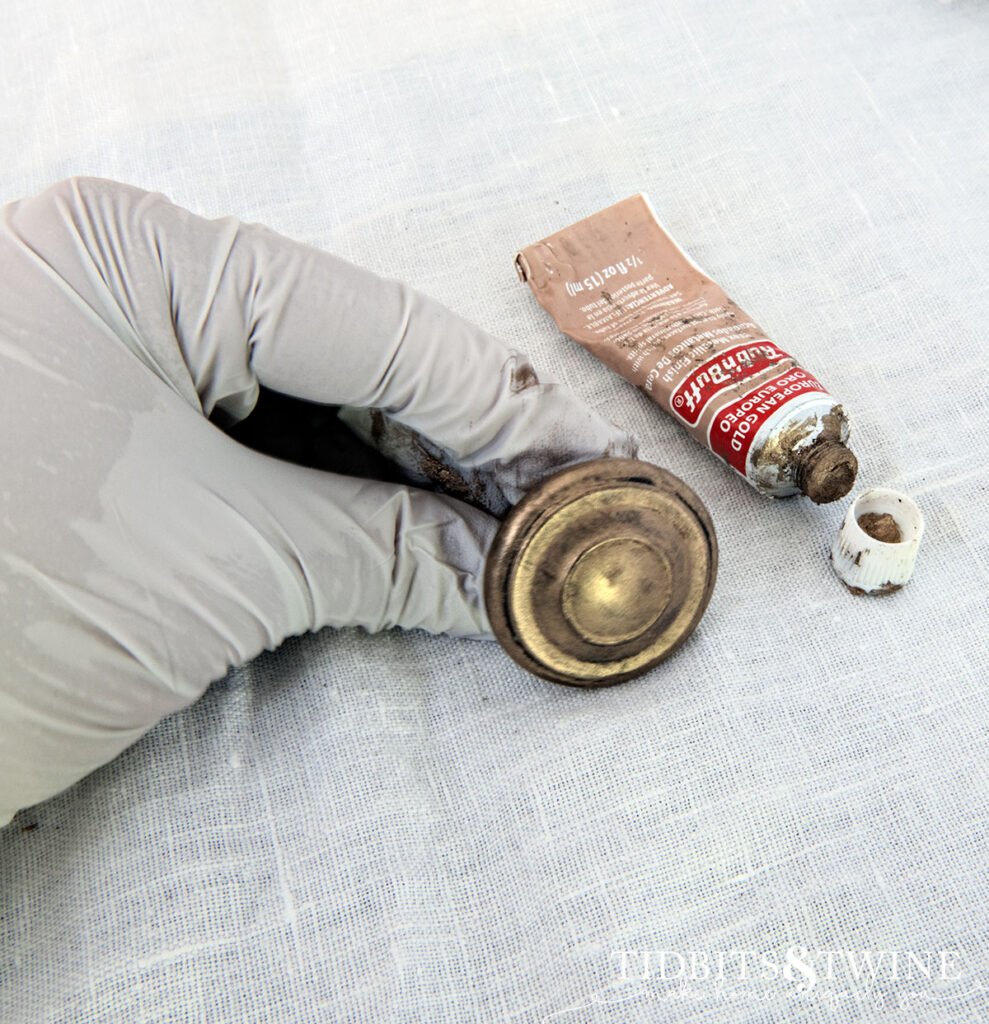
5. Add a second coat if necessary
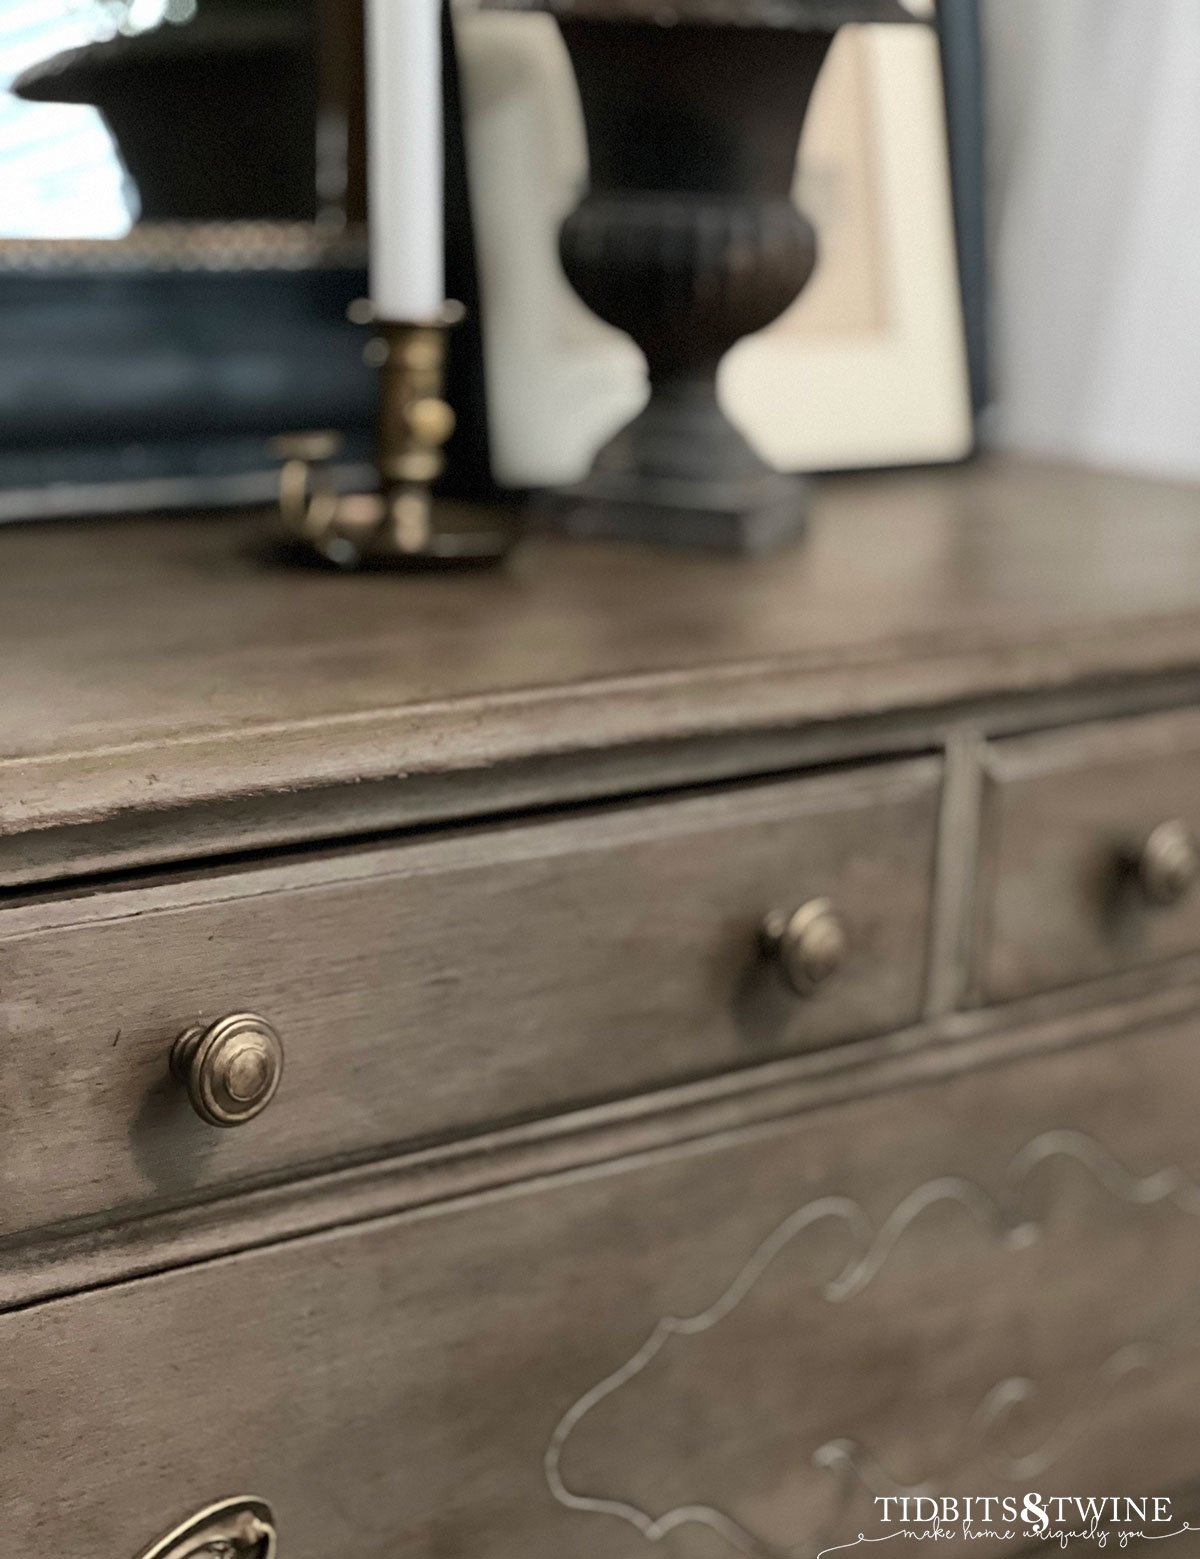
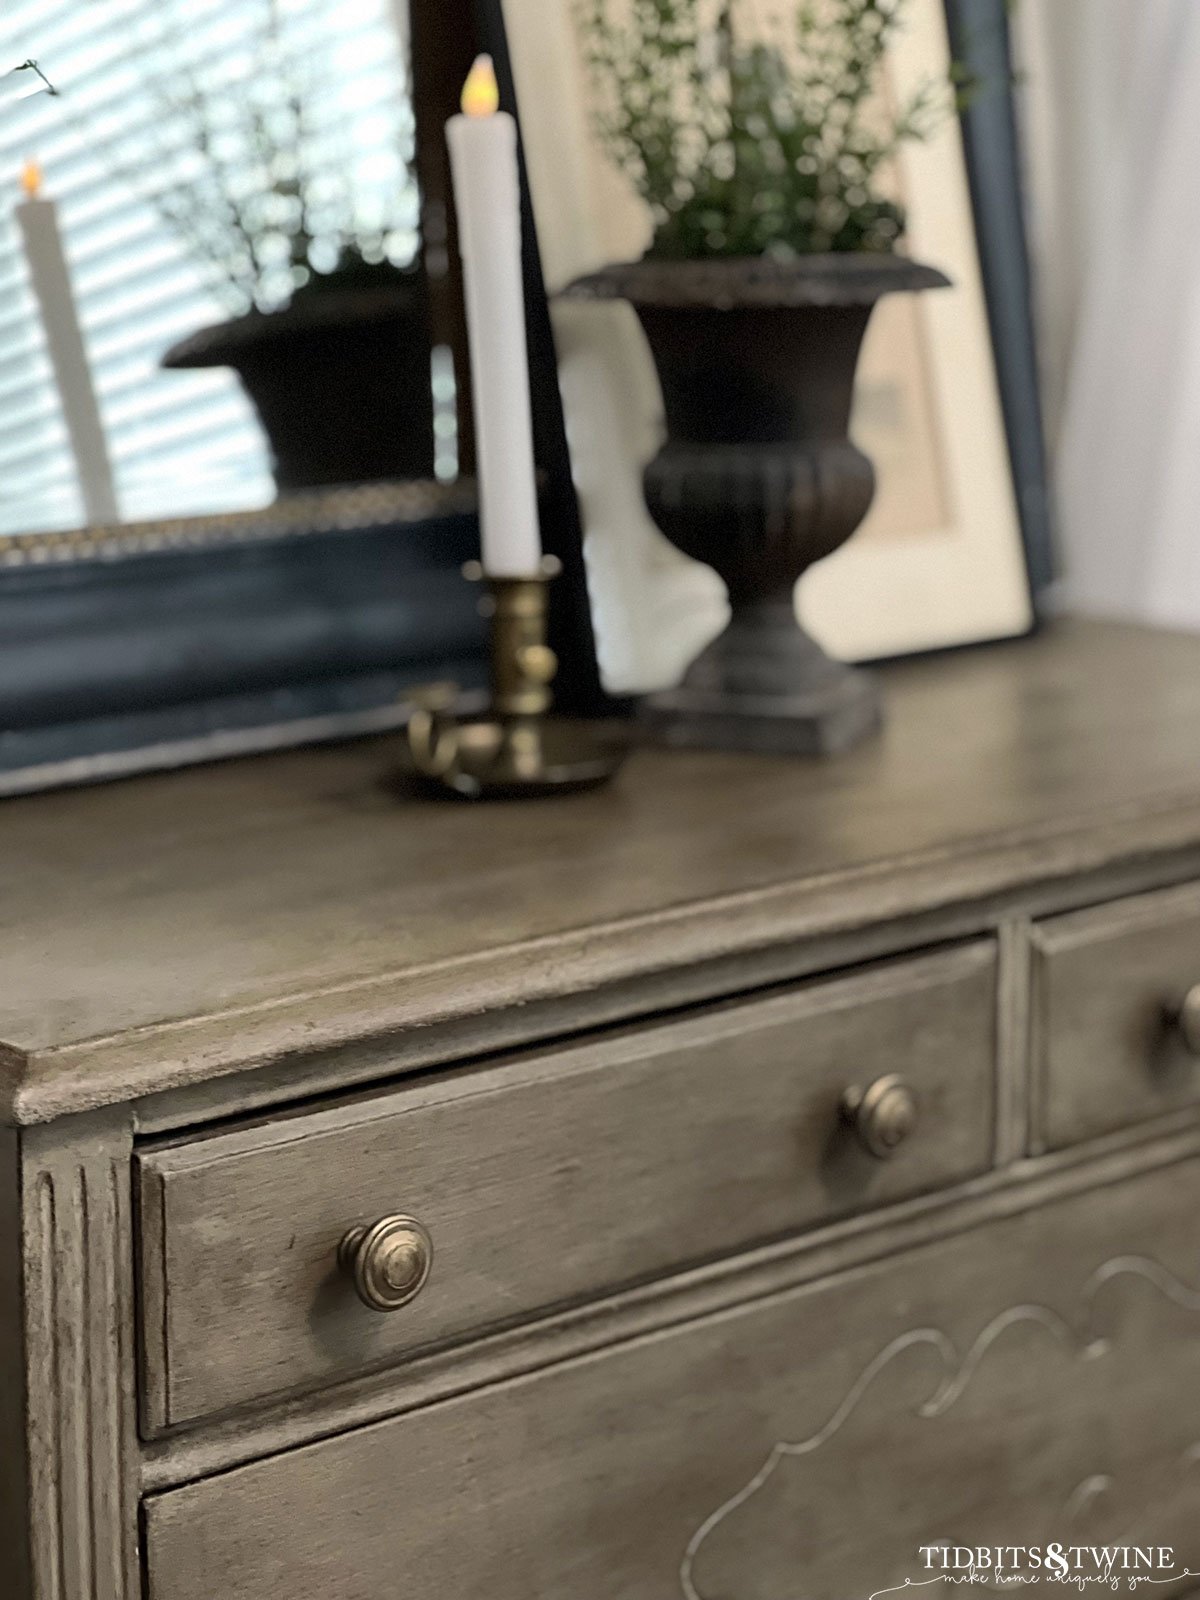
Now I wanted my handles to look a bit aged and as if the color had worn off over time. For this reason, I only did one coat and allowed some of the bronze to show through.
6. Buff your piece to create a seal and/or shine
Here’s a sneak peek of the AFTER and my new guest bedroom…
Designer Secret: European Gold Rub n Buff - The Look of Antique Brass

Materials
- Painter's tape (optional depending on project)
- Latex gloves (to keep your hands clean)
- Q-tip or small brush (optional, for small crevices)
- Rub ‘n Buff in color of your choice
- Lint-free cloth
- Cabinet knobs
Instructions
- Start with a clean, dry surface
- Tape off areas that you don't want waxed
- Put on latex gloves to protect your hands
- Dab a bit of Rub n Buff onto your surface
- Work it around in a small circular motion
- Buff off any additional wax and to create a shine
- Add a second coat if additional coverage is desired
Tips for Using Rub n Buff
- The product dries quickly, so work in small sections at a time
- Rub in a circular motion to avoid streaks and lines
- You can use a brush if you want, but I prefer my finger so that I can feel how much product is on the piece
- Add a second coat if you want a more a uniform look than 1 coat provides
- Buff to your desired shine with a soft, lint-free cloth
- Dish soap and a stiff brush will remove Rub n Buff from your fingers, as will mineral spirits
Rub n Buff vs Spray Paint
Wondering whether you should use Rub n Buff or spray paint for your project?
When to use Rub n Buff
- Smaller projects – while the tube does last a very long time, working just a small area at a time will take forever if you have a very large project, like furniture
- When you want to work inside or don’t want to prep an area for paint spray
- When you don’t want to disassemble or tape off areas that don’t need to be refinished, such as a light fixture or sconce
- You want to create depth of color
- When you want it to dry quickly and be able to work on all sides at once
When to use Spray Paint
- Larger projects or pieces
- You have a spray area that can be set up, either outside or in a garage
- When you want a really high-gloss look
- You want a completely uniform finish
Where to Buy Rub n Buff
I usually purchase it on Amazon if the price and shipping times are good, but here are some other options:
More DIY Projects
- “Restoration Hardware” Look Using Paint
- DIY Ideas to Dress Up a Dresser {from Ordinary to Extraordinary}
- DIY Chandelier Update {From Italy to France on a Budget}
- Decorating with Furniture Appliques and Onlays

Join the Community
Let’s keep in touch! Get exclusive artwork plus the latest news delivered directly to your Inbox!
The chest you show with the gold knobs is beautiful. How did you paint it?
Hi Jackie! Thank you so much! I pretty much followed the steps outlined in this tutorial but I added a bit more dark wax to the dresser: https://www.tidbitsandtwine.com/diy-restoration-hardware-look/
Hi! The dresser the knobs went on, do you know how you painted it? Lovely!
Hi Sandra! It’s pretty much the same technique I’ve outlined in this article, but if I recall correctly, I used more dark wax than I did in the tutorial: https://www.tidbitsandtwine.com/diy-restoration-hardware-look/