
My easy DIY for how to refinish a table with a new stain color! Add a topcoat and you’ll have all the protection you need! Step-by-step instructions and pictures.
Sometimes I get a bee in my bonnet and decide to tackle a project on a whim. Well, maybe not “sometimes”. It’s probably more like “often” if you ask my Hubby.
Shortly after we purchased our first home, my husband came home from work one day to find me chopping down the hedge in front of our front window. I had zero plans for what I was going to replace it with, I just knew I didn’t like it and it was time for it to go! He asked what I was doing to which I replied, “Seize the day!” That’s now our inside joke whenever he catches me taking on a project with no warning.
Well last week, another whim took hold and it was finally time to tackle my antique trestle table!
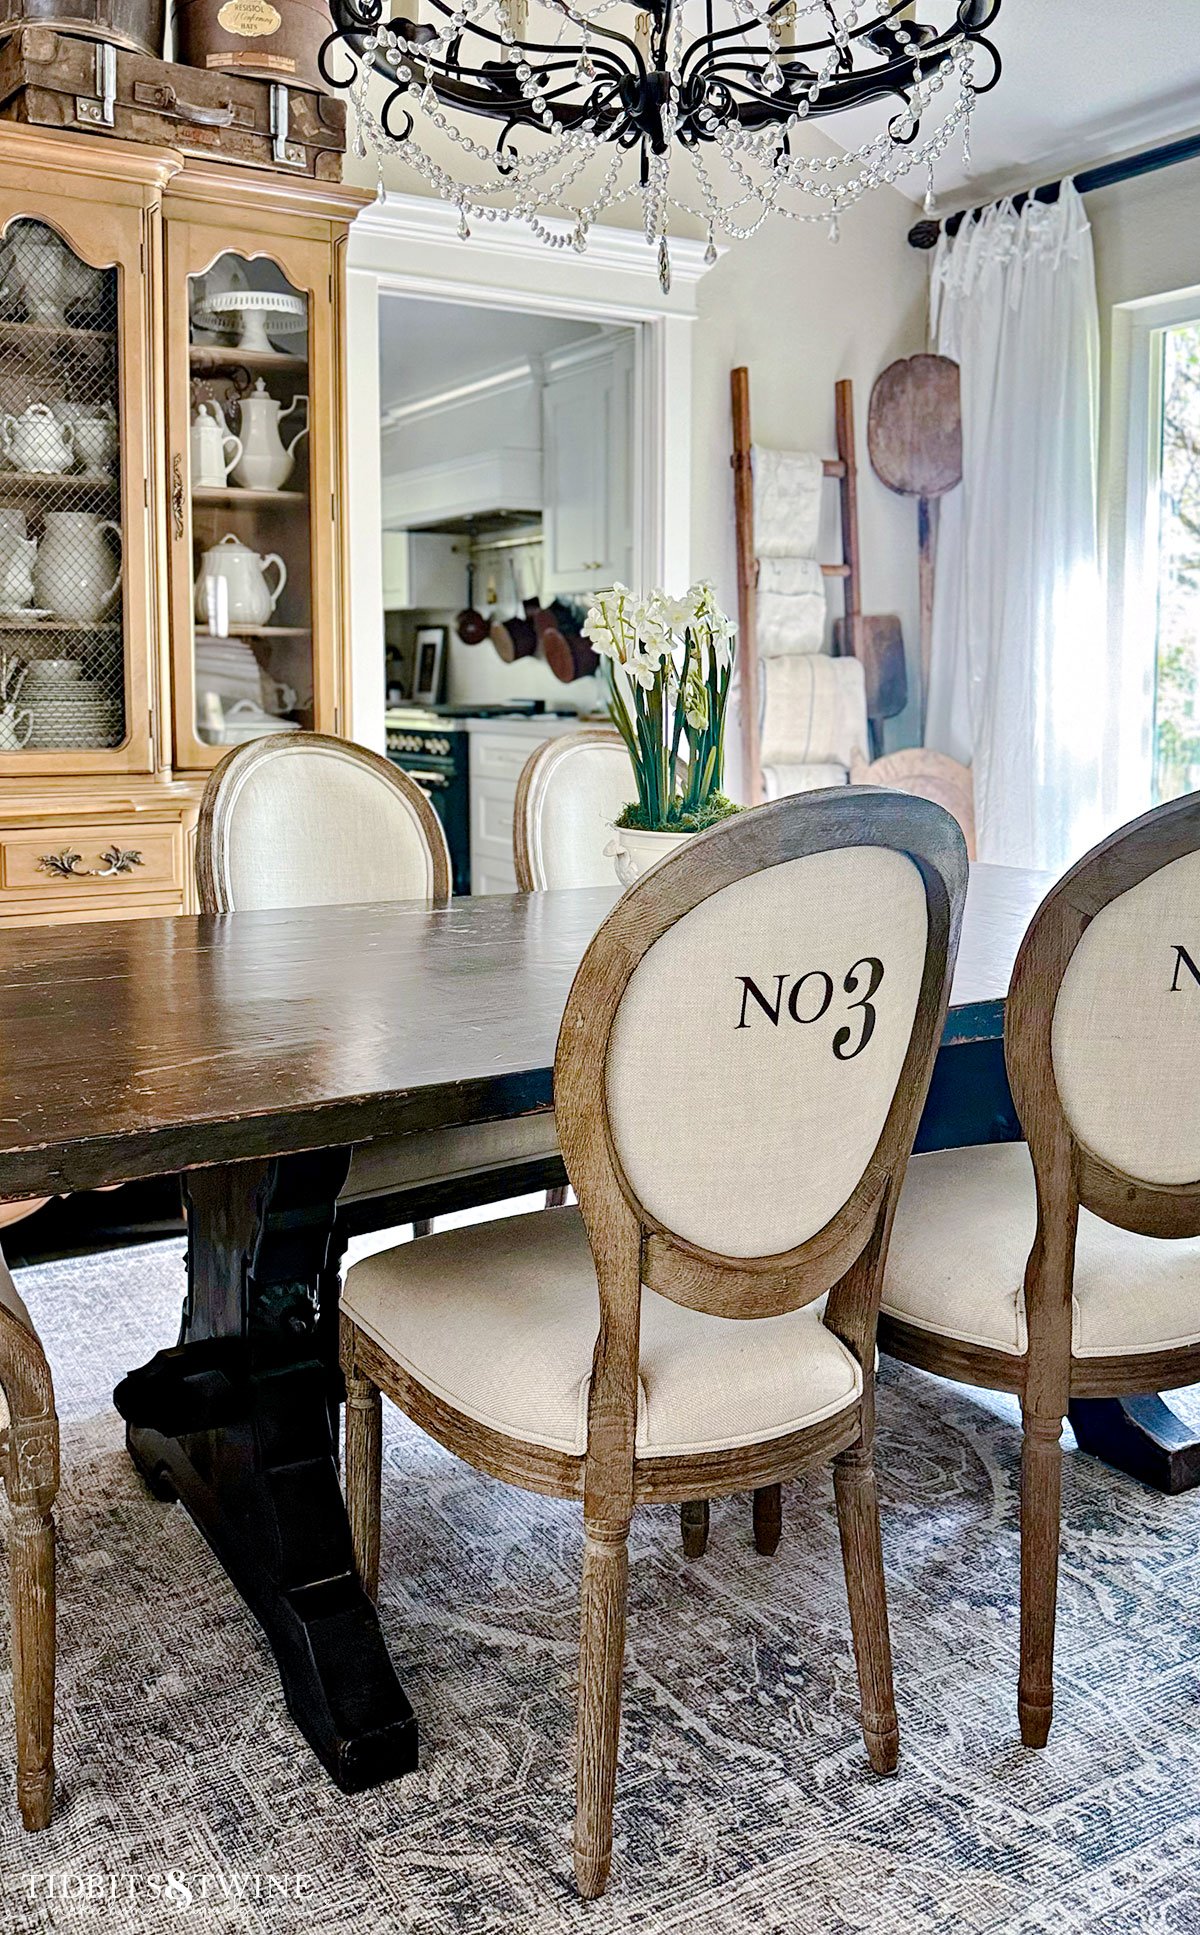
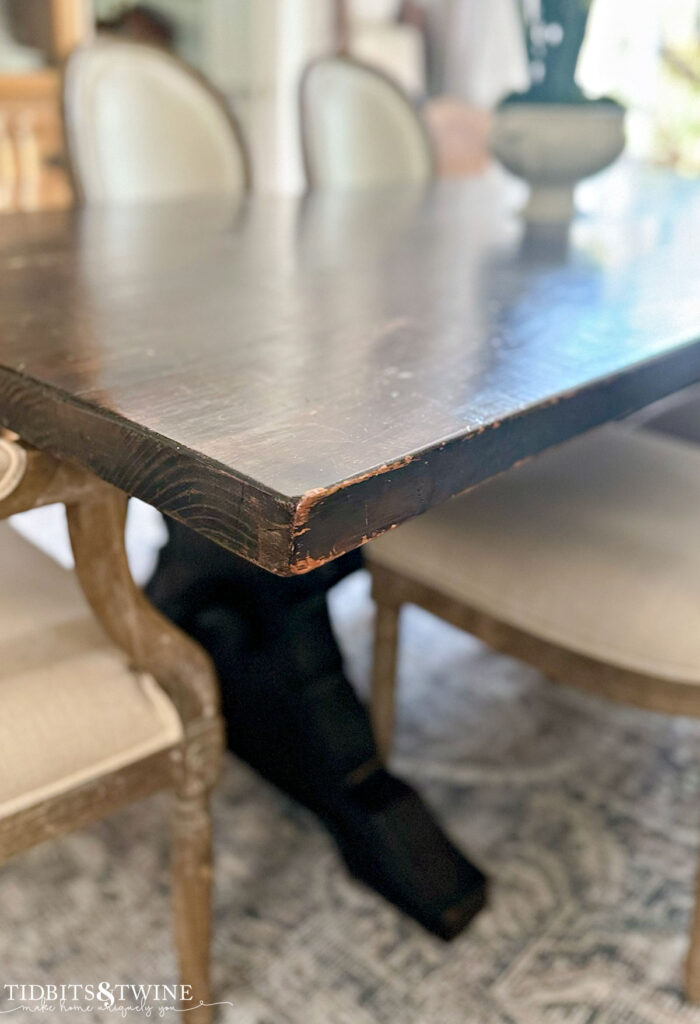
The Trestle Table: Before
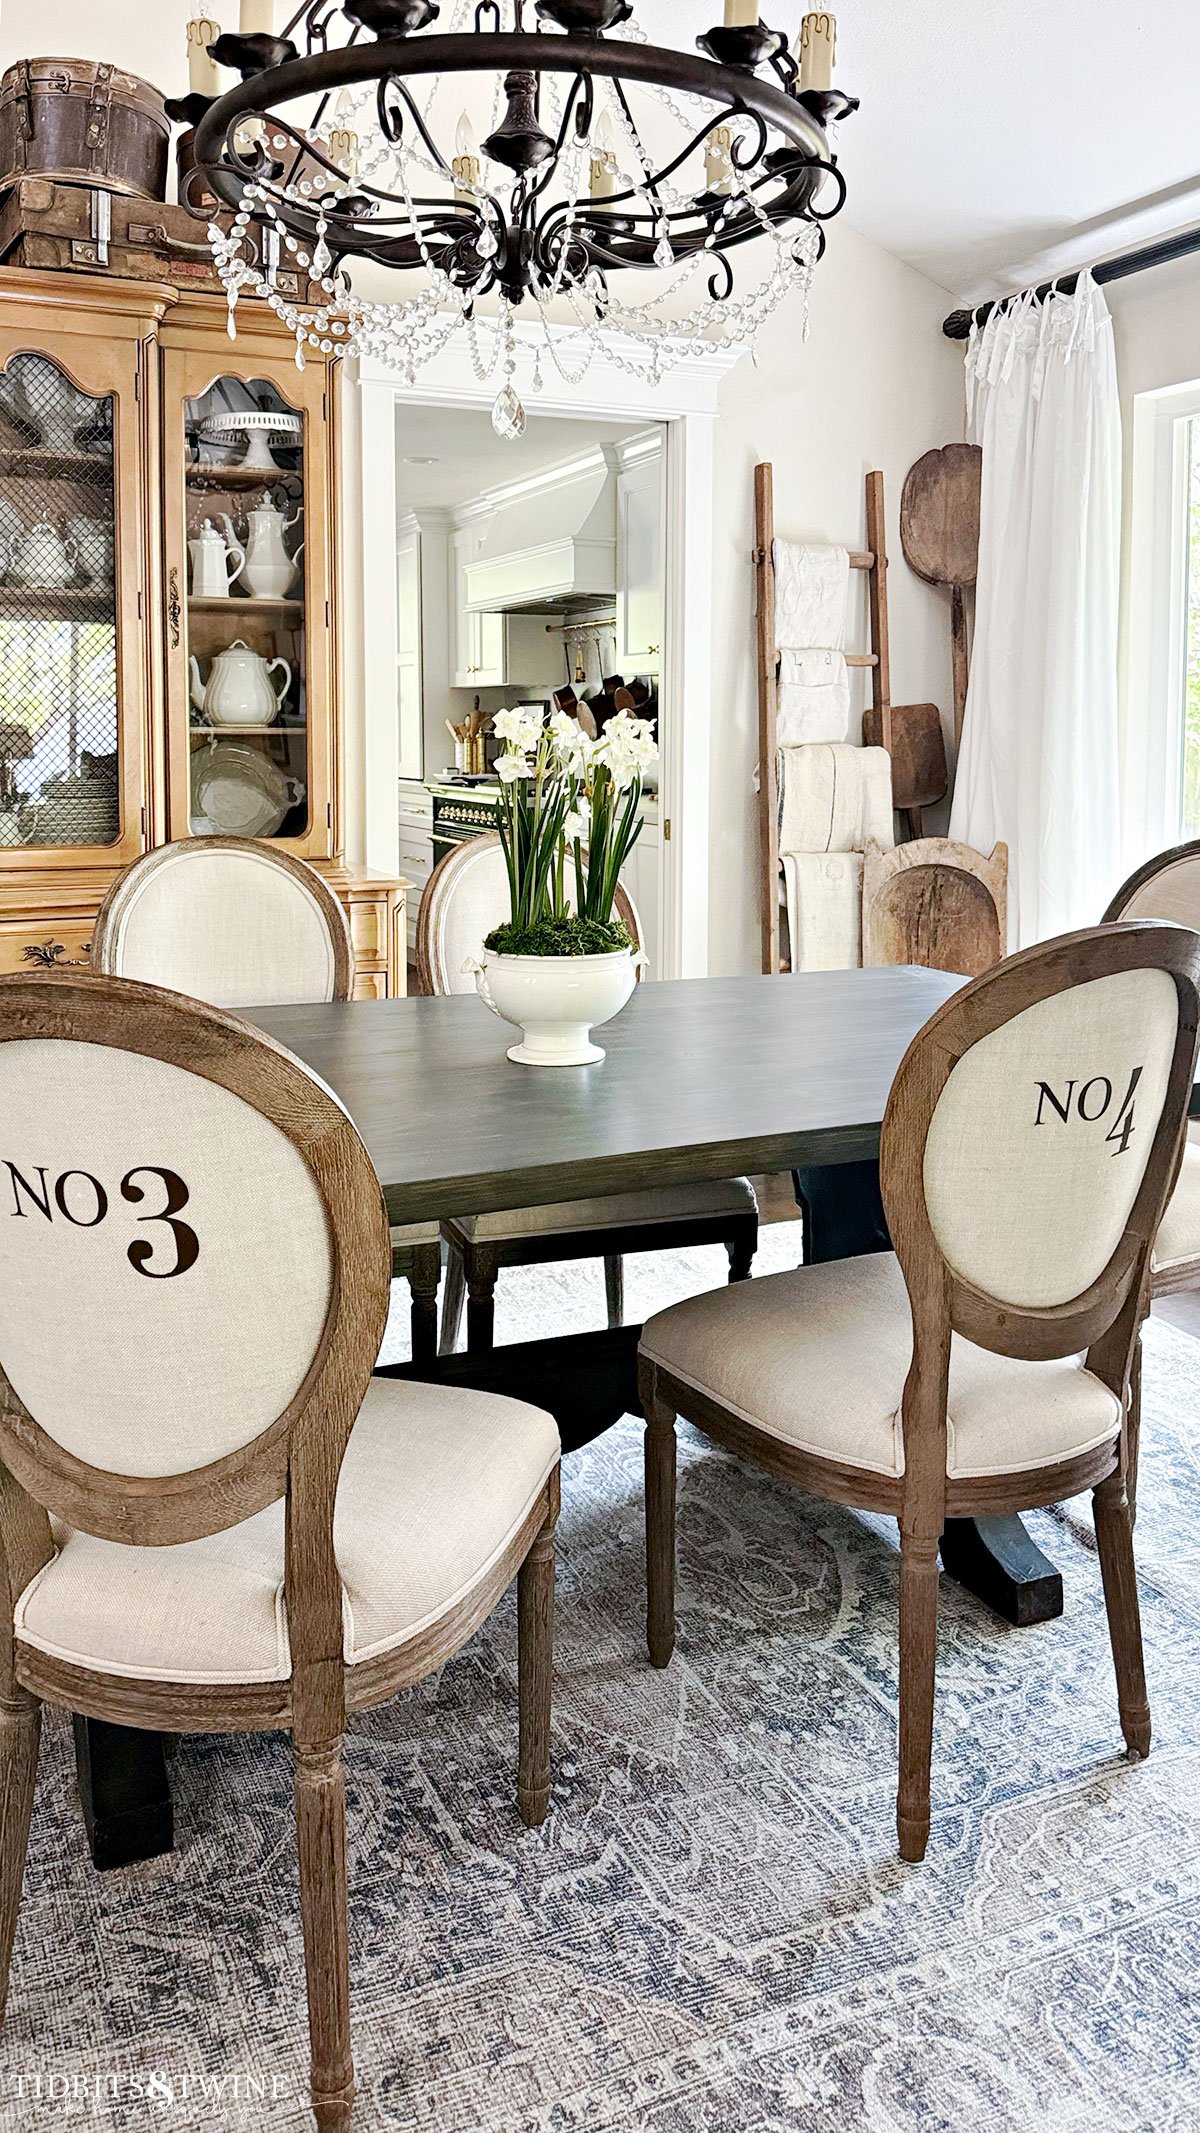
My husband and I purchased this table about 22 years ago at a consignment store. At the time, it was already quite old. It came with a set of Spanish-style leather chairs, but we sold those years ago as they no longer matched my style. I hung onto the table, though!
I love this table. Maybe it’s just the memory of buying the first piece of furniture for our first home, but nonetheless, I love this table. At times, I’ve wished I had an extension table so I could seat more than six, but in the end, I could never part with my antique trestle table.
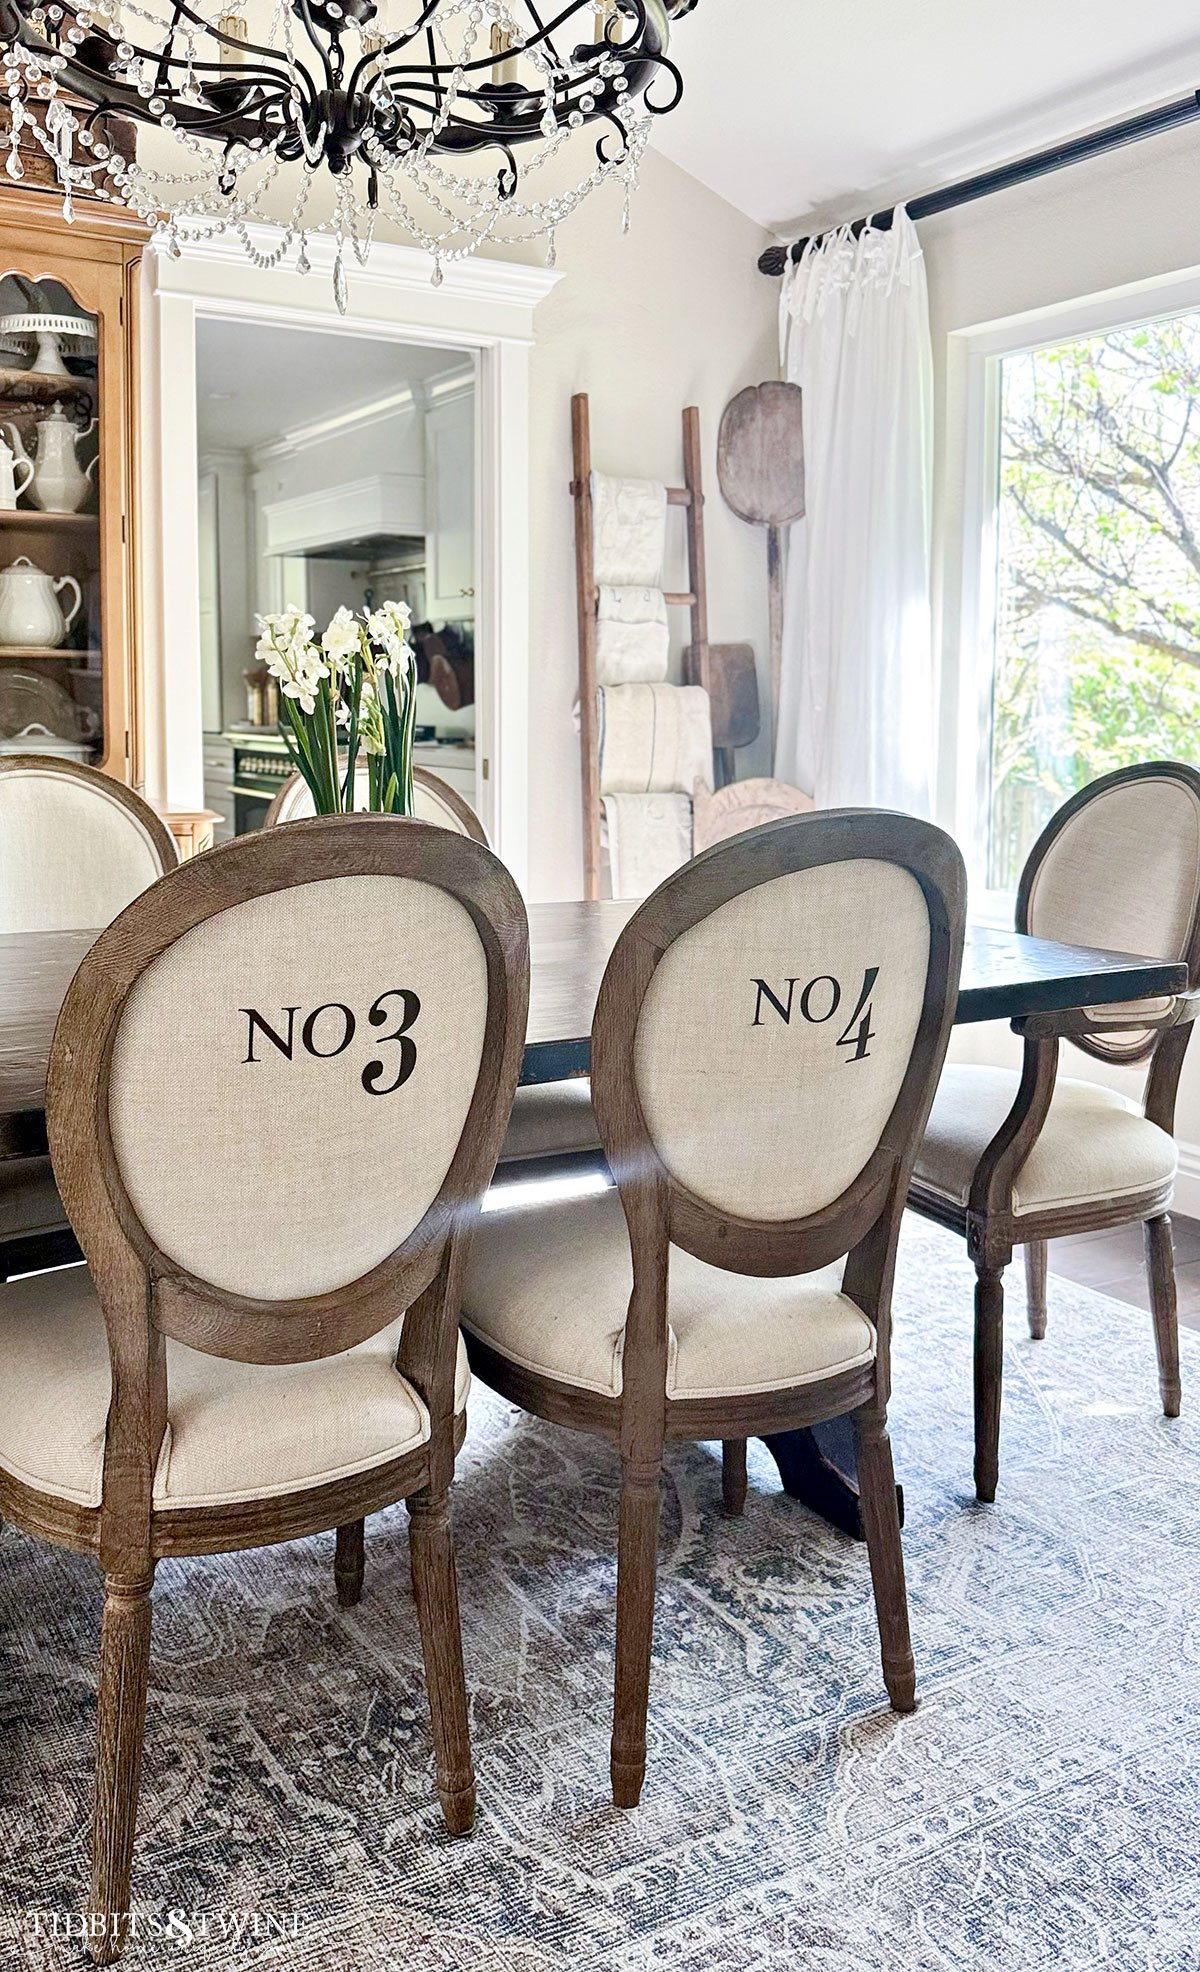
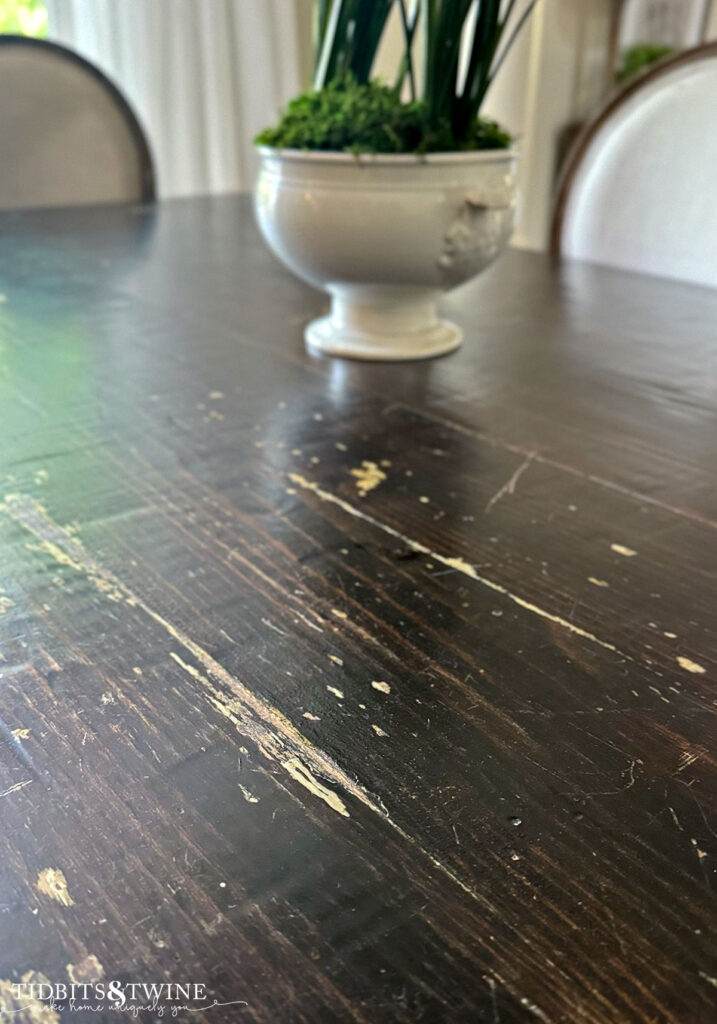
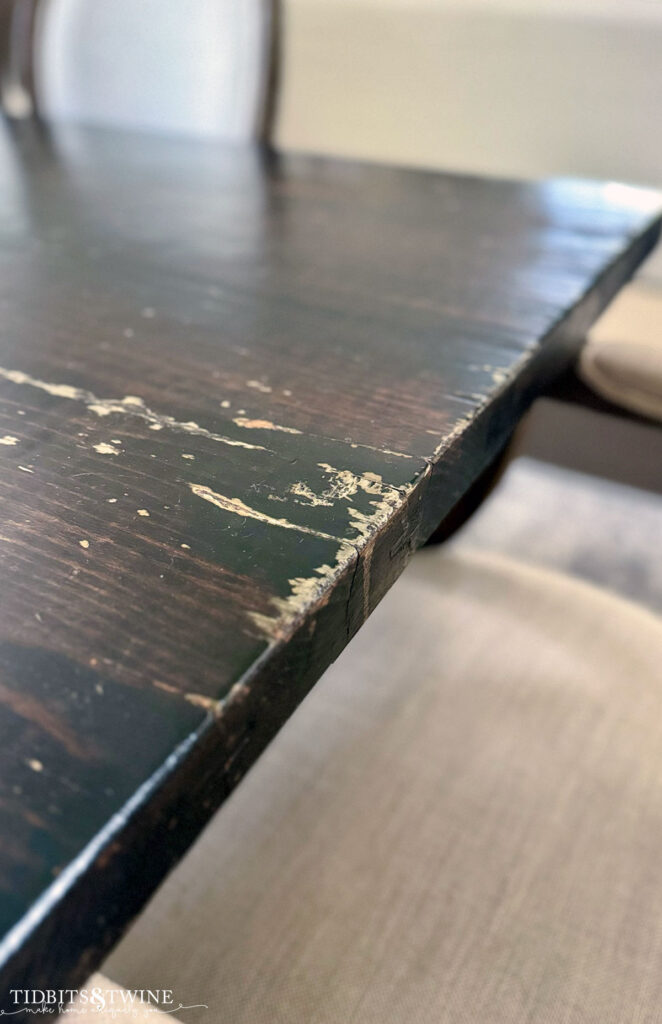
Over the years, though, the wear and tear on the finish has bothered me. I never liked the high-gloss varnish that was on the top. The reflection constantly put a spotlight on the scratches.
Plus, the base of the table never received a topcoat and so it was flat. I hated the extreme sheen contrast between the base and the top. And at this point, there were so many scratches and chips on the top that I couldn’t really call it “distressed” anymore!
Time for a DIY
Somewhere in the back of my mind I’ve thought I refinish the table top, but it was always one of those projects that never really made it to the top of my To Do list.
Until last Monday…
With literally zero planning or preparation, I decided that the time had come to refinish the top of the table! I decided that I didn’t want to refinish the base and I wanted to maintain the overall look and feel that it already had. This wasn’t so much a transformation as it was a refresh.
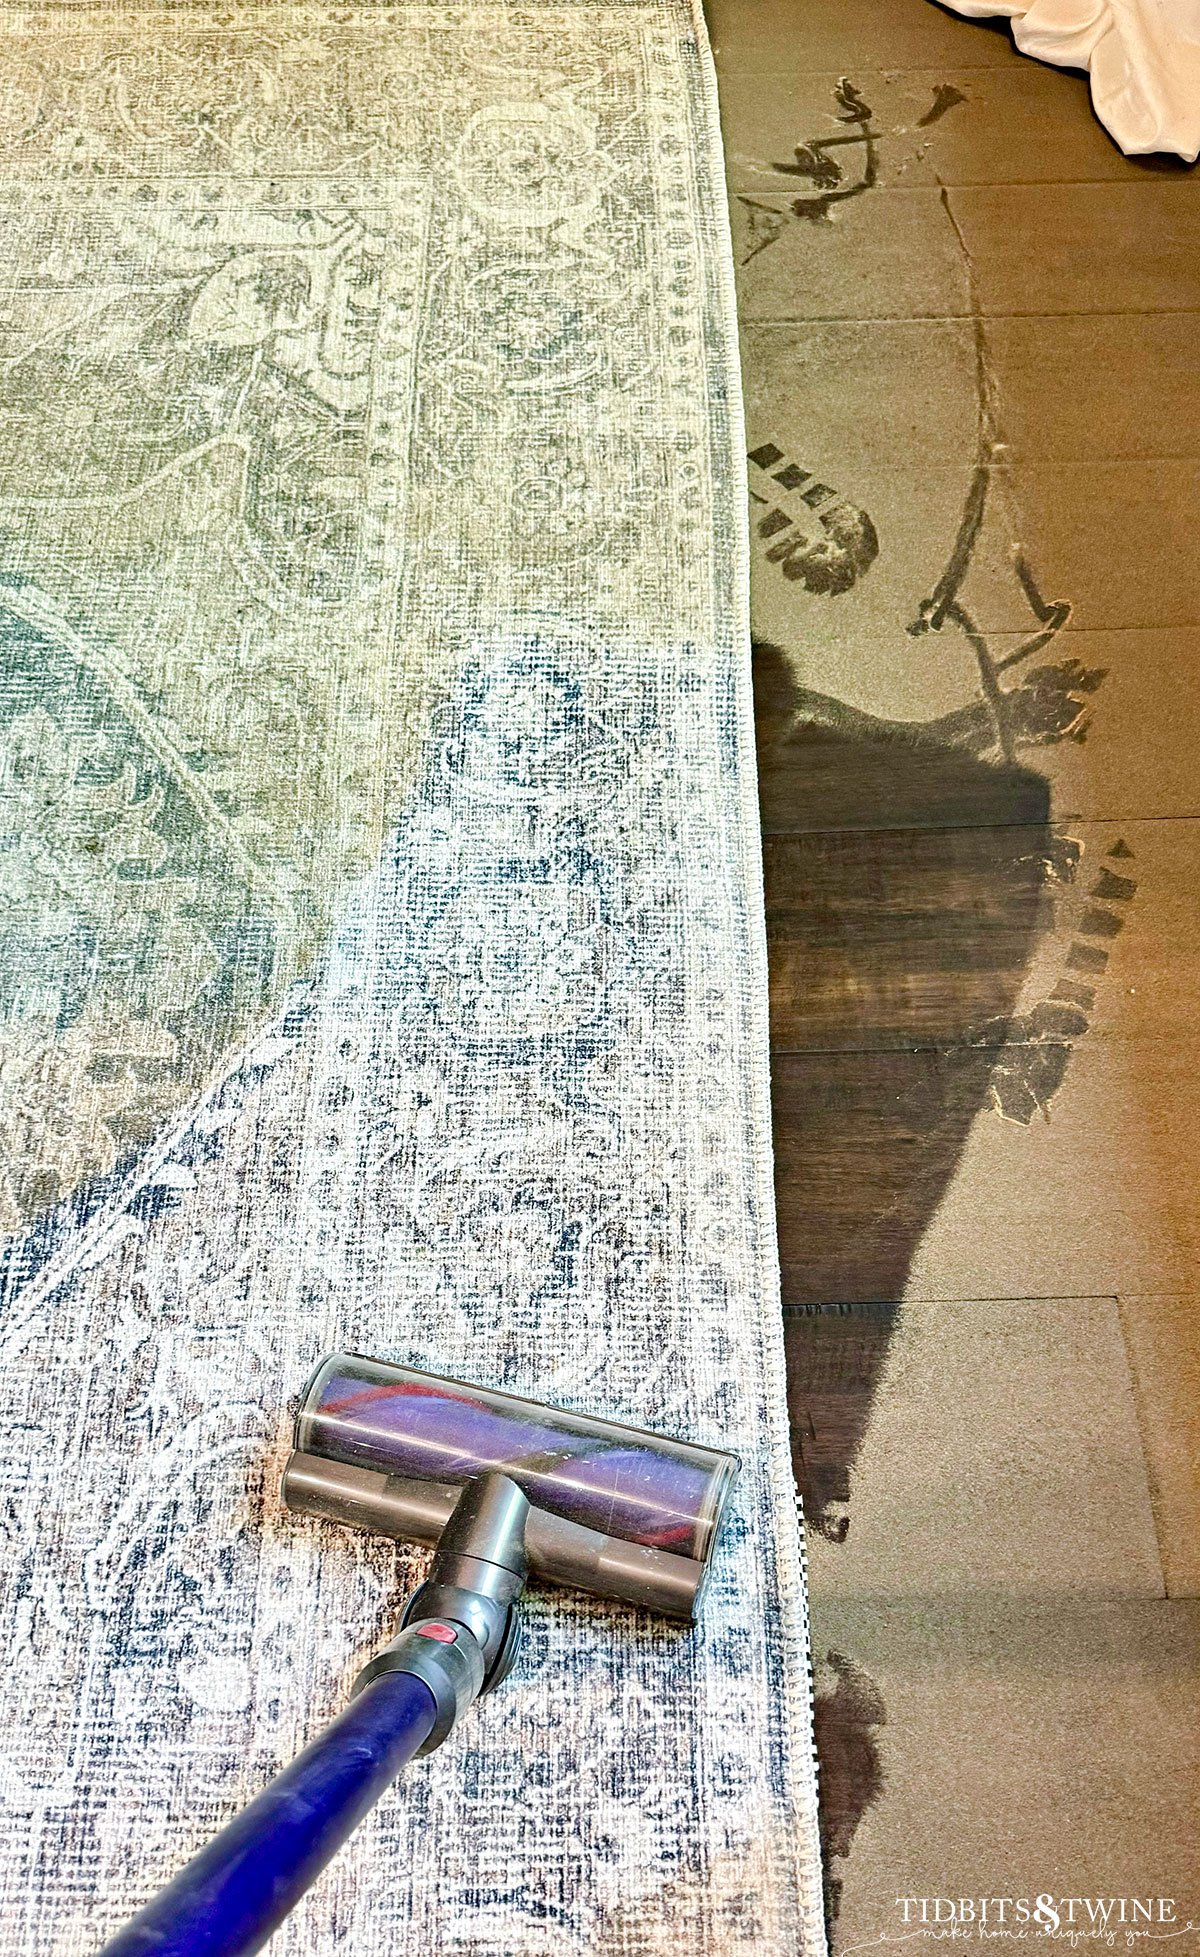
So did we move the top into the garage or outside like normal people?
No! Of course not! I completed the entire project in the dining room! (Side note: I don’t recommend doing that!)
Today I’m sharing this super easy project with you. This is only my second time staining, so trust me, if I can do it, you can do it!
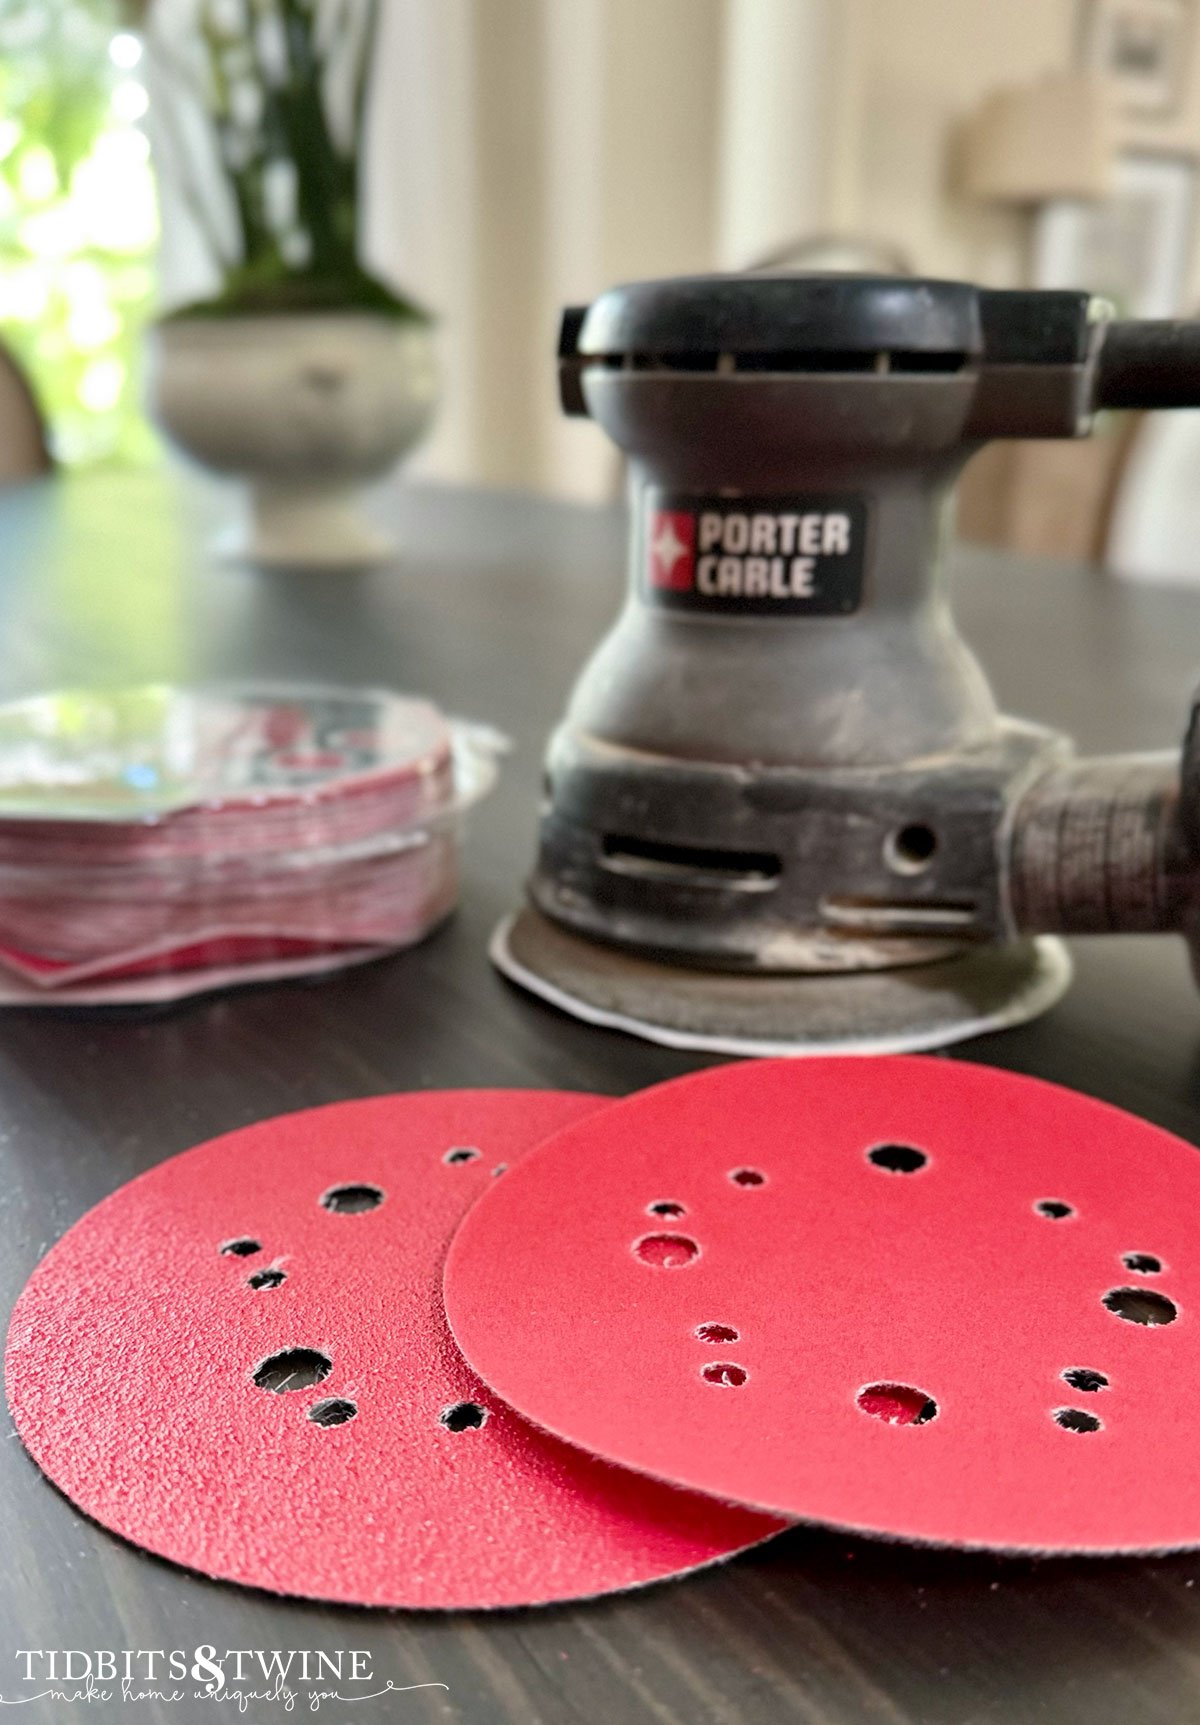
Supplies
- Liquid stripper
- Synthetic bristle paint brush
- Putty knife
- Circular sander
- Sandpaper grit 60-220
- Stain
- Topcoat
- Foam brushes
- Lint-free cloths
Step 1: Liquid Stripper
When I refinished my kitchen table, I didn’t use a liquid stripper and it took me forever and a day to sand. This time, I thought I’d try CitriStrip because the smell wasn’t supposed to be as harsh as other chemical strippers and since I was going to be doing this project in the dining room, that was definitely a factor.
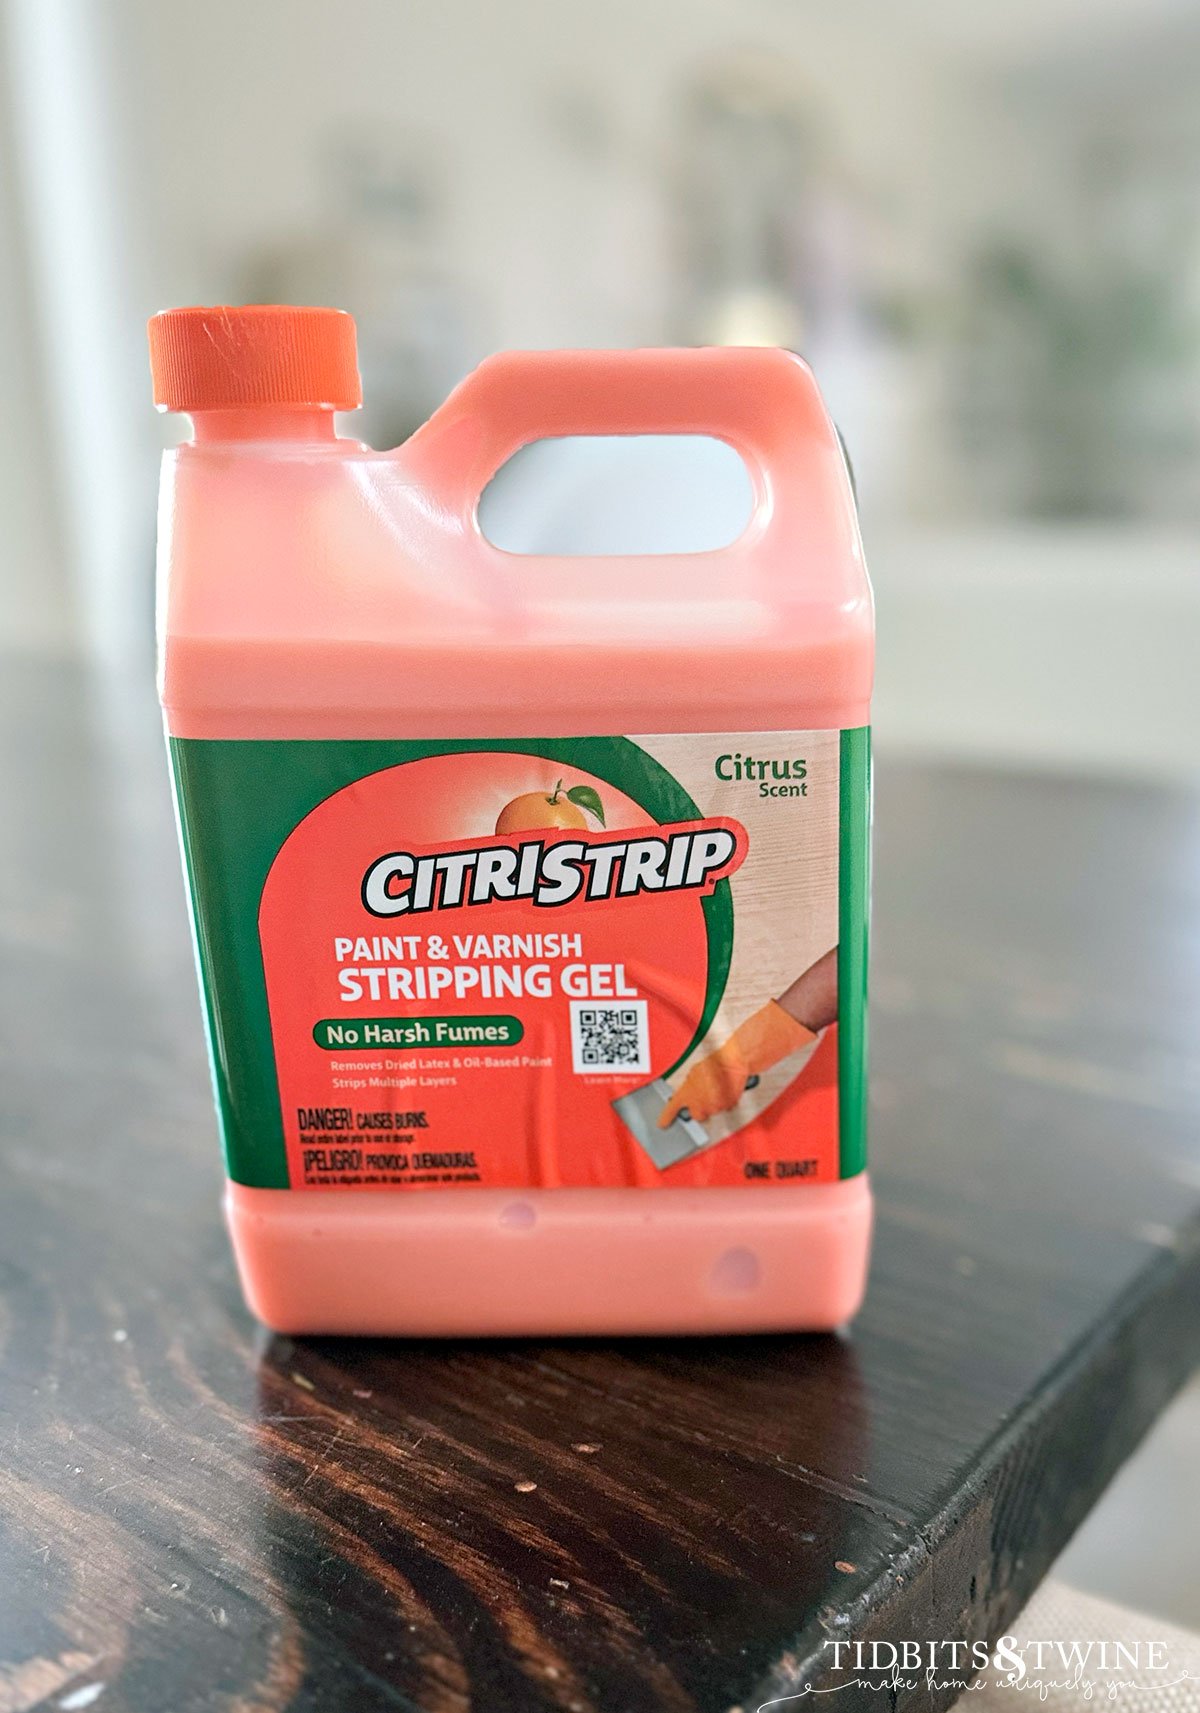
I spread an even coat across the top and along the sides and sat back to await the magic. While it did have a slight citrus smell, I will tell you that it’s still very smelly and not a good idea to do in the house, even with all of the windows and doors open!
I had visions of the liquid stripper taking the stain almost down to bare wood so that I’d have to do minimal sanding. That wasn’t the case. Basically, it took the top coat of varnish off.
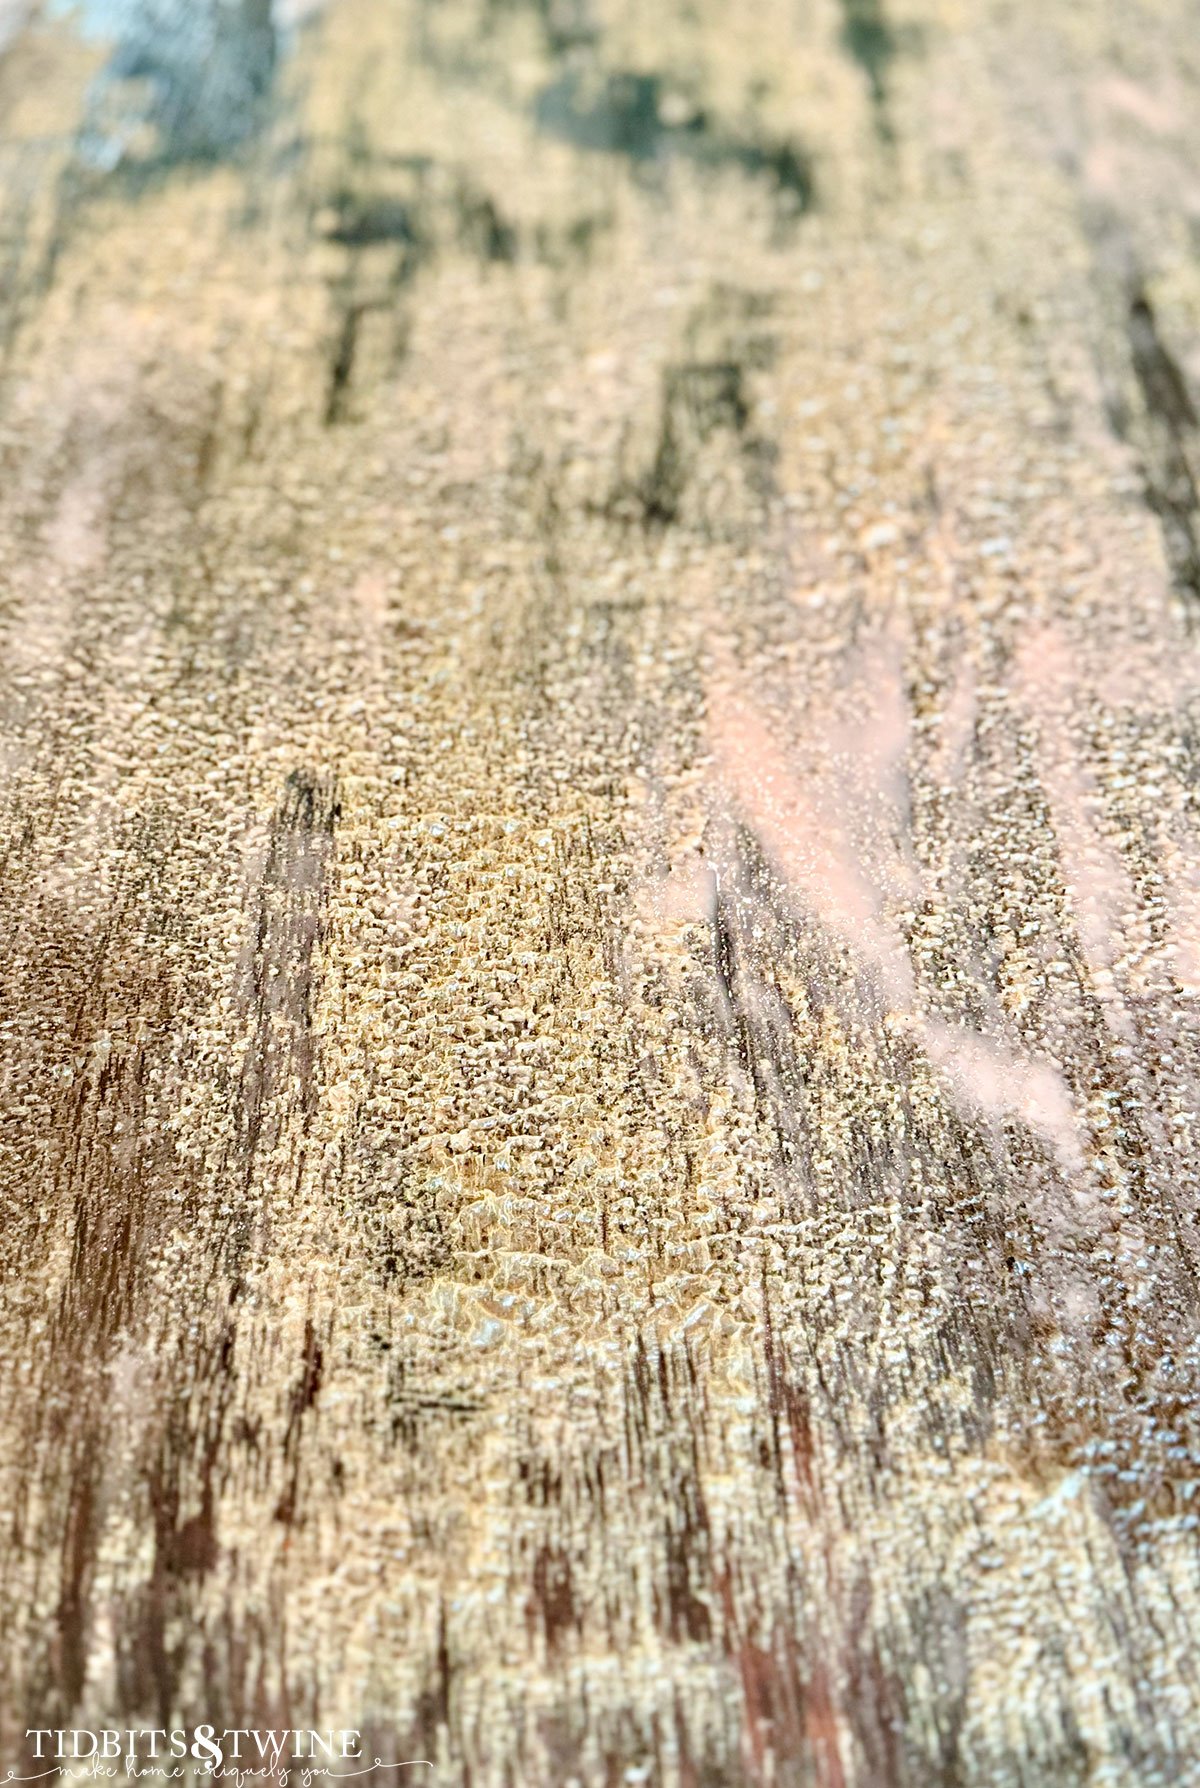
Step 2: Sanding
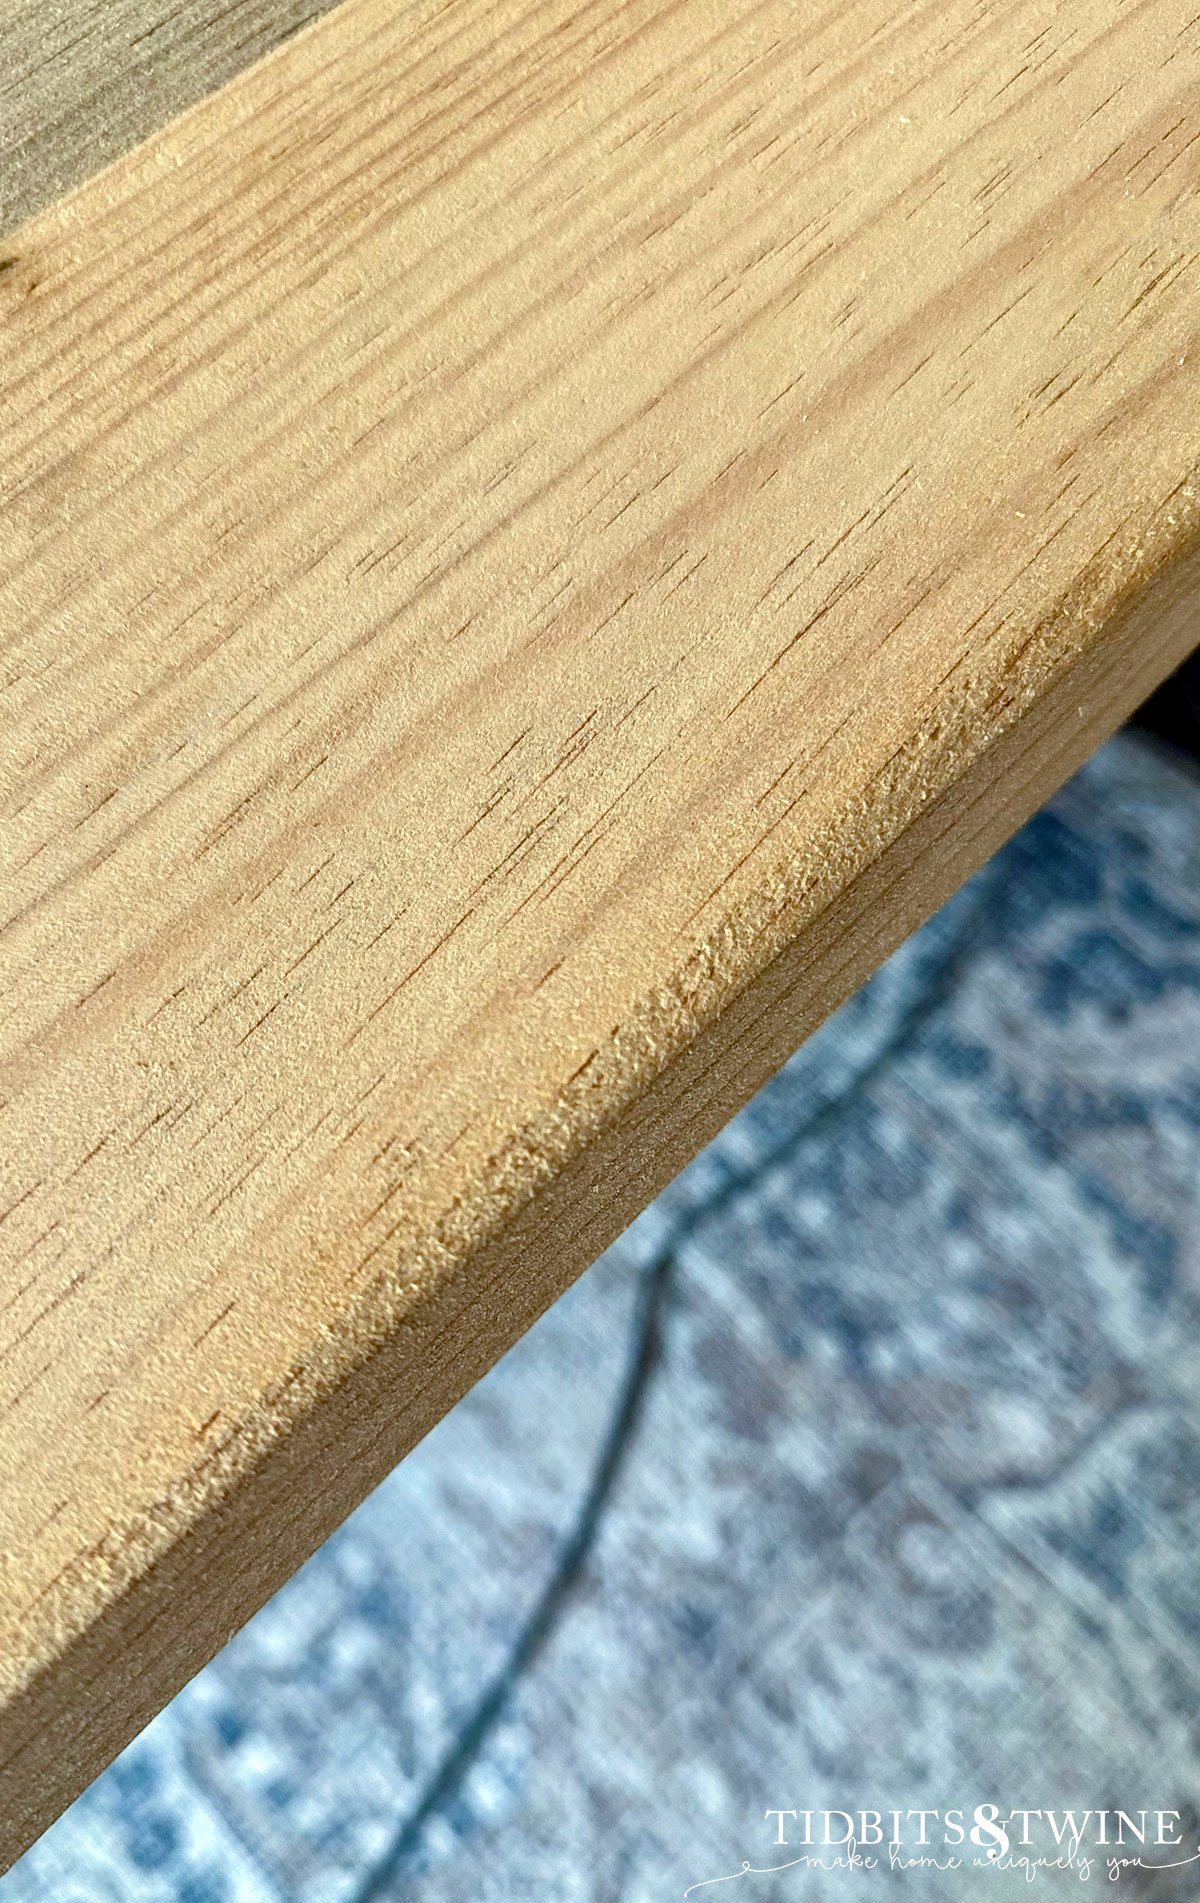
With the varnish removed, it was time to sand the stain off the table. This stain was thick and dark, so I started with 60 grit sandpaper.
Tip: When sanding, it’s important that you do not skip more than one grit of paper, as they are each designed to remove the scratches from the previous grit. You will slowly work your way to a smooth finish.
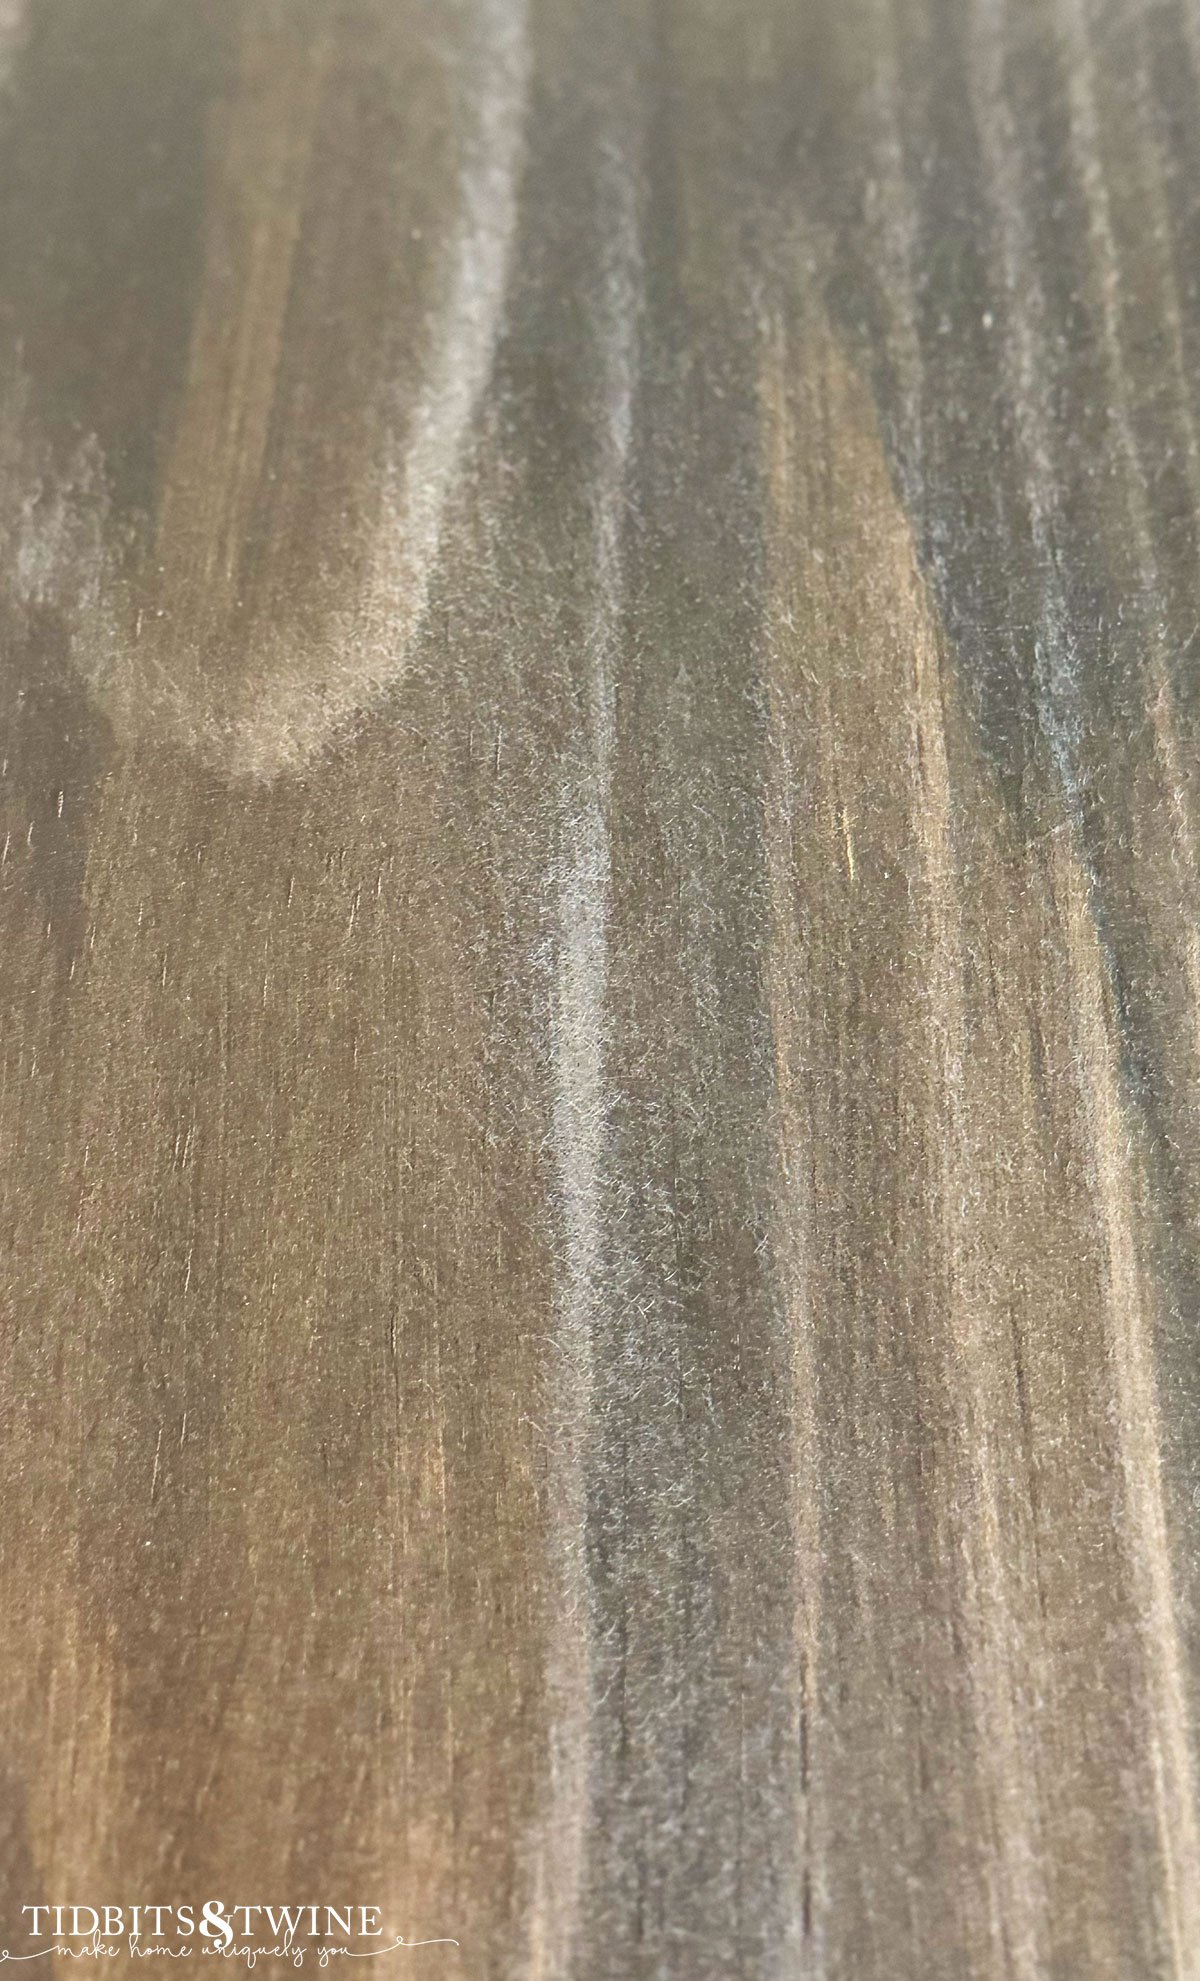
Below you can see the rough edge left behind from the 60 grit sandpaper. As I worked my way up to 220, this edge became smooth and perfect. I used 60-80-120-150-180-220.
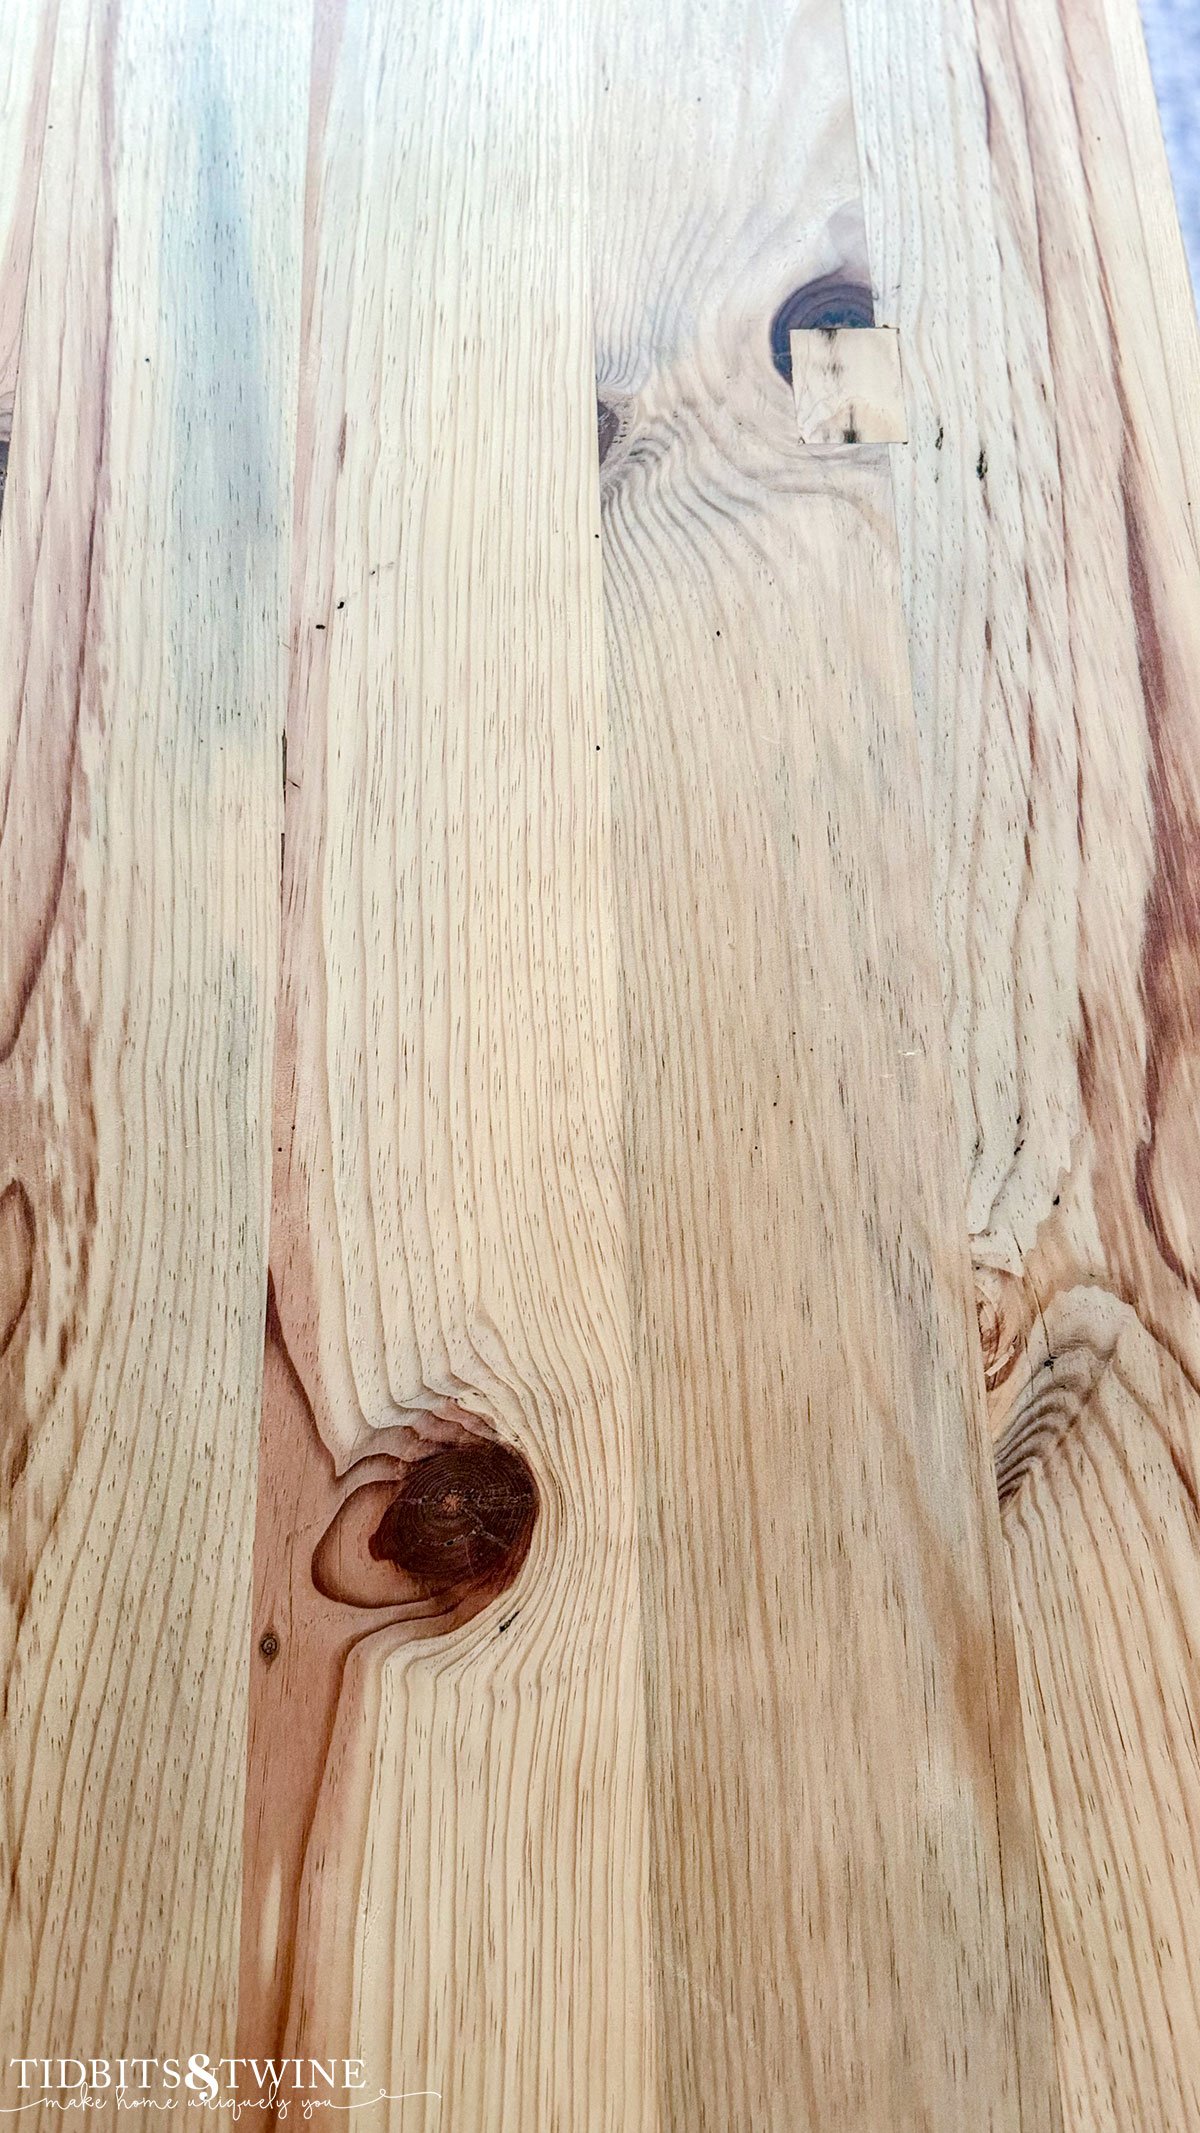
What I discovered after sanding everything off was that the table had been refinshed before, as I found some wood filler. I also discovered some interesting patches in its assembly!
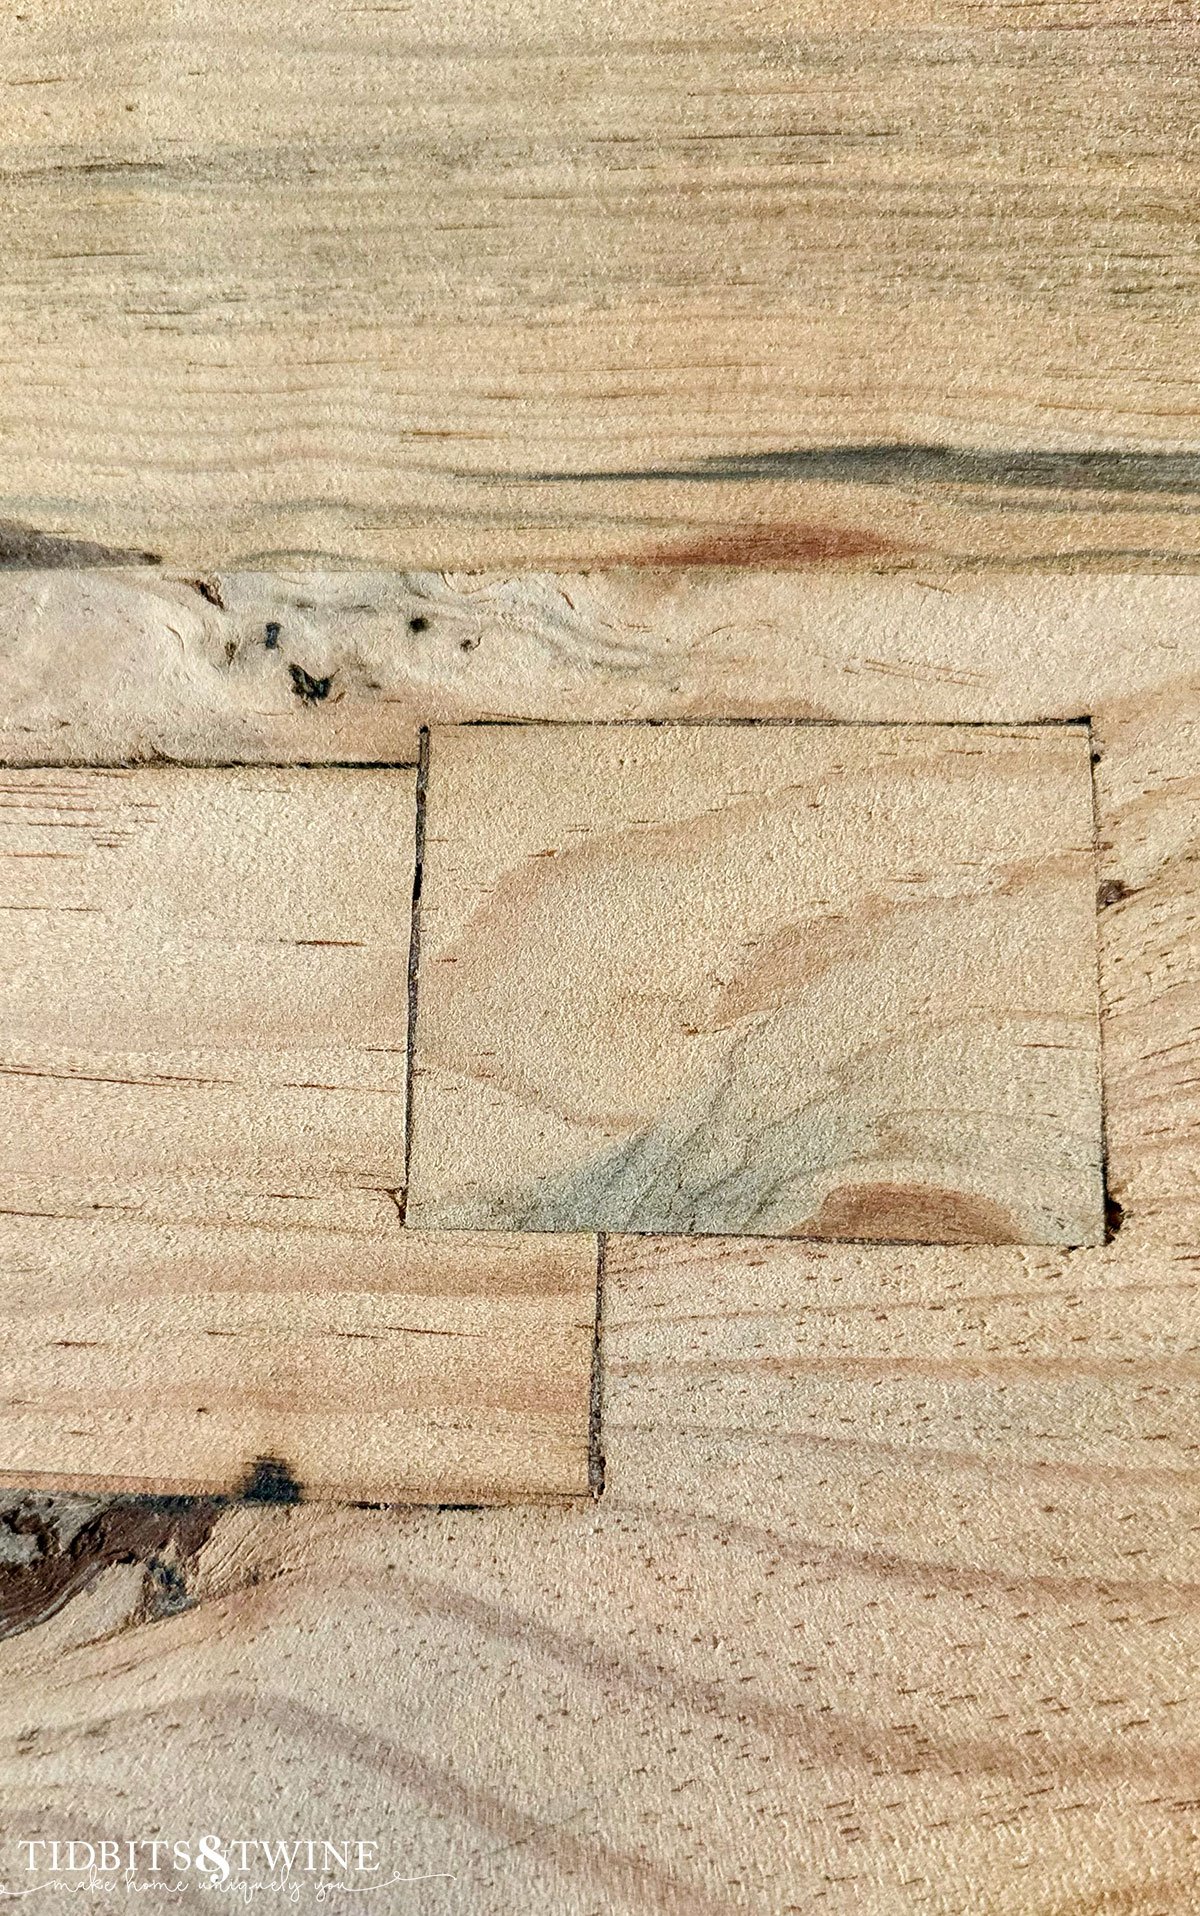
I knew before starting this project that the table was made of pine. What I didn’t know because of the solid stain, was how many knots the wood had and the amount of color variation between the planks!
And what does all that sanding do to the house? Well, it makes a giant mess, of course! Perhaps not my best idea…
Step 3: Staining
Water-based wood stain comes in 3 opacity variations. Regular translucent stains the wood but leaves all of the grain showing through. Then there’s semi-translucent (or semi-solid), which provides more coverage. The woodgrain still shows through, but not as much. And lastly, there’s solid stain. Solid stain ultimately looks more like paint because it covers the wood completely, showing none of the grain.
I didn’t like the woodgrain of my pine table, so I first purchase solid stain from Sherwin Williams. The problem was that it really just looked like paint and overall, a bit too flat. Next I tried semi-transclucent Behr from Home Depot, but that showed too much grain and too many of the knots.
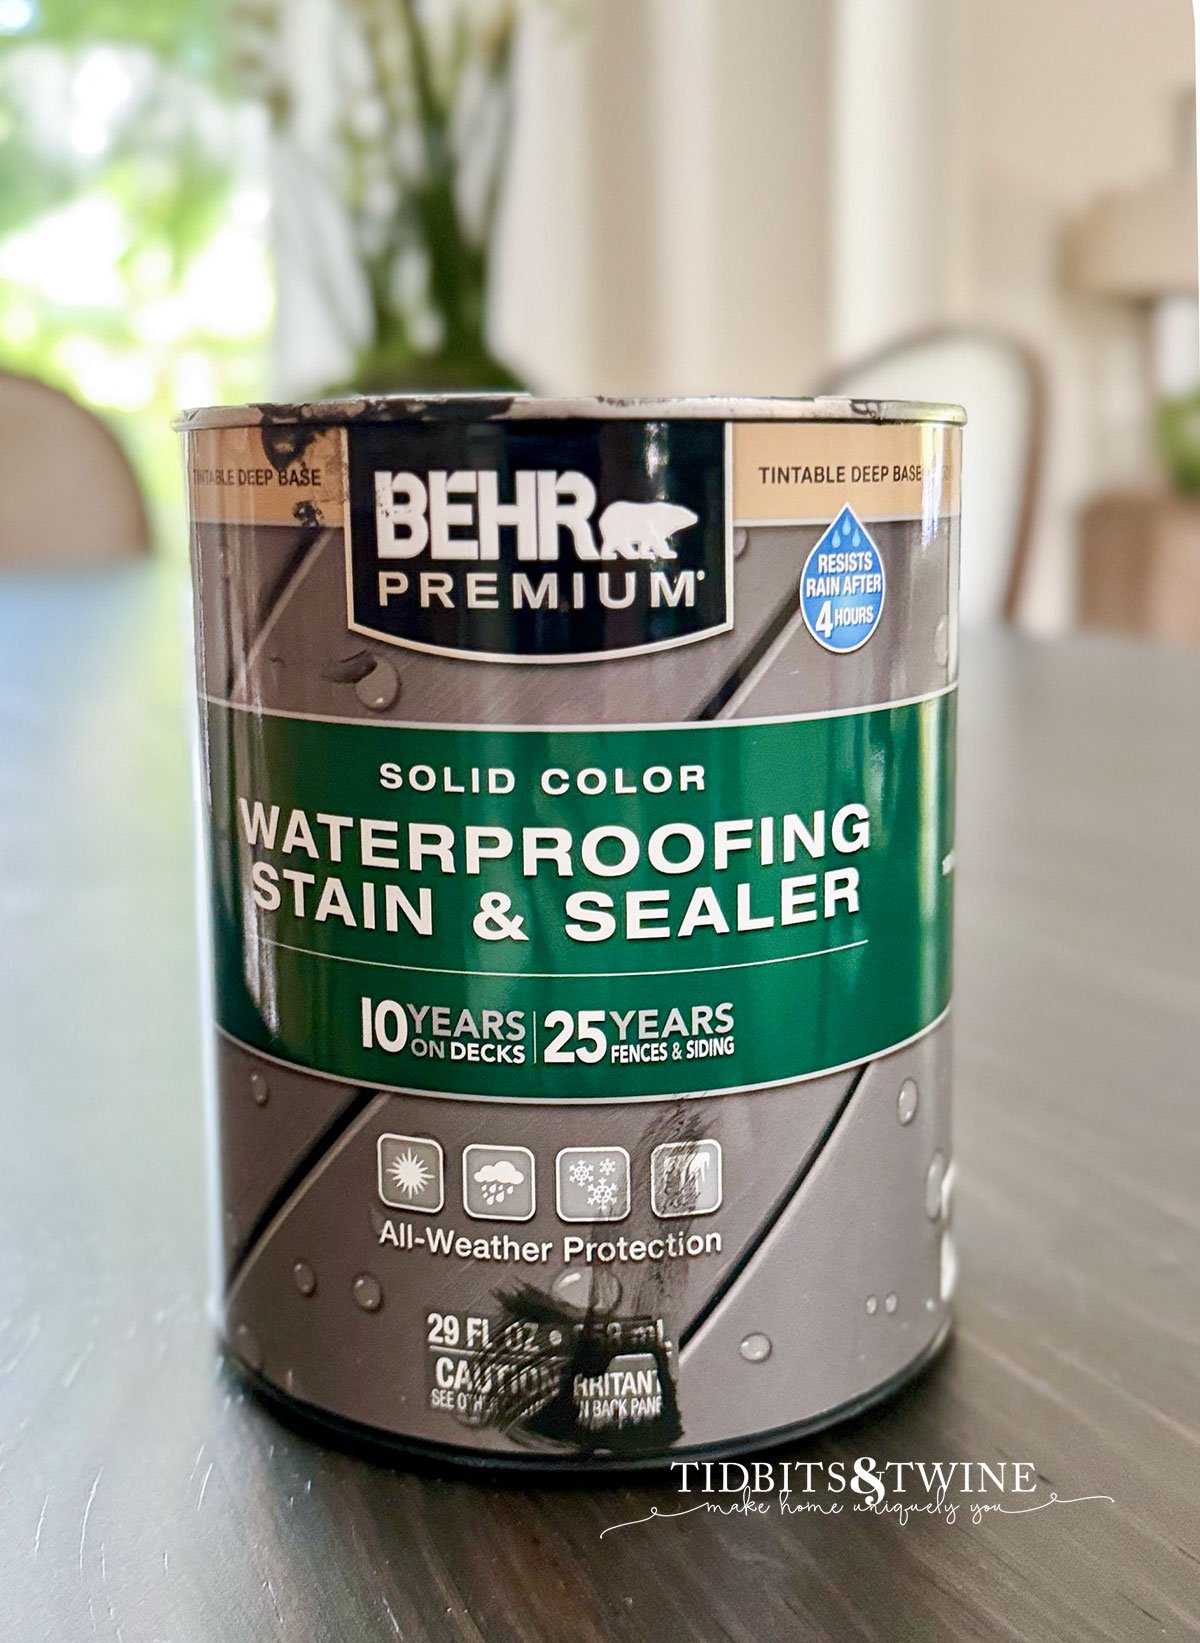
Finally, I tried Behr’s Slate in solid stain from Home Depot. This turned out to be my Goldilocks of stains.
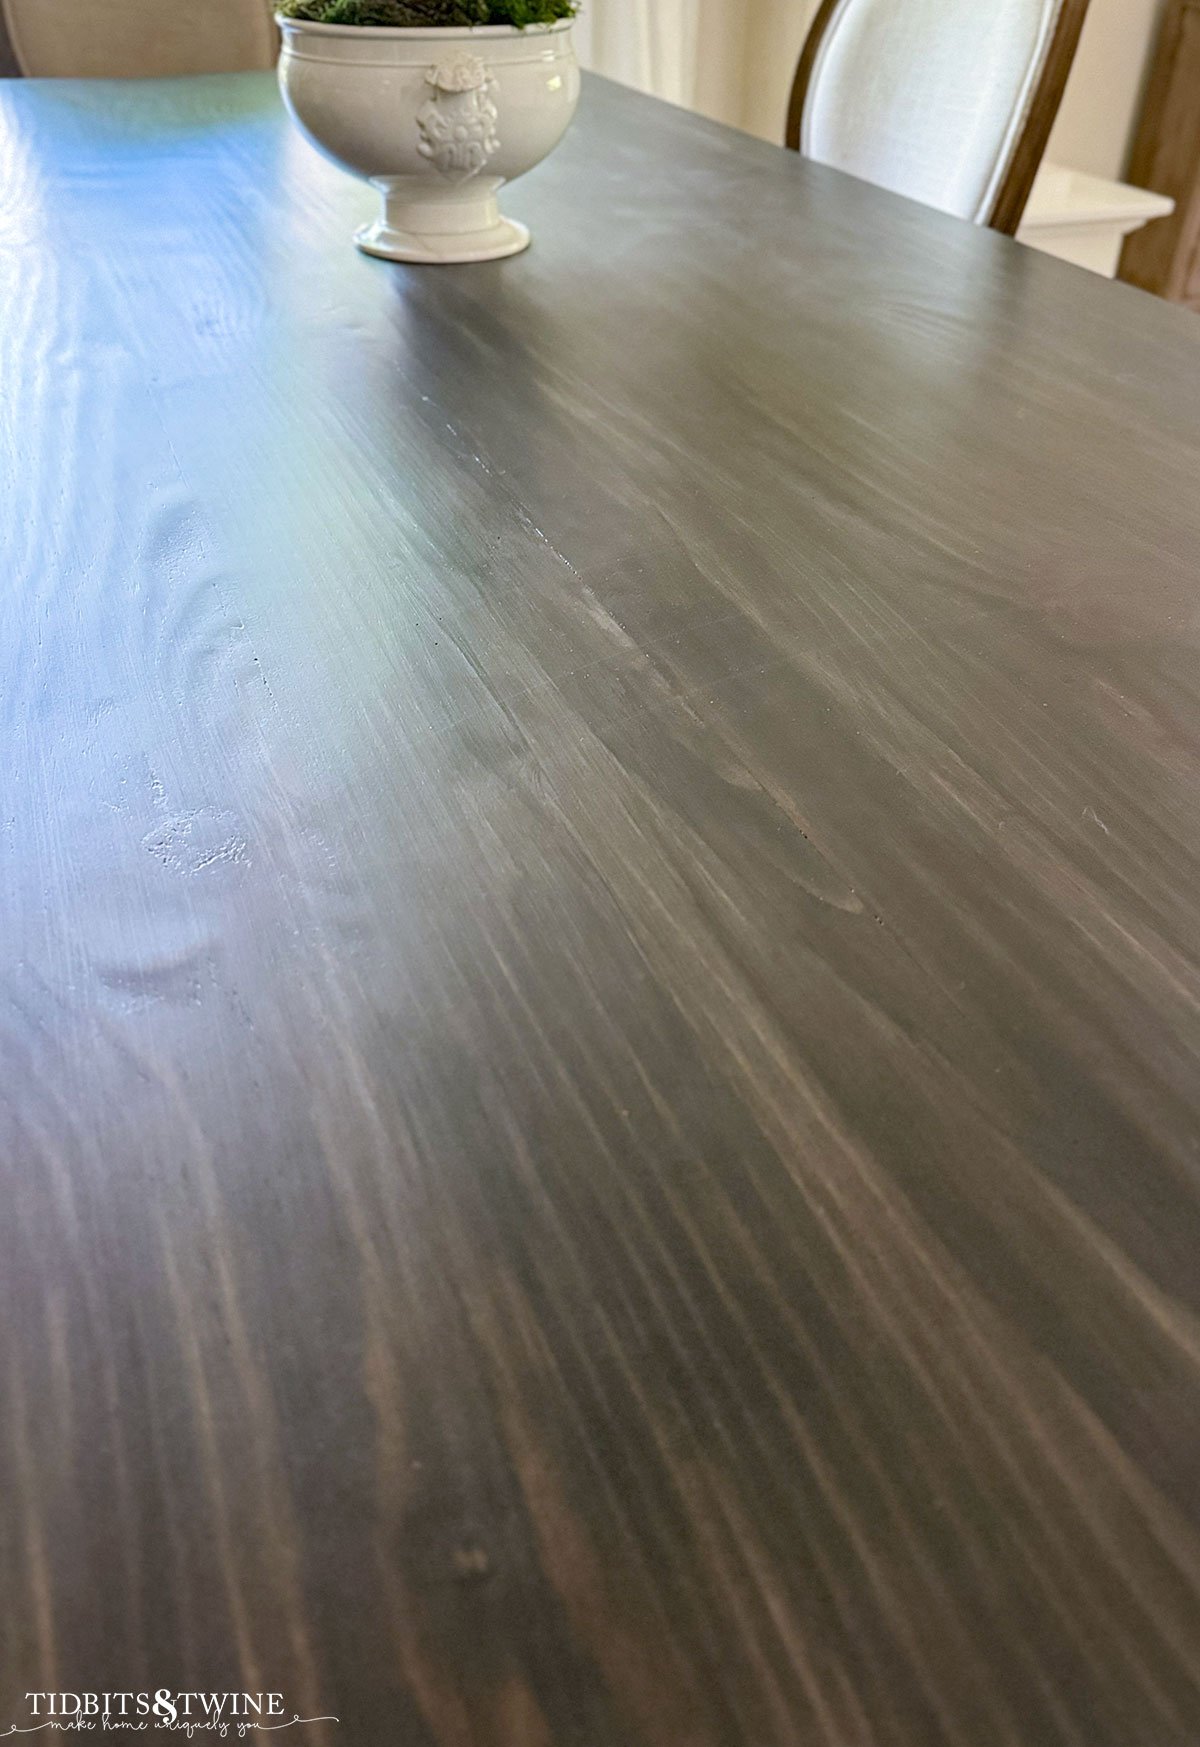
Behr’s solid stain wasn’t quite as opaque as the one from Sherwin Williams, so a single coat left some variation. This variation in color allows the table to look like wood, but without showing all of the knots.
Tip: If you wanted a solid look with the Behr solid stain, you’d need to use 2 coats.
I applied a single coat with a brush and let it dry for 24 hours.
Step 4: Topcoat
I’m a fan of General Finishes High Performance Water Baseed Topcoat. What I don’t like is their naming system. Flat is not flat! It’s satin. Luckily, I didn’t want a completely flat finish so this was the perfect choice for me.
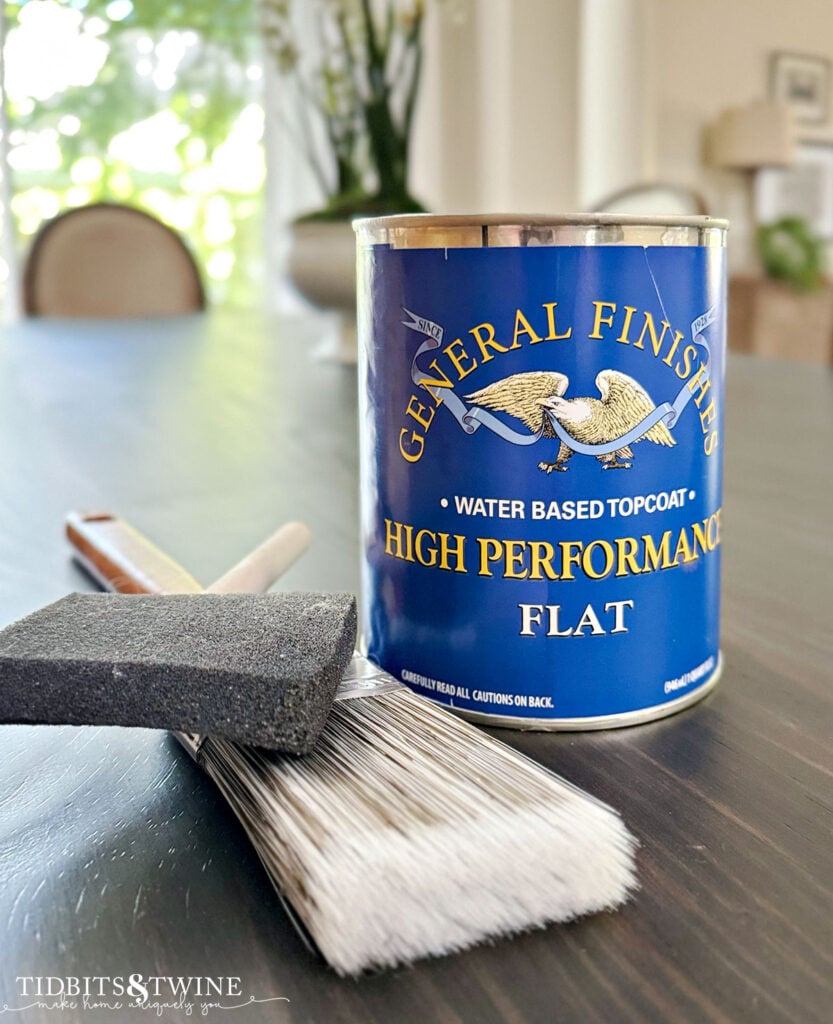
I used 3 coats of the High Performance Flat topcoat. I spread it on in long, even strokes with a brush and then went back over it once with a DRY foam brush to remove excess and air bubbles.
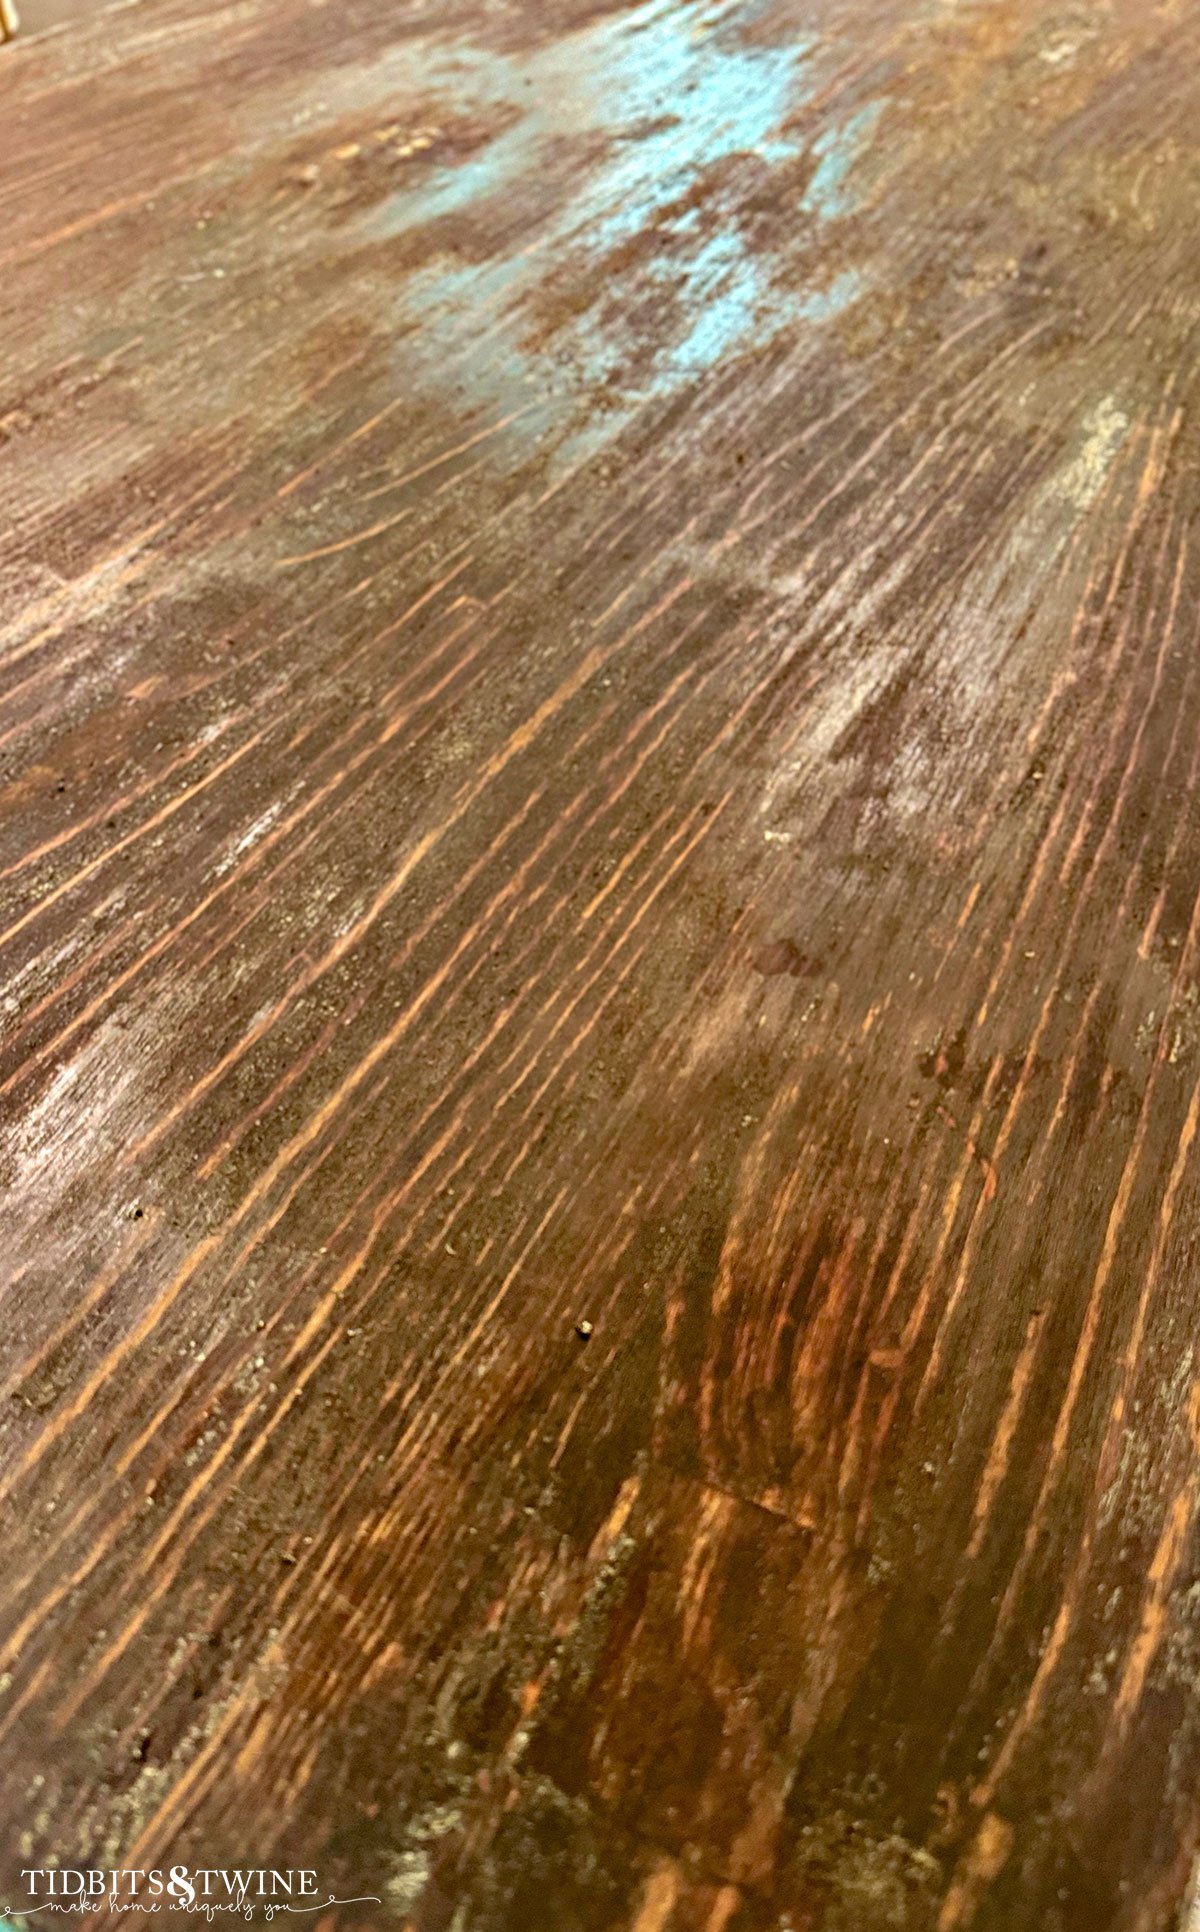
Step 5: Sanding Again
Just when you thought you were done with the dust!
In between each of the top coats, you’ll need to sand. I used 220 grit sandpaper and just made one lengthwise pass along each board on the table. After the first coat, I about had a heart attack when I saw the marks! I was afraid I had sanded off my thin layer of stain, but in fact, the white streaks were the topcoat and they disappeared once I applied the next coat.
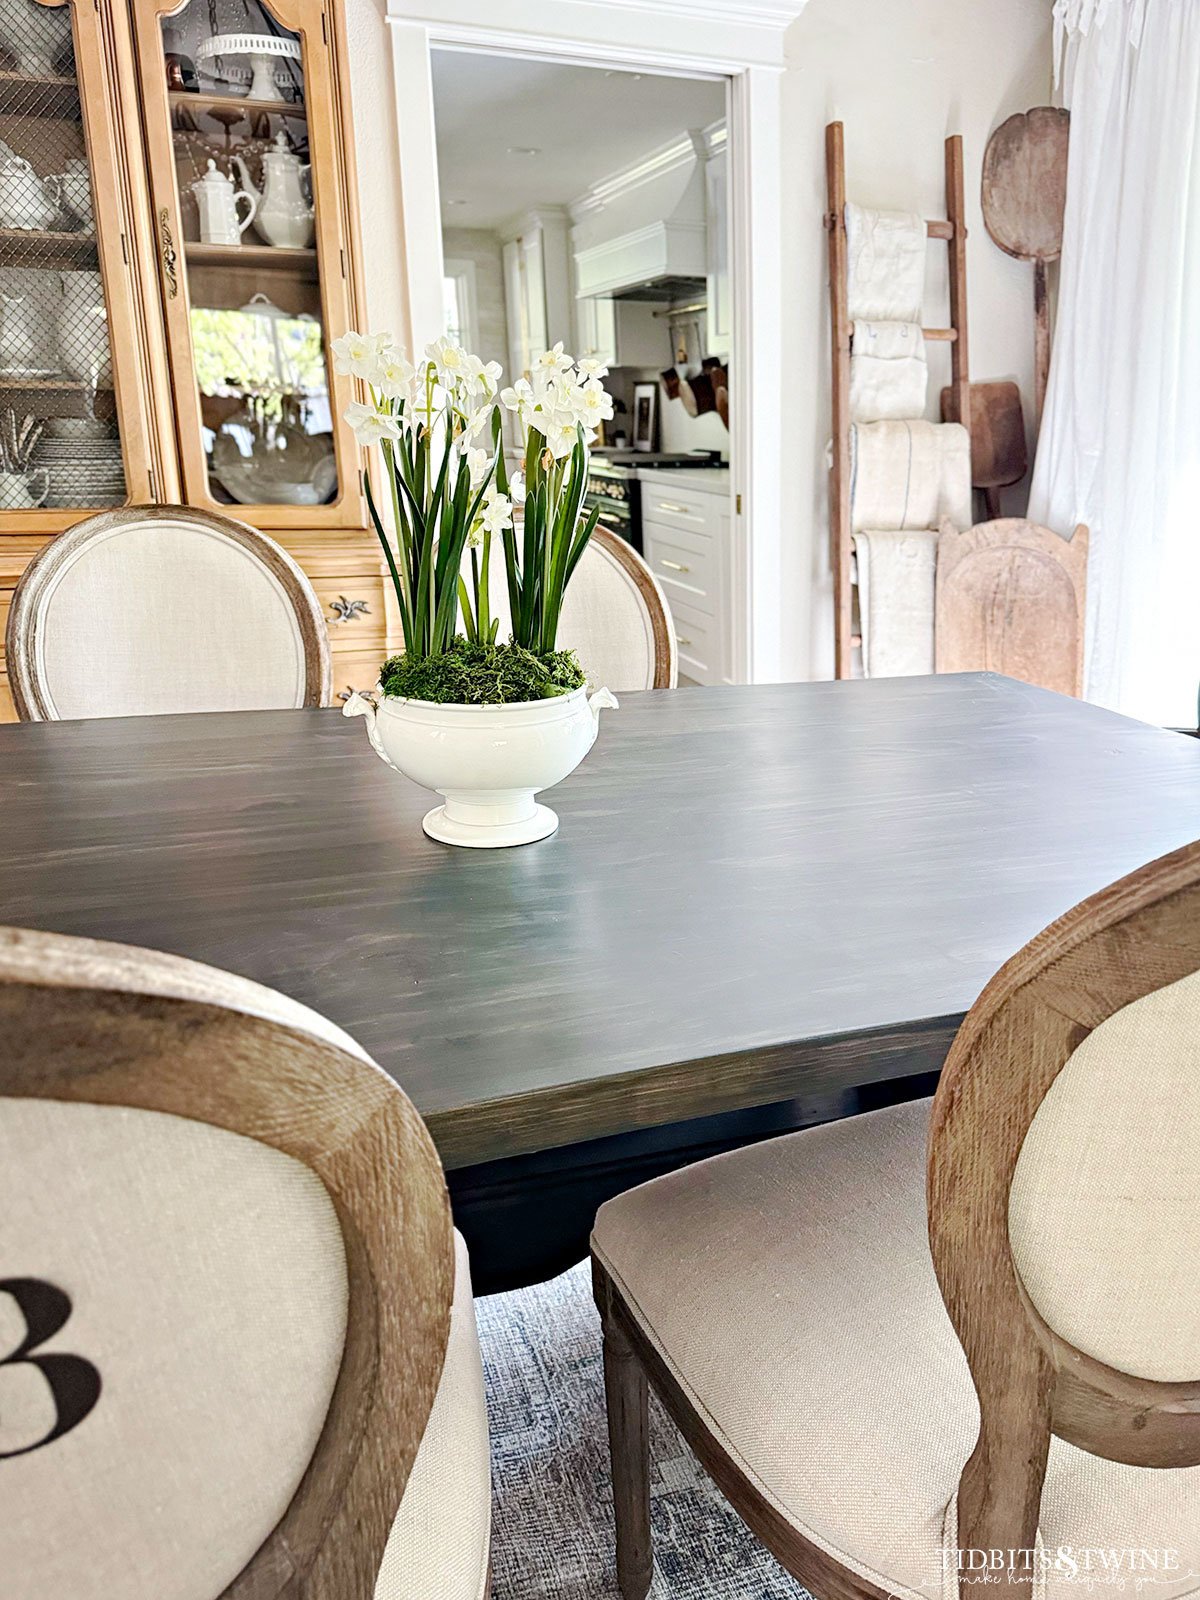
The Reveal
I’m really happy with how the table turned out. Is it perfect? No! But it’s an antique so it’s fine with me. At the very least, it’s better than it was before!
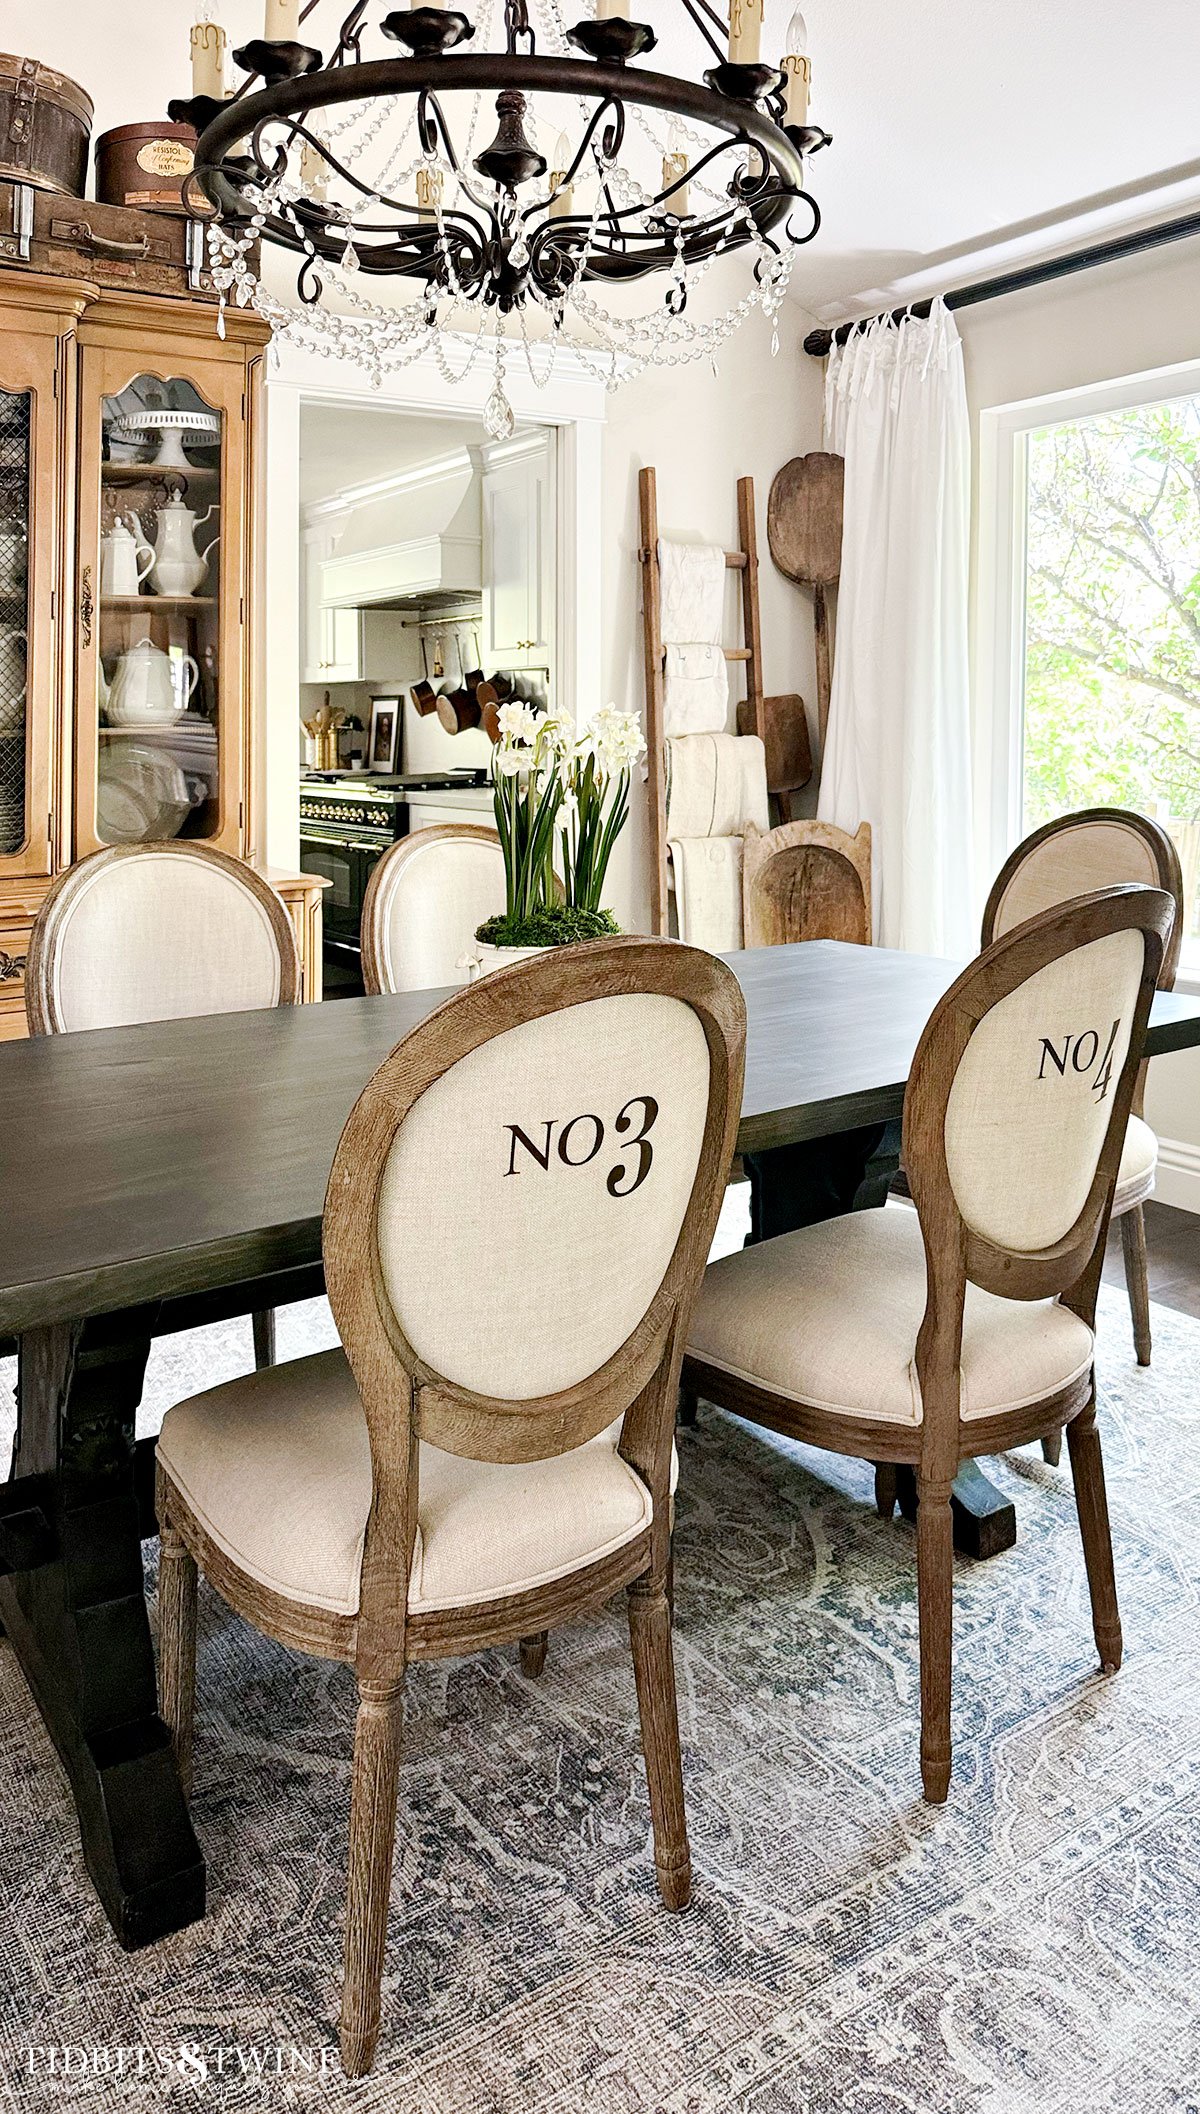
I feel like I maintained the integrity of the original table, but without the weird glossy finish and chips.
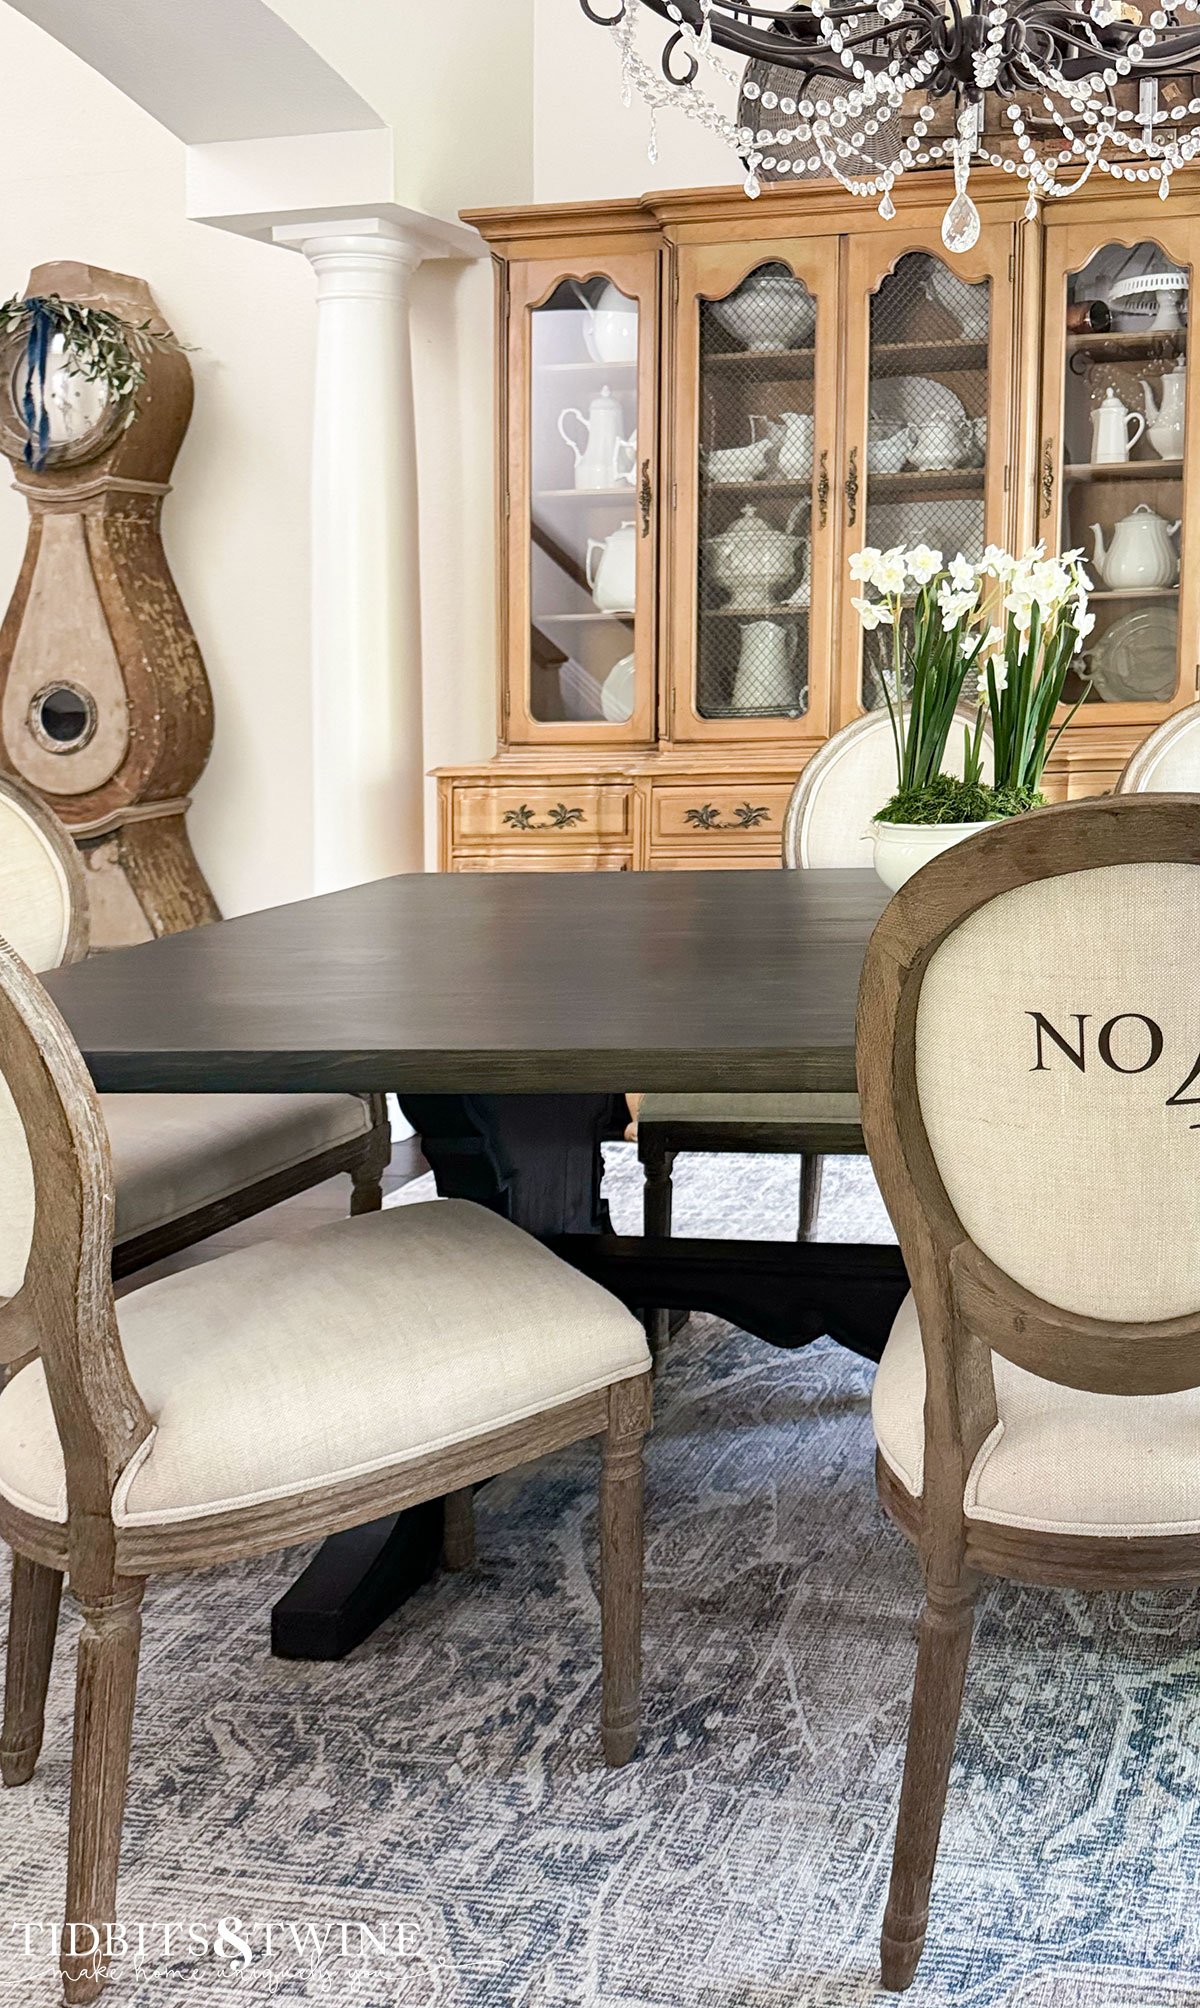
I personally like that the table isn’t consistent in color because I think it gives it more character.
So now that this project is done, what should I tackle next?
And if you love the look of a trestle table, too, check out my Trestle Table Guide!
More DIY Projects
- DIY Chandelier Update {From Italy to France on a Budget}
- DIY “Restoration Hardware” Look Using Paint
- How to Create a Faux Wood Finish
- Mora Clock Makeover – I Finally Painted It!

Join the Community
Let’s keep in touch! Get exclusive artwork plus the latest news delivered directly to your Inbox!
Beautiful job! And thank you for the step by step information–I have a table I’d like to do as soon as I have time.