A step-by-step tutorial for how to use paint to look like wood in just THREE EASY STEPS using only ONE paint color! No sanding or priming, and no glaze or woodgrain tool needed.
A reader asked me for a tutorial on my painted faux wood finish coffee table and oops! I didn’t take any pictures while I was painting it.
Instead, I popped by my local thrift store and picked up a small wooden stool to paint for this tutorial. I’ll show you how to transform any surface, painted or stained, into this woodgrain look. It’s only 3 STEPS and it couldn’t be easier!
You only need one color of paint and two different waxes. There really isn’t any difficult technique and everything is pretty forgiving, so there’s time to create the look you want.
My Wood Painted Coffee Table
As a reminder, here’s how it looks in my family room now.

This is the Mantego table from Bramble and Company and retails for around $1,100. I found this pretty square coffee table at a local consignment store. It was brand new and still had the tag on it and had been sitting there for over a month. Consignment stores will discount furniture if it’s been sitting there for a while, so I was lucky enough to snag this table for about $150!
But here’s the thing. It was blue. Okay, they list it as gray, but to me, it was blue.
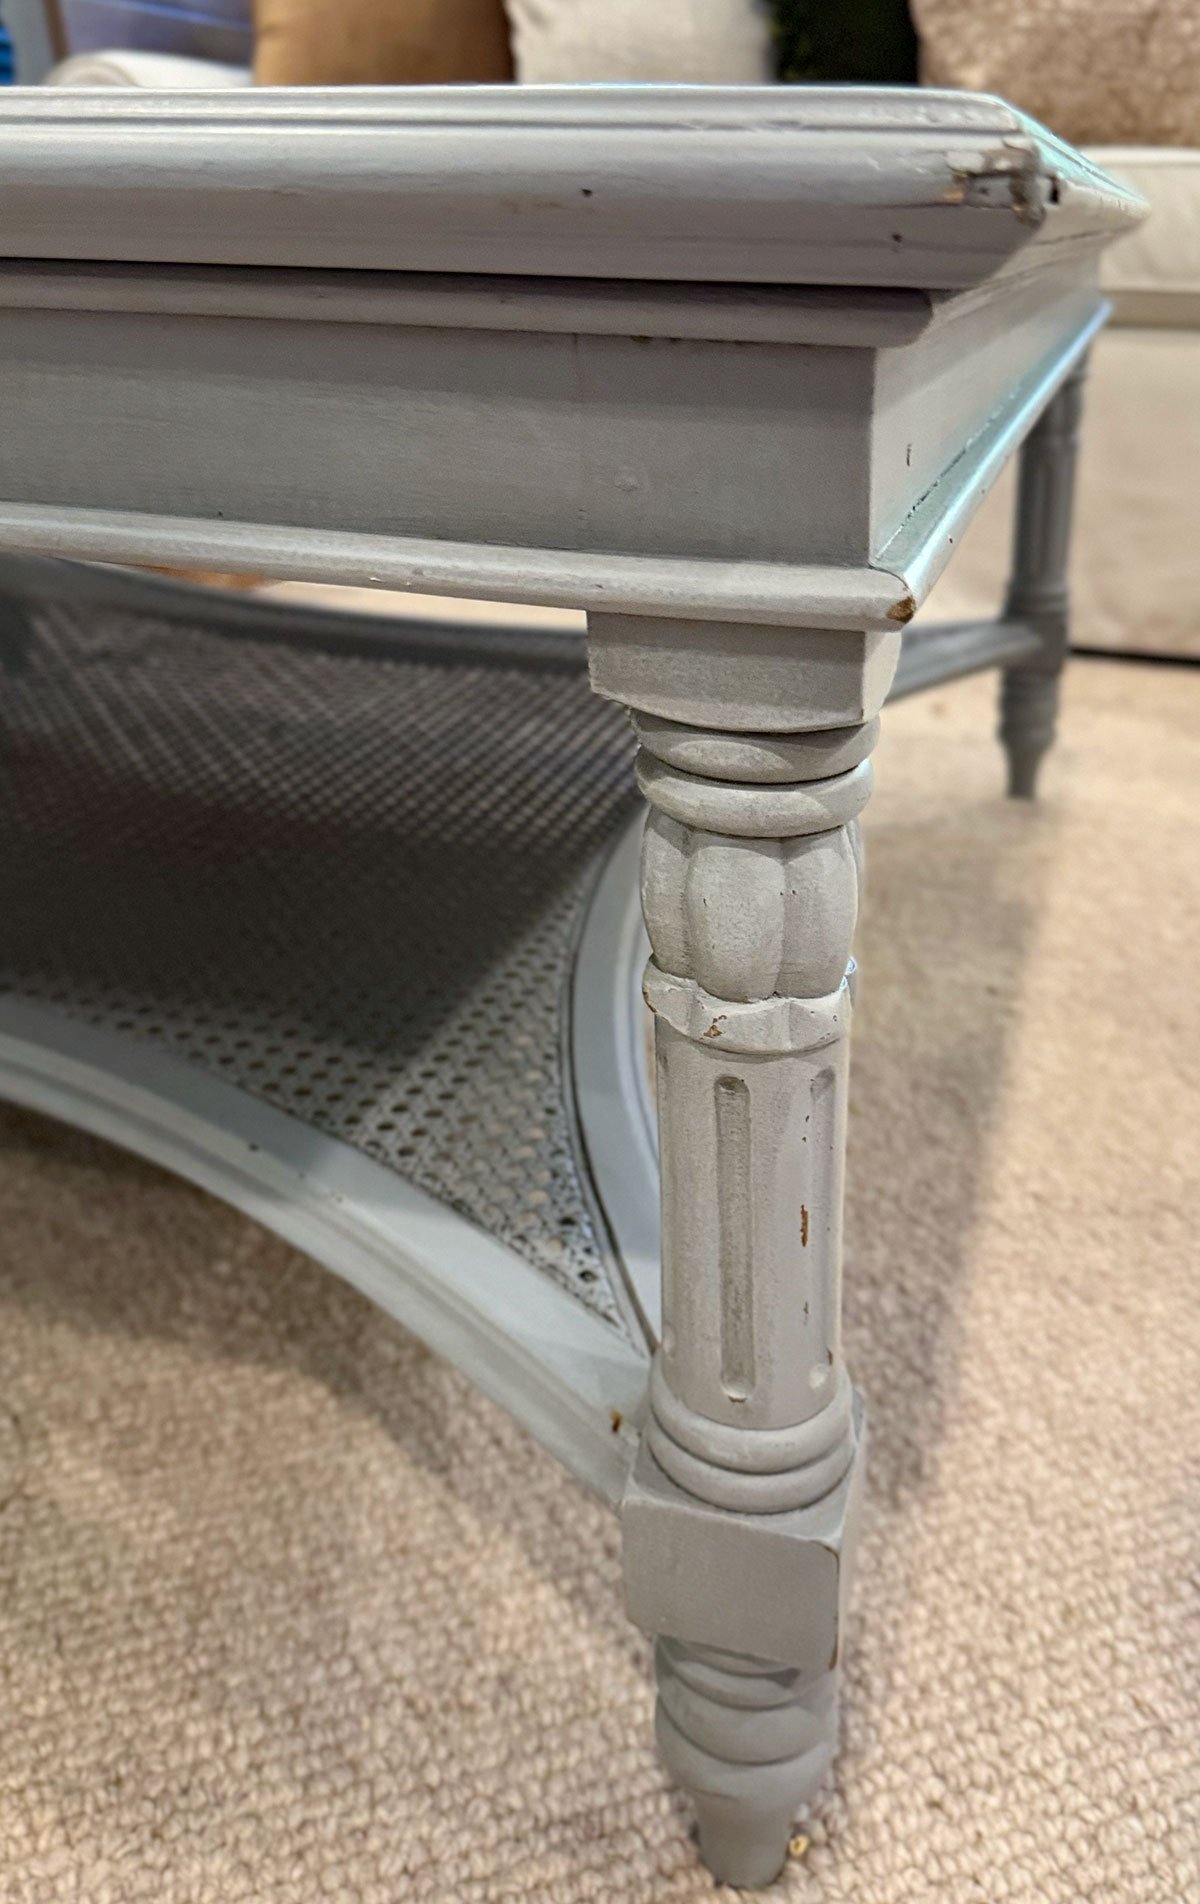
The table is also available in white, black and a variety of wood stains, but at the consigment shop, they only had blue.
I went online and saw this stain finish available and I thought, I can do that! Well…maybe! Lol! I couldn’t stain it without sanding first, so instead I decided to use paint to look like wood grain.
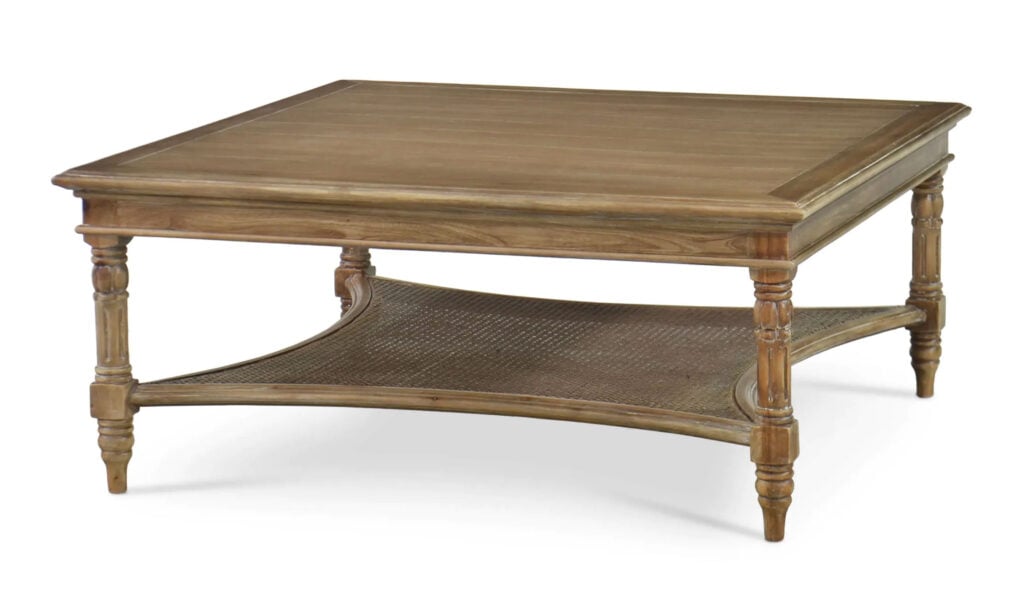
It’s a pretty close match, right?! And really, it’s just a 3 step process and couldn’t be easier.
How to Create a Faux Wood Look Using Paint
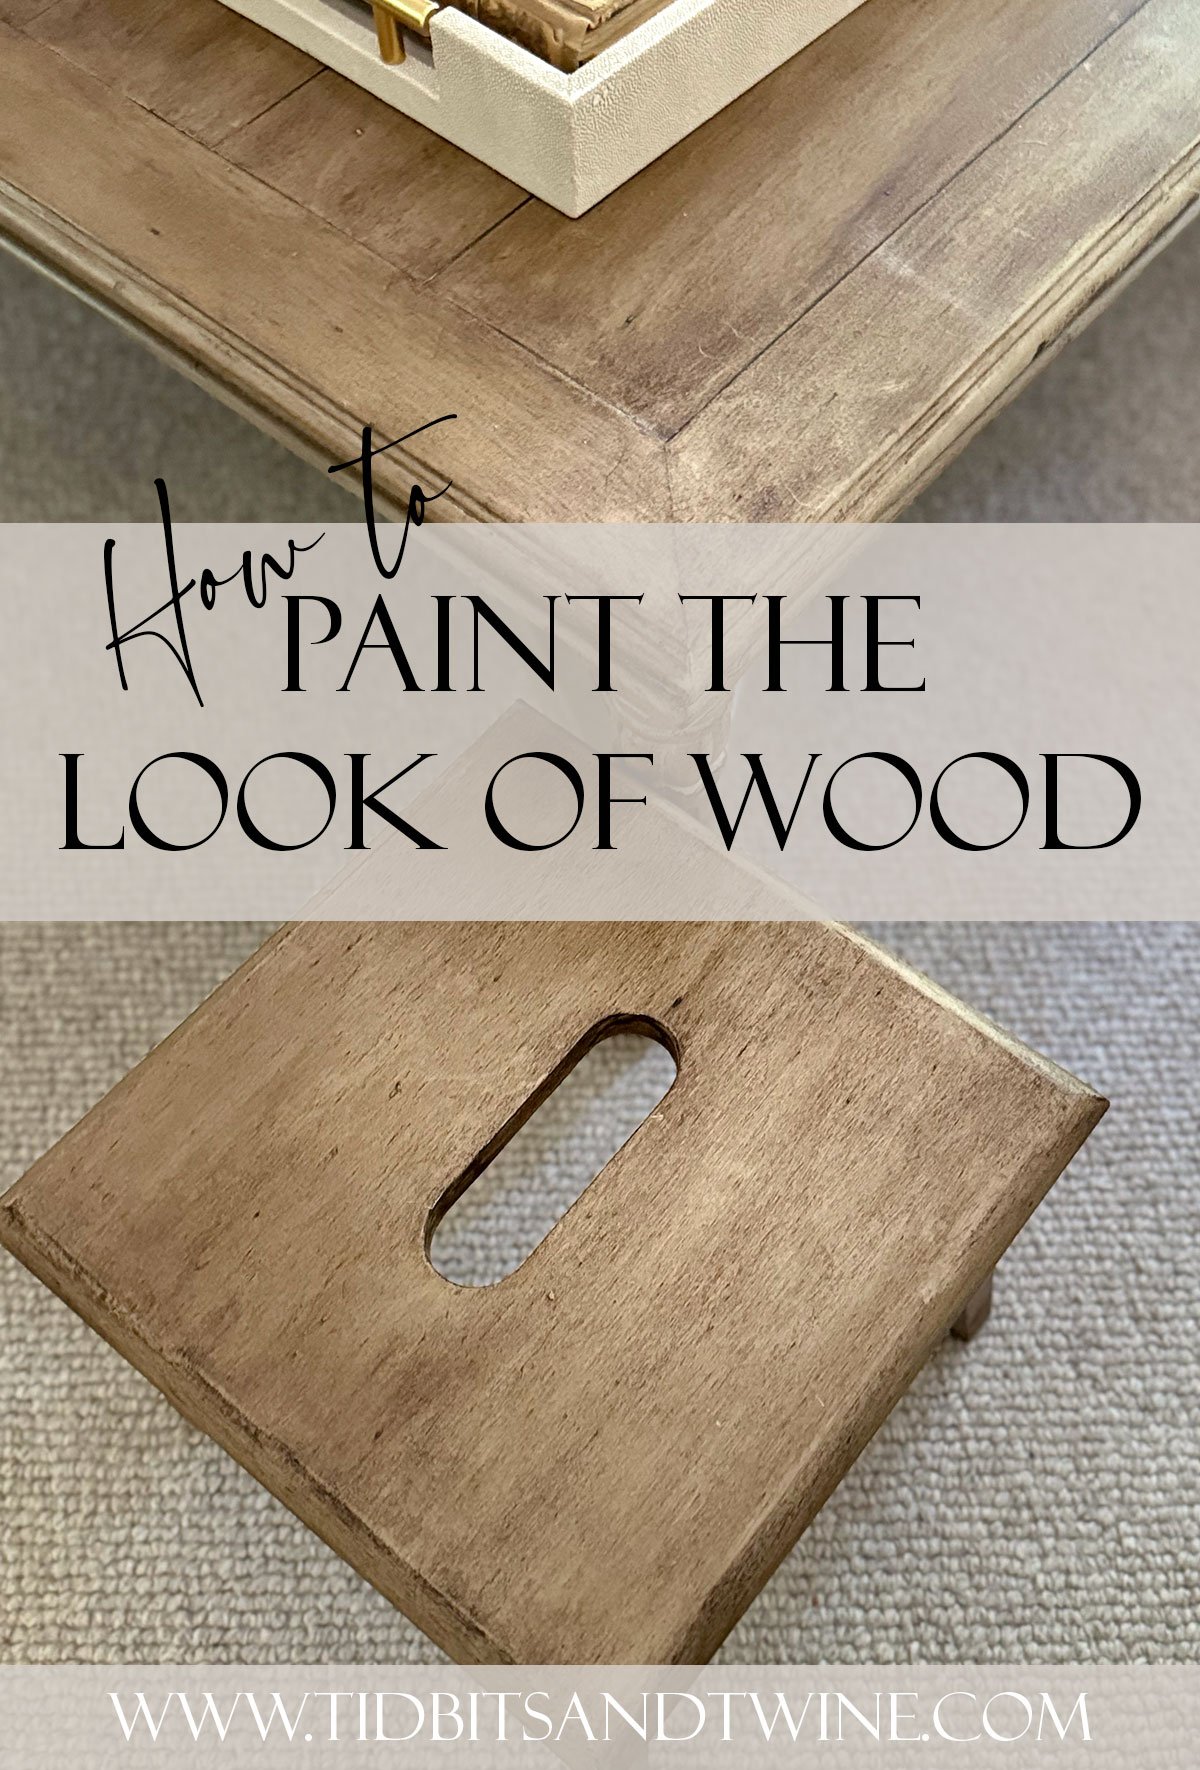
Supplies
- Dixie Belle Chalk Mineral Paint in Putty (This is the base color. An Annie Sloan color would be a better choice since it’s made to go with the Wax but I didn’t have one on hand)
- Paint Brush
- Annie Sloan Clear Wax
- Clear Wax Brush
- Annie Sloan Dark Wax
- Dark Wax Brush
- Lint Free Cloth
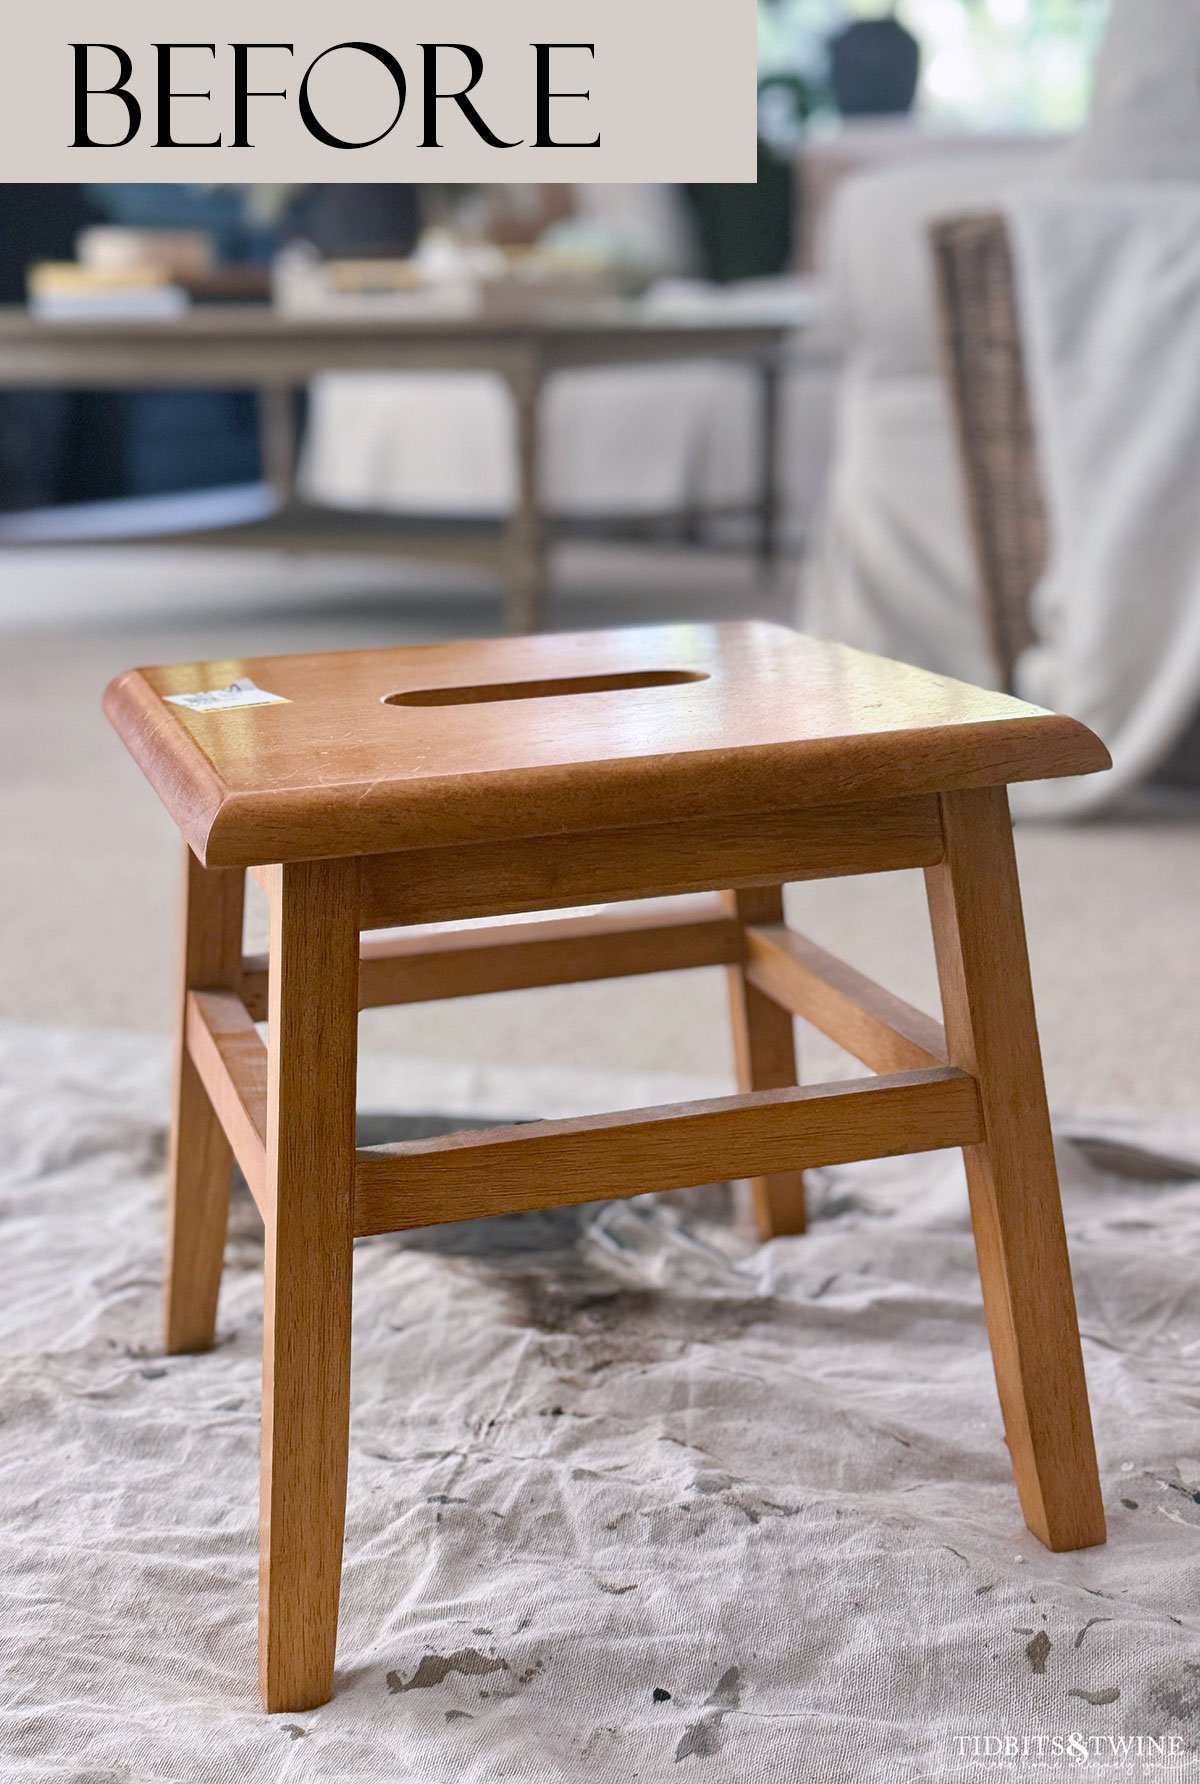
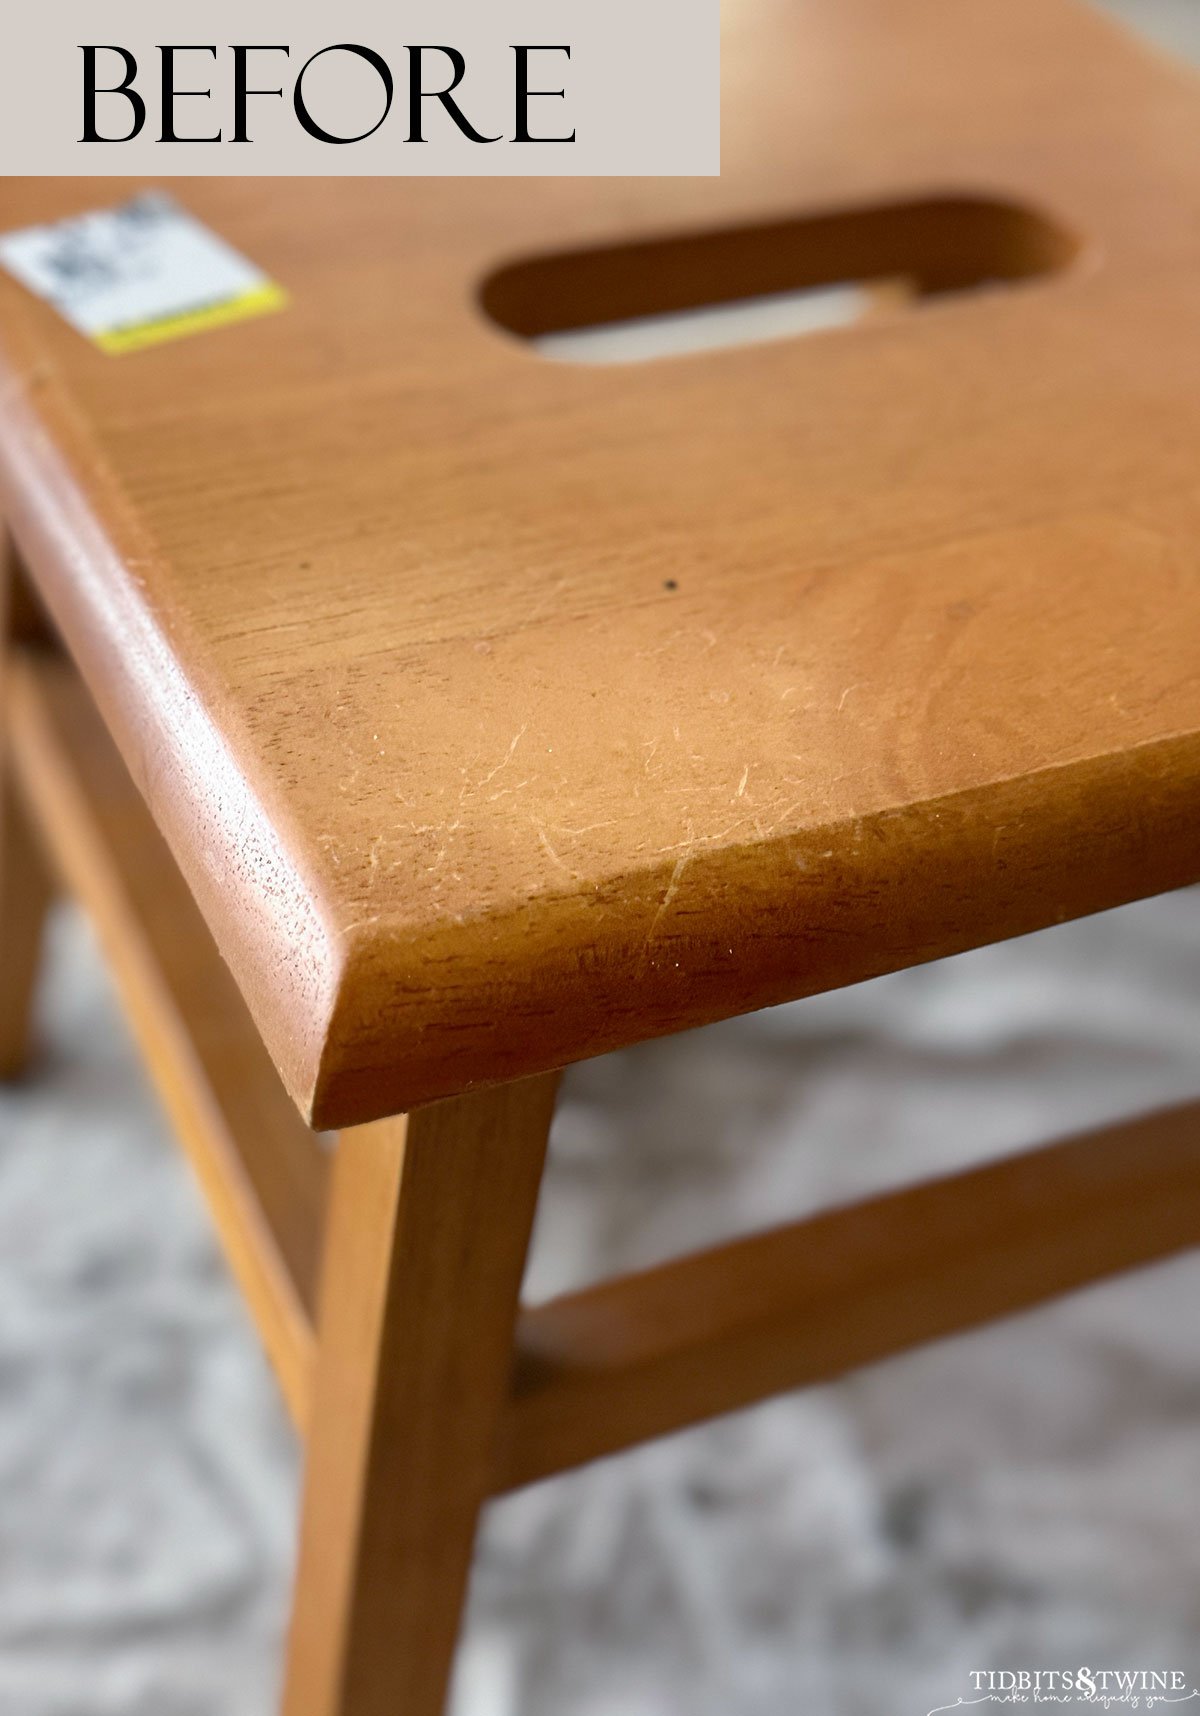
Before
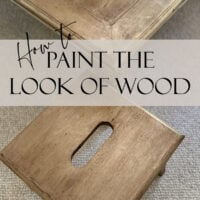
I’ll be using this step stool to show you this easy-peasy process. Here’s the before. It’s solid wood and it’s been stained in an orange-brown color.
Did I sand it? No
Did I prime it? No
All I did to prep the piece was wipe it with a Clorox wipe and let it dry. Had it been really dirty, I might have used a prep cleaner like TSP, but it was in good shape.
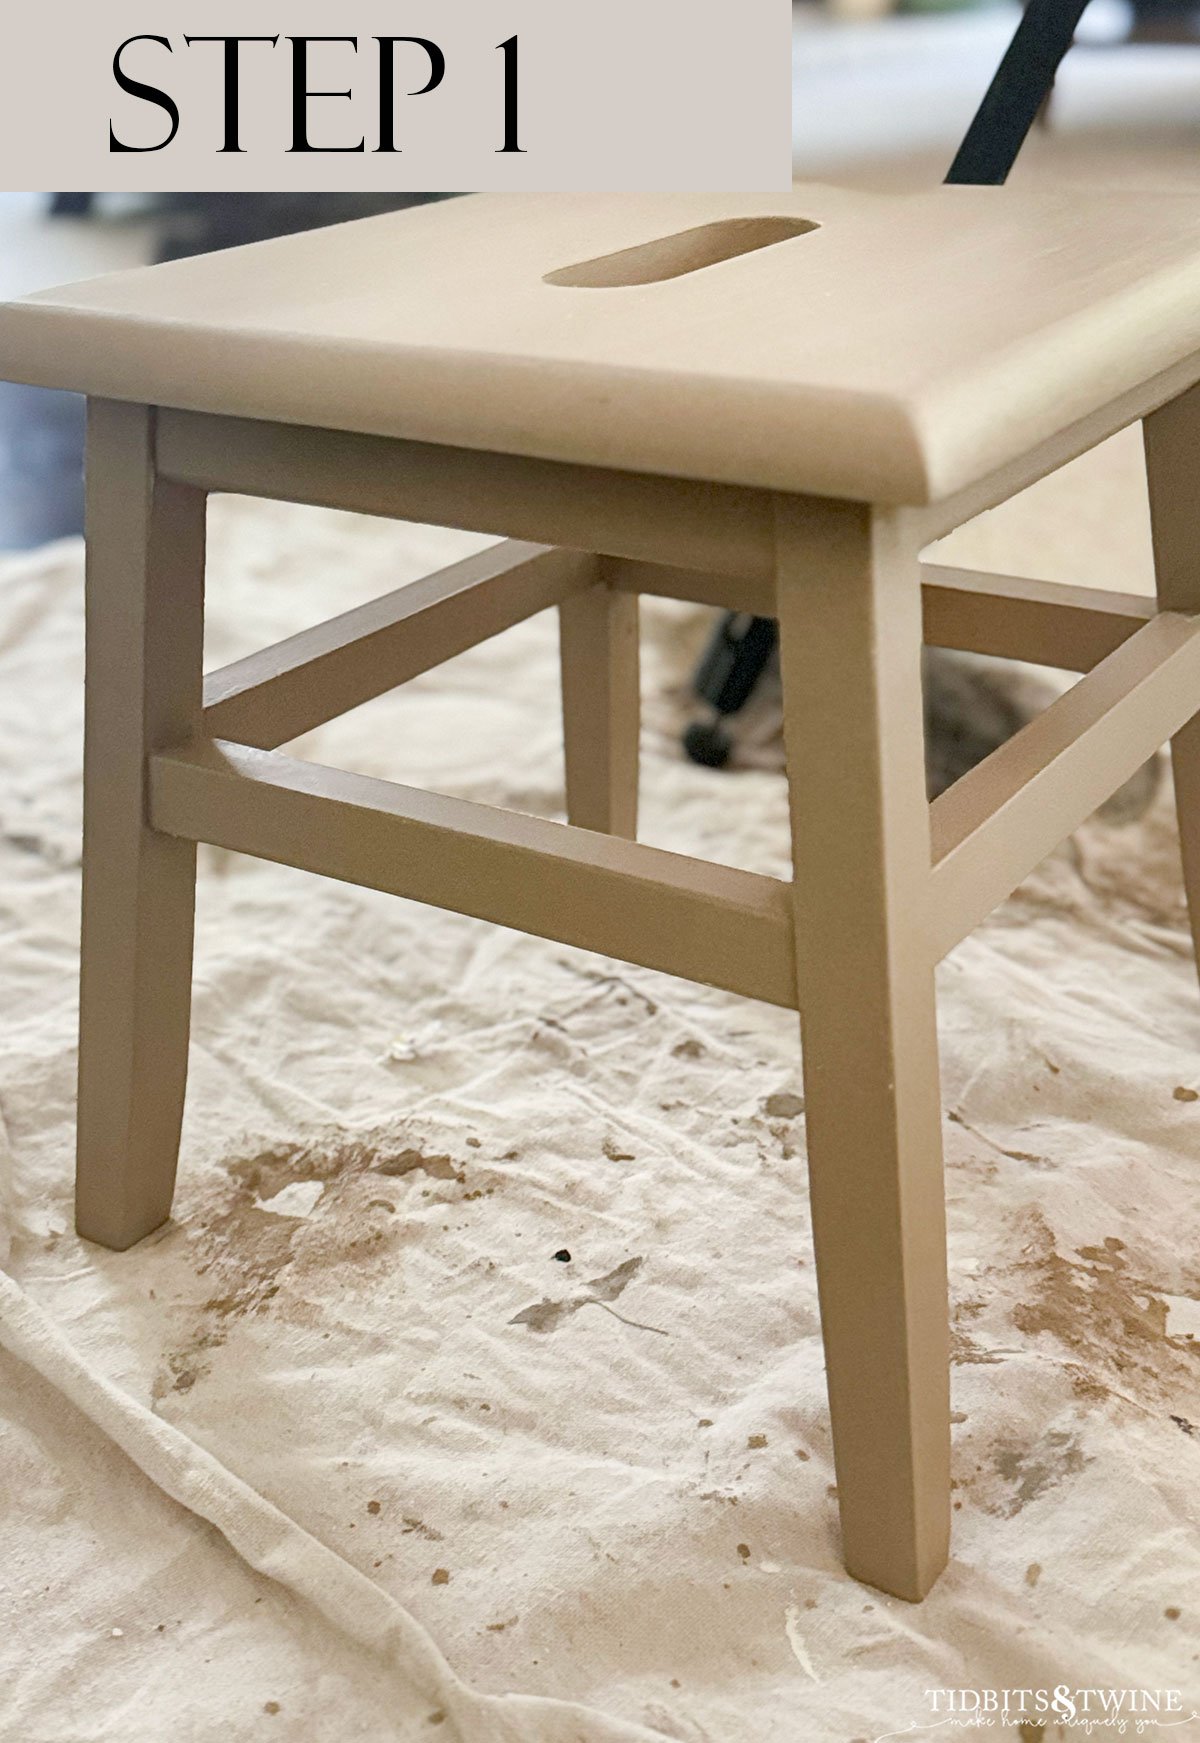
Step 1: Paint Two Coats of Dixie Belle Putty
For this project, I used a paint brush. For the coffee table since it has a larger surface area, I used a roller for the FIRST COAT on the table top. The roller is more efficient but it applies just a thin layer of paint that might be a bit see-through in some areas.
For the SECOND COAT, I used a paint brush.
- Paint in the direction that you envision the grain of your wood to be going.
- Let your paint dry to the touch before moving onto Step 2.

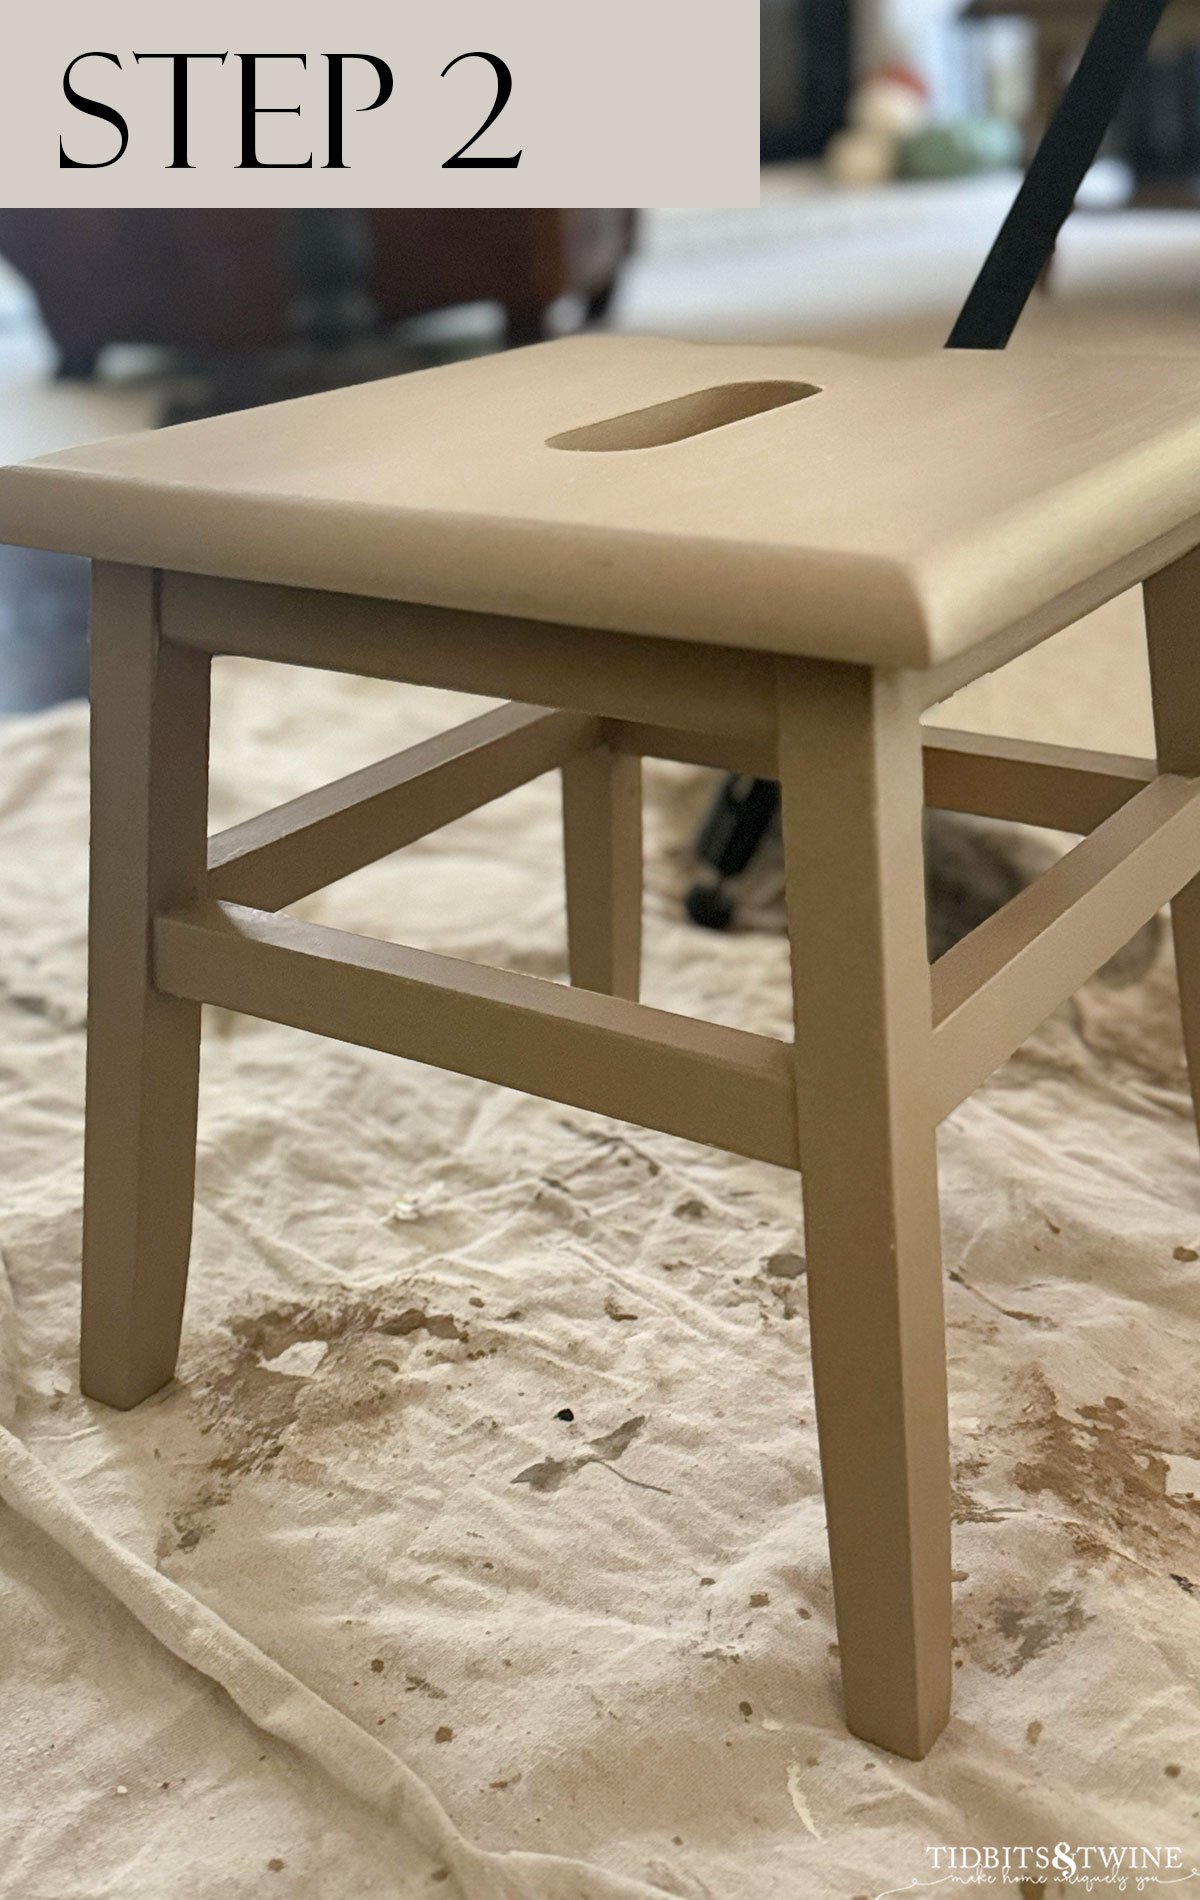
Step 2: Add 1 Coat of Clear Wax
Add a thin coat of clear wax over the entire piece.
- Apply the wax in the direction that you want the grain look to go (same direction as the paint).
- You can wipe away any excess with your cloth.
- Allow the clear wax to dry for 24 HOURS before moving onto Step 3.

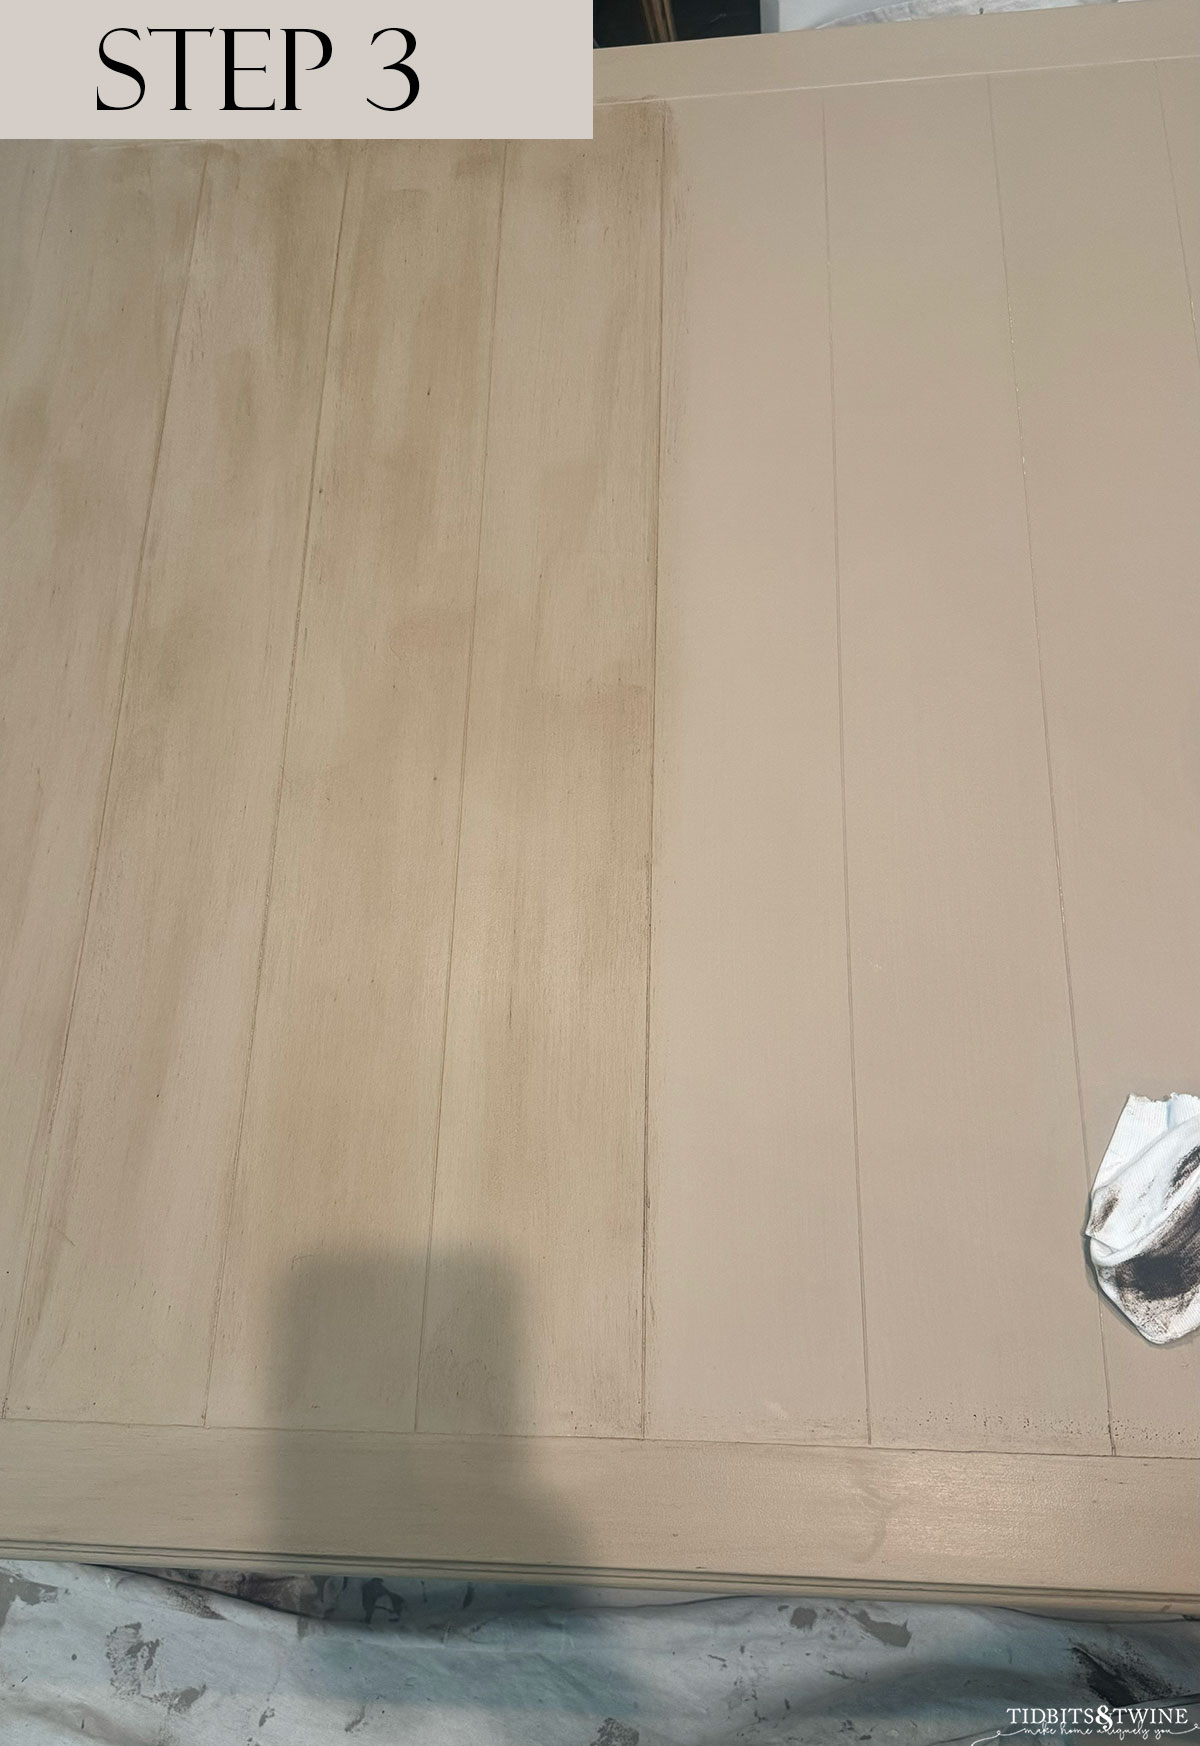
Step 3: Add 2-3 Coats of Dark Wax
This is where the magic happens! The number of coats you apply really depends on how dark you want your piece to be. I ended up doing 3 coats for both the stool and the table.
- Start with a small amount and add more layers rather than apply a lot of dark wax at once.
- Brush in same direction as the paint in order to create a “grain” effect
- Wipe off large amounts of excess but don’t wipe the entire piece. You shouldn’t apply so much that you have excess.
- Allow a couple of hours between each layer but do not let a layer dry before applying the next or the new layer of wax will remove the old layer.
- When finished, it takes 21 days to fully cure. Use with caution before that time is up.
Once the dark wax dry, you can remove some with Clear Wax if you feel it’s too dark, but you can never really go back to the original look. So it’s always best to start small and build up to the color you want.
Below is my actual coffee table as I’m applying the first of three coats of Dark Wax. What a different wax makes! You have to trust the process because it really doesn’t look like much with just paint and Clear Wax.
Video Tutorial for Dark Wax
I don’t normally make videos and you’ll soon see why. Apologies in advance for the number of “ums” that I say. I’ll work on that! Plus my canaries are chirping away in the background. And I didn’t realized I’d be visible in the video and I’m wearing my new favorite pjs. Lol!
Faux Wood Look
Here’s the finished look! You can see the lighter color of the Putty paint showing through in some areas.
The “grain” look comes from the brush marks made during the painting and waxing processes. That’s why it’s so important to brush in the direction that you want the grain to appear!
As you layer more coats, you’ll start to see more depth in the color. If you are consistent with your application, you’ll get a more even finish. On a large piece like a coffee table or dining table, it’s hard to be totally consistent but the varying shades are what make it look natural.
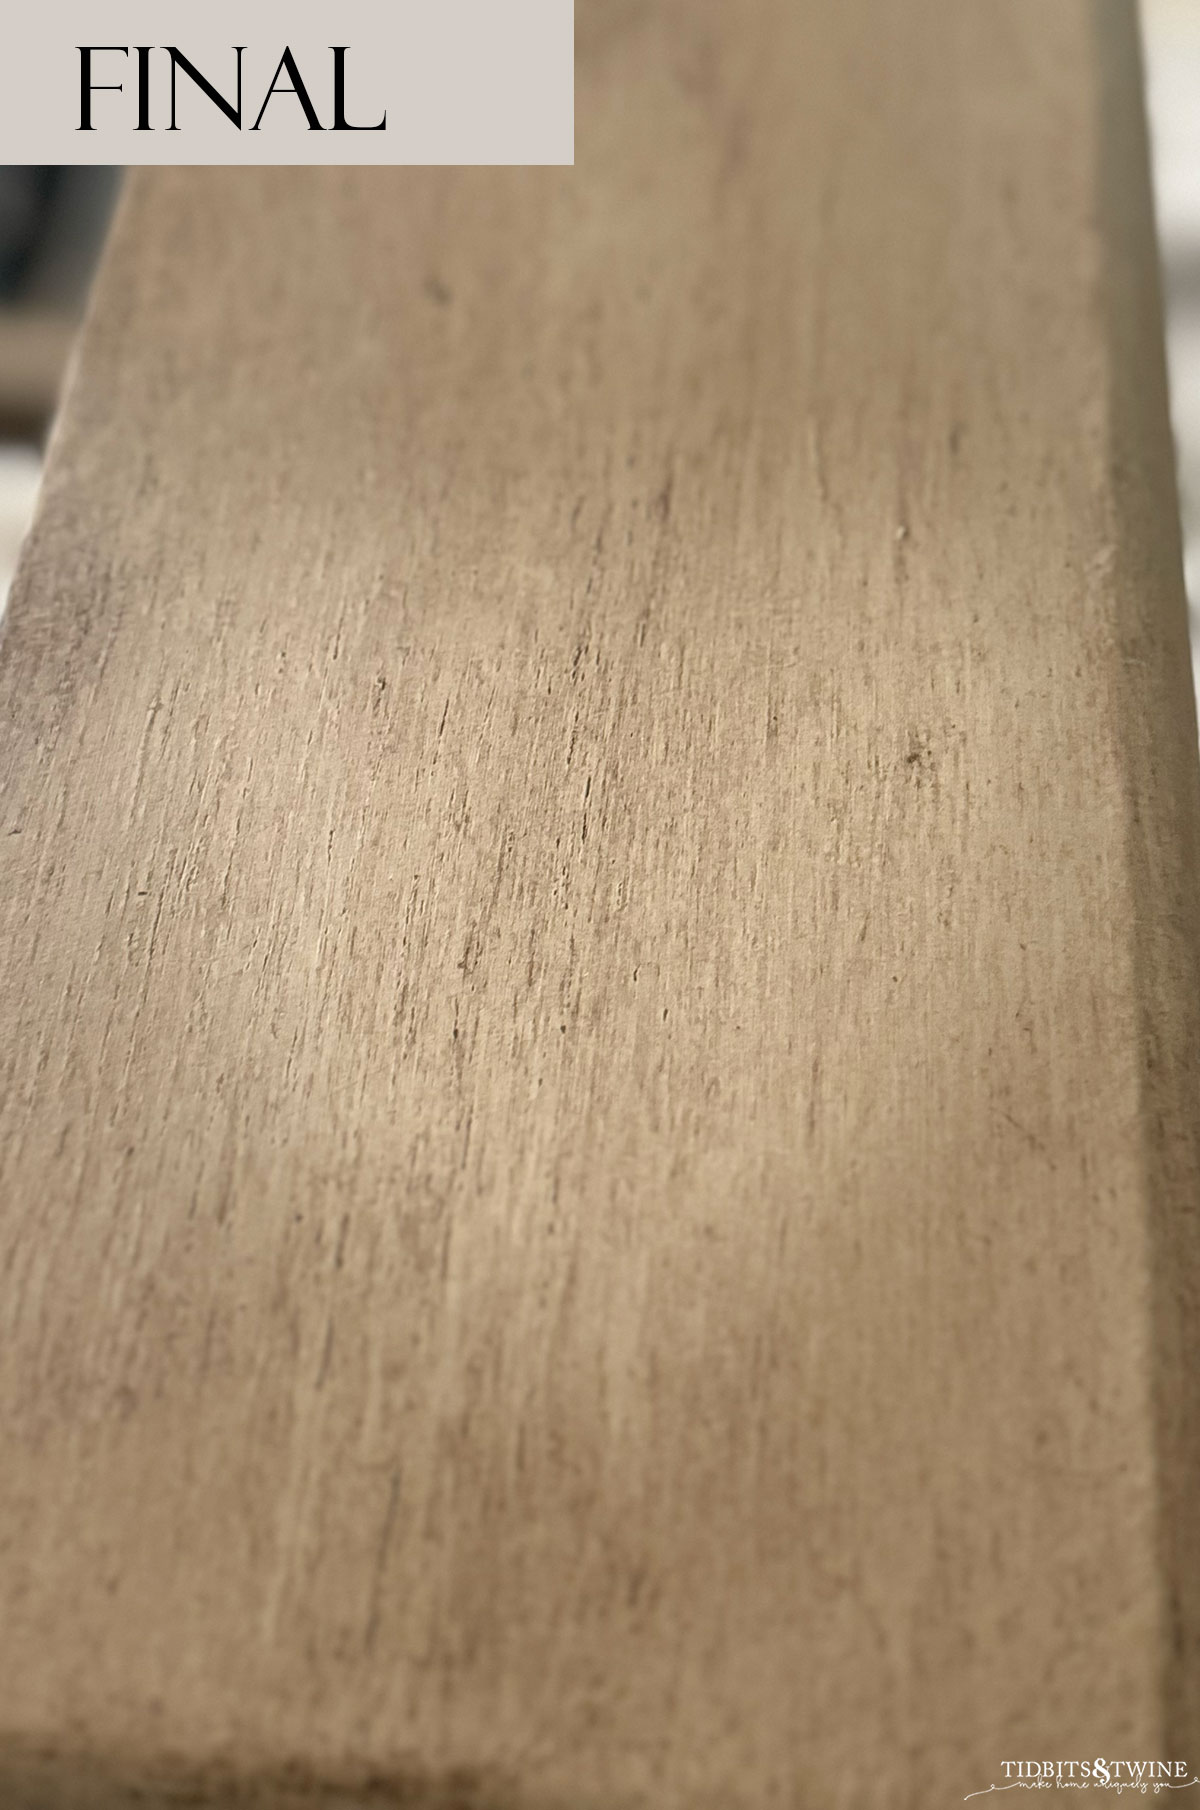
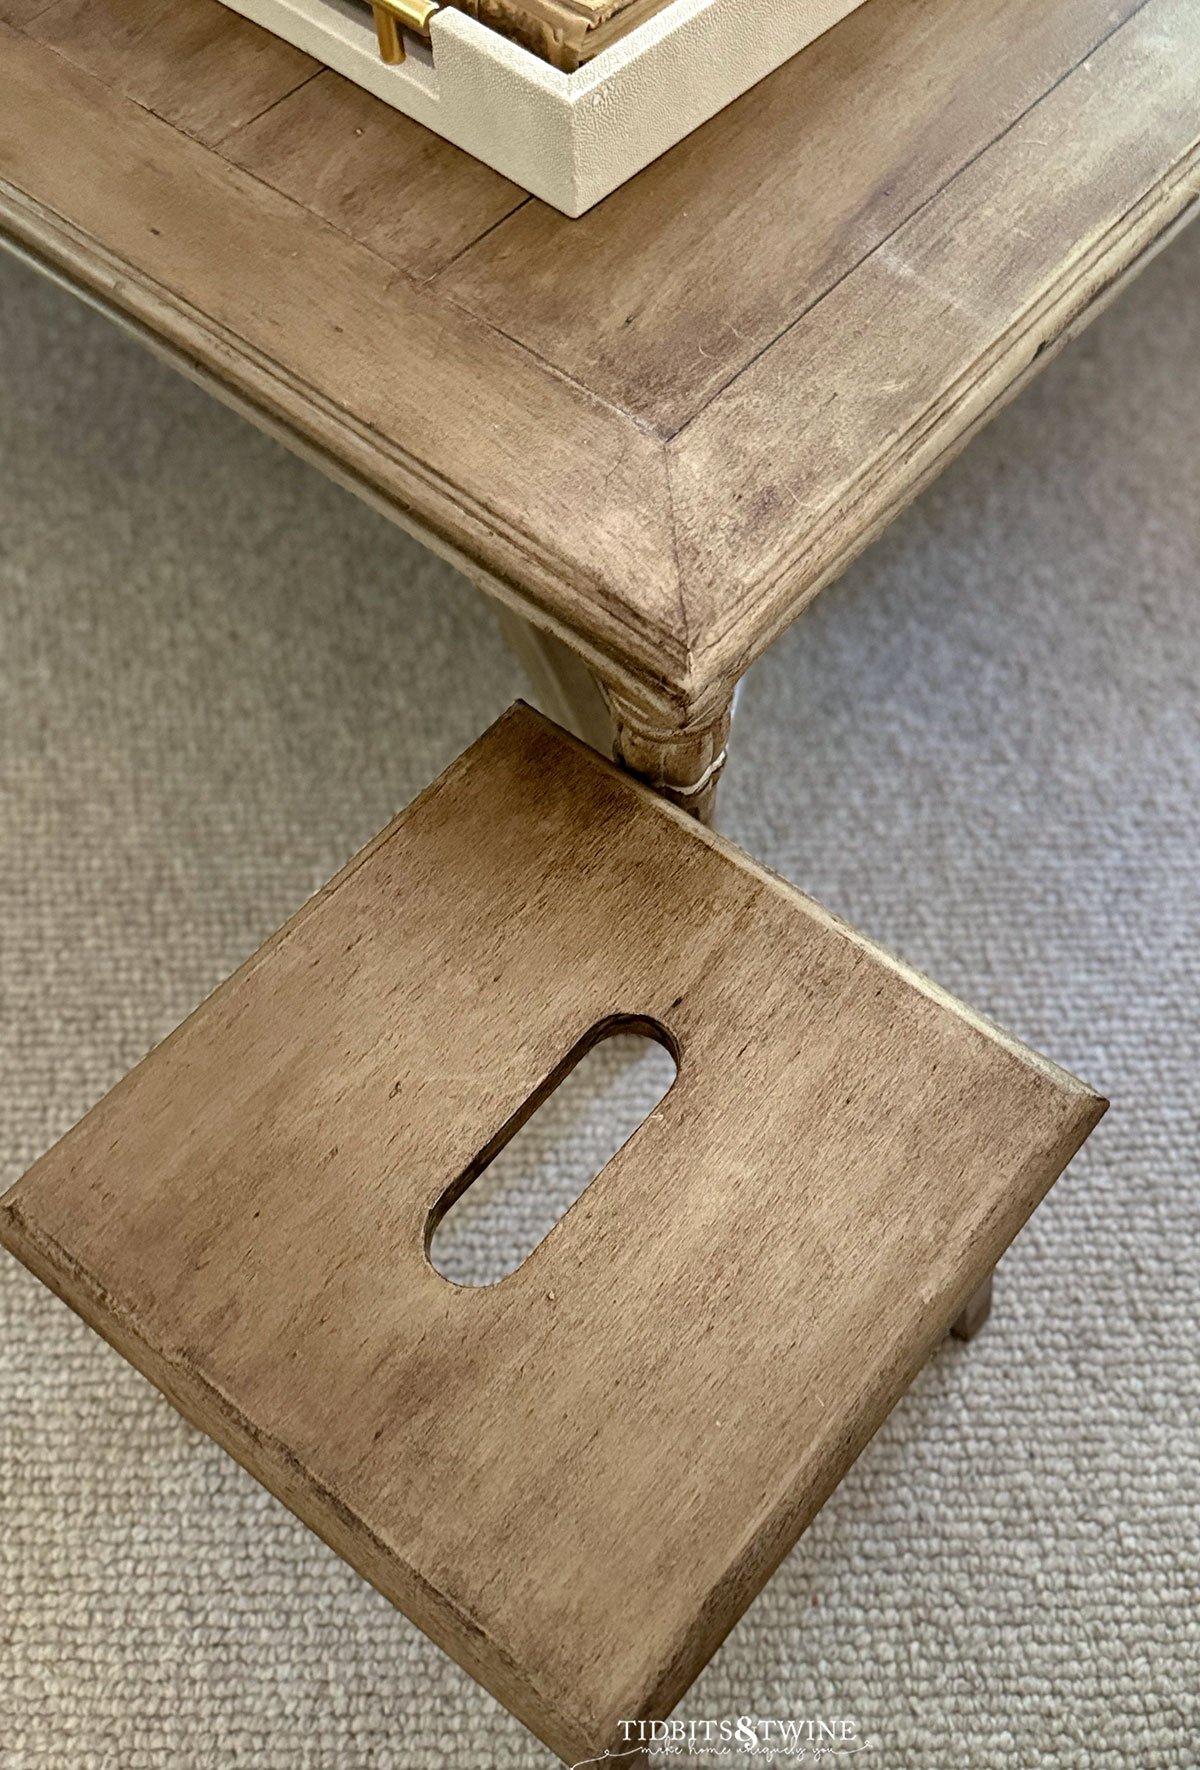
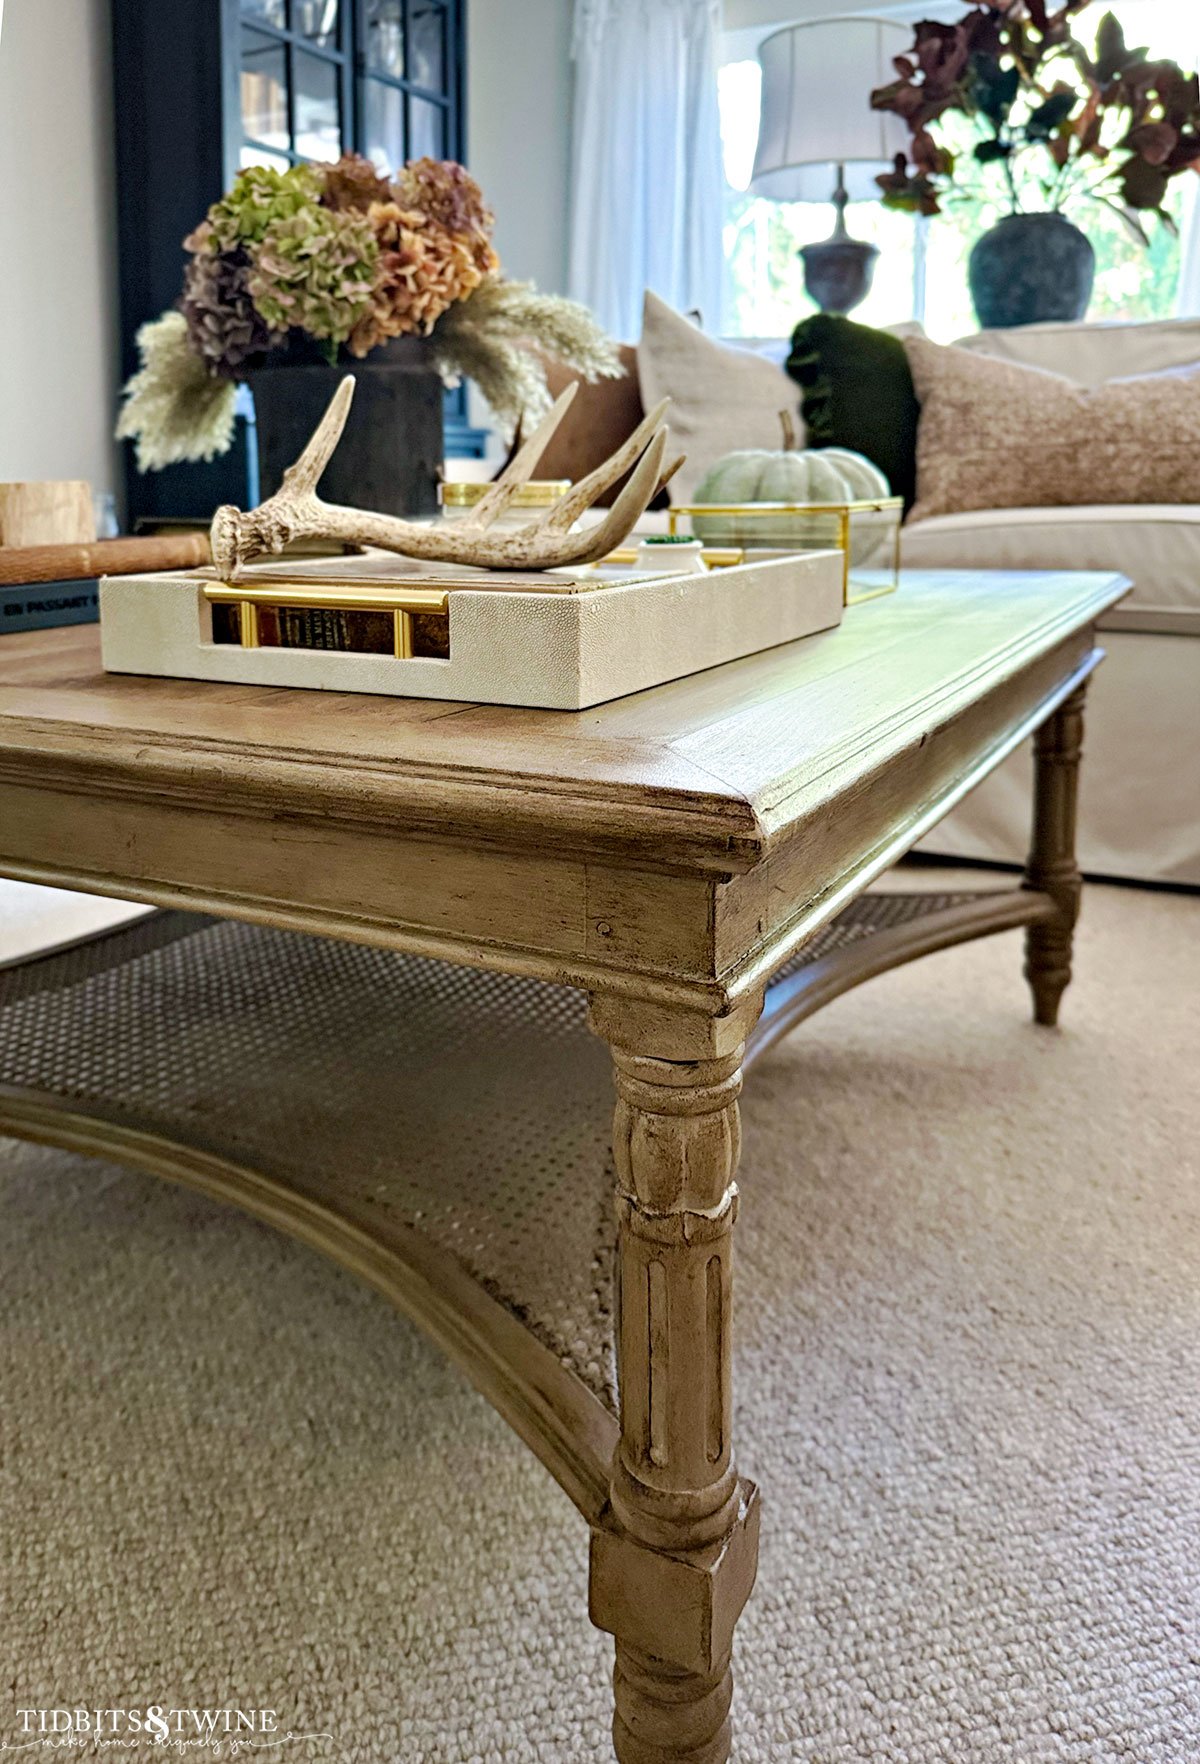
I didn’t add a topcoat to the table because it has so much was on it which acts as a protector. I should have let the wax fully cure before using it though!
Of course, I didn’t do this! We used it right away and I now have little toe prints from where my daughter and her friends put their feet up during movie night. But I’m okay with it…
Other Painted faux Wood Options
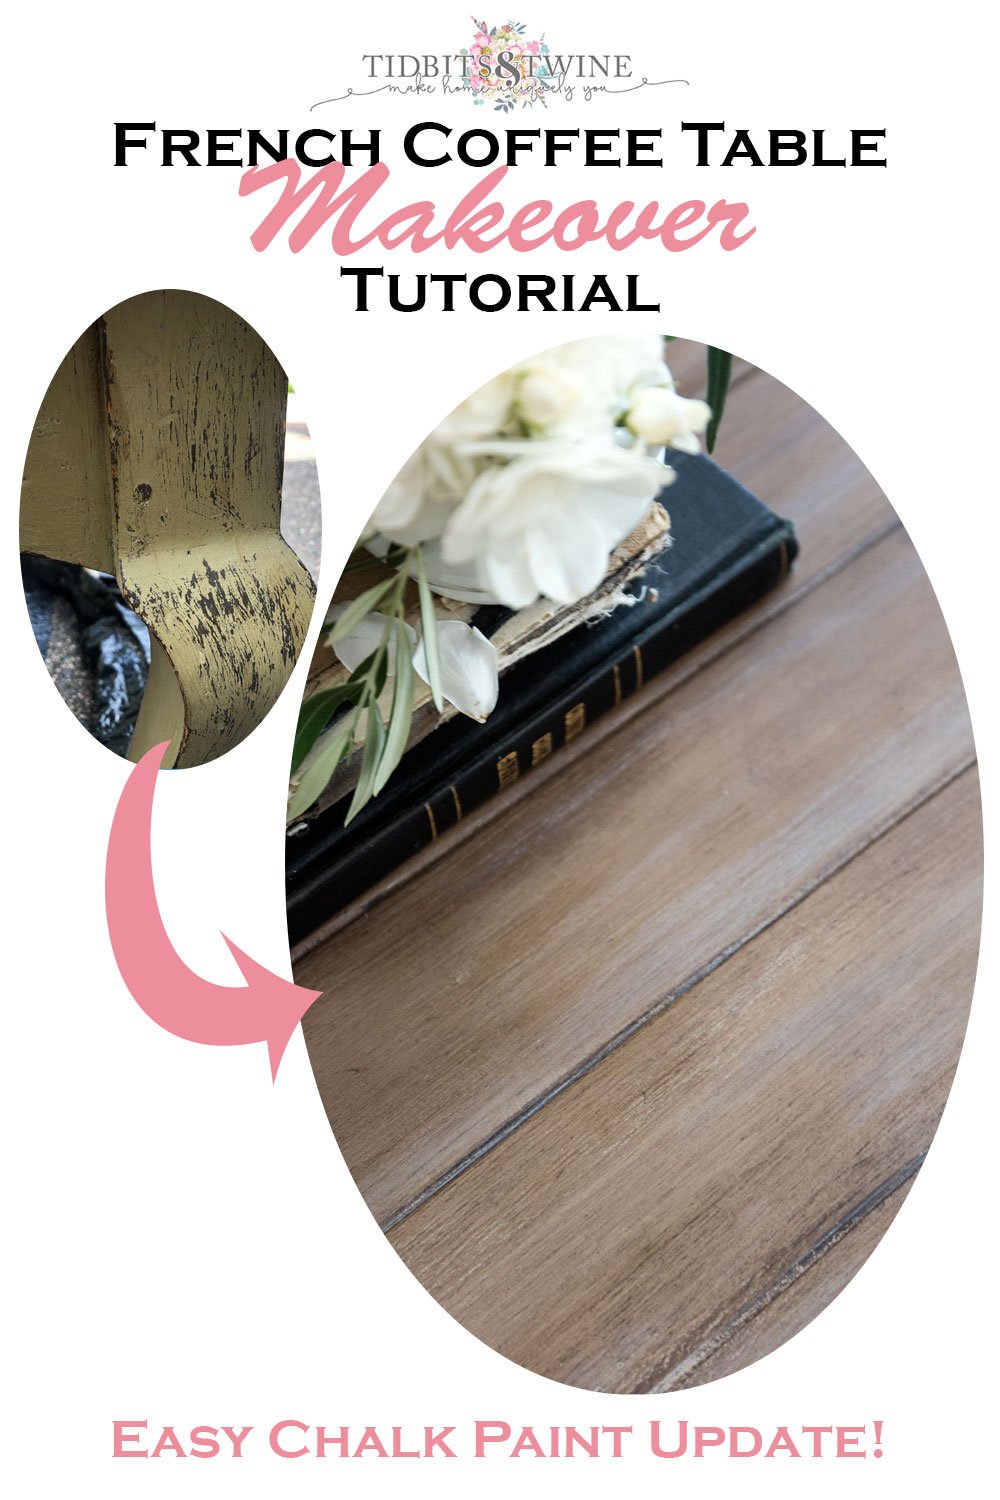
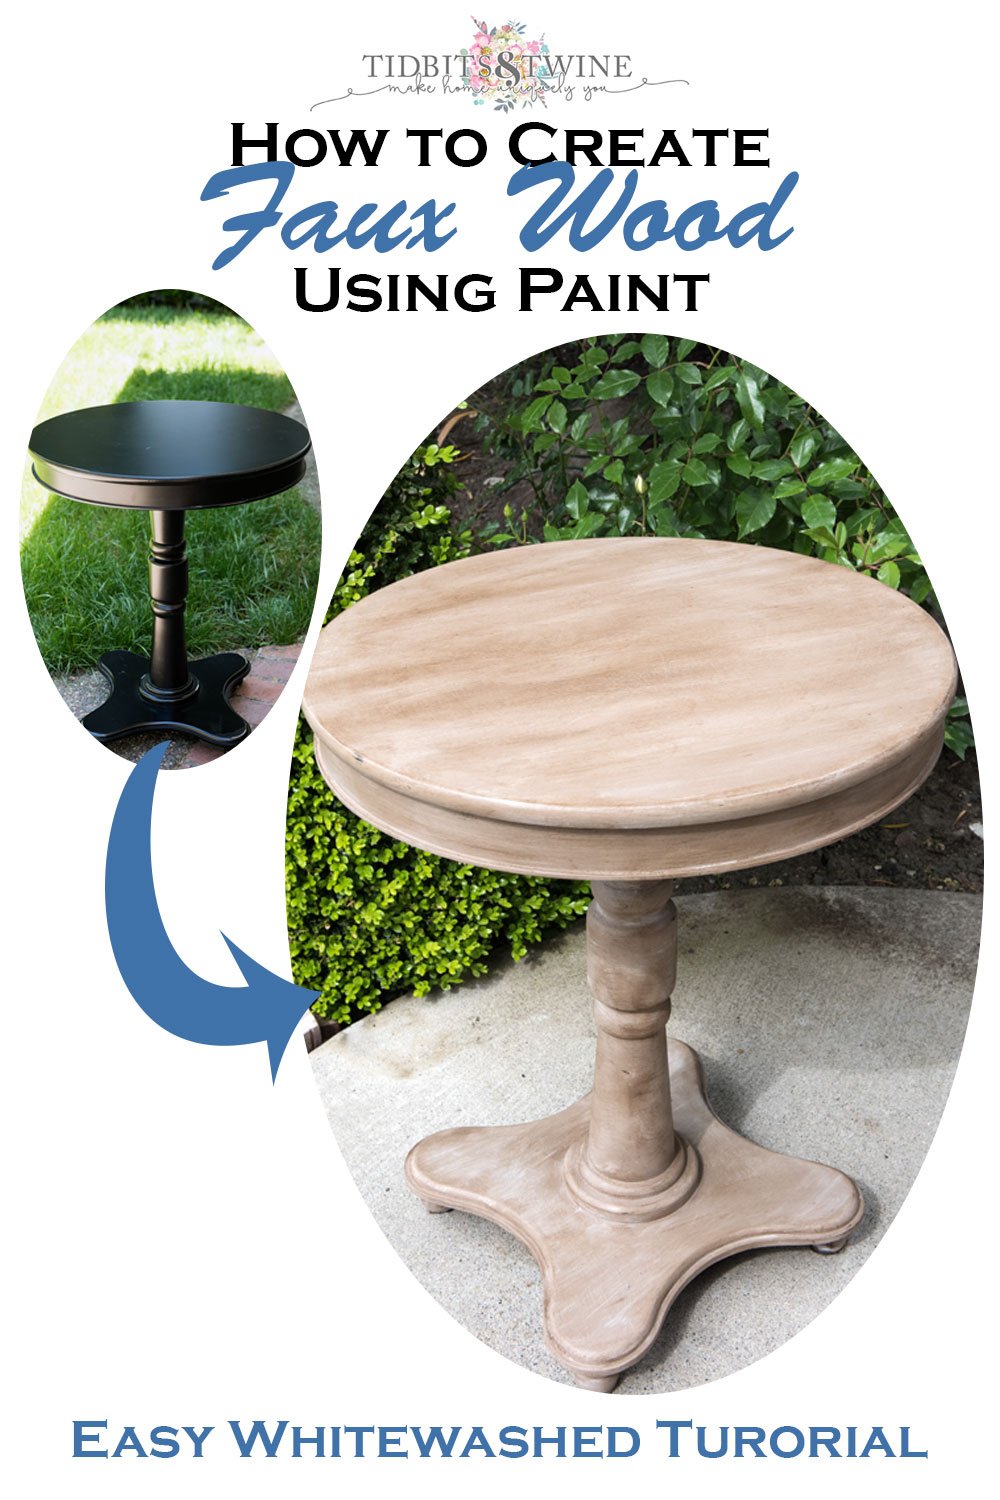
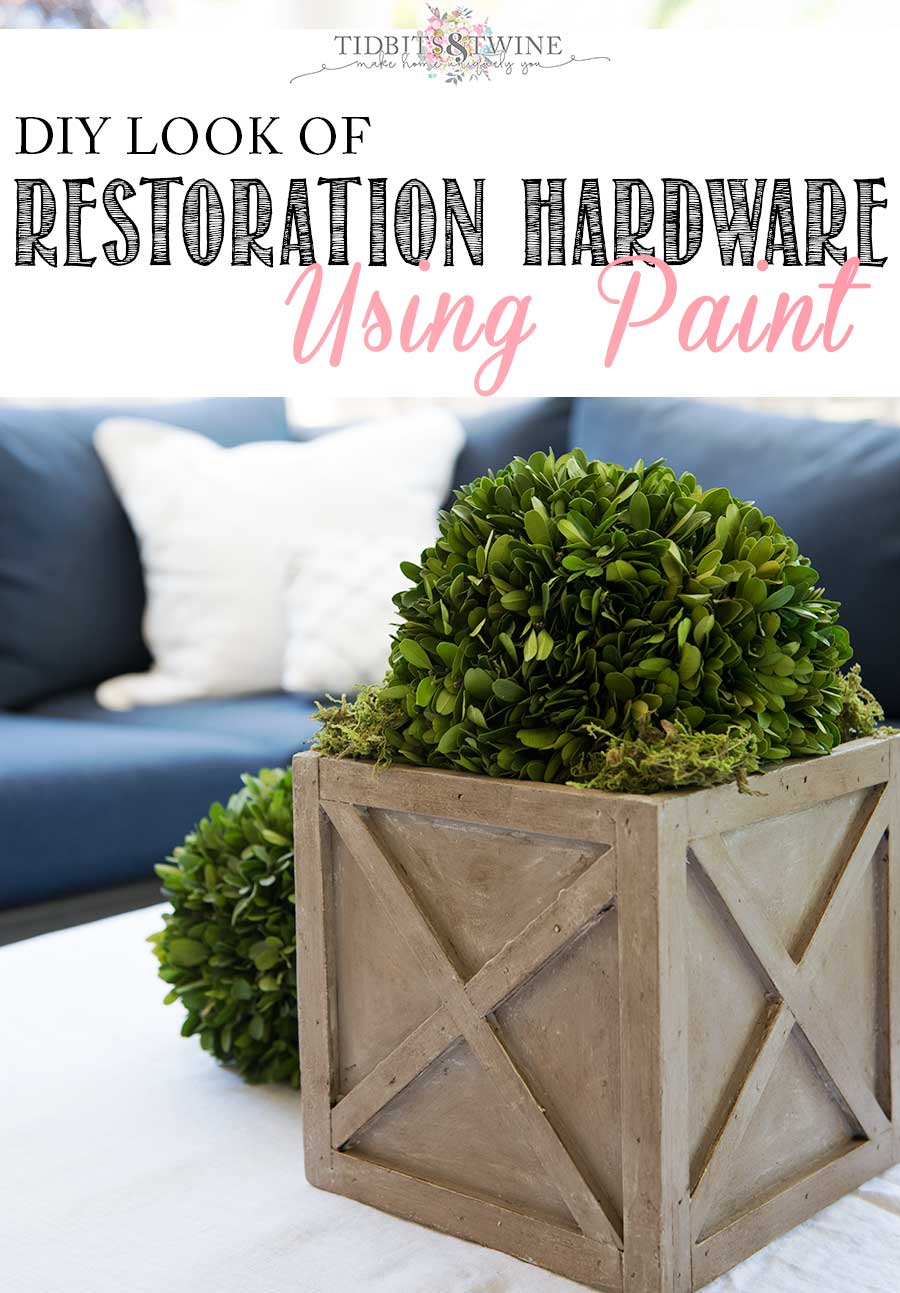
I’ve done tutorials before on how to create the look of wood using paint. Click any of the images below for tutorials.

Join the Community
Let’s keep in touch! Get exclusive artwork plus the latest news delivered directly to your Inbox!

which Annie Sloan colour would match the one you’ve used here?