You can have the most beautiful, realistic fake plant and it’ll still look fake if you don’t style it properly! Here are 2 easy methods for how to secure artificial plants in pots and make your fake plant look real.
I have a pretty brown thumb when it comes to houseplants. Actually, it’s not entirely my fault….the lighting isn’t great in the areas where I usually want to display plants (like in the corner). Well, at least I tell myself that the problem is the lighting… Lol!
I’ve previously shared my favorite fake plants, but let me reiterate one point. I am very particular about fake plants. The leaves need to look real, the branches/trunk needs to be realistic…I’m even particular about the way that the leaves attach to branches!
But none of that matters if your fake plant isn’t properly styled so that it looks real.
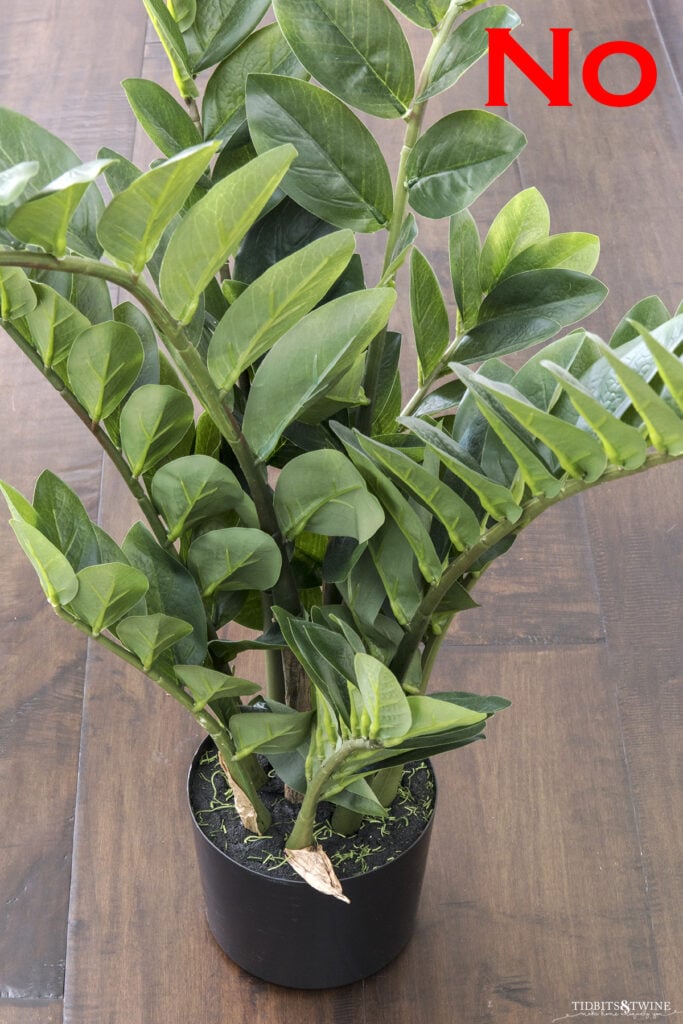
Most fake plants come in a cheap plastic, weighted pot with brown/black plastic dirt. Some do come in plastic containers with Spanish moss and while I do like Spanish moss, the cheap plastic container is still a dead giveaway.
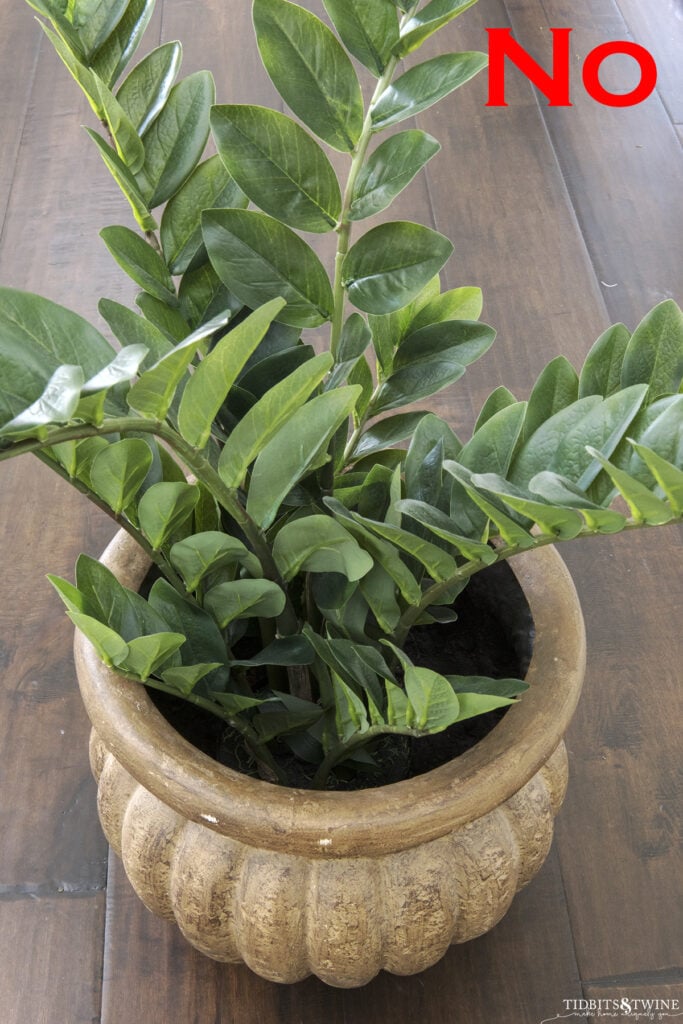
With that being said, you can’t just buy a fake plant and toss it in the corner or plop it on the coffee table and think you’re done. No, you have to style it. That’s why it’s important to pot artificial plants so that they look real!

I use two different styling methods in my home so I’ll share both with you!
How to Secure Artificial Plants in Pots
I have several fake plants in my own home and have had them for years. Here’s my secret to styling:
The key to making a fake plant look real is to add real elements to it!
Kim @Tidbits&Twine
Please don’t misunderstand me and start adding real leaves into your fake plant! No, add your real elements at the base!
Base Elements
- Rocks
- Moss
- Moss Rocks
- Dirt
Dirt, rocks, and moss are all real elements you’d find at the base of a real houseplant, so they should be at the base of your fake houseplant, too!
Materials Needed
- Artificial plant
- Decorative planter/pot
- Scissors
- Packing material (newspaper, plastic bags, etc)
- Riser (optional)
- Cardboard or plastic pot liner
- Dirt or moss (depending on method below)
Potting Method 1 – For Dirt & Small Rocks
To me, the most realistic-looking fake plant is one that has dirt at its base. While you could just plop your fake plant into a pot and fill the whole thing with dirt, that could potentially be a lot of dirt and would be very messy if you ever want to change the pot or plant. Instead, follow these simple instructions.
First, start by upgrading that yucky plastic container with something beautiful that fits your design style! I personally love using baskets just for the texture, but any container that is wide enough to accommodate the plastic pot and deep enough that you can cover it will do.
If your planter has straight sides, you can simply flip it upside down on a piece of cardboard. Trace around the opening to create a circle that is the same diameter as your pot. From there, start with Step 2 below.
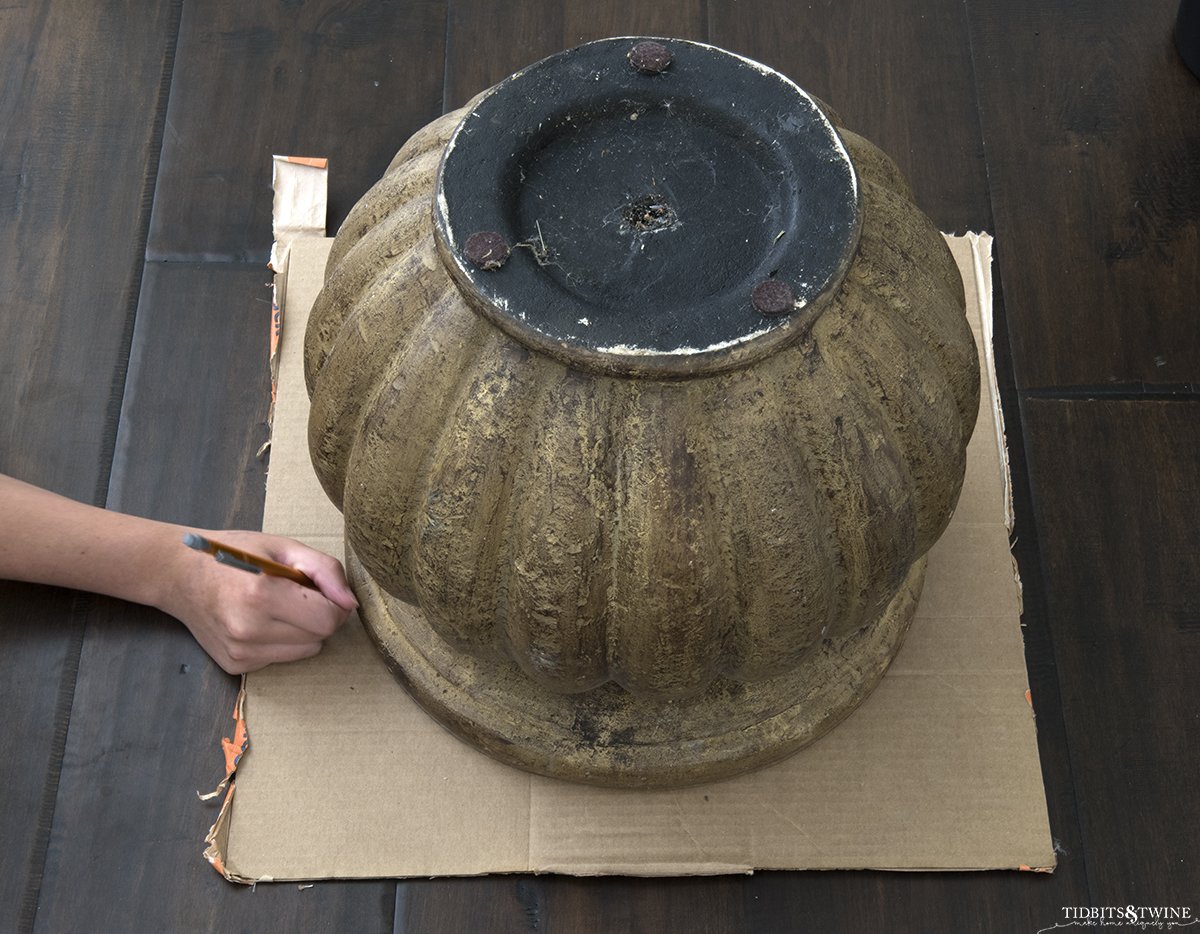
But, not all pots have straight sides, like the one I’m using here. For pots/planters that are curvy or with thick sides, use a plastic pot liner instead! With the thin plastic liners, you can bend them to fit the shape you need.
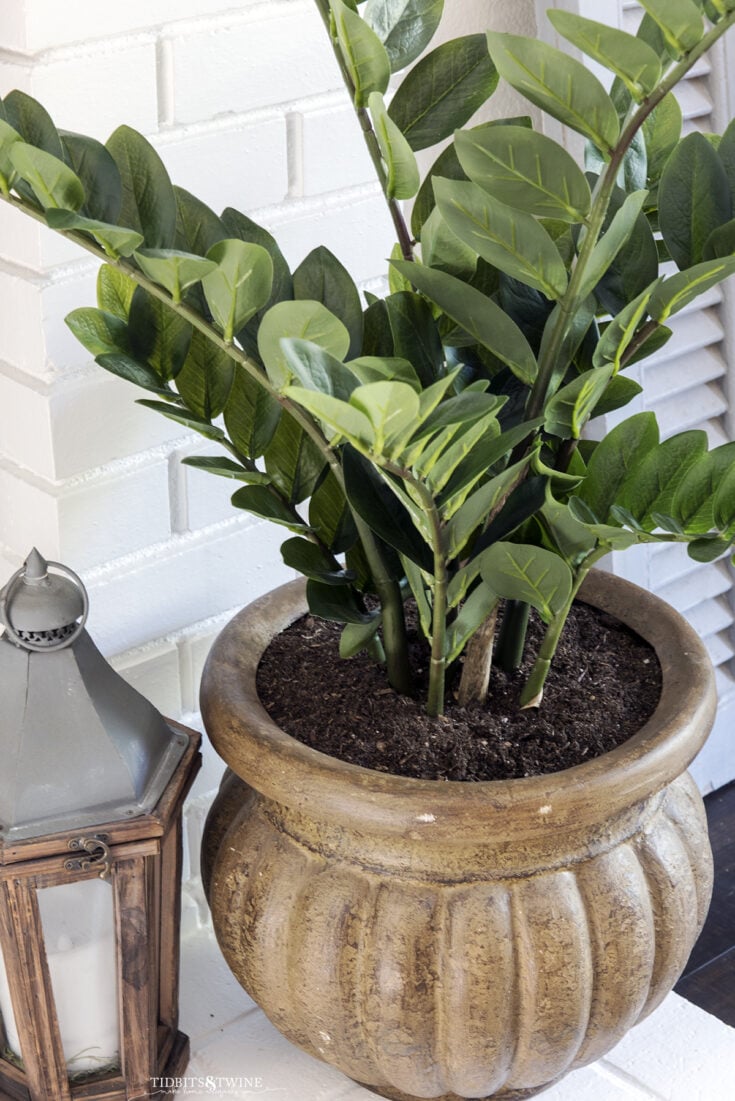
I’m using an artificial ZZ Plant and a pot I had sitting in my garage for years.

Step 1
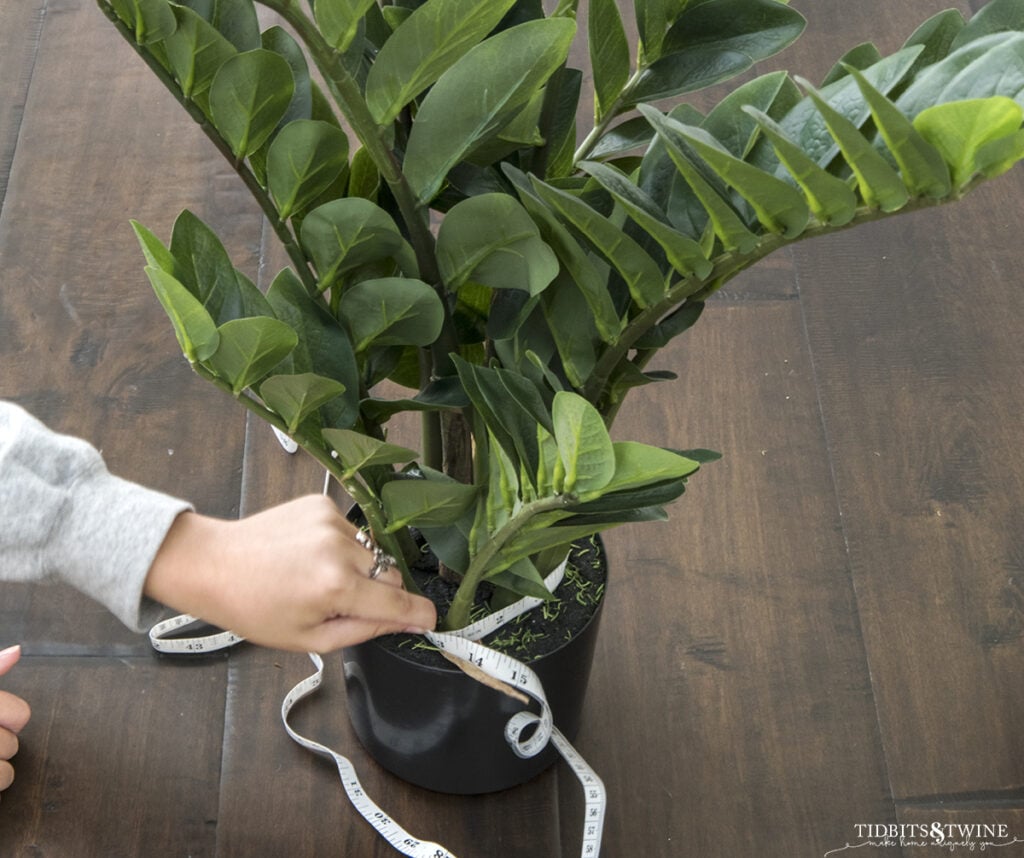
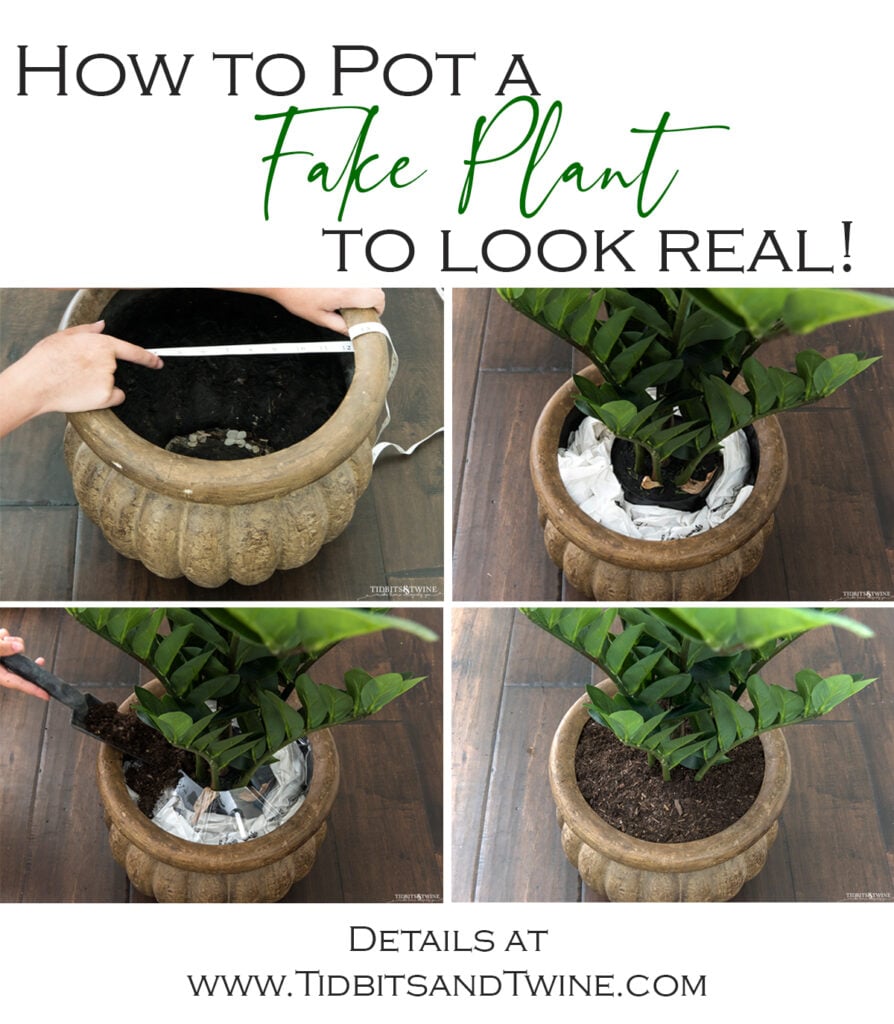
Measure the opening of your pot AND the diameter at the height you want your plant to sit. The opening of mine is 11″ but further down where the plant will sit is 12″. The plastic liner is flexible so I can squeeze 12″ through the 11″ opening.
Step 2
Measure the circumference of your plant at the base (measure the plant, not the pot).
Step 3
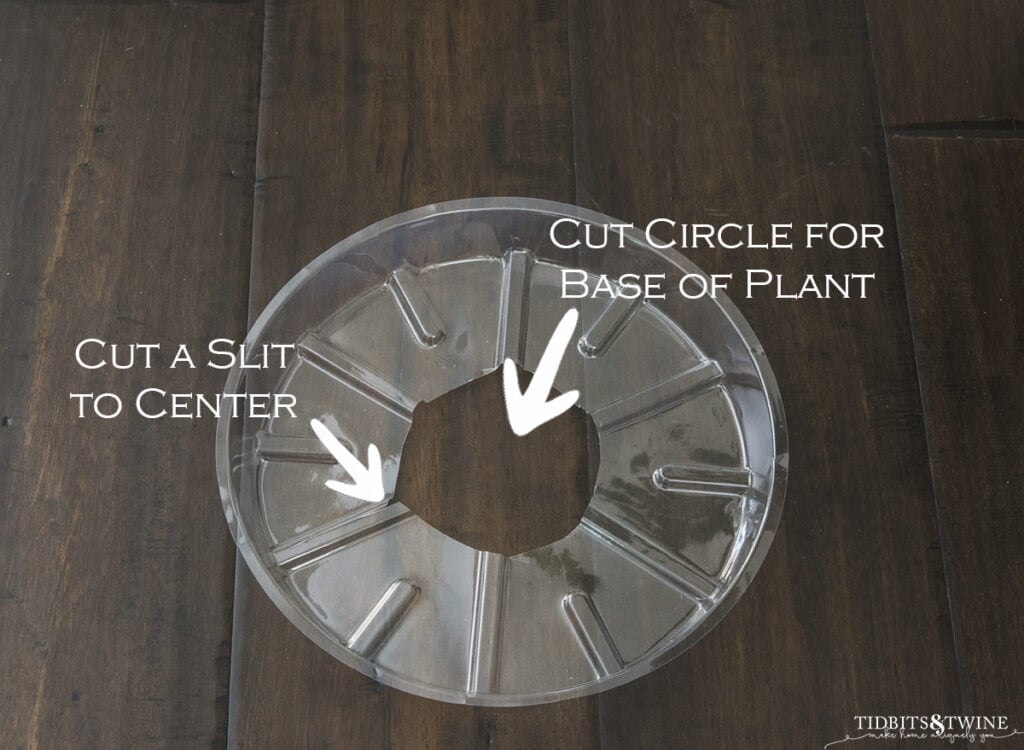
Select a plastic liner size nearest to the diameter of your finished opening. Cut from the outer edge to the center. Because the plastic is flexible, this cut will allow you to contract/expand the liner as needed. Cut a circle in the center matching the diameter of your plant’s leaves/stem.
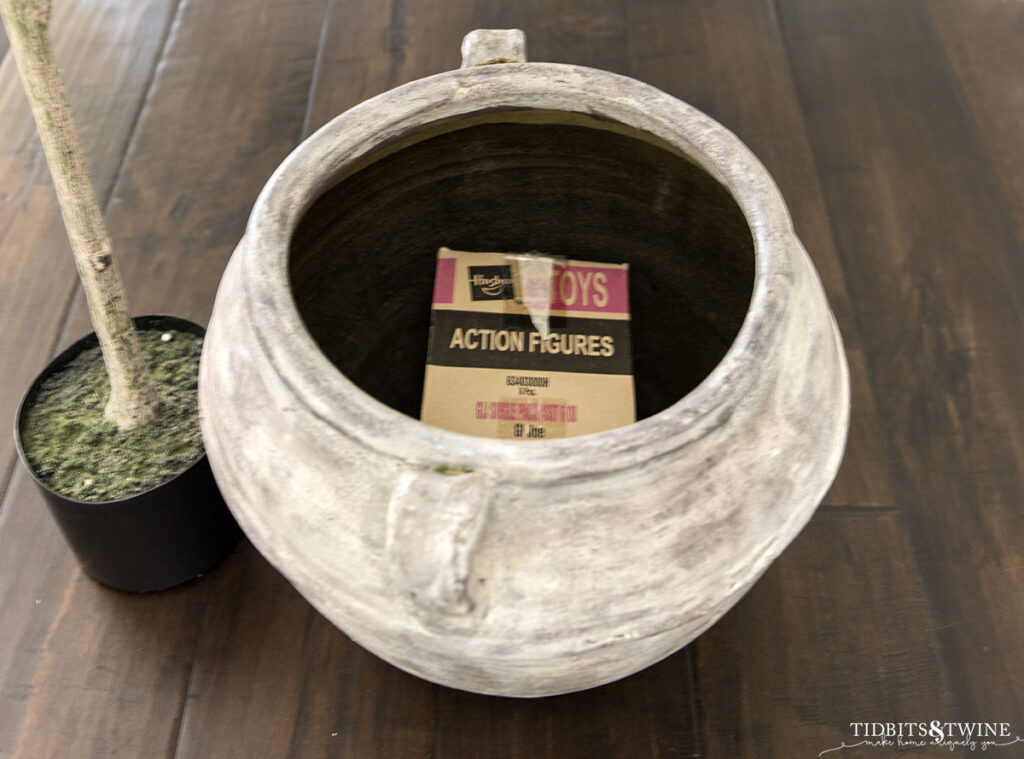
Step 4 (optional)
Determine your finished height. If your container is deep and you want to raise the height of your plant, add a base. You can use books, boxes, even Tupperware! Just make sure that whatever you use to add height is sturdy and that your plant is stable on it.
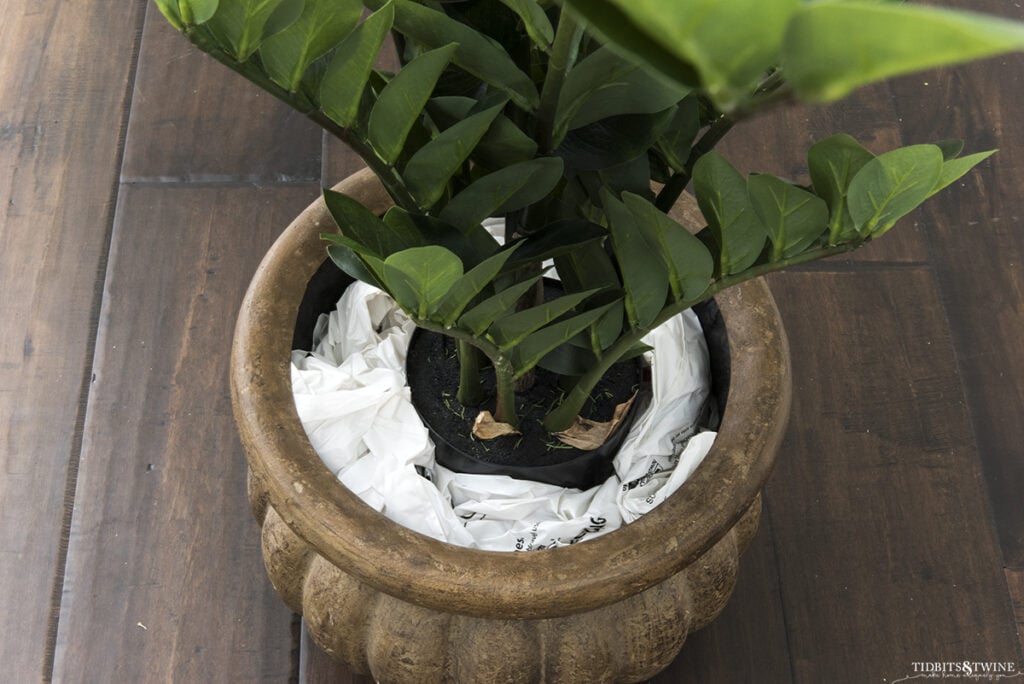
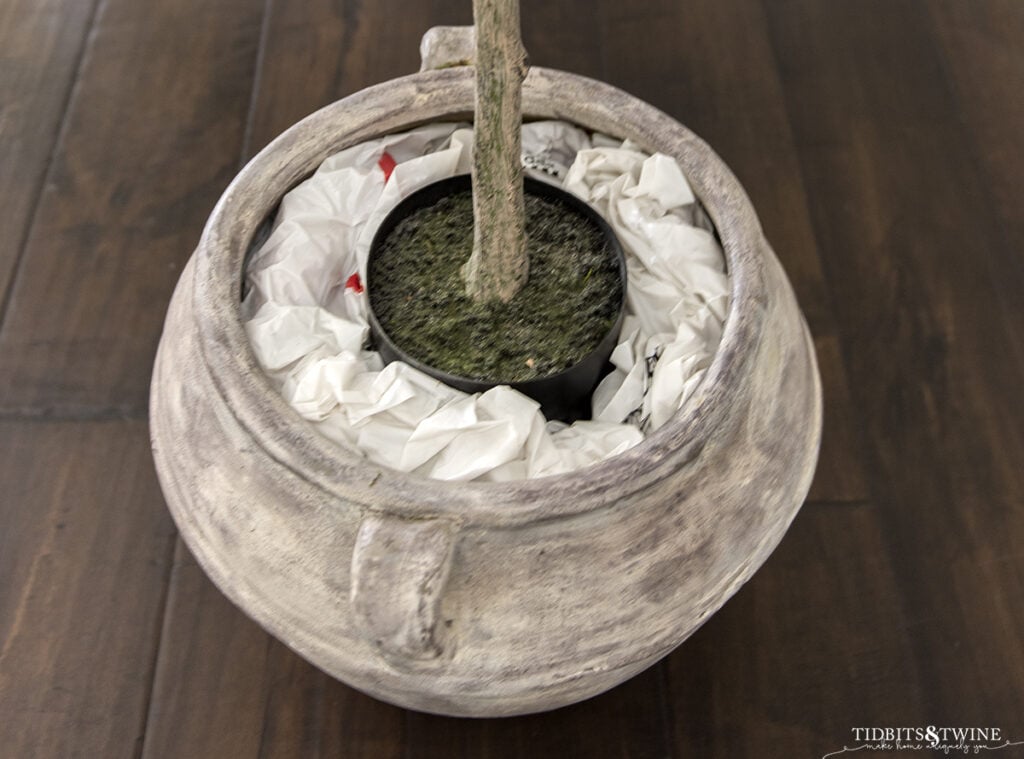
Step 5
Fill in the gaps. I use grocery store bags almost always, but newspaper, tissue, bubble wrap, or any type of filler material will do!
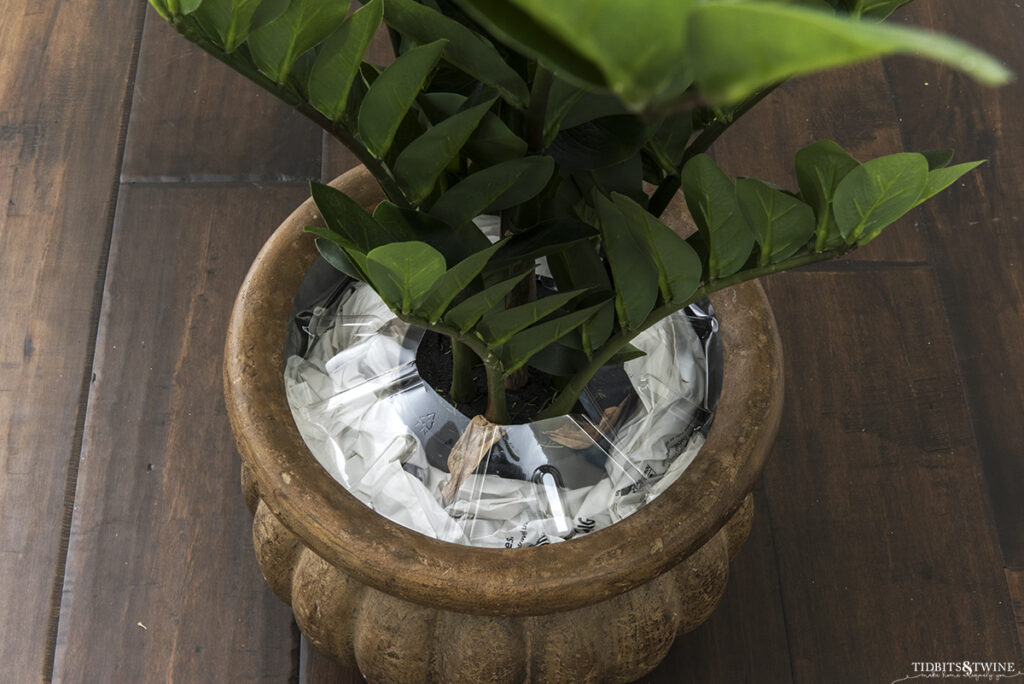
Step 6
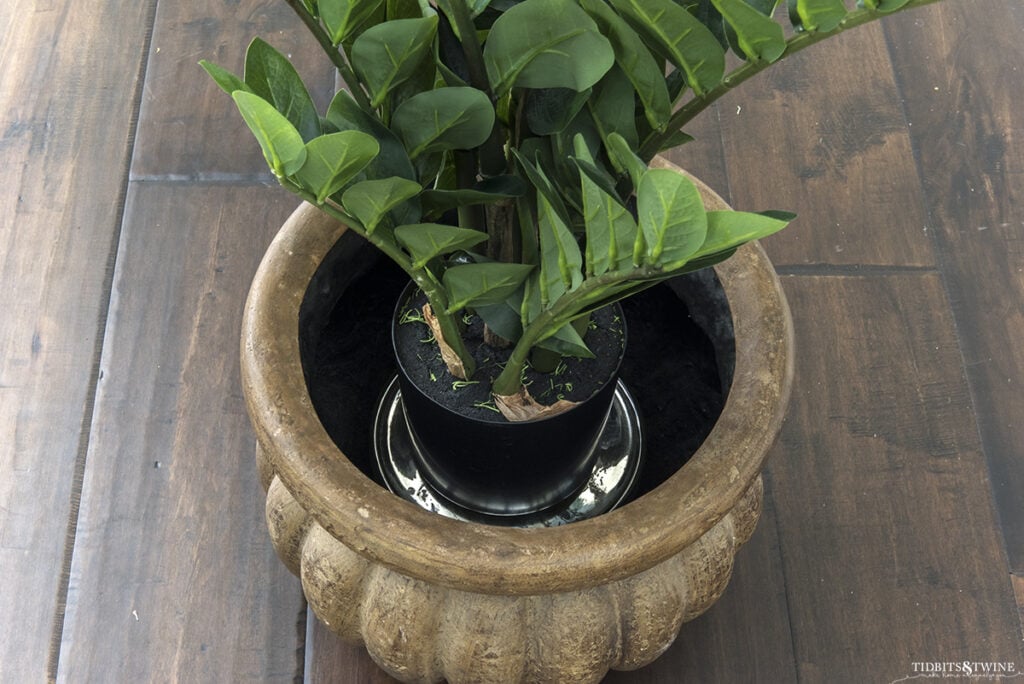
Insert your liner (or cardboard).
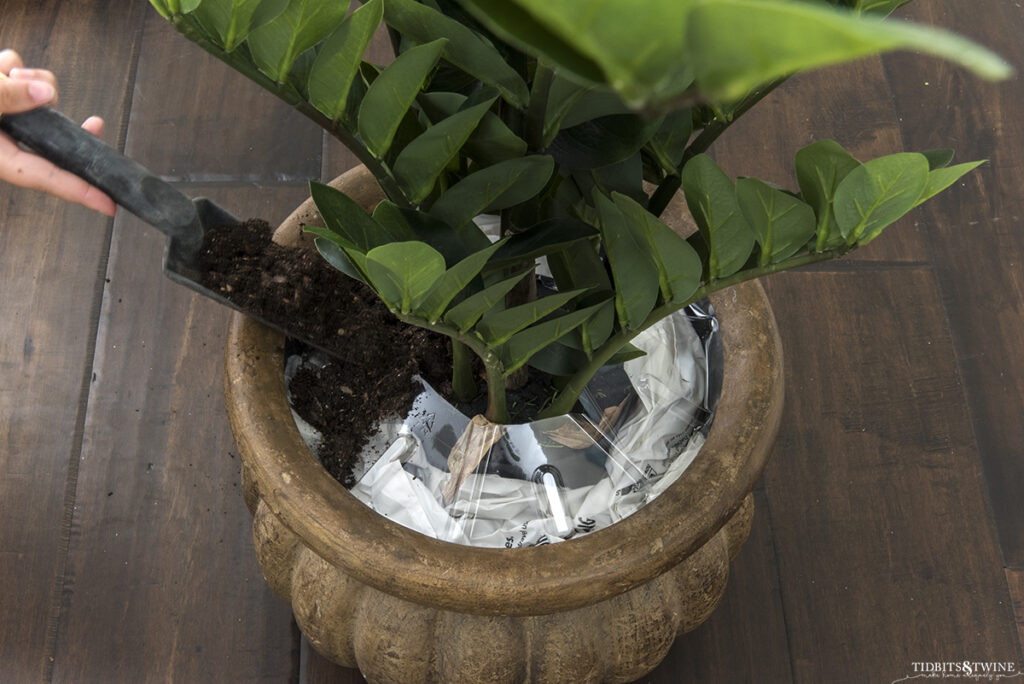
Step 7
Add a layer of dirt to cover the liner and plastic pot.

But wait…
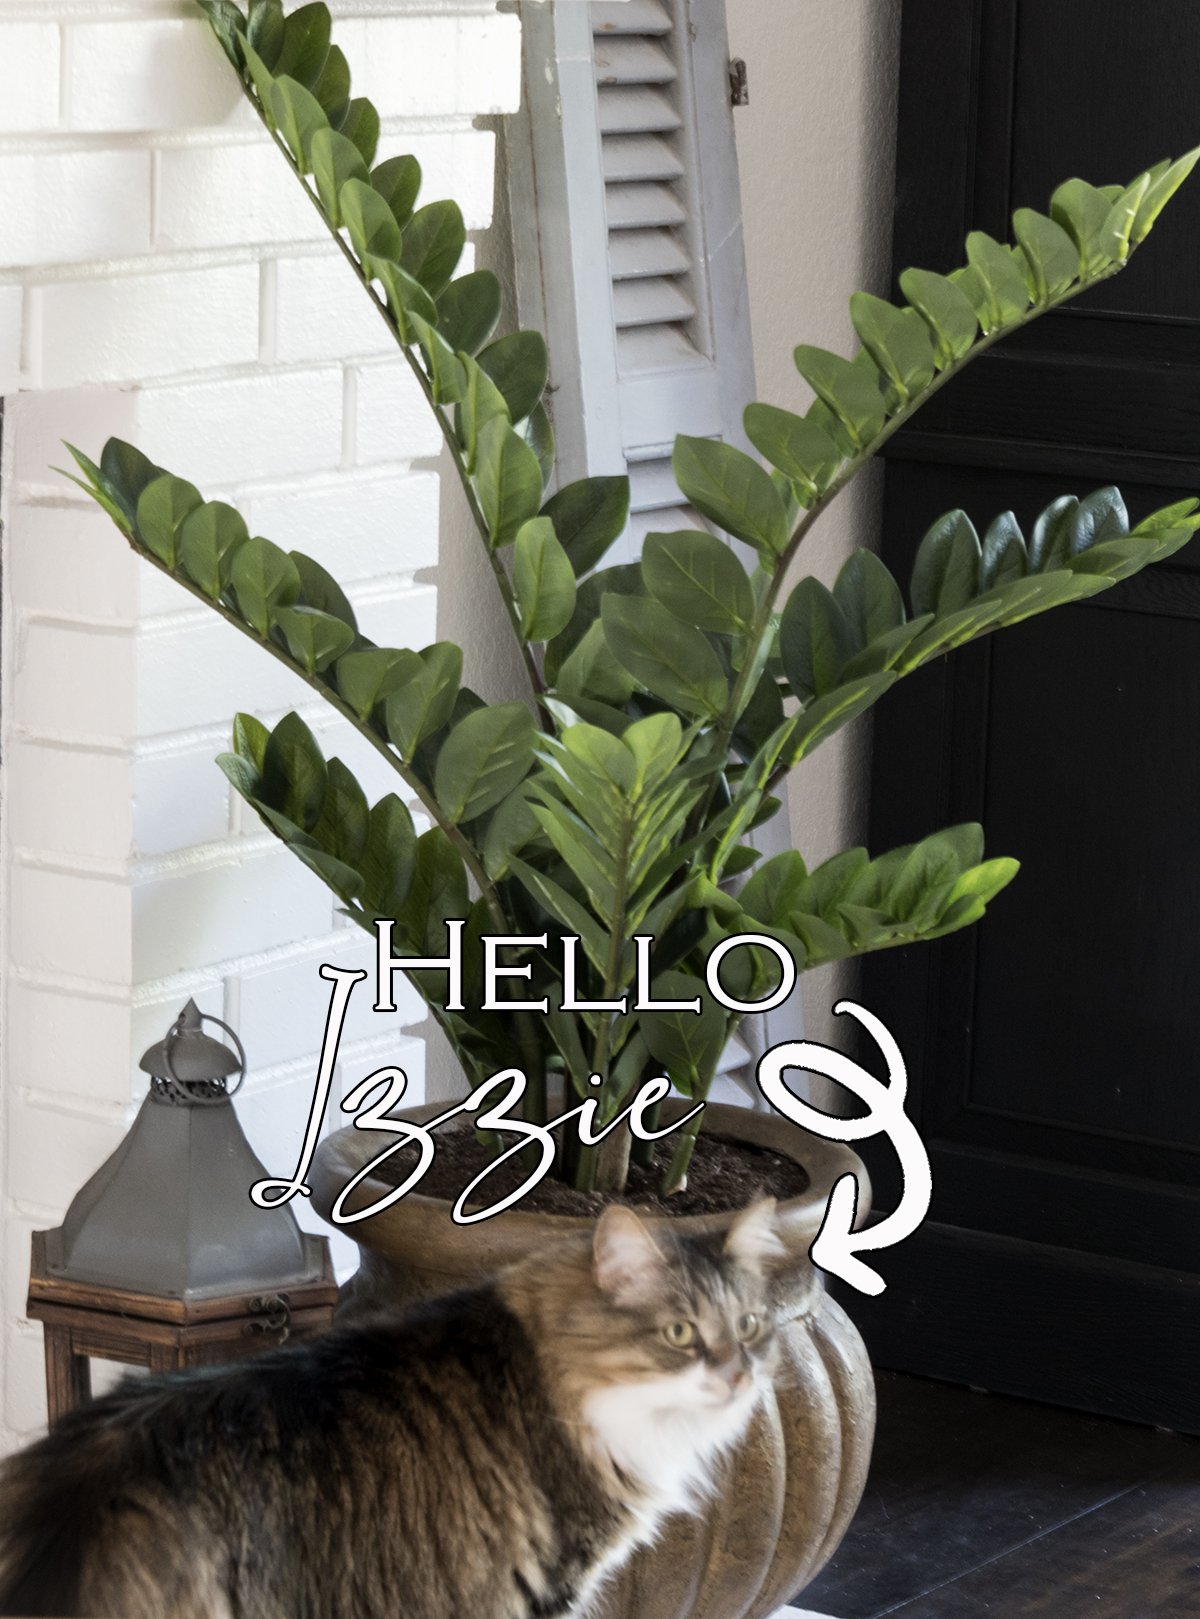
I have a cat who loves to dig. In fact, as I was setting up my photo, guess who made an appearance and just had to check out the nice new dirt I’d added!
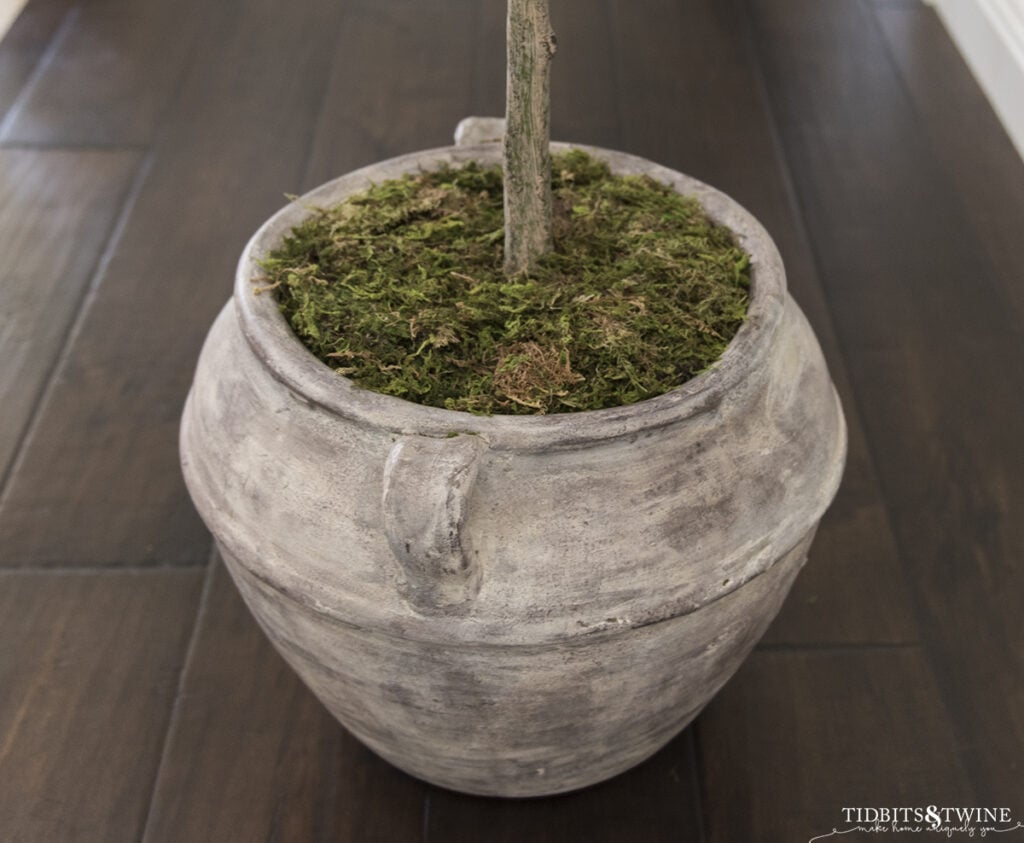
So I use moss about 90% of the time in my own home. I would actually prefer to use dirt because I think it looks even more realistic, but I need to be practical sometimes (just sometimes, not always!)
Potting Method 2 – For Moss
If you want to use moss or moss rocks, you can use the simplified method below! And actually, I prefer this method for large plants as well because it’s less messy than Method 1 above if you want to switch out the container.
Step 1 (optional)
Add a riser to your plant if you need to add height. Ensure anything you use is stable so that the plant won’t topple over.
Step 2
Fill the gaps. I use grocery store bags almost always, but newspaper, tissue, bubble wrap, or any type of filler material will do!
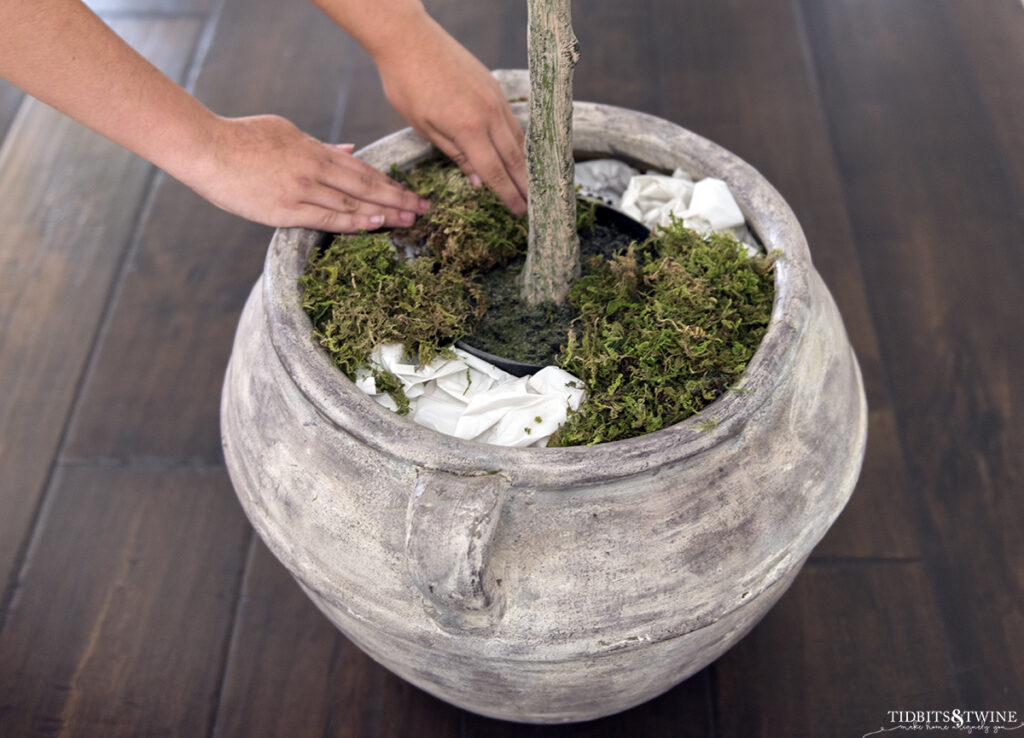
Step 3
Add a layer of moss to cover the filler and plastic pot.
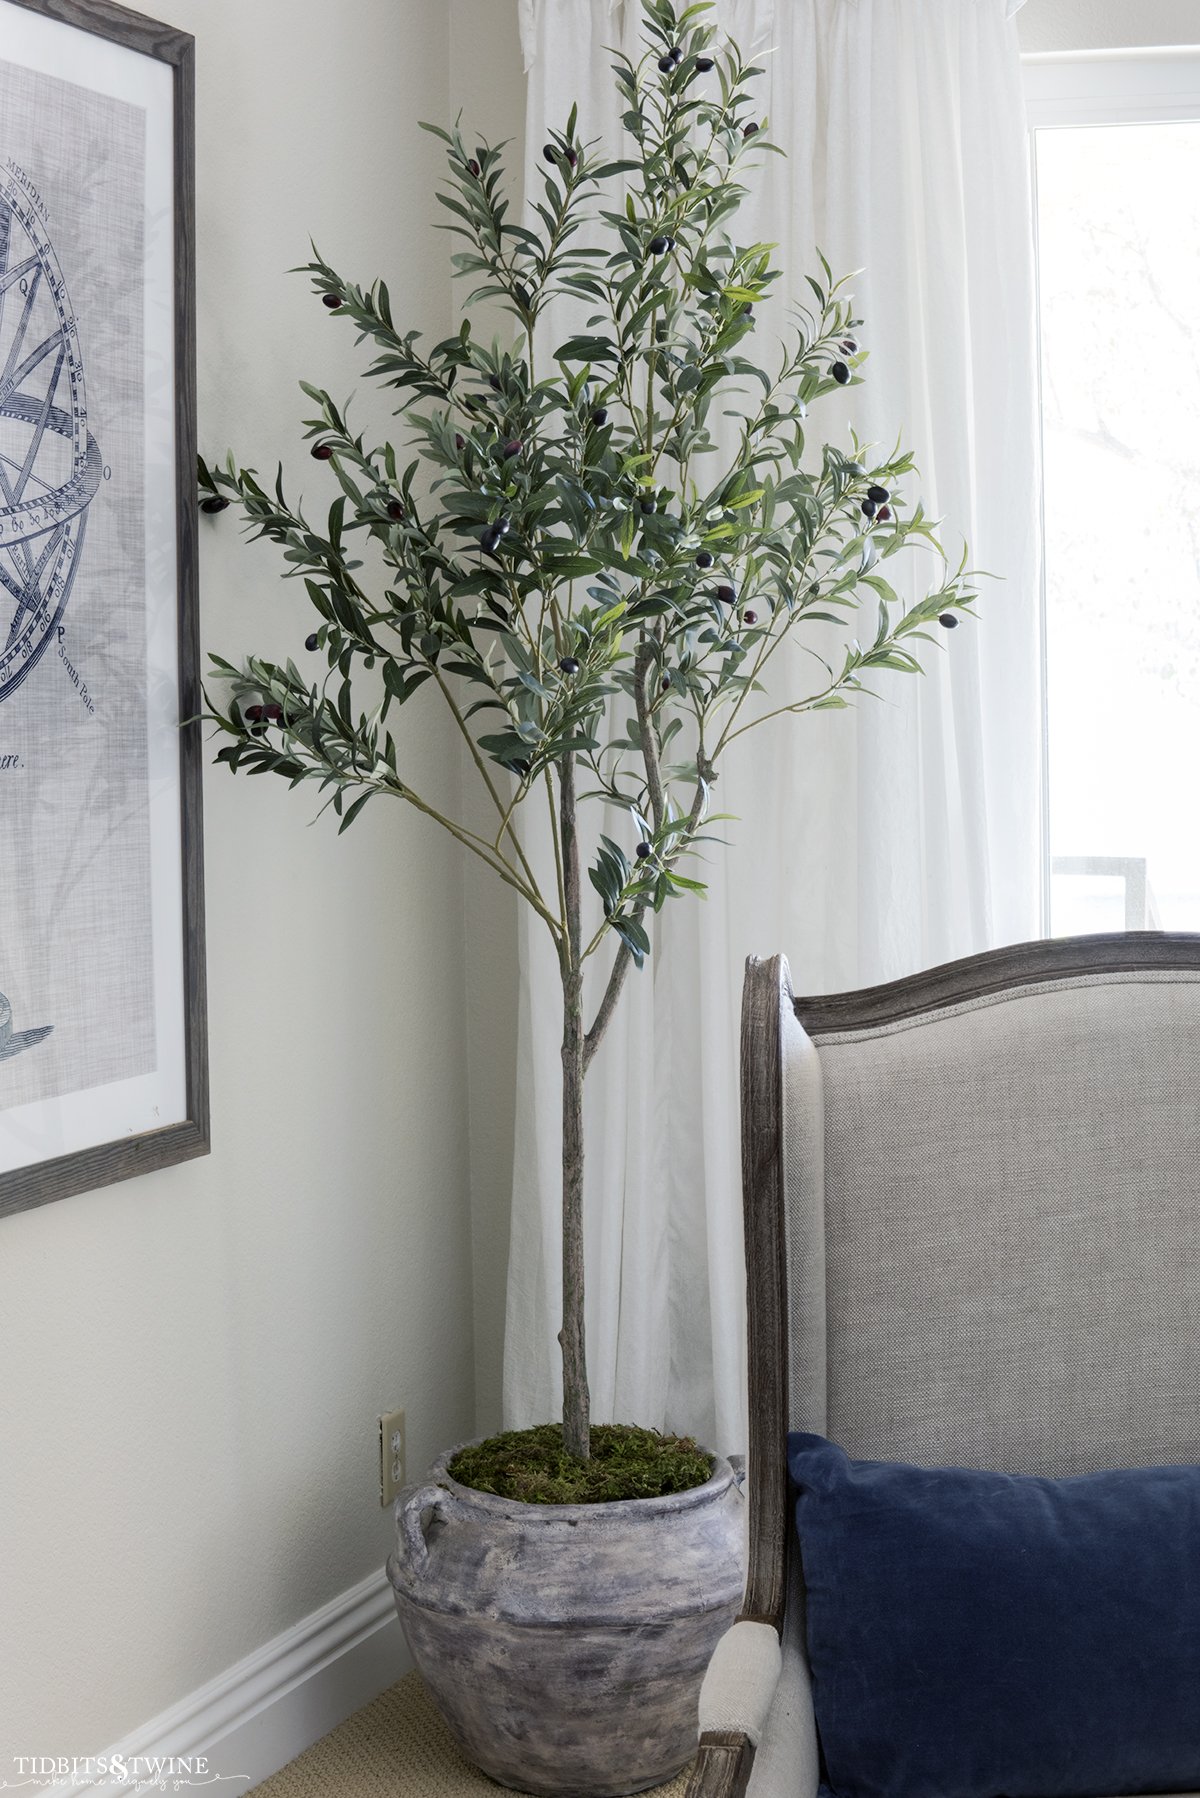
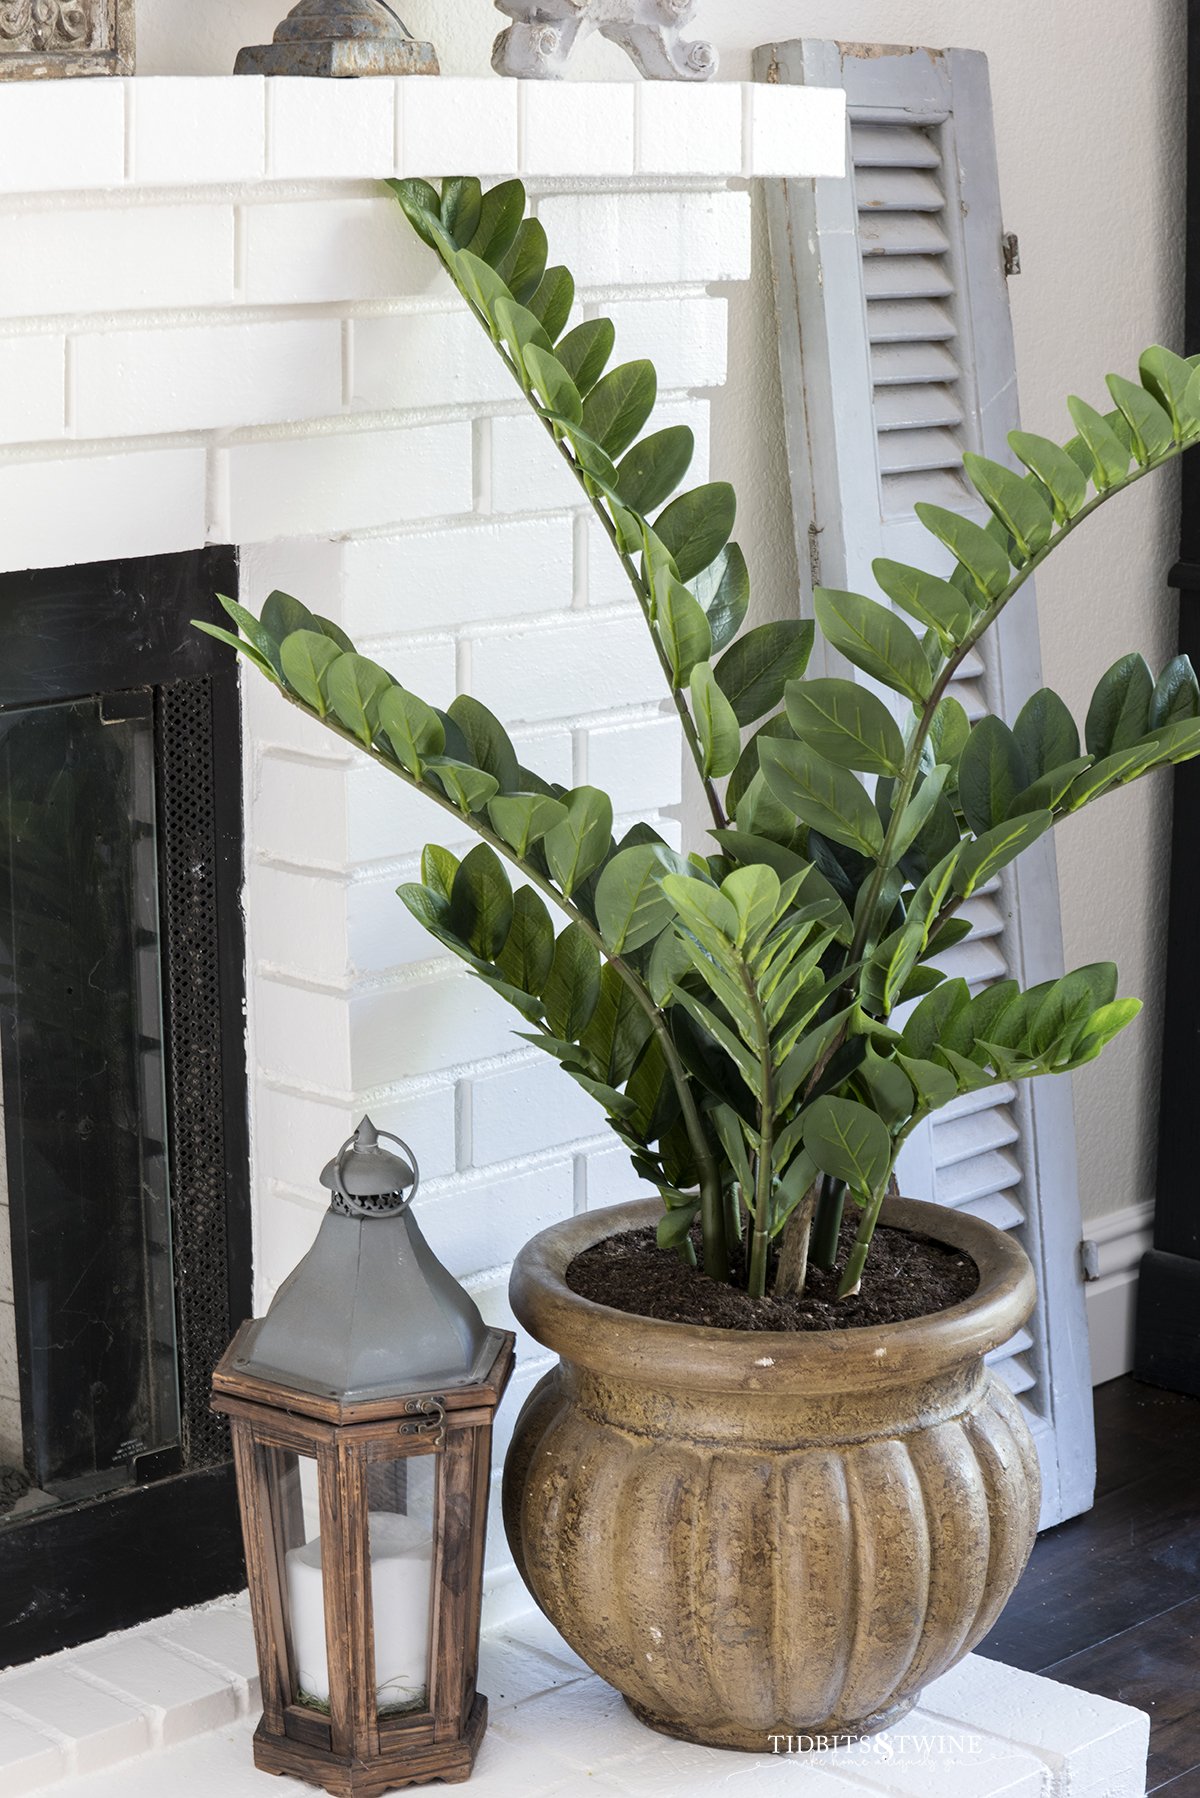
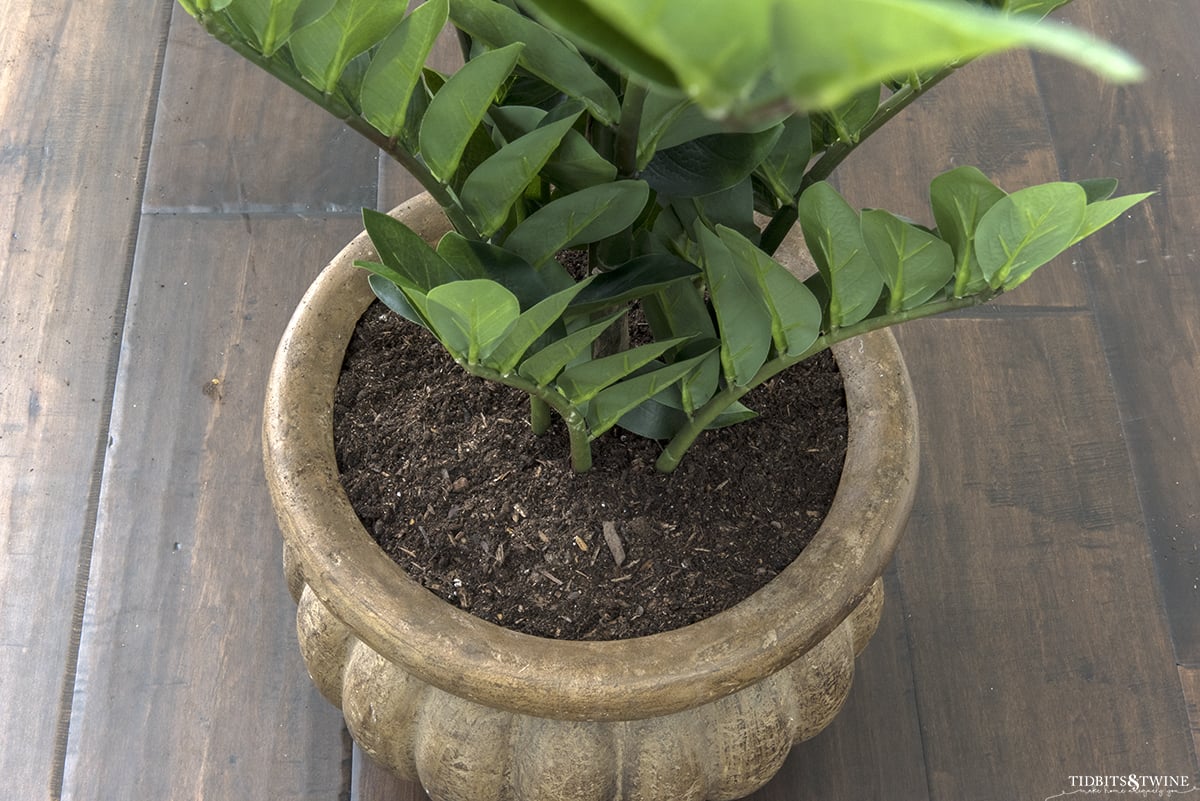
Either of these methods is a super-easy way for how to secure artificial plants in pots, covering those yucky pots and making your fake plants look real! Real elements added to the mix make all the difference.
Additional Tips for Fake Plants
Also, keep the following in mind when working with fake plants or flowers:
- Always make sure to “fluff” your fake plant once you get it home. You’ll need to bend the branches and leaves to help give it a more realistic appearance.
- Dust, dust, dust!! Plants, real and fake, do get dusty and both need to be cleaned. So don’t forget about the leaves when dusting! Nothing says fake like a potted plant covered in cobwebs!
How to Secure Artificial Plants in Pots so They Look Real!
You can have the most beautiful, realistic fake plant and it’ll still look fake if you don’t style it properly! Here are 2 easy methods for how to secure artificial plants in pots and make your fake plant look real.
Materials
- Artificial plant
- Decorative planter/pot
- Scissors
- Packing material (newspaper, plastic bags, etc)
- Riser (optional)
- Cardboard or plastic pot liner
- Dirt or moss (depending on method)
Tools
- Scissors
- Hand Trowel
Instructions
- Measure the opening of your pot AND the diameter at the height you want your plant to sit.
- Measure the circumference of your plant at the base (measure the plant, not the pot).
- Select a plastic liner size nearest to the diameter of your finished opening. Cut from the outer edge to the center. Because the plastic is flexible, this cut will allow you to contract/expand the liner as needed. Cut a circle in the center matching the diameter of your plant’s leaves/stem.
- Determine your finished height. If your container is deep and you want to raise the height of your plant, add a base.
- Fill in the gaps. I use grocery store bags almost always, but newspaper, tissue, bubble wrap, or any type of filler material will do!
- Insert your liner (or cardboard).
- Add a layer of dirt to cover the liner and plastic pot.
Notes
- Always make sure to “fluff” your fake plant once you get it home. You’ll need to bend the branches and leaves to help give it a more realistic appearance.
- Dust, dust, dust!! Plants, real and fake, do get dusty and both need to be cleaned. So don’t forget about the leaves when dusting! Nothing says fake like a potted plant covered in cobwebs!
If you love the ease of faux greenery, you might also enjoy my roundup of the most realistic faux pumpkins—they’re proof that not all faux décor is created equal!
More Decorating Tips
- The Best Fake Flowers That Look Real
- Marble Tile Bathroom – My Experience with Care and Maintenance 2 Years Later
- Design Style Quiz
- Learn How to Decorate a Mantel in 3 Simple Steps


Join the Community
Let’s keep in touch! Get exclusive artwork plus the latest news delivered directly to your Inbox!
This is so helpful. Thanks
Thank you for sharing these ideas! I have two large plants in pots that need a makeover.